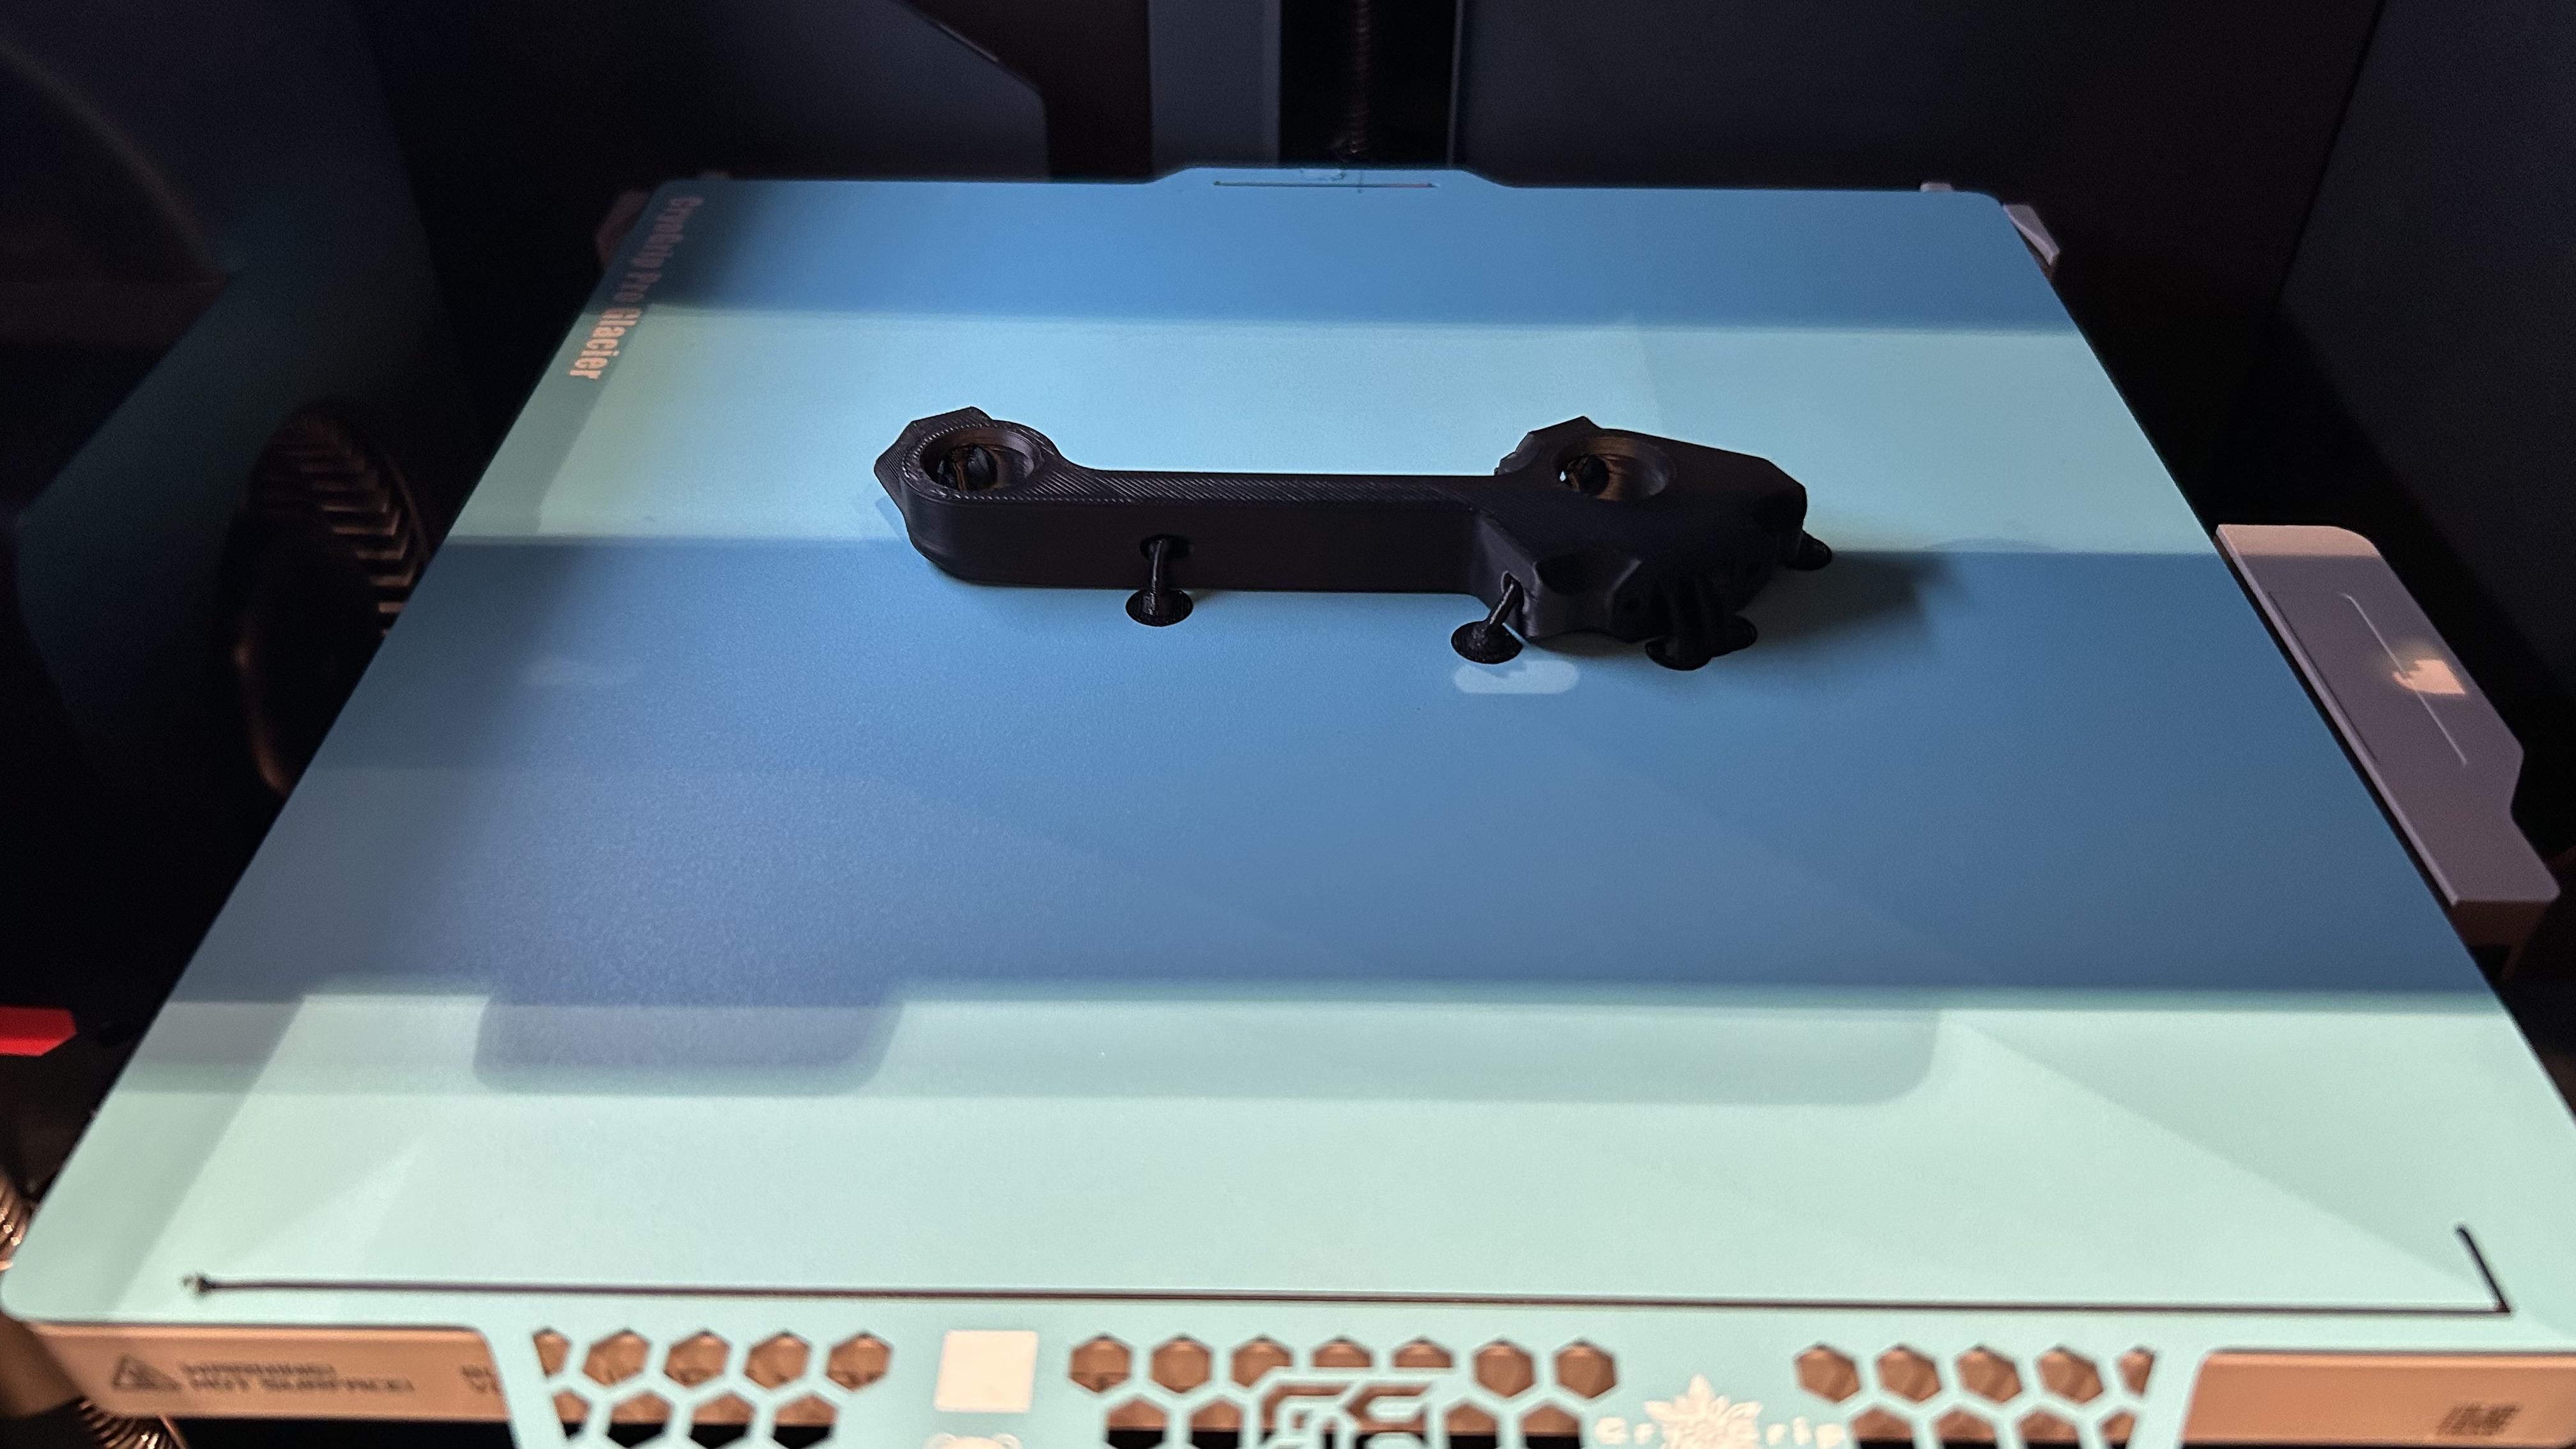
Okay and is that with the default ASA settings? I’m using Flashforge ASA and online websites said to up the temperature to 105
High Temp, Engineering and Textured Work fine.
Minimal 95c Bedtemp 270c Nozzle. Standard-Speed
Thank you, I should metion I’m using the P1S because people found that it printed ASA differently. I’ll follow those instructions except bring the speed down to 40, I found that if I printed slow (Only used PLA Silk so far) it came out much better than standard.
I own an P1S and i dont Print PLA or PETG with it not anymore.
My choice IS PCTG, ASB or ASA.
So: all These Filaments work flawless.
I did not change much except the volumentric Speed of the Generic Settings for the Filaments to Bambu Filament Standard


Looks OK. But why 268 to 273 as max and min Heatlimit?
Normal ist das 240°C bis 270°C

I thought it wouldn’t matter because I set nozzle temperature to 270 for all layers. I’ll set it to 240 to 270c
I use the OrcaSlicer calibrations to choose the settings for all my filaments. For ASA, I’m using the default temperatures (270° nozzle, 90° PEI bed) and speeds. Depending on manufacturer and color, there are some slight modifications to flow ratios, K factors, and maximum flow rates.
Alright, I attempted to print something small with default Generic ASA settings as a test. It failed within the first few minutes of printing. I then did Lucyna’s advice, still 40mm/s and it 3/4 prints came out good. I upp’d the bed temp to 98 and everything is now coming out perfect.
Volumetric flow rate: 11
Speeds: 40mm/s for all
Nozzle temp 270
Bed temp 98 (It was 97 earlier and was fine, but I made it 98 just to make sure it didn’t fail)
I was trying to print some of these for drying desiccant in a dehydrator:
The key to making that print slice properly is setting the top/bottom walls to zero, that slices just the infill pattern as a mesh.
Using an X1C with Bambu’s ASA filament. Previously dried, showing 10% on a hygrometer stored with it. Using just the default printer settings for Bambu ASA. Fans off. Bed leveling and flow control selected.
I laid four of them out on the plate. But it repeatedly fails for the pieces on the rear of the build plate. I’ve tried two different smooth plates. Once with nothing, two other times with glue (nano polymer). That’s plate A bare, A with glue, B with glue.
I’m re-drying the filament using an Eibos Polyphemus. Before I give the printing a try again I’m open to suggestions on what to change.
HOW did your prints fail? It is hard to make recommendations without knowing what problem needs to be overcome.
ASA , like many of the other materials requiring an enclosure, works best with a warm chamber. Preheating the chamber to 40-45°C helps prevent warping. 15-20 minutes with the bed at ~100+°C and the auxiliary fan at 30% should be enough.
Good point about the HOW. As I mentioned, it’s an X1C, so it’s enclosed.
The model I linked uses just the infill pattern to make a mesh. The center parts of the meshes didn’t lay flat. They puckered up. The edges around were ok. I didn’t use timelapses. So I can’t tell if the initial layers failed to stick or if it was subsequent ones. I just managed to catch sight of them in the live view and used the skip object feature to keep the printing going.
I’ll see if I can scrounge through the trash to get pictures of the failures.
The printer had been going non-stop for most of the day running PETG. I laid out the plate with four wedges, and only set one as printable. The initial left/front test using ASA worked fine. So I set all of them to printable and ran the plate. There was little downtime between the prints. I can’t speak to how warm the chamber had gotten, but I did go into the process understanding it needed to be as warm as possible (no door/lid left open).
The default profile for ASA appears to not use the fans. I have the filament on a 4 hour cycle that should complete in about 2 hours from now. I’ll retry the print just in the problem areas. I’ll double-check the bed temp.
What’s the simplest way to get the bed pre-heated? None of my prints thus far have required it and I’m unclear on how to do it independent of a print being run.
When not printing, you can set temperatures and fan speeds manually from the touch screen, or Studio, or Handy.
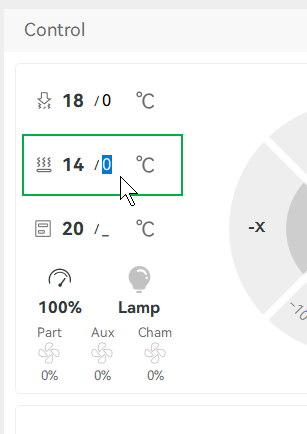
Tap the “0”, input the desired temperature.
Similar for the fans, tap the fan, adjust the speed:
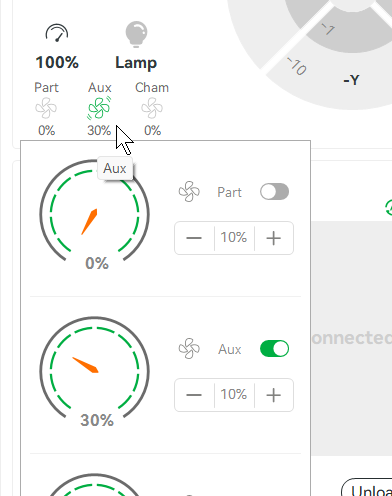
Attempting manual adjustments does not work while printing, the gcode will override them.
You can use the highest temperature (110-120°C) for the bed to get faster heating. When you start a print it will wait to cool to the correct bed temperature.
An auxiliary fan speed of 30% will help distribute the heat throughout the chamber.
I have not had a problem with the center of a print puckering, so I don’t have any other suggestions for this print…
Thanks, I wasn’t sure if the manual adjustments stayed active or if they got reset after an idle period.
Ok! Seeing some success now. All four printed perfectly.
Did the pre-heat as you suggested, saw chamber get to 47C after 15 minutes using a 100C bed temp. I had already been re-drying the ASA for about 2 hours before that. Put it into the AMS let 'er rip. ASA profile seems to have dropped the bed setting to 90C. Chamber temp was risen further to 49C. Part fan has been at 10%, zero on aux and chamber fans.
Only other change was using Bambu’s liquid glue vs Nano Polymer I’d used before. Same smooth plate.
Hard to know what specifically fixed it, but I’m guessing the bed/chamber pre-heat had to most to do with it.
A Bentobox is on my to-do list now. I don’t plan on printing ABS/ASA with any frequency but the stink is not ideal.