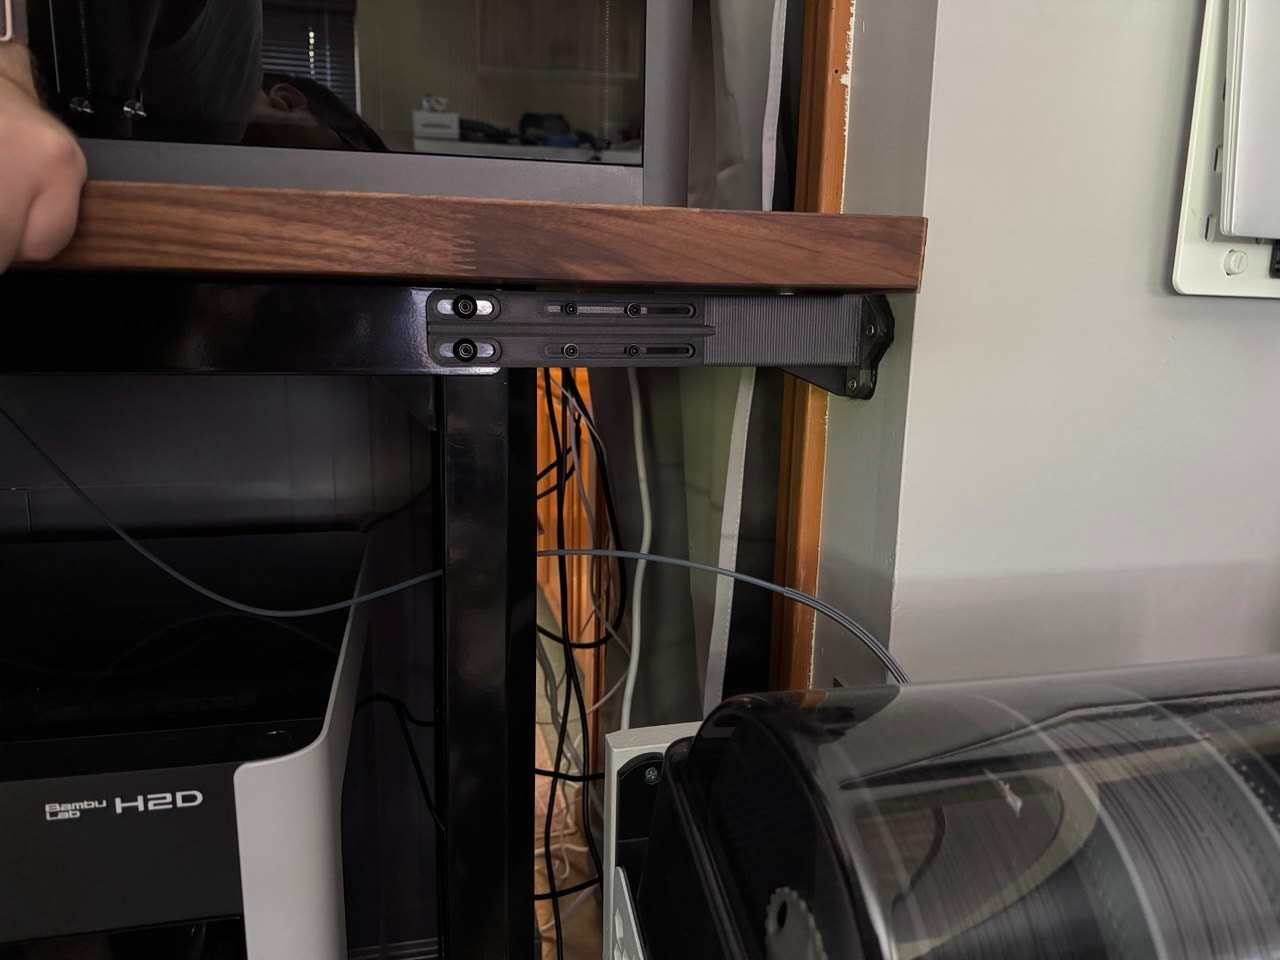
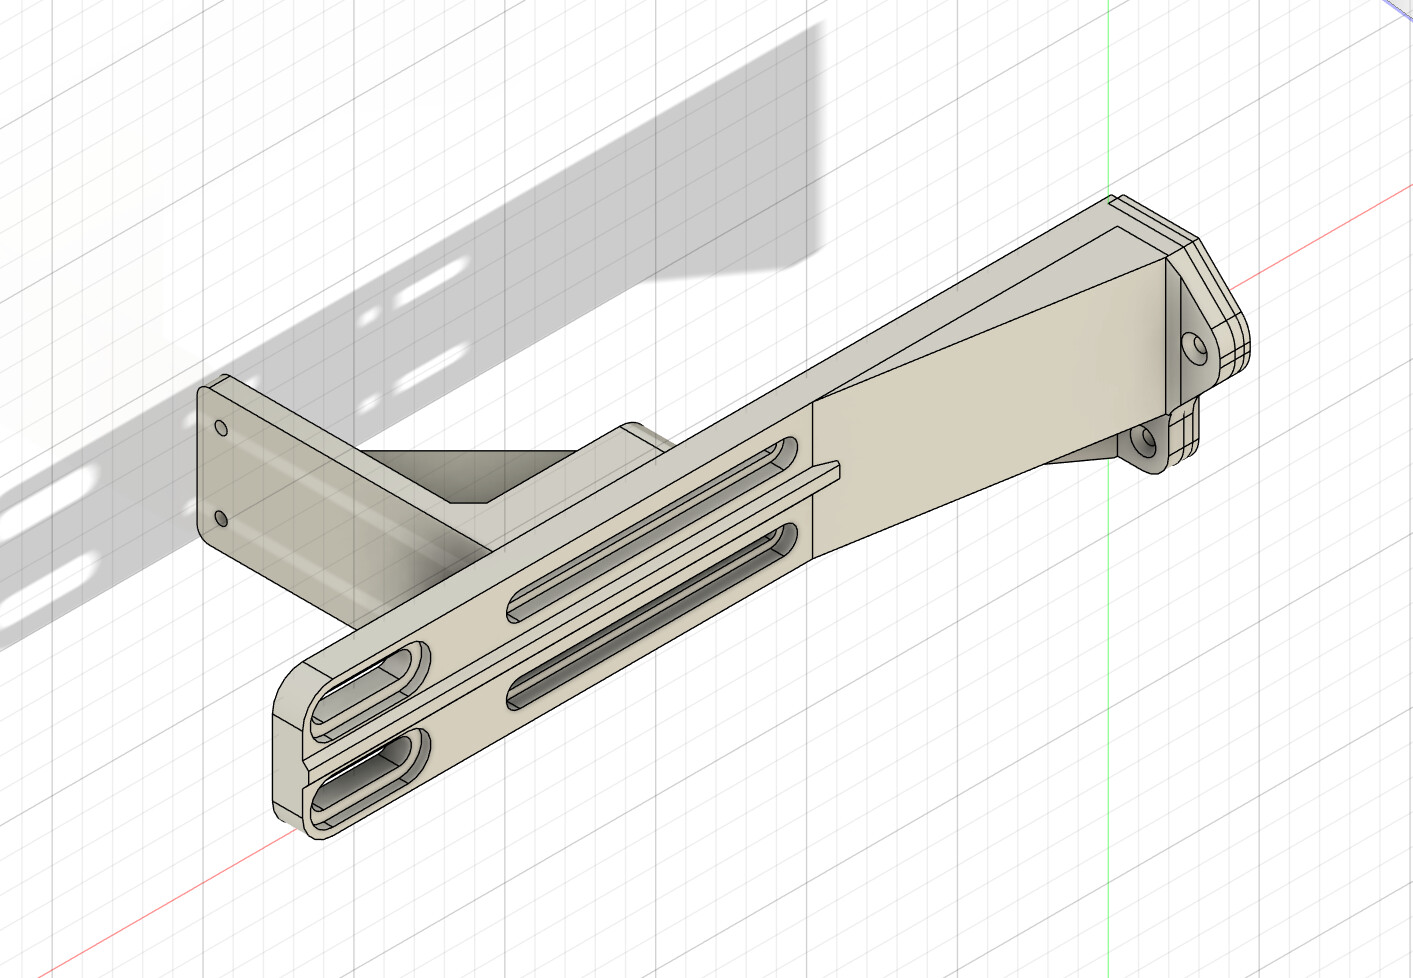
Metal frame + Ikea countertop + designed a reinforcing bracket that bolts to the stud. That thing ain’t going nowhere.
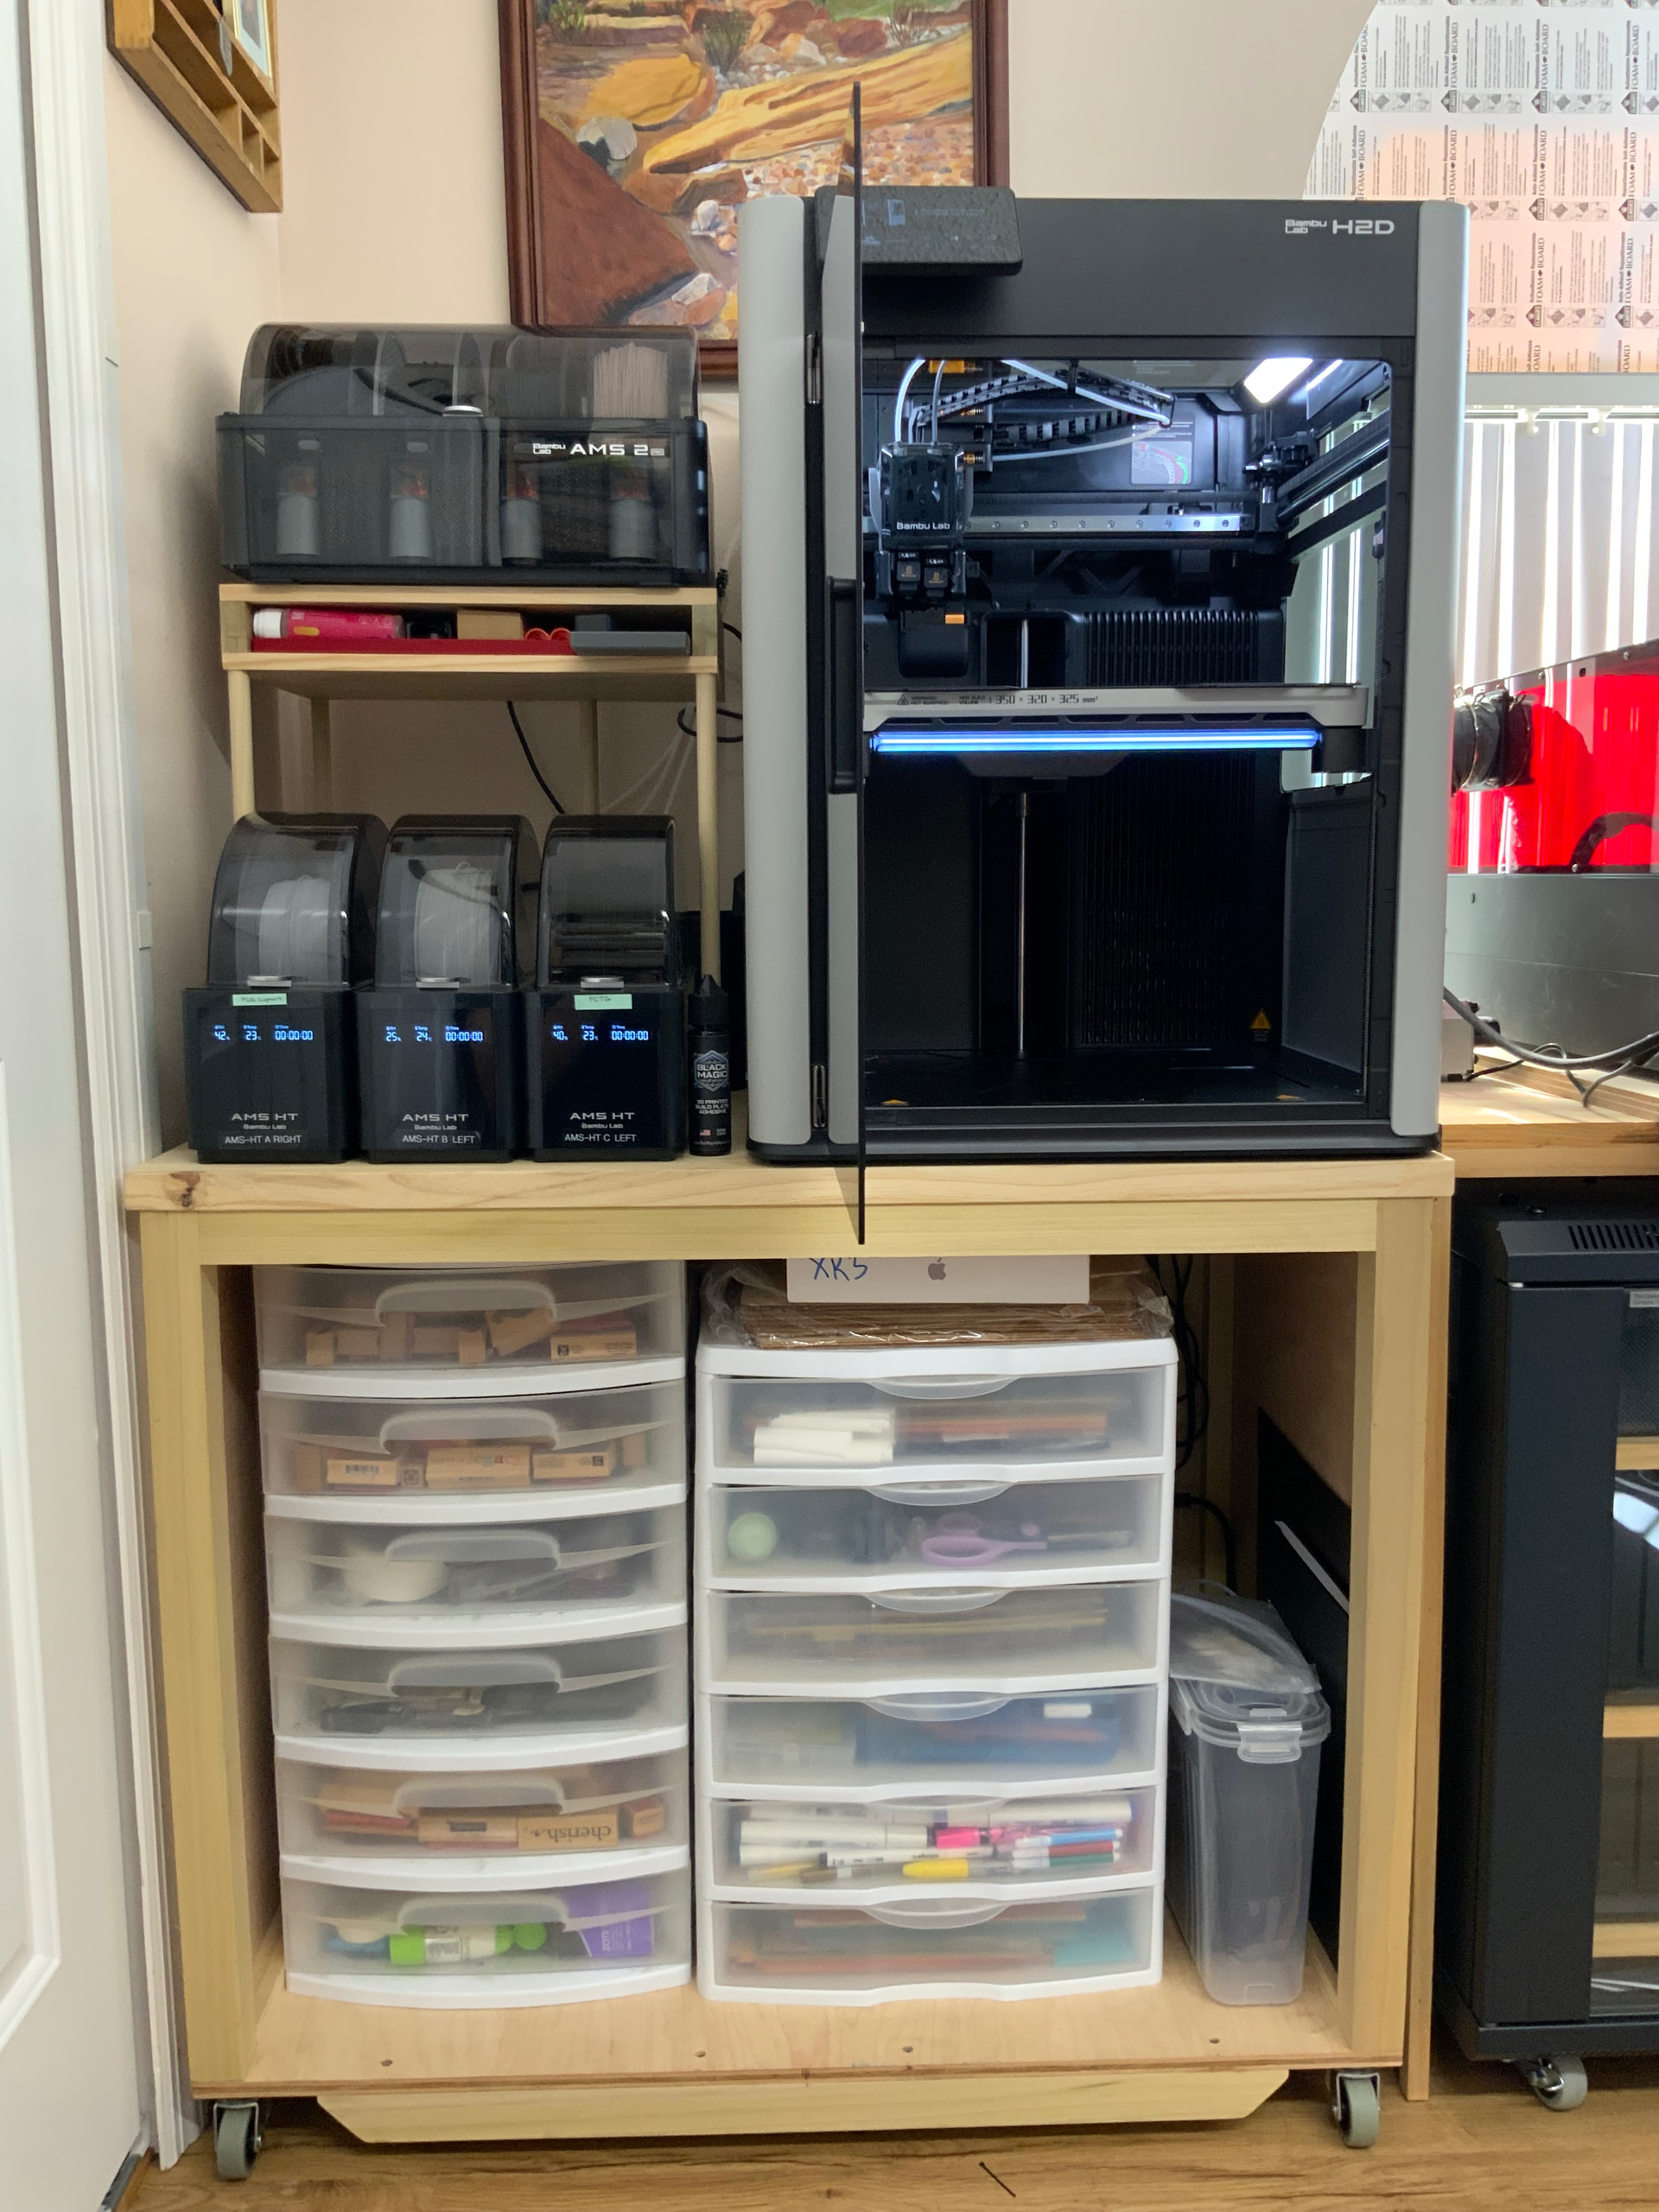
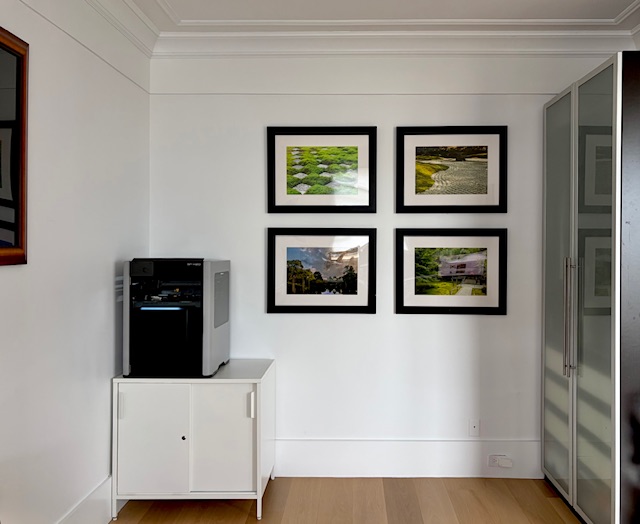
this definitely doesn’t qualify as “most sturdy” nor does it offer a lot of extra space for anything, but if you’re not frequently tinkering with your setup and are going for minimal, this ikea cabinet is working well for me.
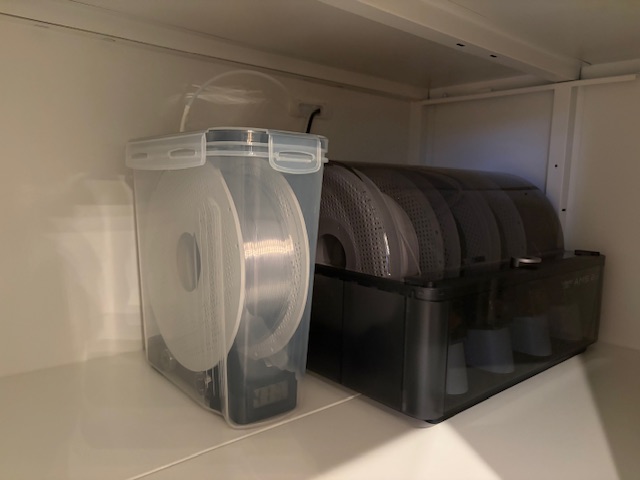
it’s steel and weighs about 50lb. no wheels, fairly small leveling feet. I put my AMS and cereal box inside it, and had to make a hole in the (also steel) back, which of course I cleaned up with a 3d printed snap together grommet for smooth edges 
For those of us with more than just a single 3D printer, one of the early forks in the decision tree is whether to support each printer individually, independent of one another, or whether to leverage the same stand to support multiple 3D printers. When I formulated the OP title of this thread, I was biased toward separate standalone stands, on the theory that by physically isolating each 3D printer would prevent any chance fast herky-jerky printer motions causing interference among the printers.
However, maybe that theory is a fear that never materializes. Why do I say that? I very often see print farm operators bunching up multiple printers on a COTS racks or shelving units. If it were causing problems, it stands to reason they wouldn’t be doing that. Examples:
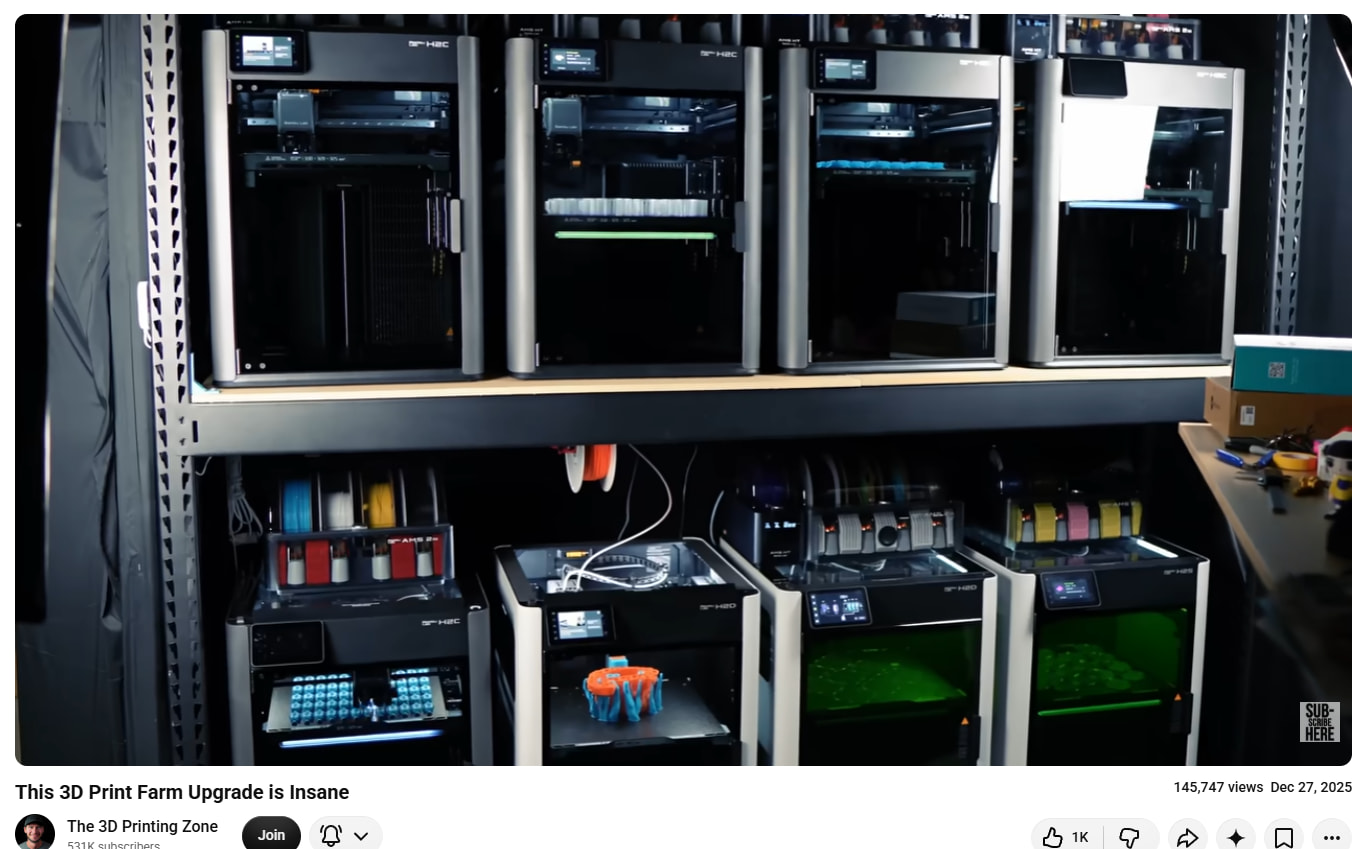
where the print farm operator did little more than install MDF first:
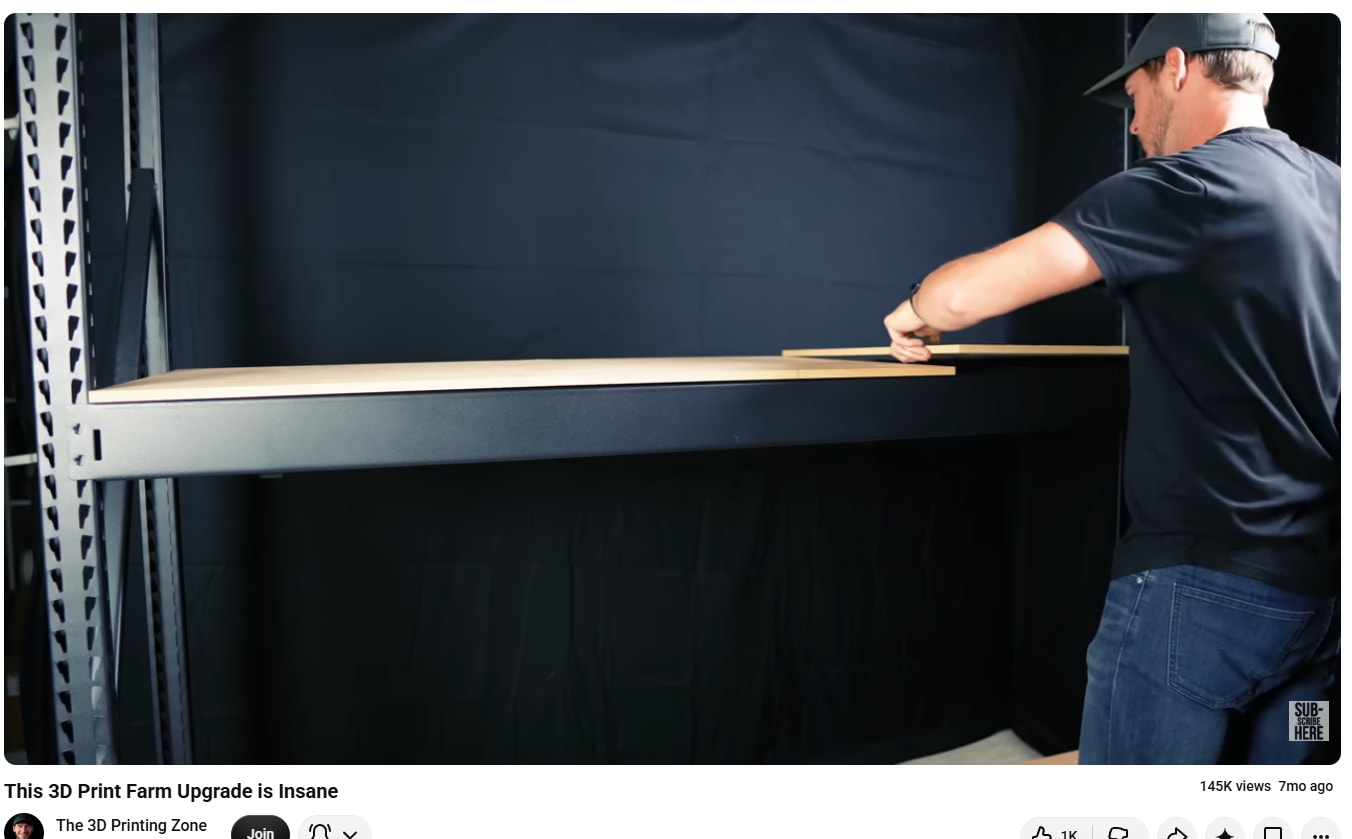
Here’s another different farm operator who it looks like may have used plywood instead of MDF:

Moreover, it makes enclosing your 3D printer quite easy:
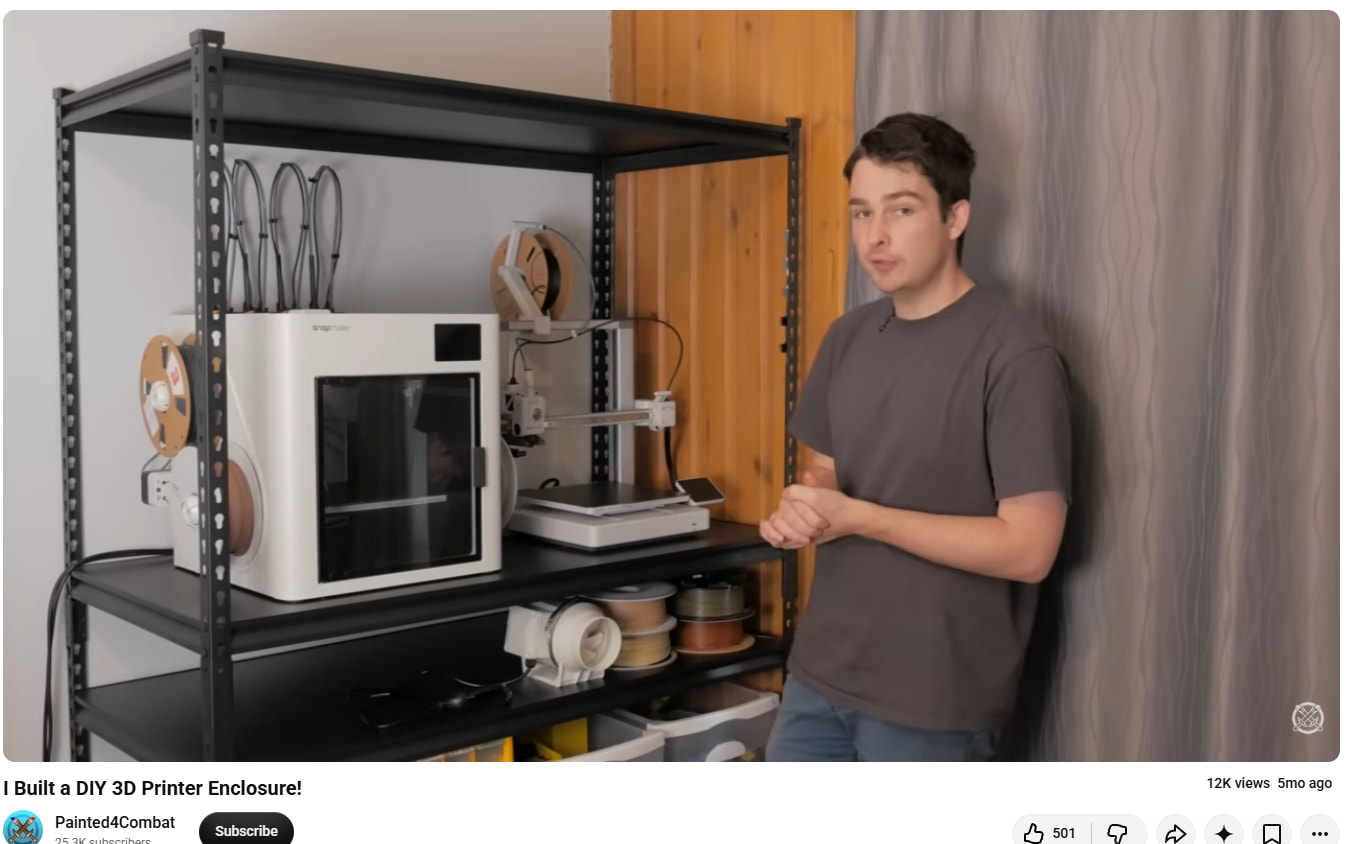
Easy because you already have a frame, so you only need to attach panels to it with screws or bolts or other methods

And the advantages of that are better control over the print environment (possibly avoiding huge temperature swings that you might encounter in, say, an uninsulated garage) and/or facilitating containment of VOCs and airborn microplastics that can arise during printing and so that you can collect the pollutants and vent them to daylight outdoors.
I share your skepticism about the motions of one machine impacting quality of its neighbor. I think the guys who use a single freestanding rack are asking for trouble, but the guys who have 100s of printers along long, connected in multiple segments and ground anchored pallet racking, makes a very good and solid structure and I wouldn’t worry.
Id love to see this tested but I haven’t the room or resources. Out of this caution, I never run calibration on more than one machine per bench at a time. Idk
I build extra tall workbenches outta 2x4 and plywood, 4ft ply tops, can fit 2 printers on top and 1 on bottom rack, and have some extra room for storage or ams. They get hard mounted to one another, and the wall, and all printers live on cement stones (fire, gravity, and vibration benefits) so the whole system is massive and absorbs vibrations. A single unmounted 100lb freestanding shelf is maybe not enough imo. Pile the thing up with rocks!
Improvising those into fume cabinets is very smart though. Stick a bunch together and you’ve Almost reinvented data center cold/hot lane design lol
How far is the run of ptfe tubing to the printer? Are you getting any errors?
By the way, I found SmartCaster to be a really interesting choice for use on a DIY build, because it allows for quickly switching with little effort between rolling and out-of-the-way position.
Anyone here ever tried using them?
It removes the need to put the table on blocks to get stability, and faster than the cheap foot-wheels that seem a bit dodgy.
Neat idea, but lifting a heavy table with another 70+ pounds of printer on it would be a problem.
You’re right. It’s a worthy consideration. Lift force would be about half the combined weight of the table plus printer, which could still be a lot.
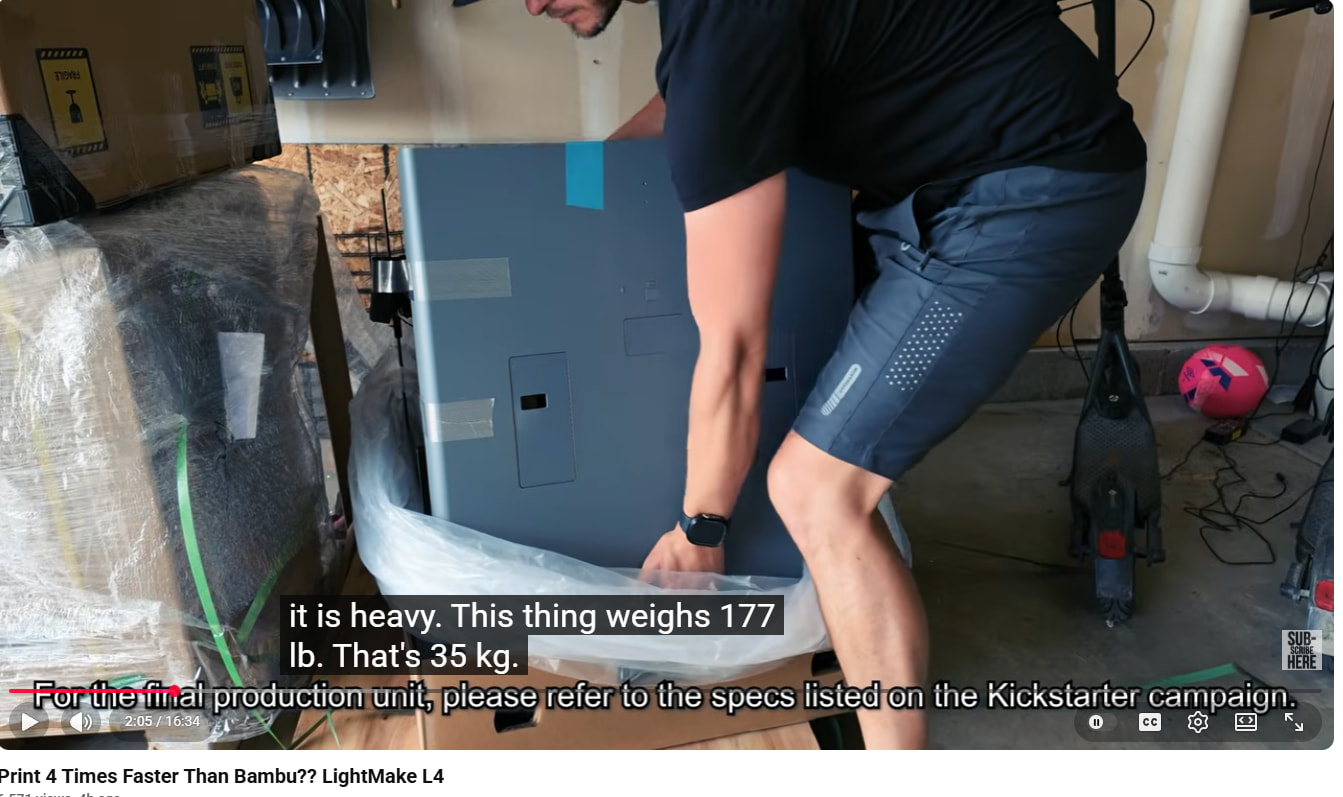
Well, so much for that idea! Thanks for pointing out the fatal flaw. That said, it may not feel so heavy, if only because you only need to lift it an inch, and you can use your legs without having to bend over to help with the lifting. Certainly nothing like this guy, who has to throw his whole back into it, using the worst possible lift posture:
My cart is stuffed in between a corner wall and another desk with about 1/2" space between them. So, getting to the rear casters would not be possible.
@Loren42 How are you moving it around then? Have you found a better way?
One possible solution to the lift force would be to mount a barber chair hydraulic lift under each stretcher. Those run around $40, but it is admittedly a kludge solution just to gain speed. I guess I’ll go with the more mainstream ratcheted up-down wheels and call it a day, even if it takes more time. I probably won’t be moving it all that often anyway. It’s a pity there’s not a better faster way using hand cranks or something, but it seems outside the mainstream and would require a bespoke implementation.
It’s on four 2" castors (two are swivel). I can just roll the cabinet out, but it’s a bit of a tight squeeze. I’m going to trim the table it sits next to so I have more clearance, but I don’t move it much. I just wanted a way to get at the back of the machine should I need to without disconnecting everything.
I should add that running the machine on casters has no negative effect. The cart doesn’t rock or move at all when printing.
Here’s a diagnostic print to help you decide whether or not your support stand might be affecting the quality of your prints:
If anyone knows of a better test, please post. 
There’s a popular belief among woodworkers that the only way to build a sturdy structure in wood that will hold its form over time and not eventually loosen up is to use mortis-and-tenon glued joinery, or other similar glued joinery, to effectively weld the pieces of wood together into a monolithic strucutre. The corrolary to that is that if you were to build it out of bolted connections, the wood would crush over time, causing and endless maintenance headache of retightening. When I put that theory to Grok, it maintains that if you were to use large enough and thick enough washers to spread the bolt clamping force over a wide enough area against the wood surface, that there might be only one round of tightening required about 1 week later, and then that would be it. So, an example of “big enough” might be 2 inches diameter and 1/8" thick washers, which would be a rarity among fender washers, but square plate washers like that are readily available.
I’m just wondering whether anyone here has any experience driven insight into that. In my own experience in putting wood structures together with half-inch diameter bolts and even regular washers, I haven’t noticed them coming lose over time, let alone requiring an ongoing schedule of re-tightening.
I ask because I think I’d prefer to put together my support stand in a straightforward way using bolts and sawed lumber because it’s easier and faster, and also because it makes knockdown for storage or modification feasible. whereas that just isn’t possible with a solid glued wood connection without destroying the wood connected to it. Maybe it would be possible using hide glue on something insubstantial like a violine, but I just don’t recollect hearing of anyone using hide glue on a bigger load bearing structure and reversing it later.
I just use nails and glue. Sometimes I will use screws, mostly if the part needs to be removable, but nails simply replace clamps while the glue sets. A nail gun makes assembly fast and easy.
Grok’s assessment is incomplete as there are so many variables regarding wood, types of wood, and the environment that I would not put much faith in that answer.
You could drill and peg or even use a biscuit, but unless you are building fine furniture and just love woodworking I would stick with glue and a nailer. You are over thinking this.