Hello Everyone!
Sounds like some people are starting to get their H3C units, or well, at least half of it. I thought it’d be fun to start a first impressions thread to see how peeps are feeling. I know I was excited when I got mine. I wasn’t able to share that excitement, or my thoughts, with anyone until today.
UPS delivered my unit, all in one order. Although the tracking for the shipment was all over the place. I had no idea what exactly when was going to show up, but it all showed up at once. Just like every printer I get, there was damage on the outer packaging from shipping. At least it wasn’t FedEx this time, rolling the printer up the freakin’ driveway.
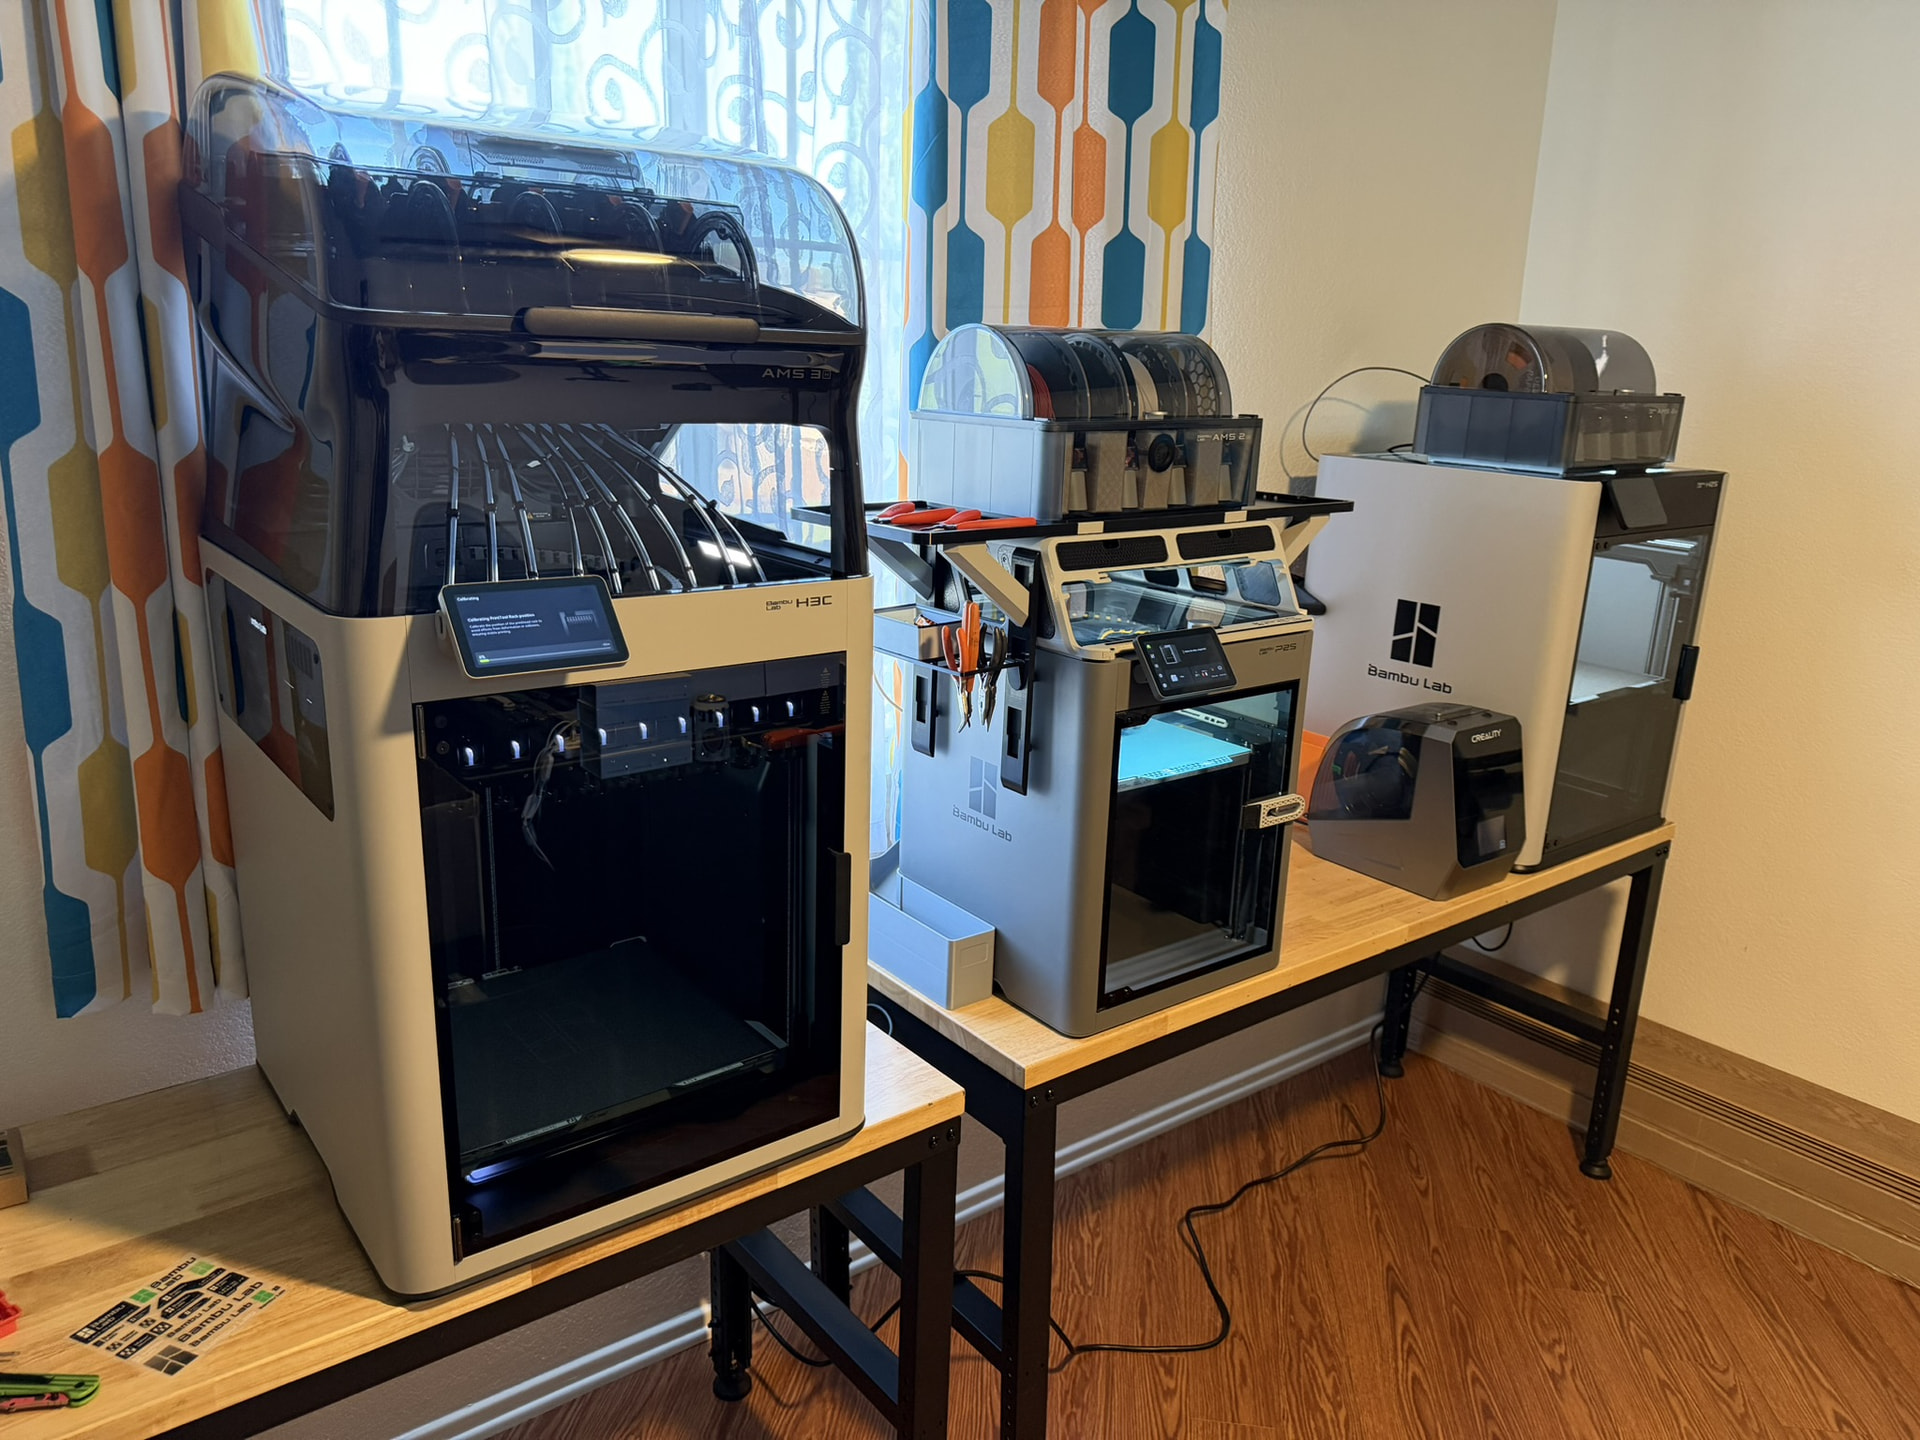
I noticed the extra bulk right away compared to my H2D. It also looks more like an upsized X1 vs a H2 series. The H2 series had better styling in it’s case, in my opinion. With the two tones, and how the panels on the front are inset. Much prefer the H2 series screen setup. I think they were trying to maximize the viability into the printer as best as they could. The nice thing about the H2 series with it’s screen though is, it is relatively flat against the case. I don’t like on the X series/H3 how much the screen sticks out.
The added depth isn’t all that much. It feels like a lot though, to be honest. I have a coffee table I set my H3C up on, and compared to the H2S I had on there before, it’s a tighter fit, but not too crazy. I realize this printer is probably gonna be a pain for some people’s established setups. It’s something with my overall setup too. Trying to fit this thing in there.
Wtih that said though, I’m much happier with the AMS arrangement vs the old system. Trying to sort out PTFE tubes, get the AMS units a place to sit, and all that jazz. Especially as you add AMS units. I like having the AMS on top, for sureeeee. I only use two AMS units typically with my other printers, so the AMS for the H3C works out well for me. Also, I already had to use a ladder with my previous setup (I built my setup vertically to save space). Right now, where the H3C sits in my office, I don’t actually need the step ladder to mess with the AMS. It’s just funny seeing people talk about that aspect of it. The whole arrangement works fine for me, personally.
I think the inbuilt dryer is neat. I’ll probably still use my AMS HT for drying functions. I don’t see the value in having full AMS drying. I rarely activated the drying on my AMS 2 units because they were always a mix of stuff. I don’t see the need to dry PLA either. I don’t know if Bambu made the right choices here for how they handled the drying, but for my operations it’s a non-issue.
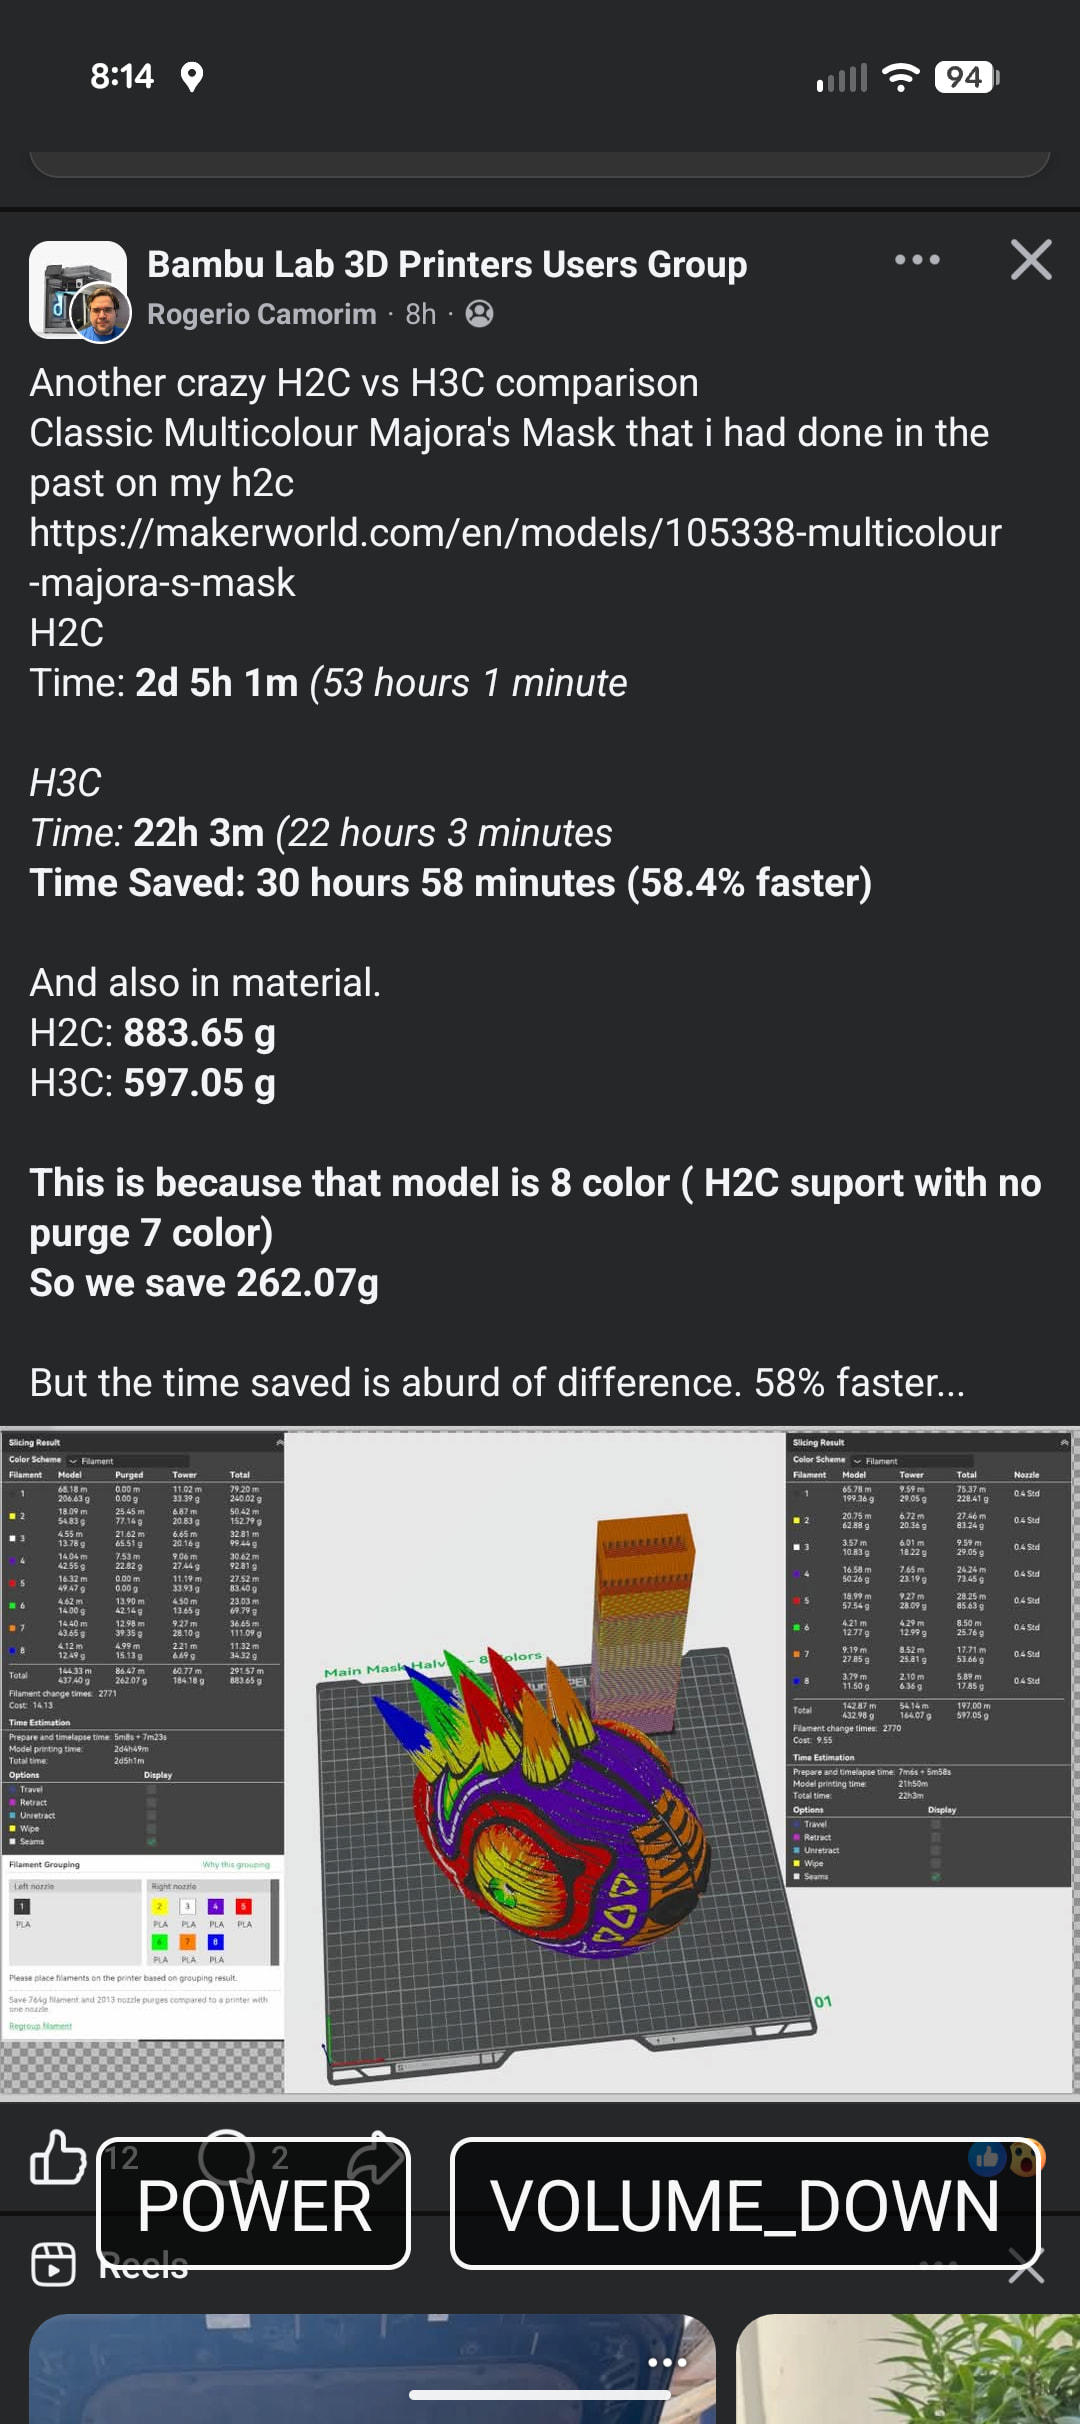
I originally was planning on doing a full 9 color print as part of my initial project. I test printed that 75a TPU first though before I started to swap that nozzle for a regular one. Oh, that TPU just blew my mind away though. As I got to the point of trying to swap the nozzle (You have to swap the nozzle+holder assembly when going from 2.85 to 1.75), I felt it a bit tedious of an operation. You have to partially remove the AMS top, which includes taking out some plastic screws (These should have been machine screws in my opinion), to get the data cable swapped. Basically, it’s not a quick easy swap. This is something I actually found frustrating, because as much thought went into the overall design, having that part be more tedious to swap. It missed the mark a little. Because of that, I decided to leave the 2.85 nozzle in there and adjust my design down to 8 colors. Or well, 7, as there was a PETG core to a PLA multi-color print, so my actual multi-color part only got 8 colors. TLDR: Changing between 1.75 and 2.85 isn’t a quick and easy swap, and that bums me out.
Quick note on the topic of TPU, that 75A tpu has not always gone down the poop chute well when loading/unloading, also make sure you re-read the TPU when swapping colors, so when it purges, it purges enough for the new color. I put the roll of TPU in, re-read it so it grabs the color, then go through the loading process.
Also also, on the AMS, with the RFID stuff, it doesn’t have to rock the roll anymore to find the sweet spot to read the tag. It just freakin’ reads it. Nice. The fins in the AMS make me nervous though. I don’t want to accidentally break them.
The nozzles themselves I like a lot. A few people have complained about the fact that we’re using screws to secure them when we finally got quick swap on the H2 and X series, and all that jazz. To me, the screws were never the annoying part on the X1/P1, it was the fiddly little cables. I think given the nature of the printer, the screws make sense and are secure. The pins handle data/power connection, so. It’s still easy. Simple. In general, on Bambu printers, I’ve found that the nozzles tend to hold up well, and I don’t usually swap sizes a lot. I think swapping sizes on the H3C isn’t that difficult a task though.
Loading and unloading filaments took me a second to work my head around. It’s not difficult or anything, just different.
The whole assembly came together pretty easily, and getting the printer going was easy too. About that’s what you’d expect from Bambu. They’ve tried to put as much visibility into it as they could too, obviously. I was impressed with the AMS and all it’s clear panels. How the nozzle rack moves up. Still though, with all that, visibility into the printer isn’t the best. I think this is something we all realize. You can see enough of the print, but if you just wanna space out and watch it a little, it’s kind of hard to get a good view for the first few layers. You’ve gotta get into larger prints to start seeing the action a little better. If your print takes up the whole bed though, there’s a drop off in light at the front and the model will fall into darkness and be difficult to see, even if it’s a tall print. I had this problem when printing my drum shells. It was so dark from the front, which was kind of a bummer because it made it hard to get a good look at the colors. I could see from the top/side, which was… okay. Not a huge deal, just… getting adjusted to multi-tools. I think tool changers like this, I mean, you’ve gotta park the tools somewhere. So, it’s understandable, and I think the Bambu folks took a good crack at it.
Let’s talk my first print!
Oh my gosh. I honestly was really nervous because yeah, first tool changer. There’s all these tools in there, and it’s gonna be swapping between them. Did I set everything up right?! Are the colors going to align?!?
It just printed. I set the model up in Bambu Studio, hit print, and it started. That’s it? Yeah, well, that’s what we want right, haha. I use Bambu filaments and stuff, so I didn’t really have to calibrate filament or anything like that. I’ve been printing on it a ton since then and feeling more confident with each print. It does amaze me how well everything just works. I remember the very early days trying to get dual nozzle machines working, aligned (anyone remember the E3D Chimera?!), and yeah. It’s super cool.
When I got printing, I just kind of forgot about everything else. There’s a ton of interesting rabbit holes to fall so completely down, when thinking about the possibilities.
Ohh what a mess of thoughts, haha. I’m excited, and excited to sit down and write down some of my thoughts on it. I hope everyone that has ordered their unit gets it soon, and safely. Let us know your first impressions too!
What was your first print? I did a little two color gridfinity bin for a project I’ve been working on. My second was printing a TPU tire. After that, a little 2-3 day 8 color print, nothing big.
@JonRaymond We don’t have a H3 section, so I put this in the H2 Section for now.