Hi everyone!
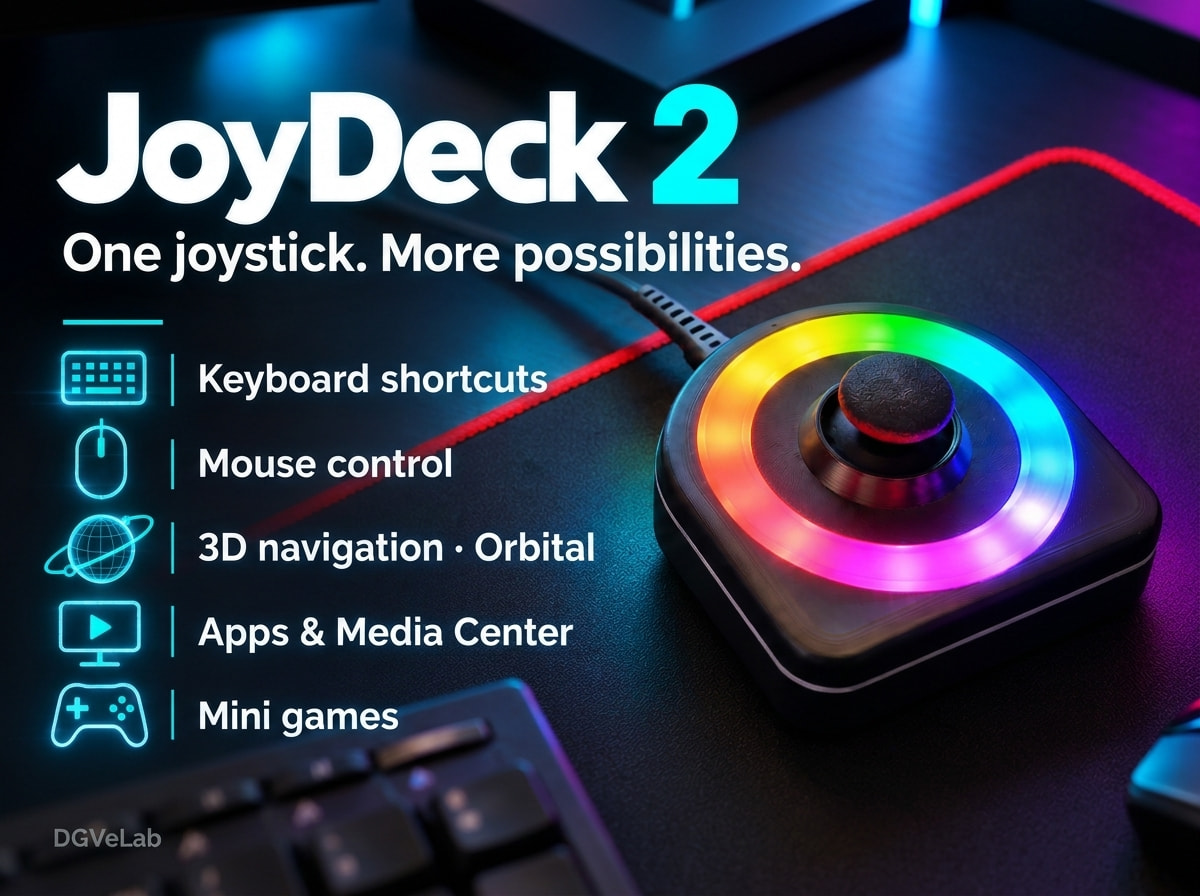
I’d like to share JoyDeck 2, a DIY desktop controller that combines a 3D-printed enclosure, an ESP32, an analog joystick and an RGB LED ring.
The idea is simple: use joystick gestures to access everyday computer functions, with visual feedback to help identify each assigned direction.
I developed the enclosure, firmware and Windows companion application as parts of the same project.
From a printed enclosure to a working desktop tool
Inside the case are three main components:
-
A Wemos mini ESP32 board.
-
An HW-504 analog joystick with a central push button.
-
A 16-LED WS2812 RGB ring.
The device connects to the PC through a USB cable, which supplies power and carries serial communication.
The ESP32 manages joystick input and LED feedback, while JoyDeck 2 Hub, the Windows companion app, handles configuration and executes the computer actions.
What can you do with it?
Each of the eight joystick directions can be configured for different tasks:
-
Keyboard shortcuts and macros: key combinations, text entry and sequences of commands.
-
Open applications and websites: quick access to frequently used tools and pages.
-
Media and Spotify controls: playback, track selection and volume adjustment.
-
Mouse movement: control the pointer using the analog joystick.
-
Orbital navigation: move the pointer while automatically holding a configured mouse button, useful for orbiting models in compatible CAD and 3D applications.
-
System commands: actions such as locking the computer, sleep, restart and shutdown.
-
HTTP requests: trigger web endpoints from a joystick direction.
There are also Memory and Reaction mini-games that use the device.
Bambu Lab monitoring
The Hub includes a read-only Bambu Lab printer monitoring feature, allowing you to view printer information from the application. This feature is for monitoring; it does not send printer control commands.
Configuration and visual feedback
A second page provides another set of directional assignments, with automatic return to the main page.
Commands can be activated by releasing the joystick, confirming with the central button or holding a direction. You can also customize LED colors, overlay icons and images, joystick sensitivity and dead zone, and save configurations as profiles.
What changed in JoyDeck 2?
For this version, I redesigned the enclosure and rebuilt the Windows application in C# / WPF, bringing the configuration interface and new functions together in JoyDeck 2 Hub.
If you already built the original JoyDeck, you can upgrade the software and firmware for free while keeping your existing electronics and enclosure. Printing the new case is optional.
Build your own
The enclosure files and print profile are available on MakerWorld:
Compiled Windows software and firmware are available on GitHub:
I’d be happy to answer questions about the enclosure, assembly, electronics or software.
What would you assign to the joystick in your daily workflow?