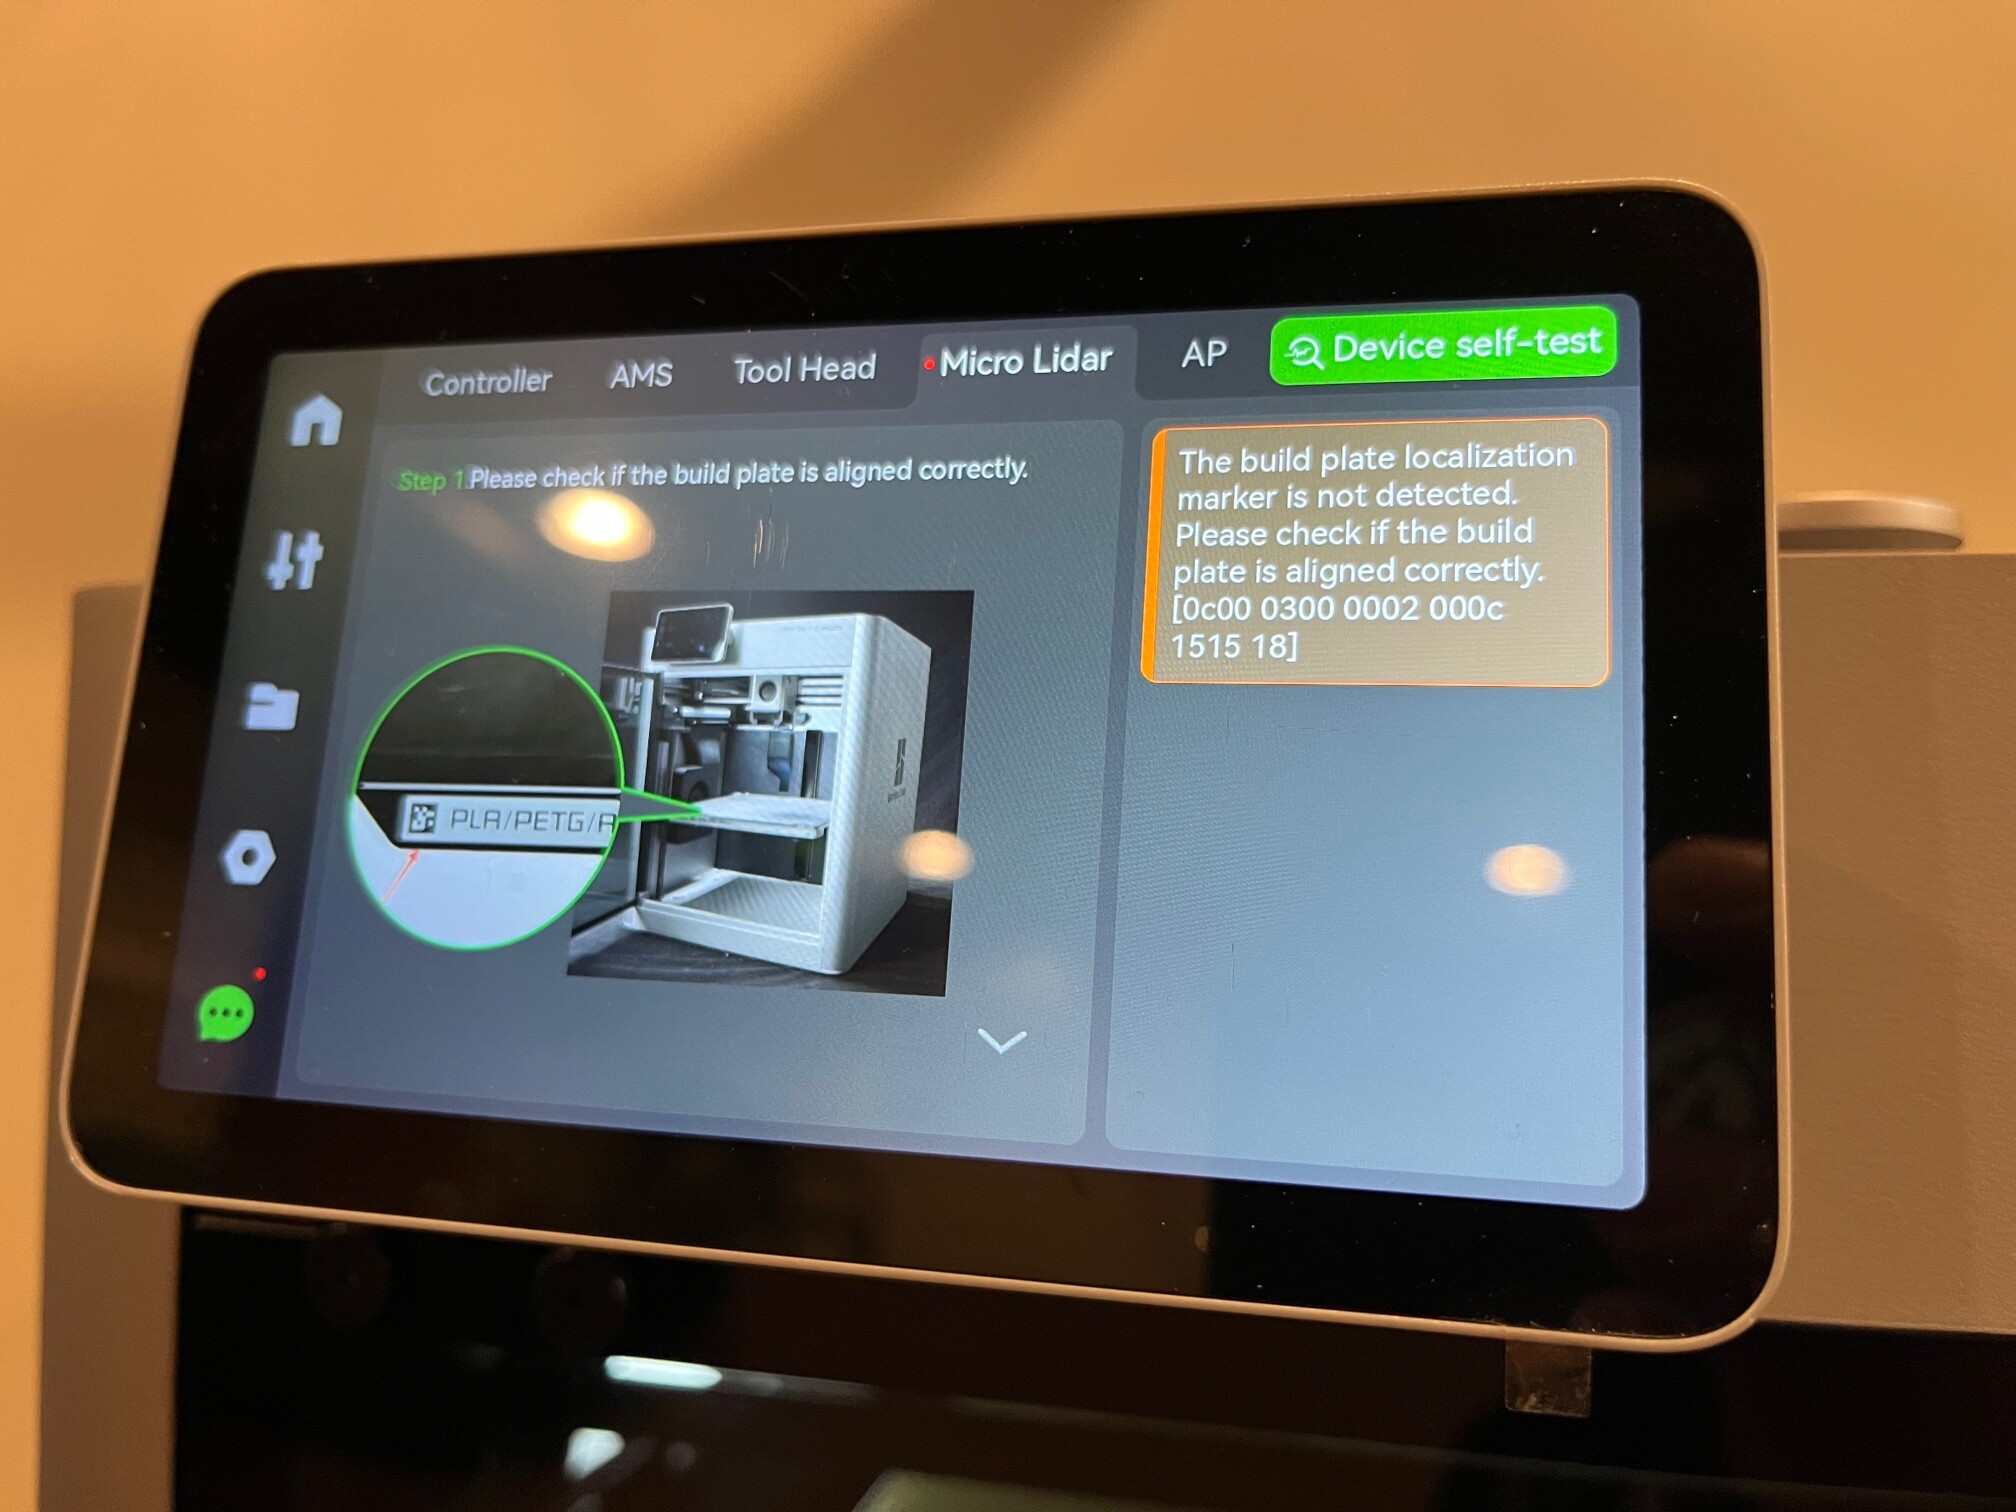
The Bambu detected abnormalities with the build plate and I didn’t know there was a little code on the cool plate that it scans. I just cut that small section off the cool plate and stuck it to the build sheet to trick the machine.
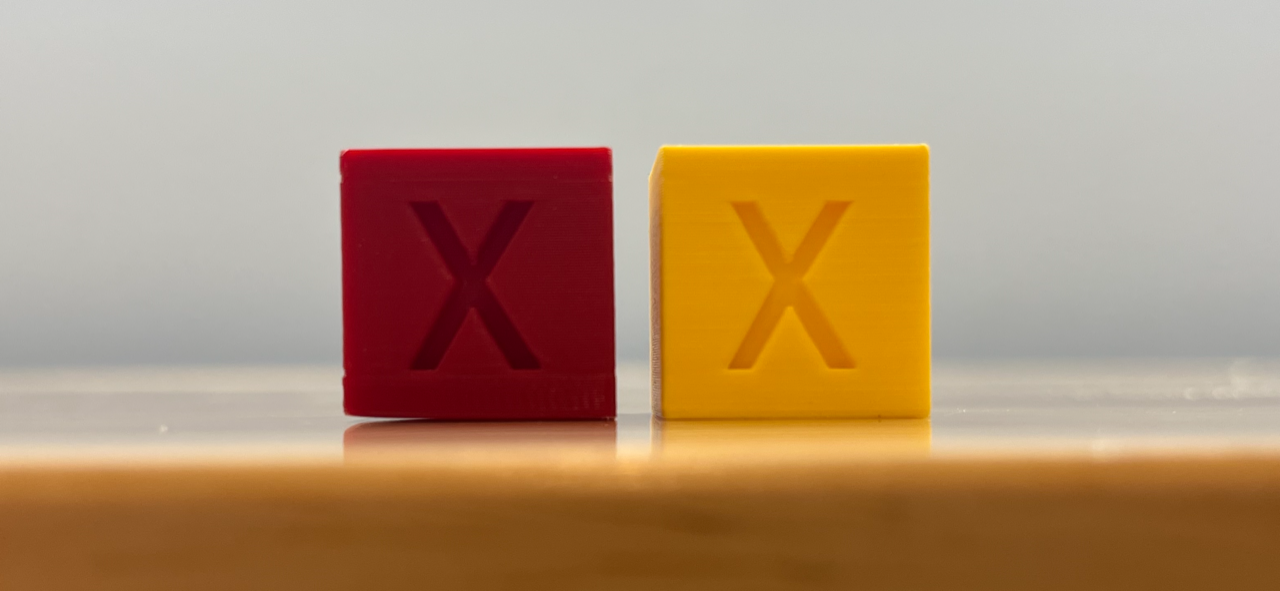
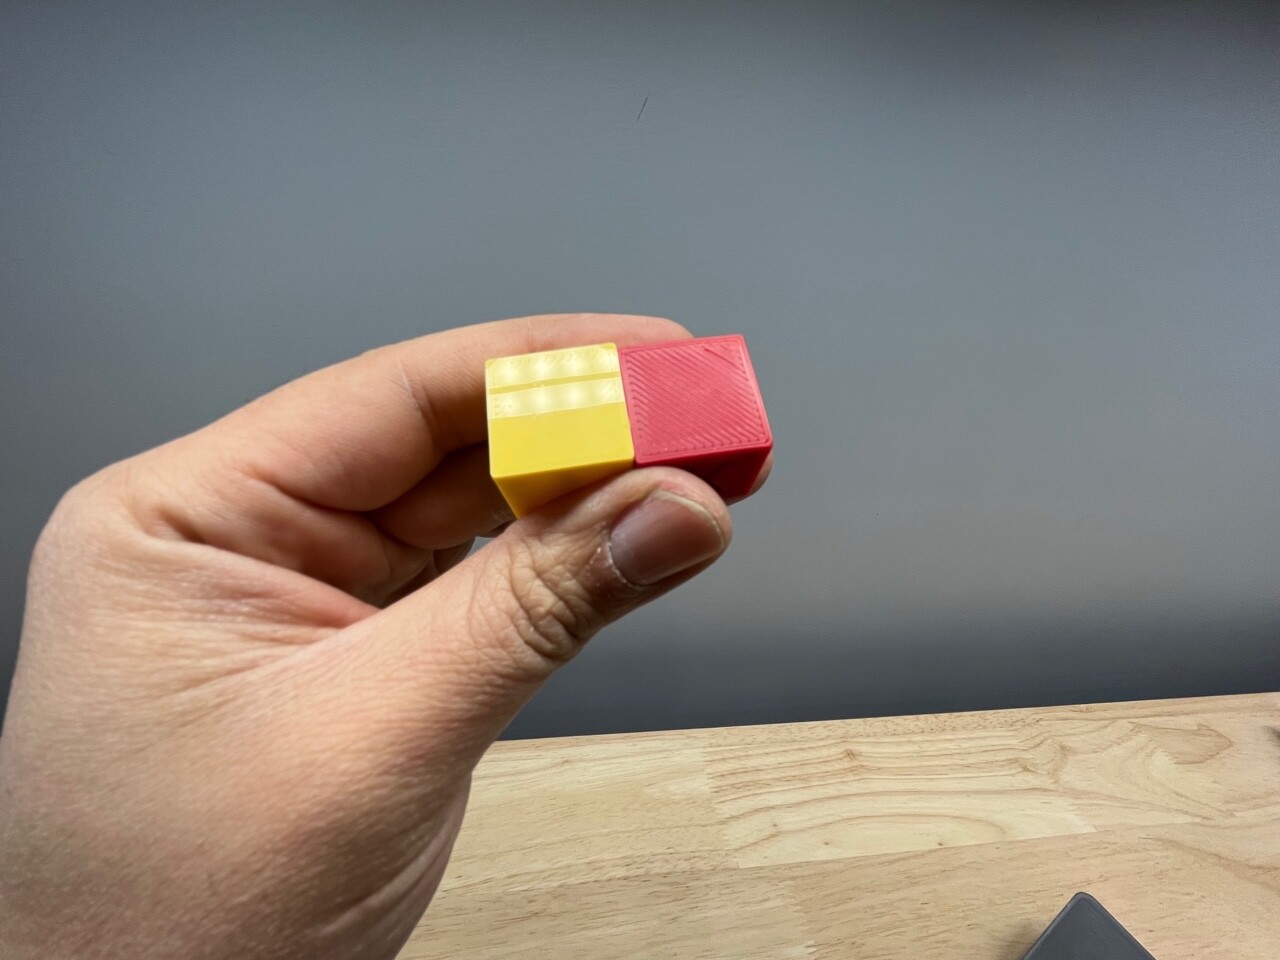
One of the small parts I would have adhesion issues with is the calibration cube. Red part(PLA) would lift off the plate (aux fan side) with the cool plate. Yellow part(PLA) on PEI is nice and flat and released really well when finished. I had concerns the Bambu wasn’t going to like this mod ,but I am very pleased it works with the Gizmo PEI sheet and I would highly recommend this upgrade. Only thing I will do different is scuff the glossy sheet with 800grit sand paper like I have with my other PEI build plates because I don’t like the glossy bottom layer.
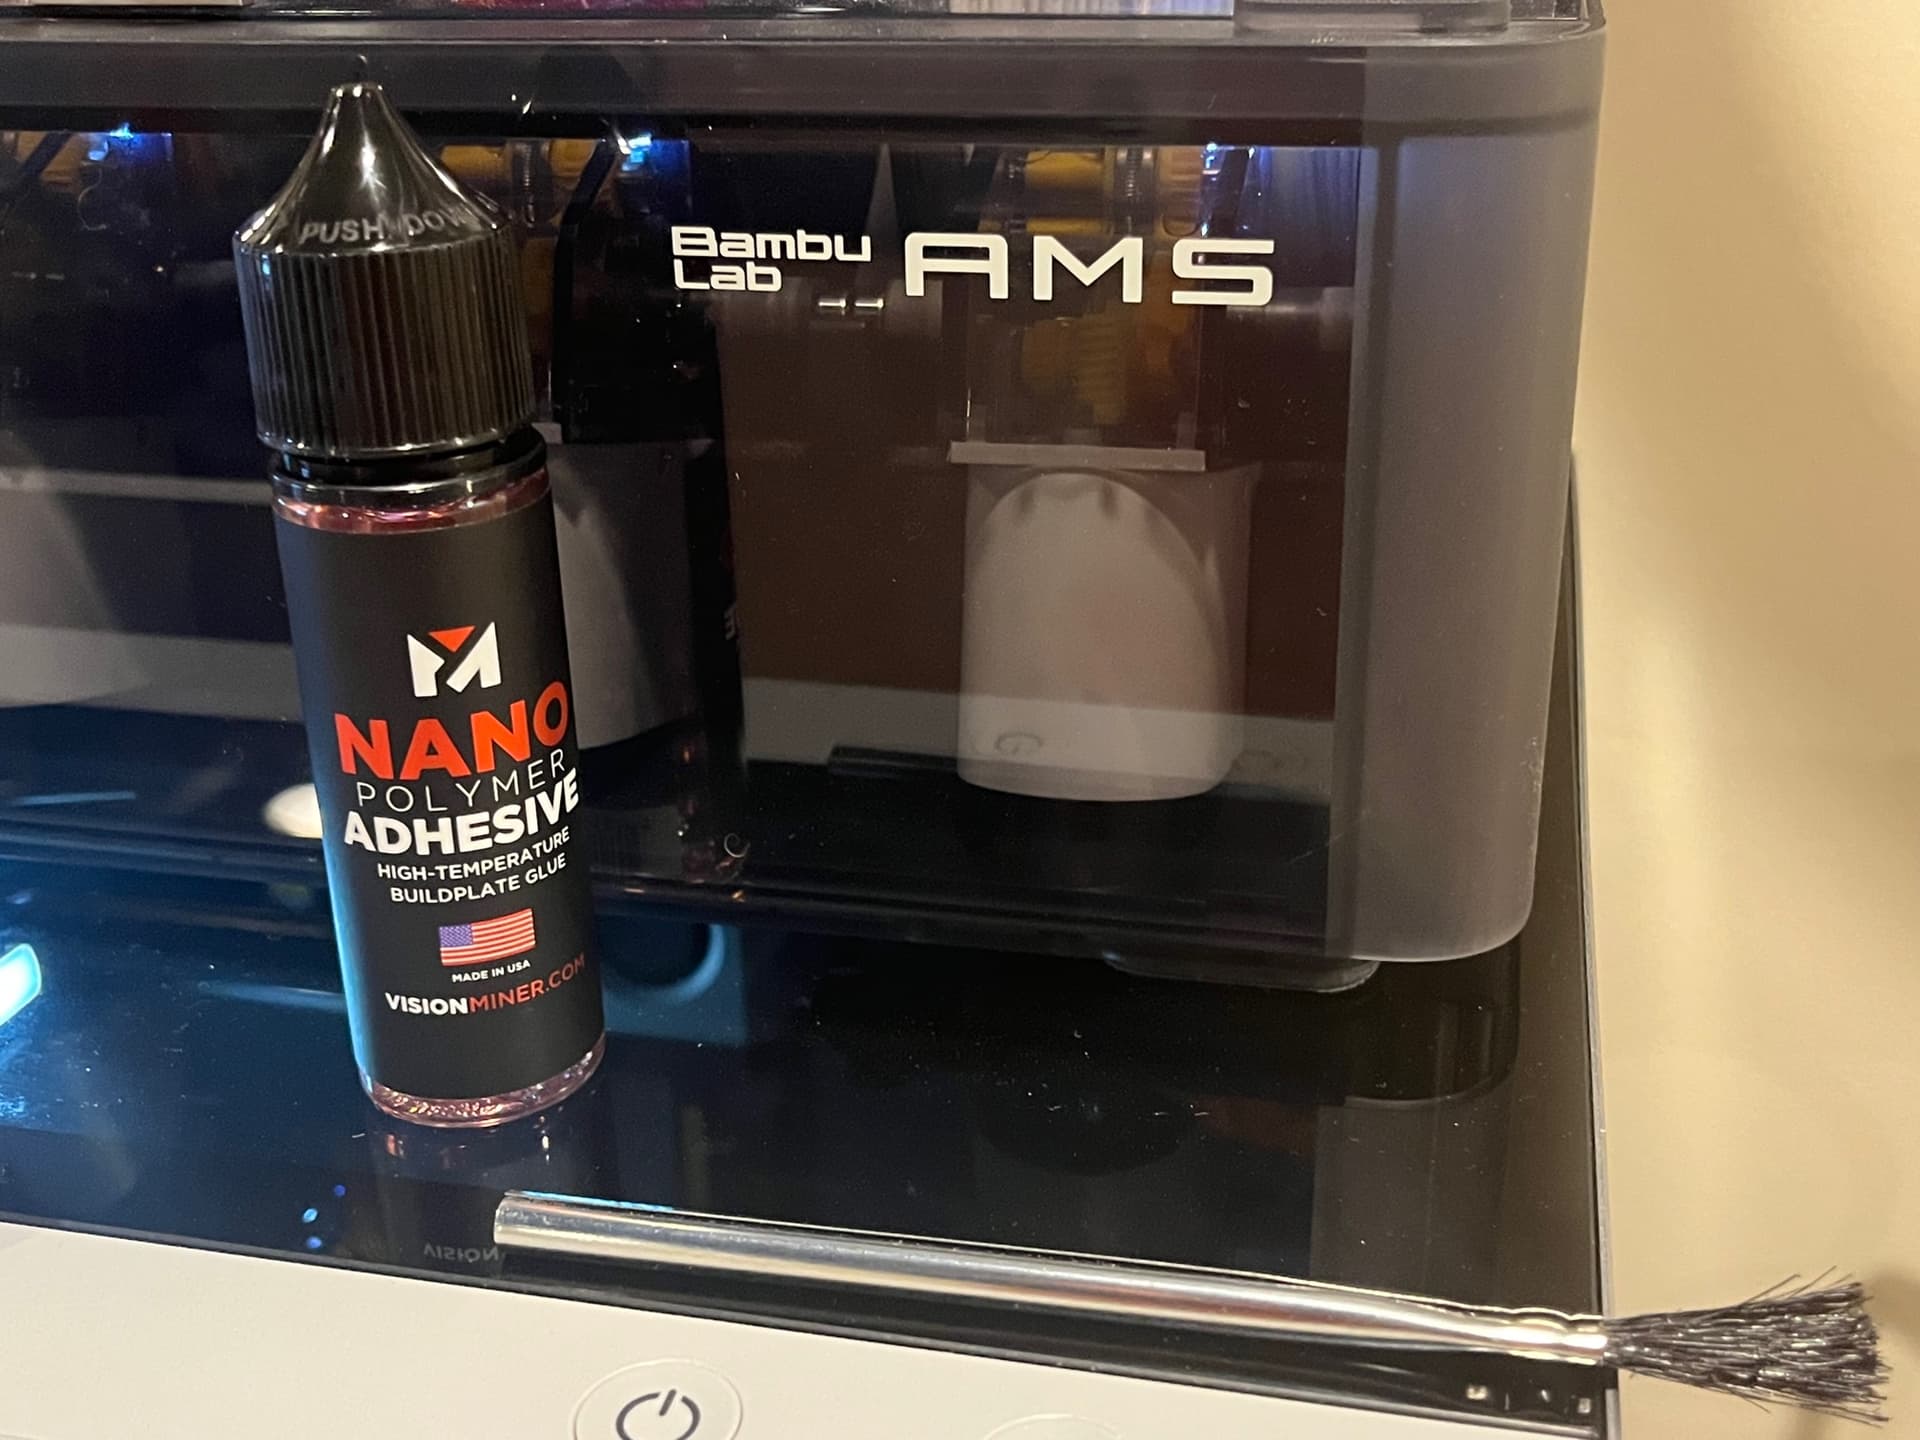
Received the Vision Miner Nano Polymer Adhesive and after testing for a week, I am very happy with the adhesion this product provides. Very pleased with the Bambu X1 ,but first layer adhesion has been a problem for me so I’ve been very pleased with the modded PEI sheet (Gizmo $17.95, Amazon) and the recommended to me Vision Miner adhesive. The PEI sheet performs well on its own ,but after testing with various size parts, I still find a little warping on corners with long skinny first layers and it is always on the aux fan side. The combination of the Gizmo and Vision miner results in zero warping or lift on any parts I have printed so far.
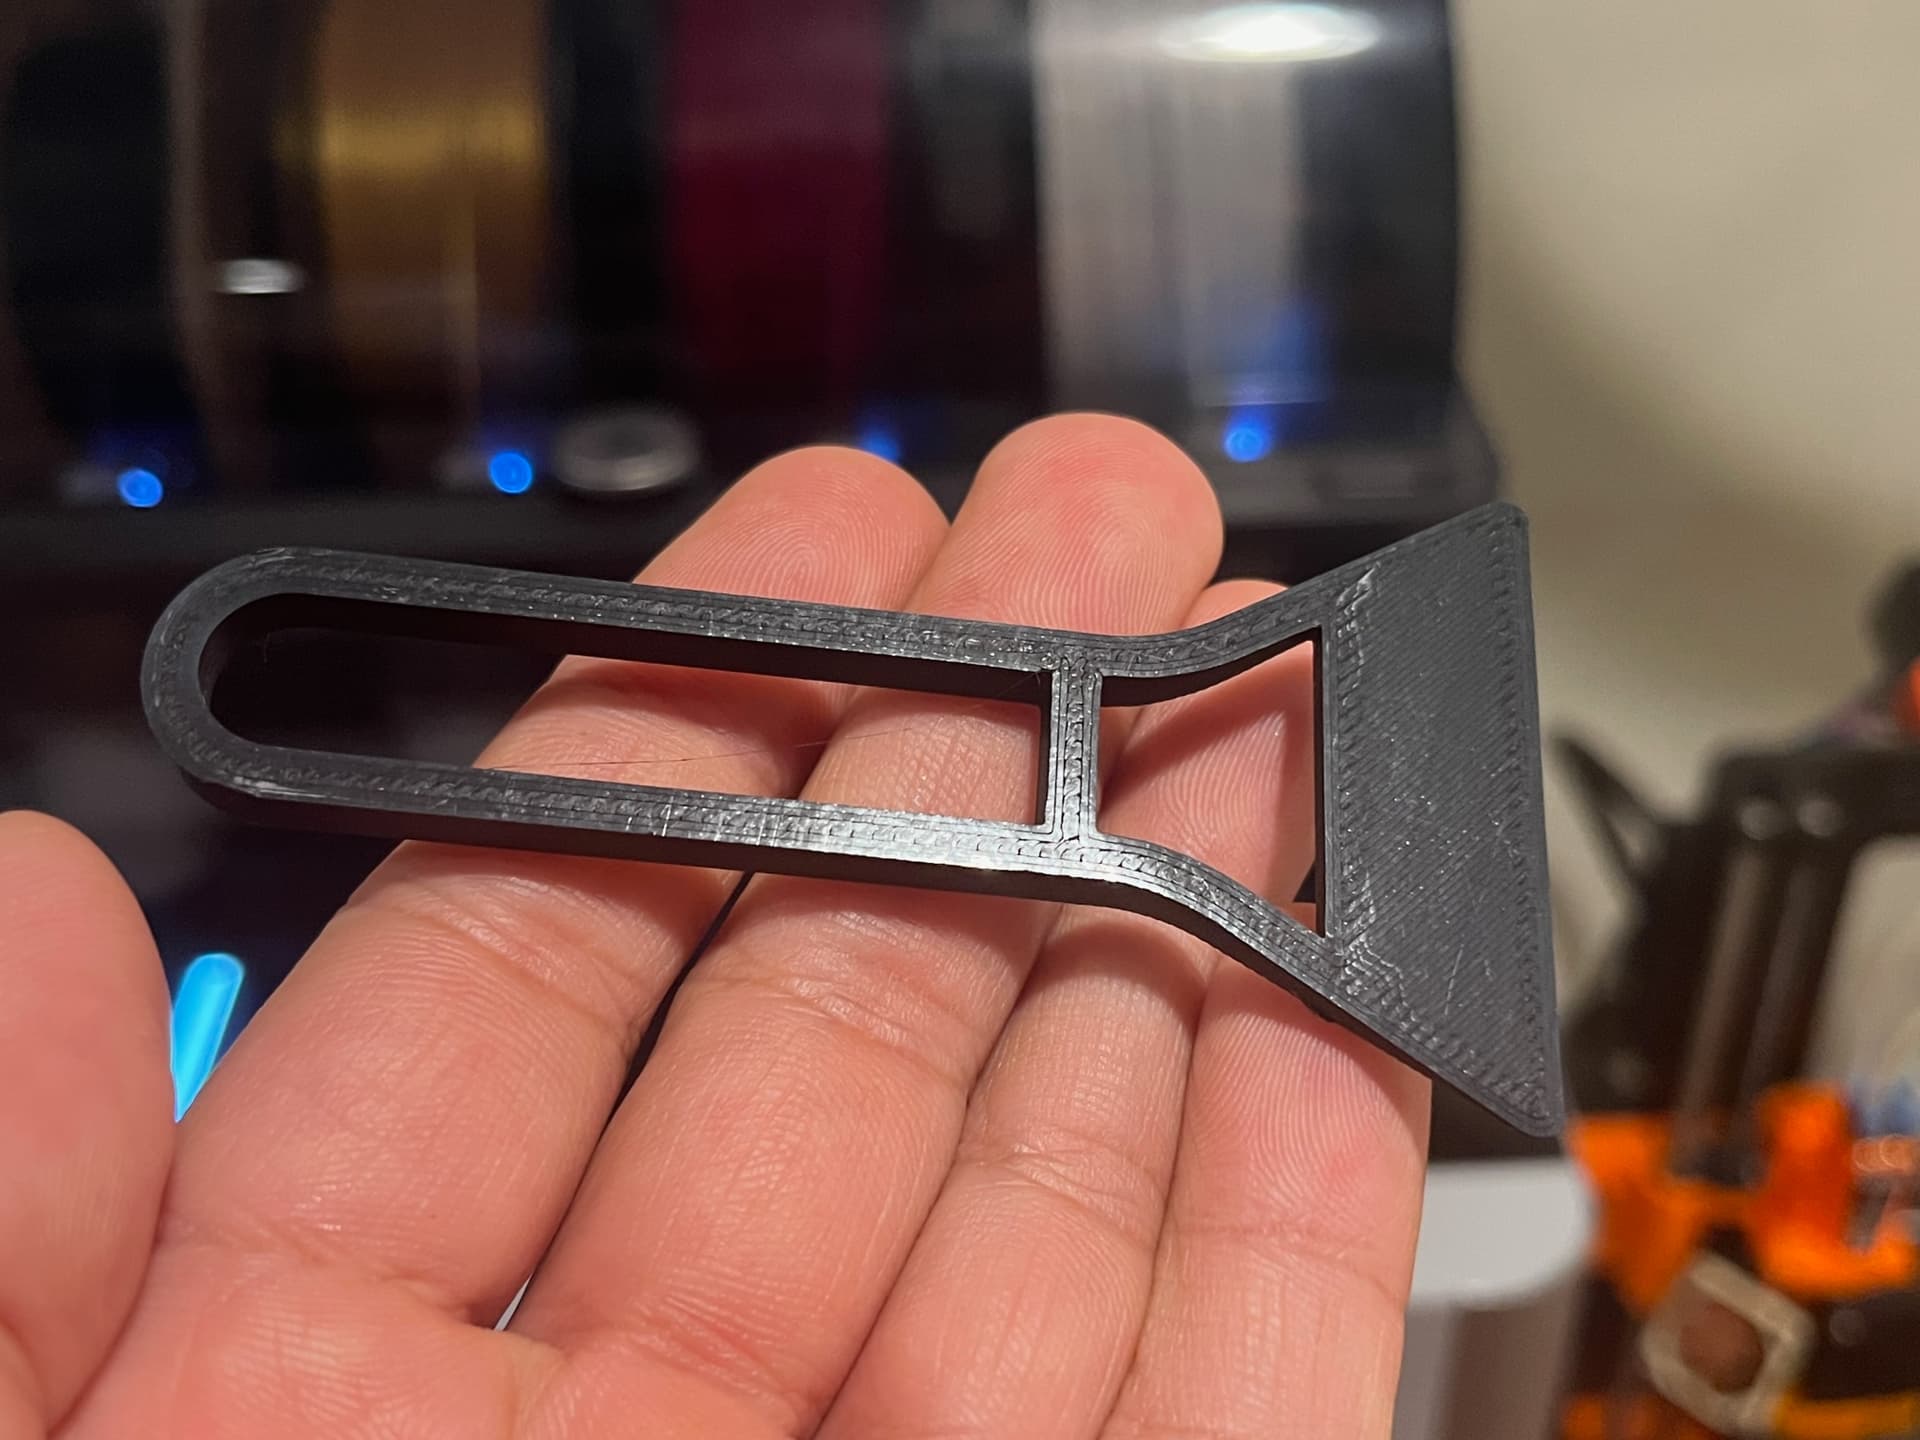
Just for fun, I wanted to try printing PLA on the engineering plate using the stock bed scraper file, 220C EXT./35C BED. The only success I have ever had on the engineering plate is PETG with bed temps of 90C+ so I am happy to report the PLA bed scraper printed perfectly with no warp or lift. This is just a quick test and results might be different with larger prints!
So if anyone is having trouble with part warp or lift, I would highly recommend trying the Vision Miner first before modding with the Gizmo PEI sheet and that is because the 3M adhesive on the Gizmo is very very strong, basically making it a permanent mod, and I’d probally buy another flexible build plate before trying to remove it to replace. Of course there is also the Bambu offerings and these are just options if you can’t seem to find anything to work.
Want to say thank you again for the people that recommended the Vision Miner Product!
The first print I made was PLA on the cool plate. I didn’t use glue because I personally don’t want to deal with the extra hassle of cleaning so it was impossible to remove. Ever since then I’ve printed PLA on the engineering side with the bed at 55 (change in the filament settings). No glue, perfect adhesion, no warping, no curling, and the prints pop off when it cools without taking the plate out… Every. Single. Time. I clean with Isopropyl Alcohol after every print.
In fact, I bought the Textured PEI plate and the High-Temp Plate after the initial debacle with the cool plate. I tried the HT Plate once, but it seemed really susceptible to fingerprints/grease so I haven’t touched it since. Never ended up using the Textured PEI plate.
That is so interesting why we both have different experiences with the engineering plate with PLA because mine was the exact opposite. The black scraper was PLA from overture ,but the Hatchbox PLA had similar results not sticking. Anyways happy to hear you have been having good luck with adhesion and thanks for sharing.
I have a P1P and these are my results-
It comes with the textured pei plate.- Works great with PLA (overture and Inland) as long as the print isn’t terribly long in time or size.
For longer/ thinner prints- A good washing with dish soap and hot water and also a light scrubbing with stainless steel scrubber. Then a light coating of hairspray across the whole sheet. Everything sticks no matter what after that as long as its not PETG. PETG was hit or miss no matter what I did.
Engineering Plate/High Temp Plate- once I ordered this and the Bambu Liguid Glue alllll my PETG problems went away. Same cleaning procedure minus the scrubbing. Dry with a dedicated microfiber clothe, NOT a towel or paper towel. Apply liquid glue as shown on the website and it sticks no matter how long the print is and comes up easier than the textured pei plate.
I have not tried PLA extensively on the engineering plate but it did work for the small stuff I tried. The same procedure worked for both sides of the EP/HTP. Also if you are continually using the same filament you don’t have to clean and reapply the glue until the 4th print.
End result- PLA- textured pei with hairspray PETG- engineering plate with BL liquid glue.
Edit- the liquid glue from BL requires no clean up afterwards really. IF there is some residue which happens on occasion just use a pure water baby wipe or likely something similar like water with a tad of lemon juice on a rag.I have lots of kids so the baby wipes were easy and handy.
Edit again- You paid $45 for that adhesive?! That’s insane for a glue. The BL is only $16 and works fantastic. I hear windex works well too so I will try that next (even cheaper and easier to get).
FIX: I had a lot of problems with the bottom of prints warping and lifting from the bed. After much research and many attempts I want to share my fix. My A1 PLA prints were lifting away from the PEI textured plate.
This seems to be caused by the first layer not adhering properly and then torsion forces pulling against the first layer as the hotter layers are layed down and themselves cooled too fast. The following adjustments in Bambu Studio fixed it and now I have perfect prints everytime:
drop layer height from 0.08 to 0.12mm high quality (probably not essential)
speed: drop initial layer to 20mm/s to give the first layer plenty of time too cool and stick.
brim: outer, 20mm, 0.05mm gap (important as although a 0.1mm gap has less chance of fusing with the bottom of your print, it also means the brim tears away easily and was not sufficient for me, neither was a 5mm wide brim).
In filament settings (click the three dots next to filament type): Nozel temp: drop to 210-220, keep fan always on switched to ‘off’, drop auxilliary part cooling fan speed to 50, No cooling for the first 12 layers. (Bambulab studio’s default fan settings are too aggressive and may cool the layers too quickly). These settings give the first layers plenty of time to cool and cement into the bed, greating a rock solid foundation.
this worked for me perfectly. If still any issues (unlikely, if the above is the cause) you could even increase the initial layer height from 0.2 to 0.25 to really aid cementing the print’s foundation.
P.S. If you’re using PLA and the standard PEI textured plate that comes with the A1, don’t use a glue stick. It doesn’t work. I tried. The PEI textured plate has better adhesion inherently. Just make sure all oils are cleaned off it using dish detergent and water. Also, flipping the plate can help (mine has small undulations on one side that undermine adhesion).