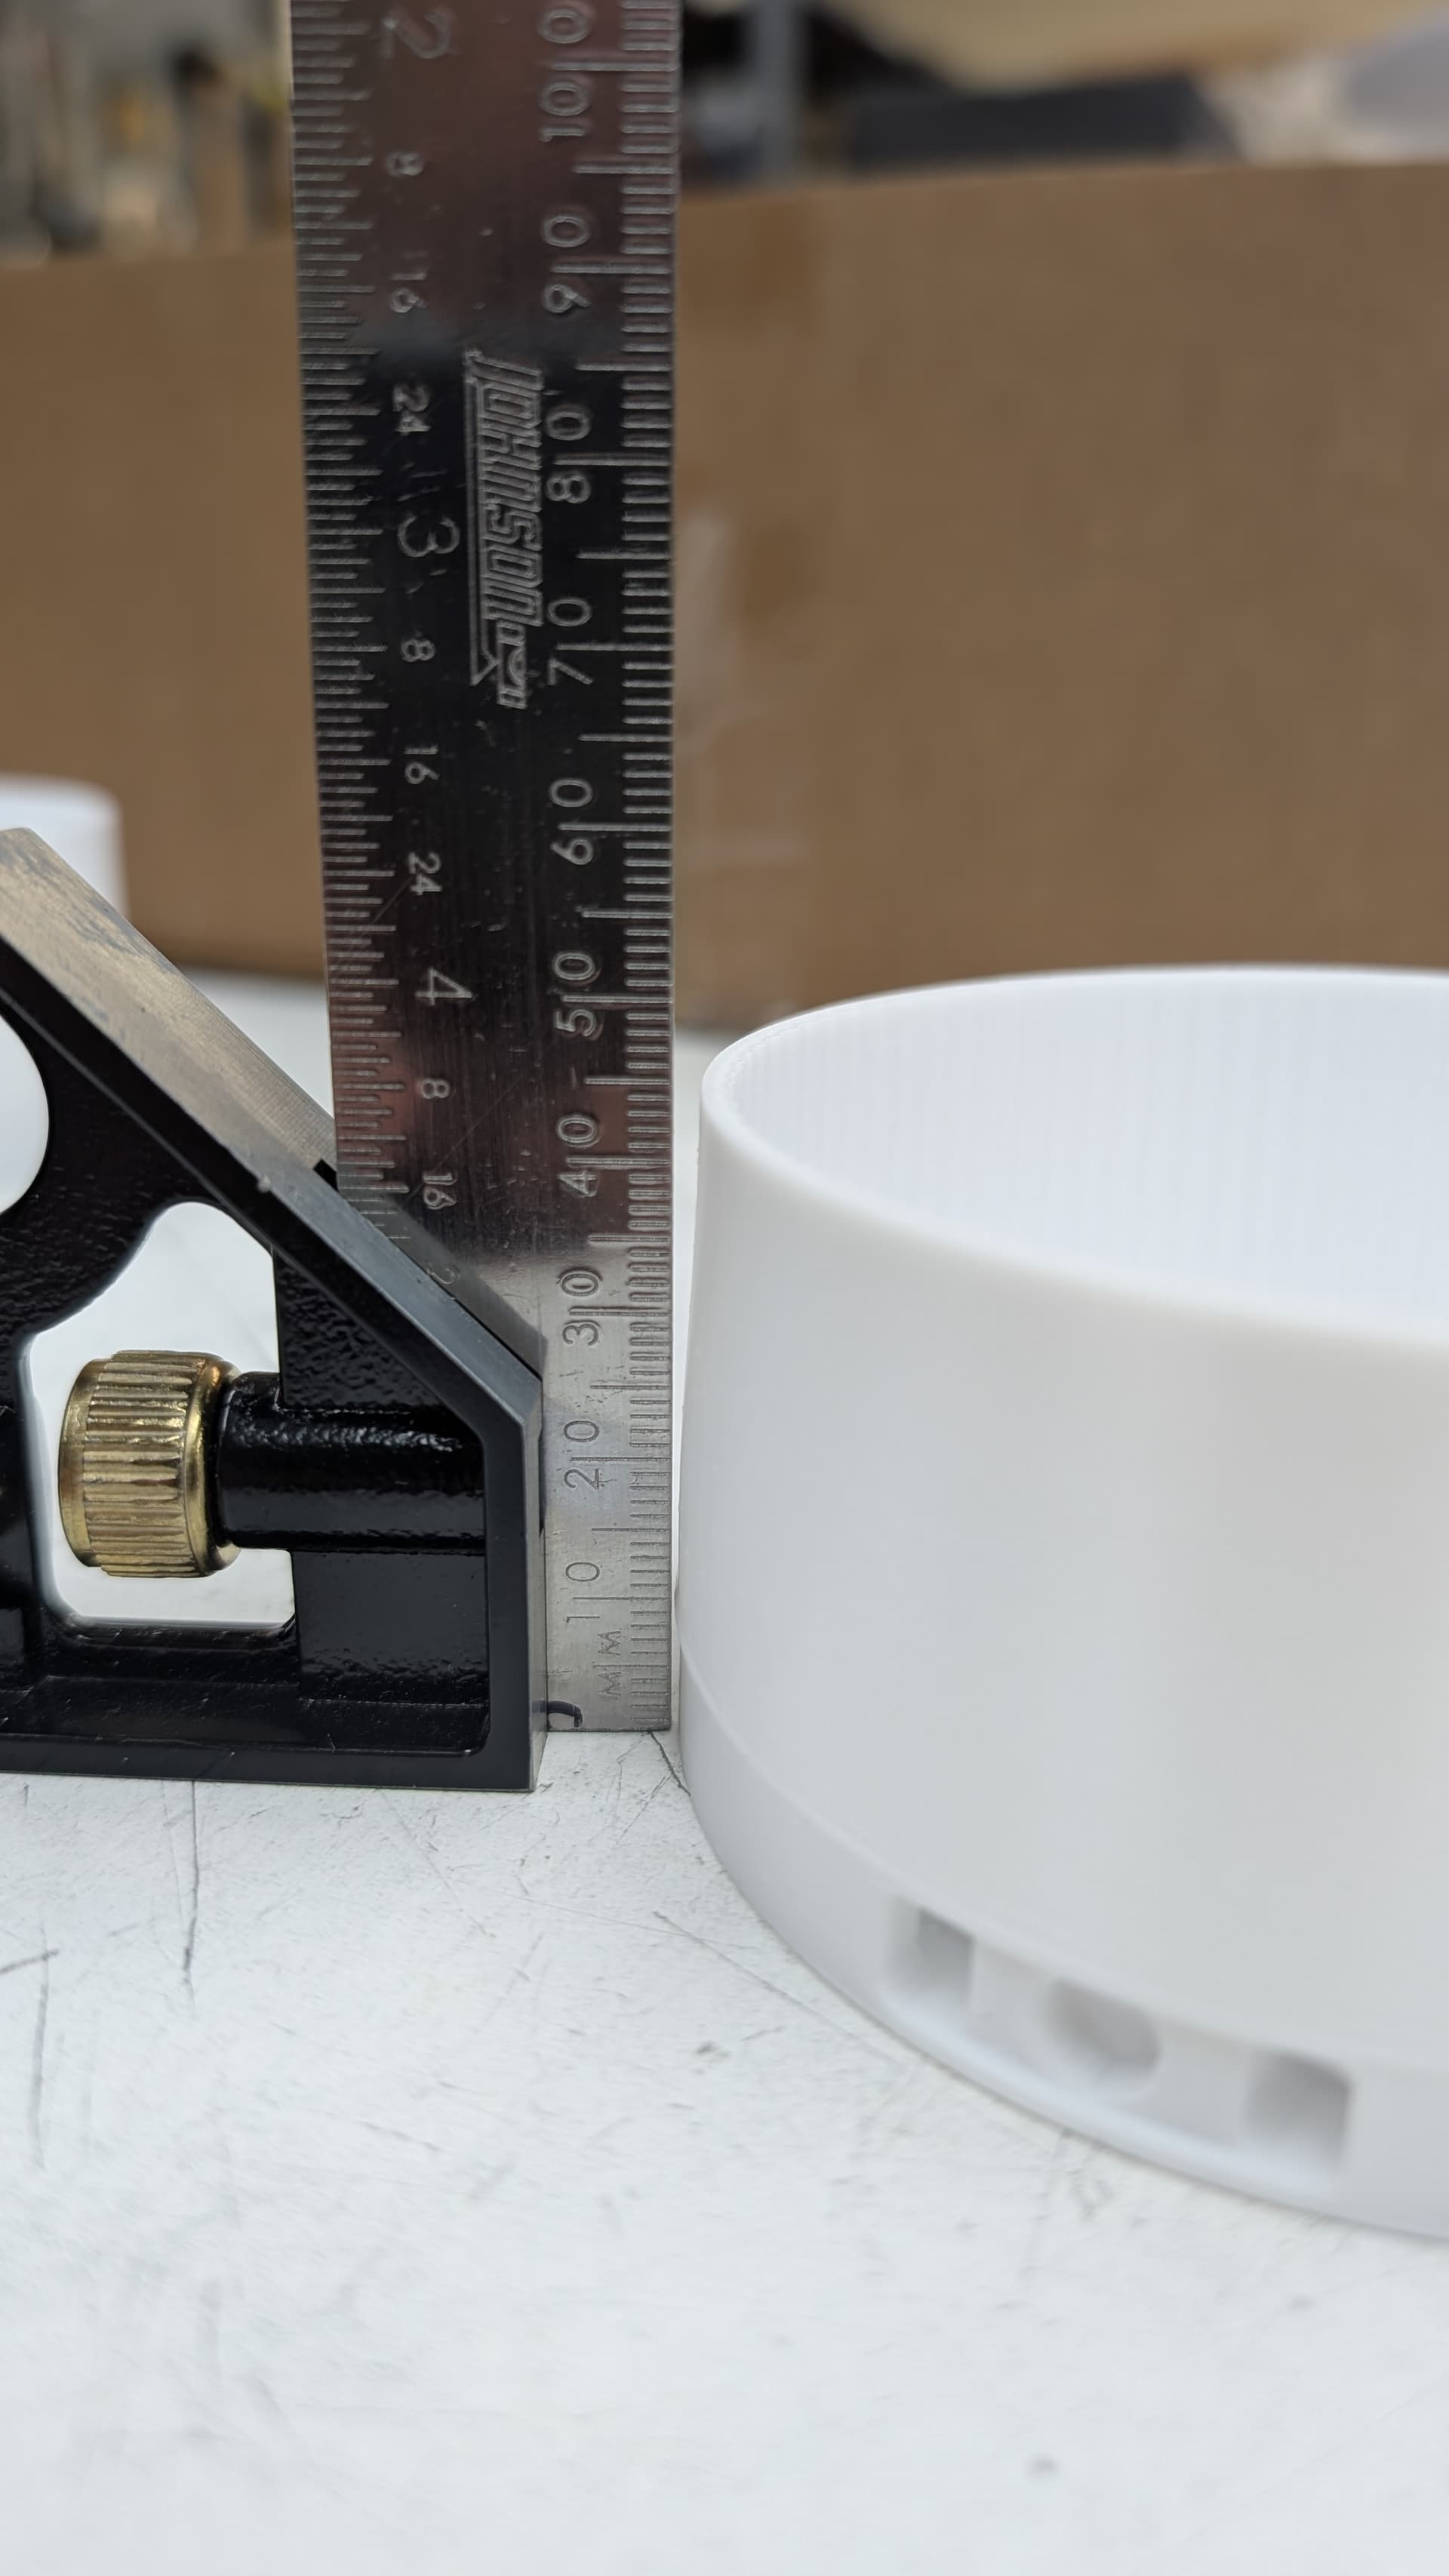
I am printing these on Bambu x1-C default settings. Polymax polycarbonate. preheating the chamber to 55C-60C Allowing to cool in the chamber then annealing in oven for 1 h at 90 C and allowing to cool in the oven. about half have these walls that are not square to the bottom, the rest of them are square, Any ideas?
Hi
Dont get me wrong, your method seems quite solid, but it adds many variables to the process.
How do you heat and maintain the chamber temperature?
Did you check before annealing?
Wild guess, if related to the printing: the base of the print, which is solid, went well, but then (noticeable by the external wall artefact) the walls (one? two?) “bend”. This contraction or bend can usually be minimised by tuning print speed (more layer time) and cooling.
Do you know the orientation of the print walls that have the faulty behaviour? i.e. were they facing the aux fan?
But the same could relate to the annealing… what oven are you using?
Are you using the Polymaker profile or a generic PC?
1 Like
using the Bambu PC profile
I dont own the Polymax PC to be sure, but the print settings between BL PC and PM PC have significant differences; e.g. the cooling fan in PM is set off and the volumetric flow limits differ. Both differences are expected to affect print results, specially in faster layers.
They have a print profile for BS:
1 Like
Definitely measure this at each step of the way to help determine which is warping, the print, or the anneal. For PC, one or both could be causing it
I measured them immediately after printing today and they were square. Then I transferred them directly to the preheated oven. I think my mistake may have been not preheating the oven in a few past prints
Thank you very much for the info
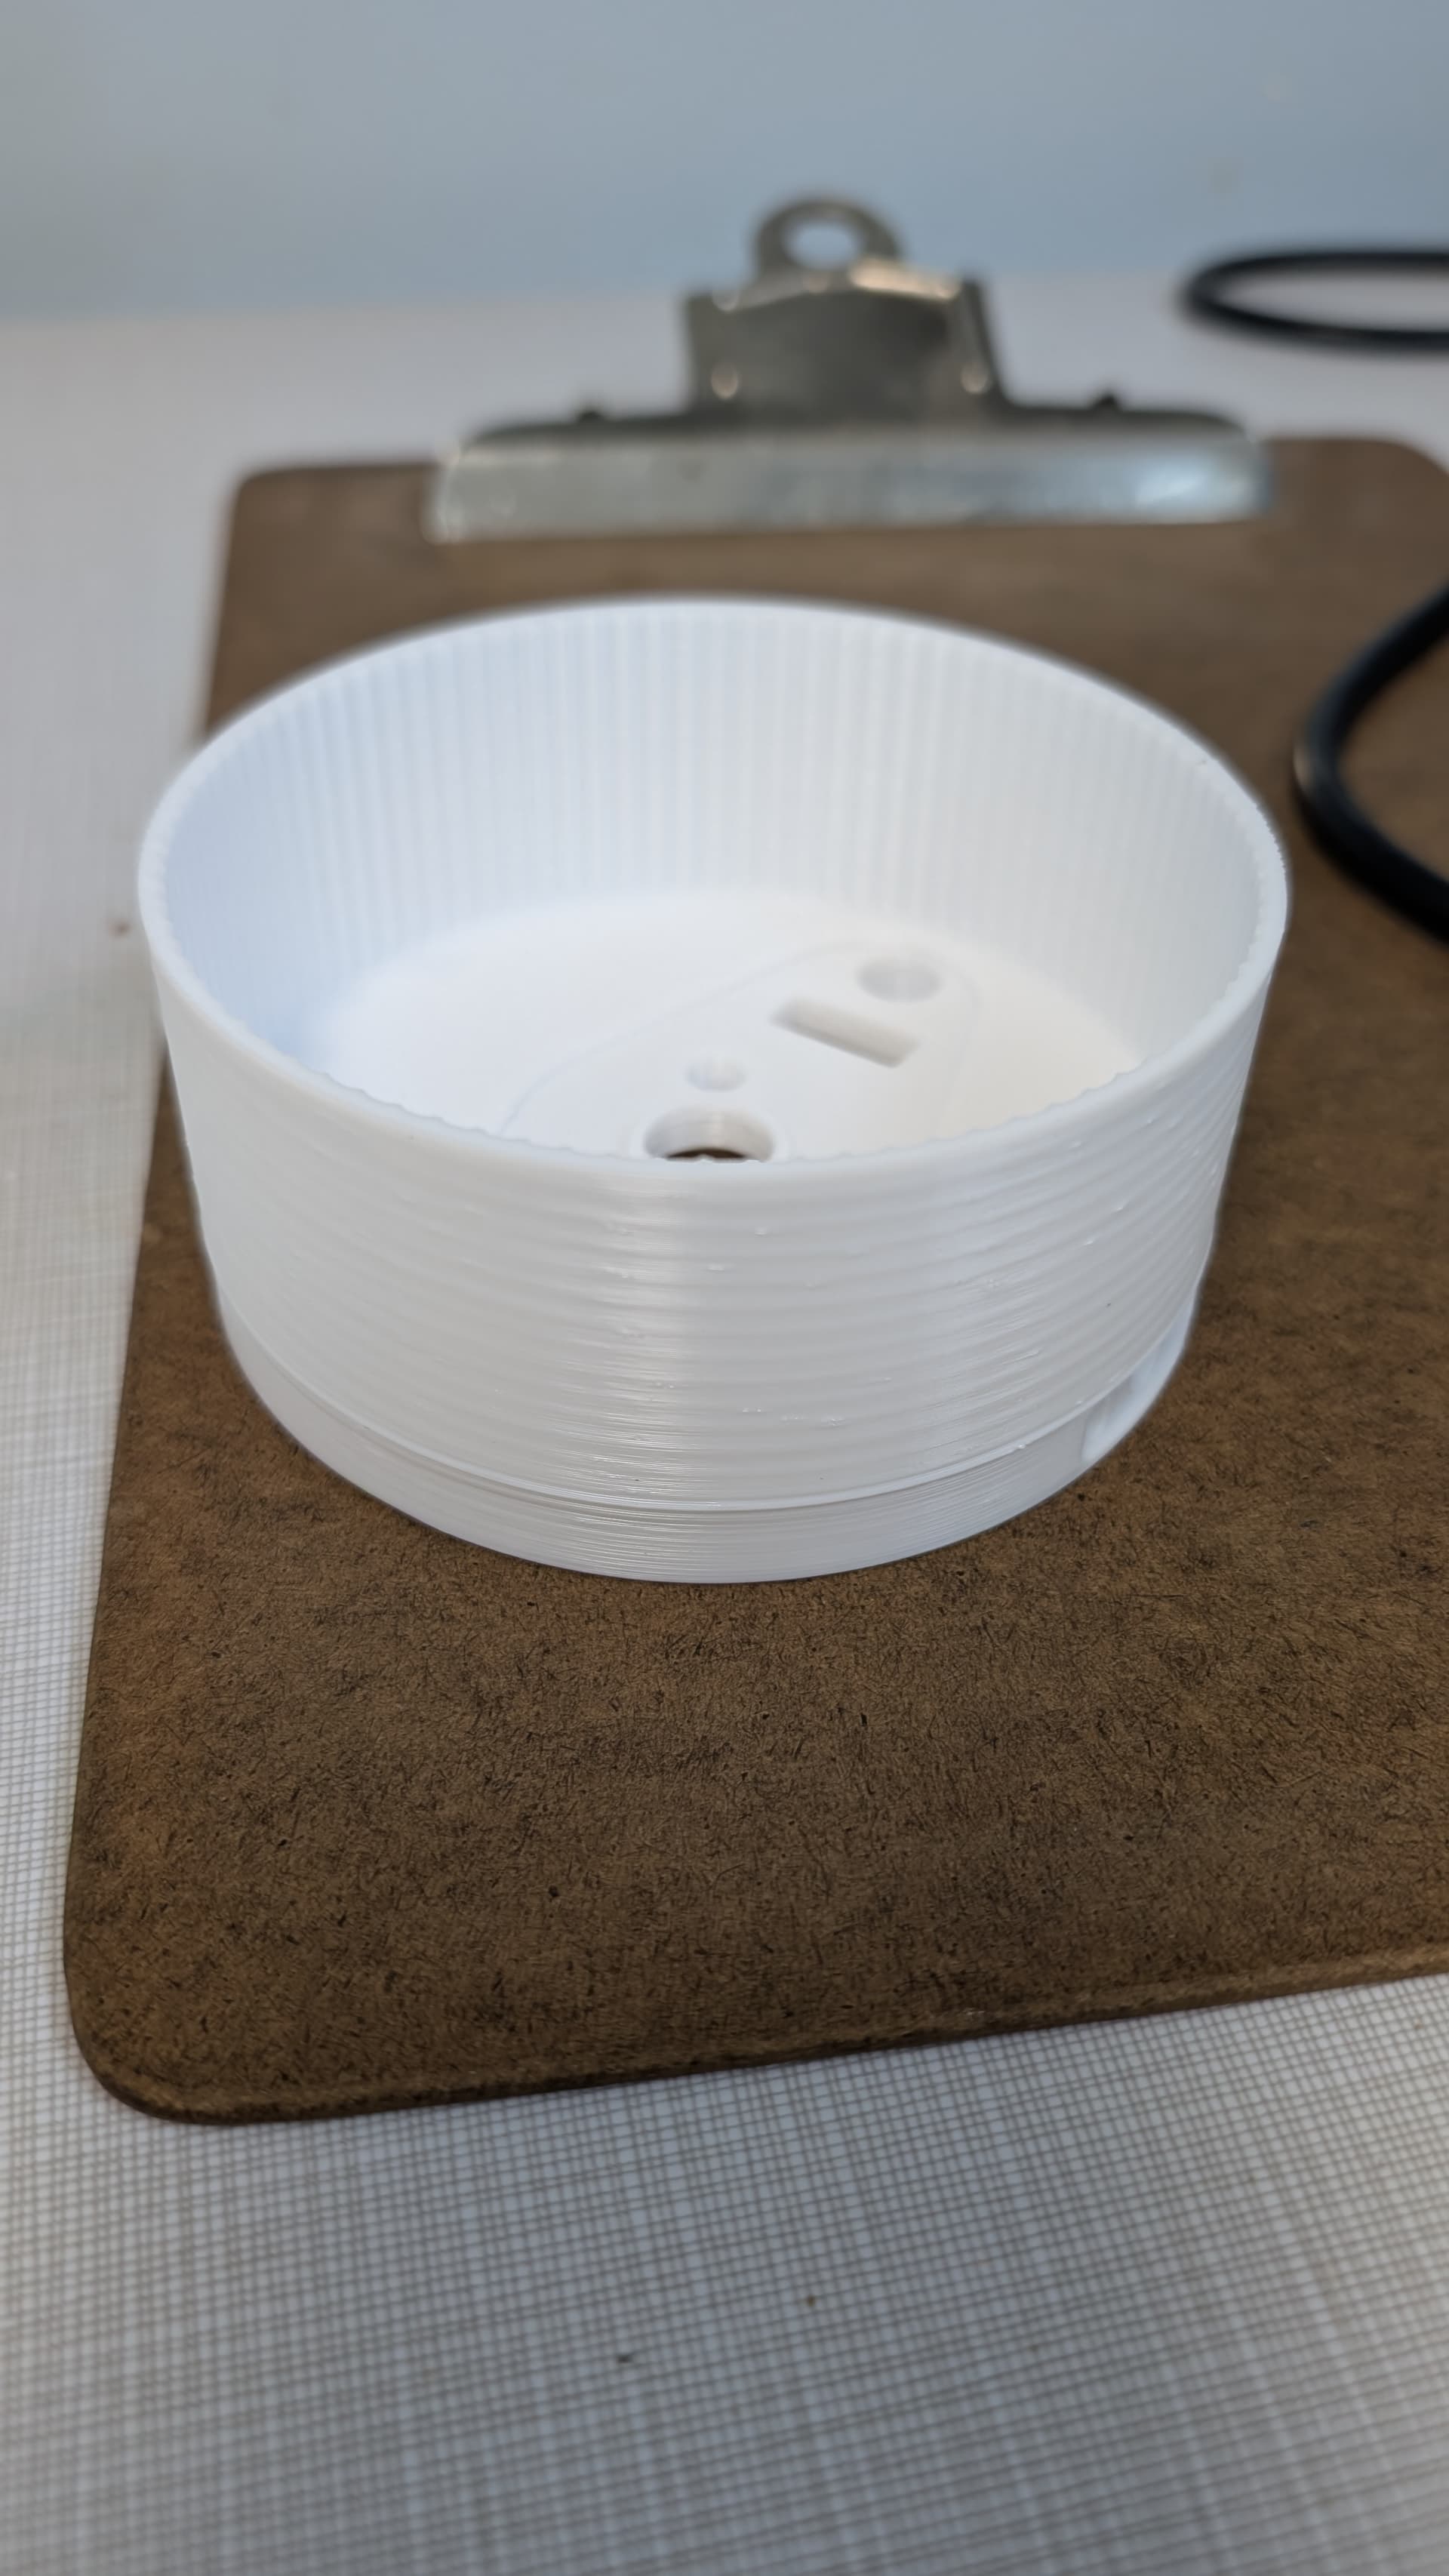
Any suggestions for getting rid of the “benchy hull artifact” bulge that occurs about 10 mm from the bottom? This is where it transitions from a solid disc to a hollow cylinder.
If using the default print profile, you have an abrupt increase in layer time when printing the top surface layers of the solid disc, and then an abrupt decrease when passing to the hollow zone.
A few things that may help in any case:
- filament is dry and calibrated;
- print outer walls first;
- reduce print speed, especially on the outer wall.
1 Like
Thanks,
I have always dried the filament (even unopened new filament)
I switched to print outer walls first and reduced the print speed, the artifact is still there. Any other ideas?
I am unsure how to solve this; I am unaware of any flawless method, and the solution depends on what causes the error, and what can be tweaked (limited by the print geometry, material, etc).
Usually, these kinds of artefacts relate to non-uniform cooling, as happens when you get a filament tangle in the AMS during an overnight print, and only solve it hours after the print pause.
What I would do:
-
Confirm if the artefact is related to the top layers or the walls after the top layer (hollow region) by visually inspecting the printed part; Also, it exists over the entire layer perimeter.
-
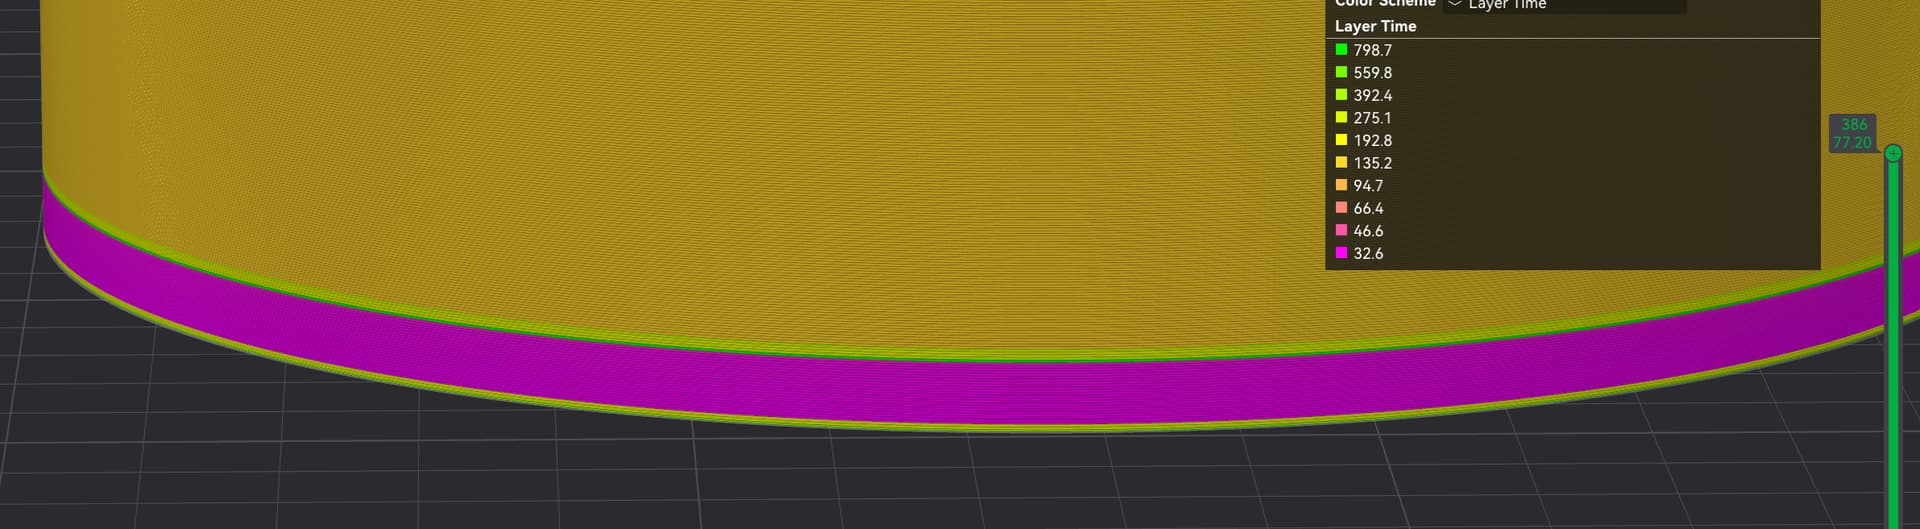
Use the slicer preview window to see the layer time; also, check the fan speed. Identify the abr pt changes on the slicer. E.g. you can see the abrupt differences in the layer time, which represent different cooling rates, and thus lead to artefact layer(s);
-
Try to minimise those abrupt changes, while not affecting the print. What you want is to minimise this abrupt change. For example, I assume that the artefact relates to the walls in the hollow region, so I could try to minimise the transition from the top layers (green/yellow colour) to the walls in the hollow section (pink colour). There are different alternatives, but they depend on the geometry.
E.g. I add a height range modifier, where I increase the number of walls and reduce the print wall speed:

(Note: settings were defined intentionally to make a significant change to improve the visibility of the tweak, but not to optimise it.)
This is solely an example, and it is only possible because the walls in the hollow part have a large thickness. If the issue, for example, relates to the solid region or top surface, the tweaks differ. In that case, the best solutions I know are possible if you own the CAD file. If not, you can tweak the infill wall overlap, fan speed, etc…
EDIT: I forgot to ask. If the artefact does not exist over the entire perimeter, can you confirm it wasn’t caused by wrapping in those regions?
1 Like
Thanks, I reduced infill/wall overlap from 15% to 10% and it improved considerably to an acceptable amount. I think the hollow cylinder warping is solved as well by preheating the annealing oven and transferring the printed parts directly to the heated oven immediately after the printing is done while they’re still hot. Thanks for all your help
1 Like
Glad that is solved, and thanks for sharing the solution.
1 Like