Please be specific with brand and actual item description.
Thanks in advance.
Steve
Please be specific with brand and actual item description.
Thanks in advance.
Steve
If you’re looking for a magic bullet, like most things in 3D printing, there are few shortcuts. There isn’t one spray paint that can simply be declared the best for preventing paint from creeping into layer lines or under masking. Different paint systems have advantages and disadvantages, and application technique matters just as much as the paint itself.
What usually makes the biggest difference is preparing the printed surface so that paint doesn’t have deep layer-line channels to follow.
Here are the major factors:
Layer height - Smaller layer heights generally produce smaller surface grooves, which reduces the opportunity for paint to wick along the layer lines. Print orientation also matters because some surfaces will naturally expose more pronounced layer lines than others.
Primer - Primer helps with adhesion and creates a more uniform surface for the final paint. For 3D prints, a filler or high-build primer is particularly useful because it can partially fill the layer lines before sanding.
Physical surface preparation - If you don’t want to sacrifice printing time by using very small layer heights, sanding is the next option. It’s a tradeoff between the geometry of the model and how much time you want to spend finishing it. Large flat surfaces are obviously much easier to sand than detailed ones.
I generally start around 320–400 grit and work toward 600 grit before the final paint. I only go into the 800–1000+ grit range when I’m working toward a very smooth or polished finish.
Masking technique - If the problem is paint bleeding underneath masking tape, the layer lines can act like tiny capillary channels. Burnish the tape edge thoroughly. Another useful trick is to spray a very light coat of the existing base color or a compatible clear over the tape edge first. If anything creeps underneath the tape, it is the same color as the surface and helps seal the edge before you spray the contrasting color.
Coat thickness and drying/recoat time - Several lighter coats usually work better than flooding the surface with one heavy coat. Heavy wet coats are much more likely to find every groove and opening available.
Follow the paint manufacturer’s recoat instructions rather than assuming that longer is always better. There is also an important distinction between paint being dry and being fully cured.
Dry time is how long it takes paint to become dry to the touch or safe to handle without smearing or sticking.
Cure time is how long it takes the coating to reach its final hardness, adhesion and resistance to scratching, chemicals and wear.
In simple terms: dry means you can touch it; cured means the coating has finished hardening.
One product I’ve used successfully is Rust-Oleum Triple Thick Glaze:
It is an acrylic clear coating rather than polyurethane, and because it is solvent-based I would test it before putting it over another paint system. Incompatible or insufficiently cured undercoats can wrinkle, soften, lift or otherwise react with a subsequent solvent-based coating.
Rust-Oleum specifies several light coats rather than one extremely heavy coat, and lists the coating as fully dry after 24 hours under its specified temperature and humidity conditions. However, in my own experience in my humid 65F 45% RH basement paint booth, I found that one coat left under a lamp for 3-7 days produces a near hard shell glossing finish.
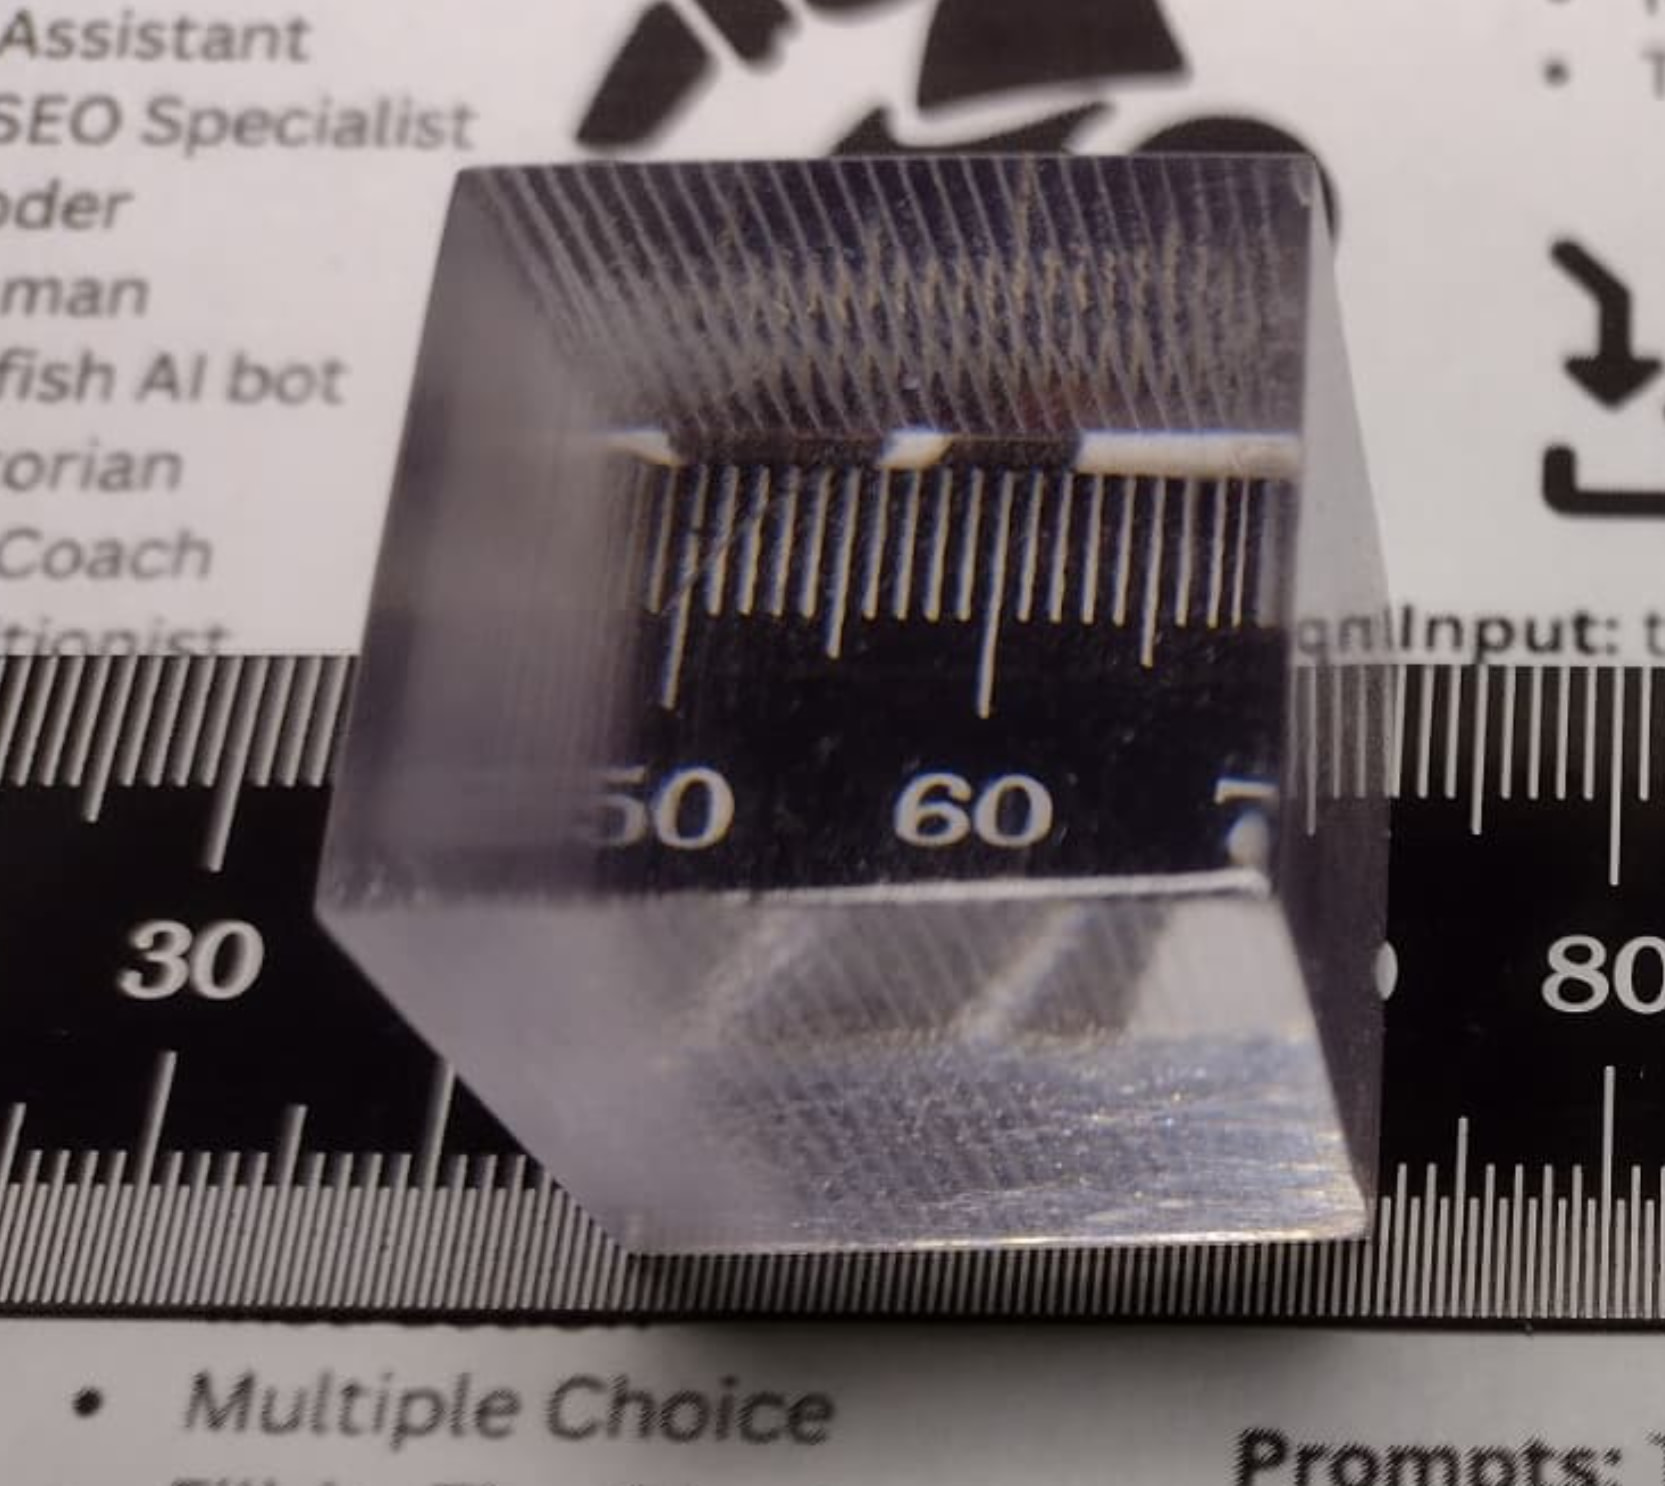
To give you an idea of what a high-build clear can do, here is a test I ran using slow print speeds, several clear filaments and sanding. The final step was Rust-Oleum Triple Thick Glaze.
This wasn’t specifically a paint-bleeding test. I was testing how much surface irregularity could be hidden to improve optical transparency. I only prepared two opposite surfaces; the sides were deliberately left untreated.
I call the clear coat a cheat because I was unwilling to spend the additional time required to polish the surface all the way to a high-gloss finish. Nevertheless, the difference is obvious from the top and bottom surfaces versus the sides which received no treatment. Those vertical lines you see are actually the horizontal layer lines.:
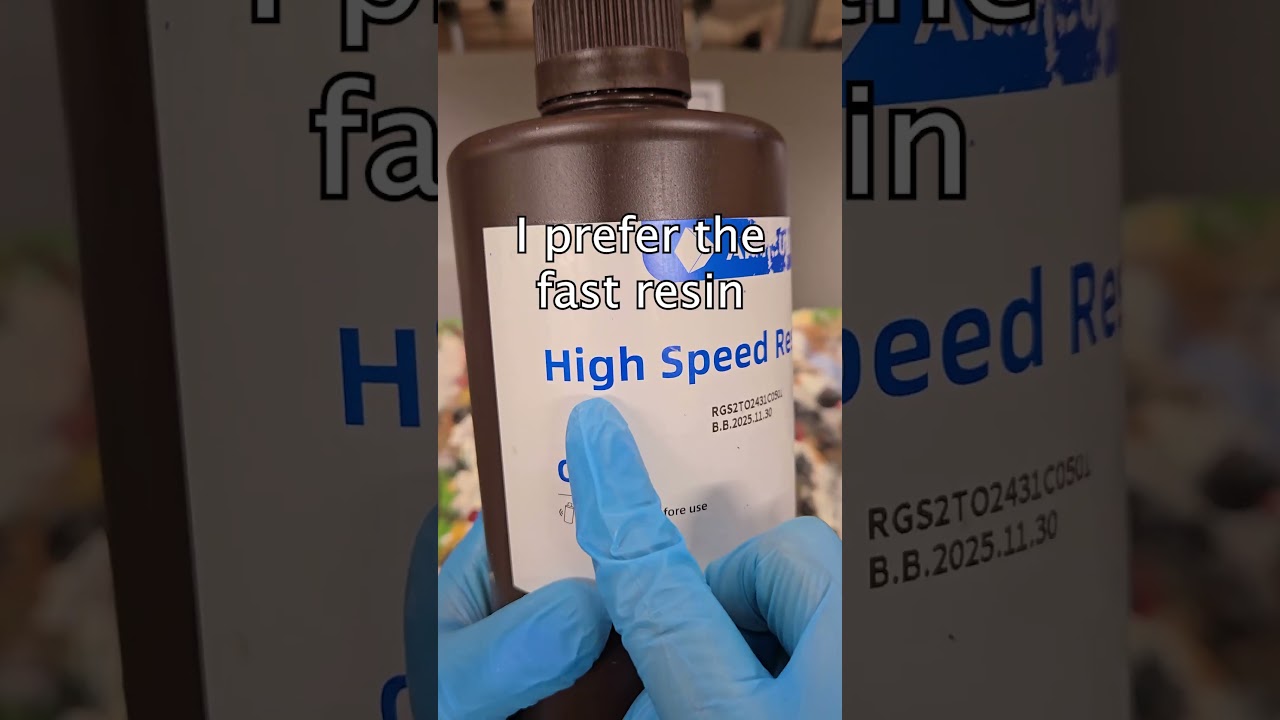
I’ve never done this, but UV resins are a cheapish and fairly effective solution - and a lot faster than solvent-based curing systems.
Rustoleum Automotive 2-in-1 fill/sand gray primer
It will require a sanding, but mercifully you can usually complete the prime in a single coat
I use UPOL brand filling primer. The stuff labeled automotive always seems to have better quality.
What are you painting? I think the answer will vary depending on your projects. Painting miniatures will have a different answer than painting cosplay pieces. I have used Citadel primers and paints (some I suppose I bought as they re-branded to Games Workshop) and can’t say I have felt that I have had adverse bleeding issues. To be honest, I expected the layer lines to really stand out when I tried to use contrast paints, washes and when dry brushing. They do show, but far less than I expected. I wasn’t going to win any Golden Demon awards either way. I don’t think my painting results even impress my Mom.
Actually, almost everything has already been said here. My personal tip:
Use primers made for cars - the good stuff. They might cost a dollar more, but they’ll save you a lot of trouble. Anything that works well for painting bumpers or other plastic parts on a car also works beautifully on PLA.
When it comes to paints themselves, pretty much anything goes - you can even choose cheaper options sometimes - but the primer really has to be a perfect match.
That’s why I no longer use Army Painter primer, Citadel primer, or any of the others. They’re fine, but I prefer the high‑quality primers from the auto body shop - also available in spray cans. The paints from those companies, though, are fantastic - no doubt about it.
What’s more important, though, is learning how to apply it correctly; otherwise, even the best primer won’t help you. Bleeding is usually more a result of incorrect application than a bad purchase.
Olias touched on a thing too that helps prevent lots of labor
Small layer height.
Smaller layers means less gaps to fill means less product to use means less over spray
You pay for this with print time but you get it back in postprocess time.
I should have given more information, I have printed a Christmas village for my wife and she would like to high-lite a few things on some of the items not paint the whole thing.
Thanks, what is considered a small layer height?
For tabletop gaming we would normally print FDM terrain (scenery) at 0.08mm to 0.12mm layers with a 0.4mm nozzle. Preparation would consist of a primer of spray putty, then regular painting.
For cosplay, the objects are larger and more typical layer heights can be used. The objects are sprayed and sanded extensively, taking much time and labour. The most important thing probably to take into account is print orientation of the model, though you may not have a choice with items such as helmets.
Army Painter etc are not designed to fill cracks or layer lines, but to provide a smooth surface on an already smooth object for paint to stick to without losing detail. If you tried to paint mini figures with car body primer, well, it work would but you would not be winning awards.
Both Army Painter and Citadel offer an extremely wide range of different products, so it’s really not possible to make a blanket statement like that. Their product lines are simply far too broad. The companies also offer primer and filler products.
I really have to disagree with you on that, but of course everyone is entitled to their own opinion. I’ve been painting miniatures for many years, so I’m speaking from quite a bit of experience.
You don’t have to take my word for it - just have a look at the miniatures community what they use for PLA. Please keep in mind that we’re talking about PLA here, not resin printing - that makes a fundamental difference. The chemical reaction is a completely different one.
I honestly don’t see why industrial-grade primers and fillers would be any worse. They’re designed to meet very high standards, so your logic doesn’t quite add up for me.
But I’d really love to understand your point of view better.
I’m genuinely curious and very interested in a thorough explanation.
Just to avoid any misunderstandings:
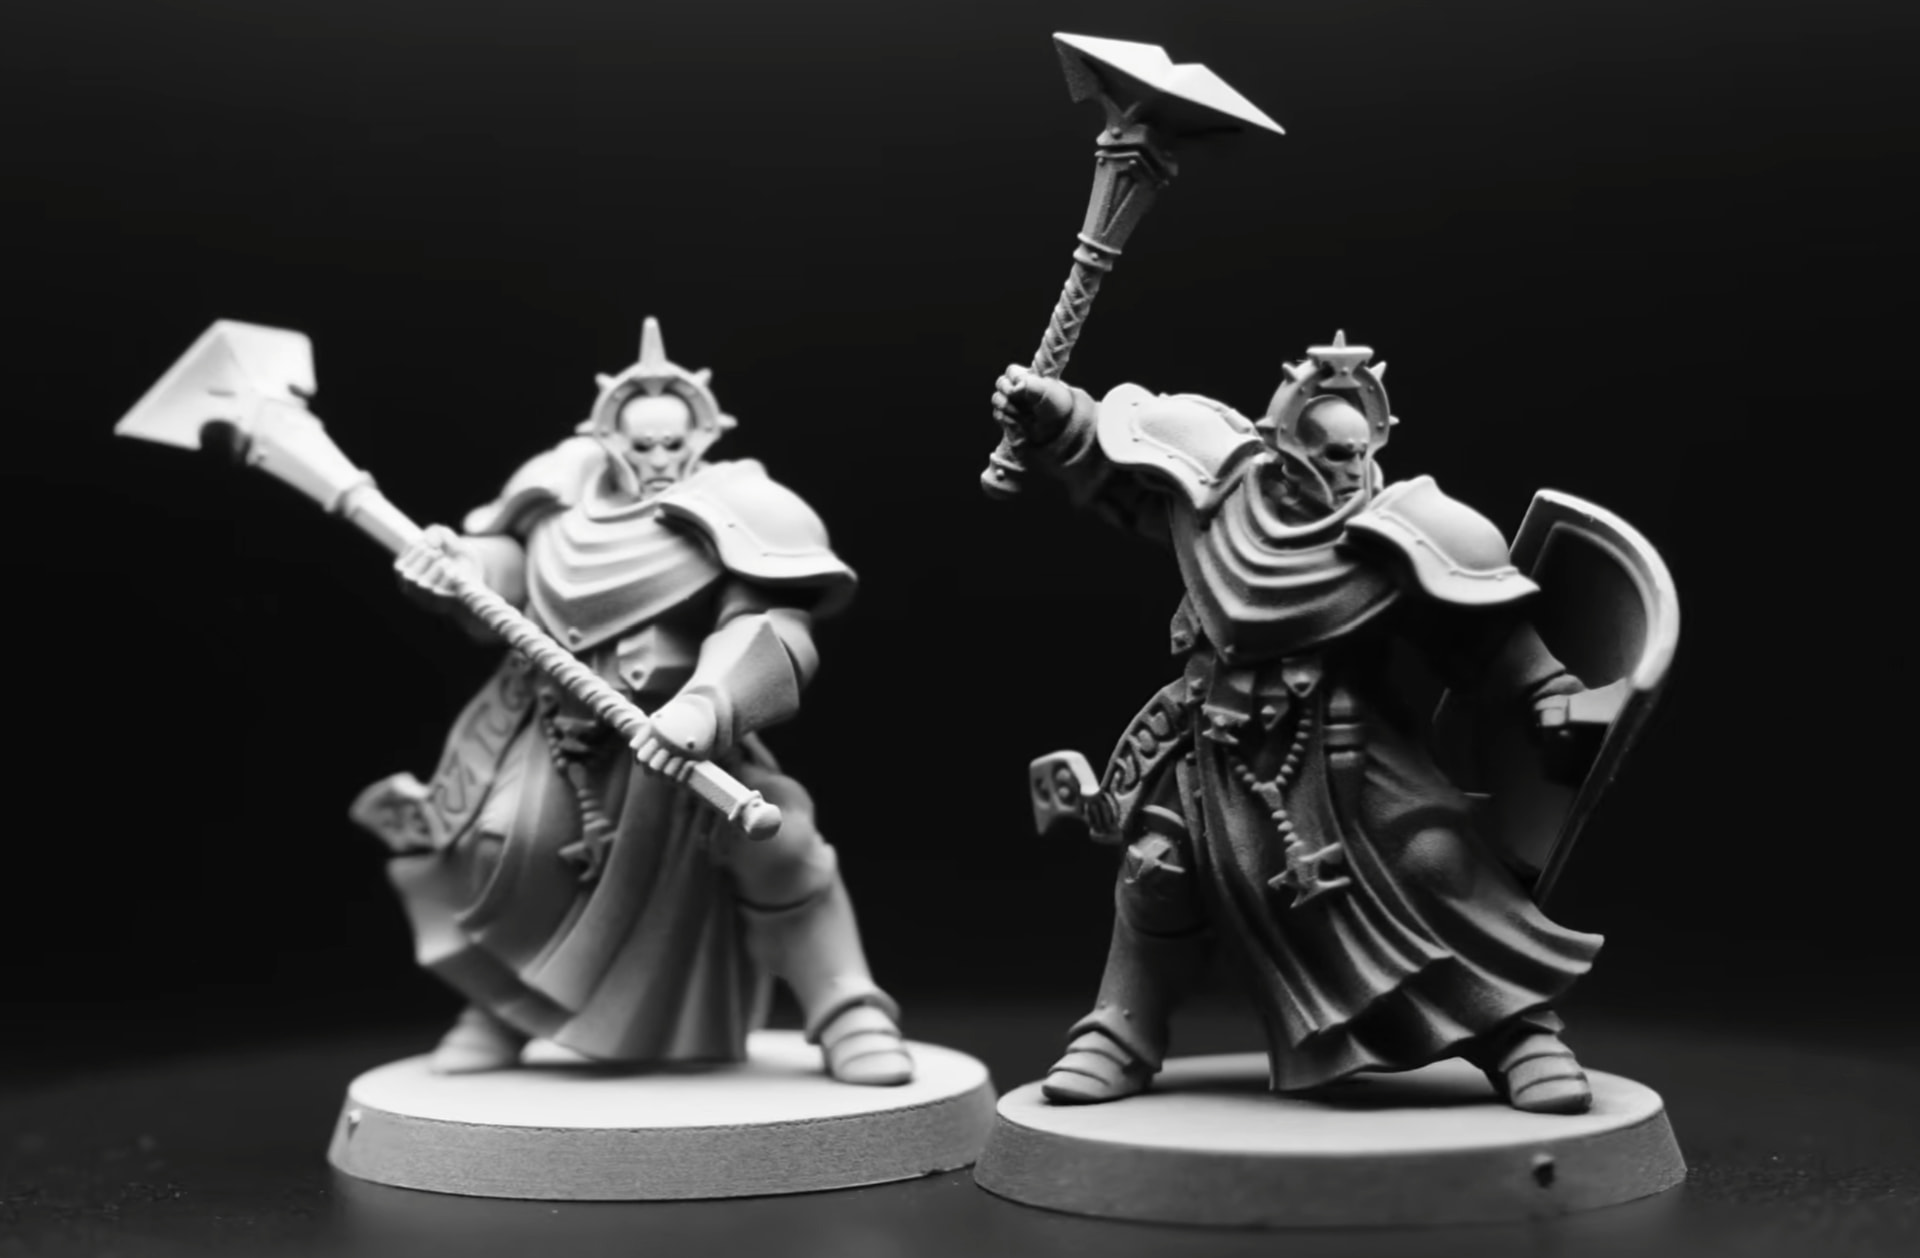
Pre-shading by primer in practice, photo by: The State of Play
You are normally a lot better than this.
Those paints are are fine although the pigment particle size can be a bit large.
What I was saying is they won’t solve the “bleed” problem with PLA because that bleed is most likely the layer lines carrying the paint away from where you applied it like water canals, not a chemical reaction. (Unless OP is talking about something else).
GW (Citadel) has only 1 range of spray paint. It is designed 100% to prime, basecoat and varnish GW’s injection moulded HIPS (high impact polystryrene) plastic figures. It is a high(ish) pressure can with very fine pigment particles. It will not fill the layer lines in PLA, nor was it designed to. Army Painter, same, and mostly matched in formula and colours to GW on purpose. You may be thinking of airbrush paints (same fine pigment) or textured special effect paints for basing (i.e. the decorative base a figure stands on) which has additive like sand which can’t be sprayed, or ancient products no longer sold like Citadel Smelly Primer (now obsolete).
I’ve never seen a decent FDM miniature figure in tabletop gaming scale. Terrain yes. “Square box on wheels” tanks, yes. Figures, no. Would like see a photo of one.
Chemical reaction. Not sure what you mean. I think the “bleed” refers to the layer lines carrying the paint away like canals, which happens if you use thinner paints on PLA and try to paint fine details.
I am not sure why you have provided a black and white photo of 2 sigmarines with zenithal highlighting applied (AKA “slap chop”), or what it’s supposed to represent? They are not PLA prints, and they are standing on injection moulded bases, so maybe not even prints. Then again the resolution and lighting is so bad, who can see anything?
If perhaps this photo relates to the difference between paint and primer, if you were to try to spray paint something like HDPE, e.g, the stuff portable toilets are made of, you would find your paint not sticking. So you would use a special primer that sticks to it, and then your paint would stick to the primer. But modern miniature painting base coat paints are designed to stick to HIPS, so we can base coat and prime in a single operation. Unless you have to paint PLA, which requires a textured primer like a spray putty to get rid of the layer lines.
First of all, thank you very much for your detailed response.
Well, I won’t go through every point here, since the main topic isn’t Minifigures - maybe we should start a separate thread on that. I’ll just share this part below - and if OP checks back in later, he will find plenty of helpful tips on the topic of painting in that subreddit at the end of the comment.
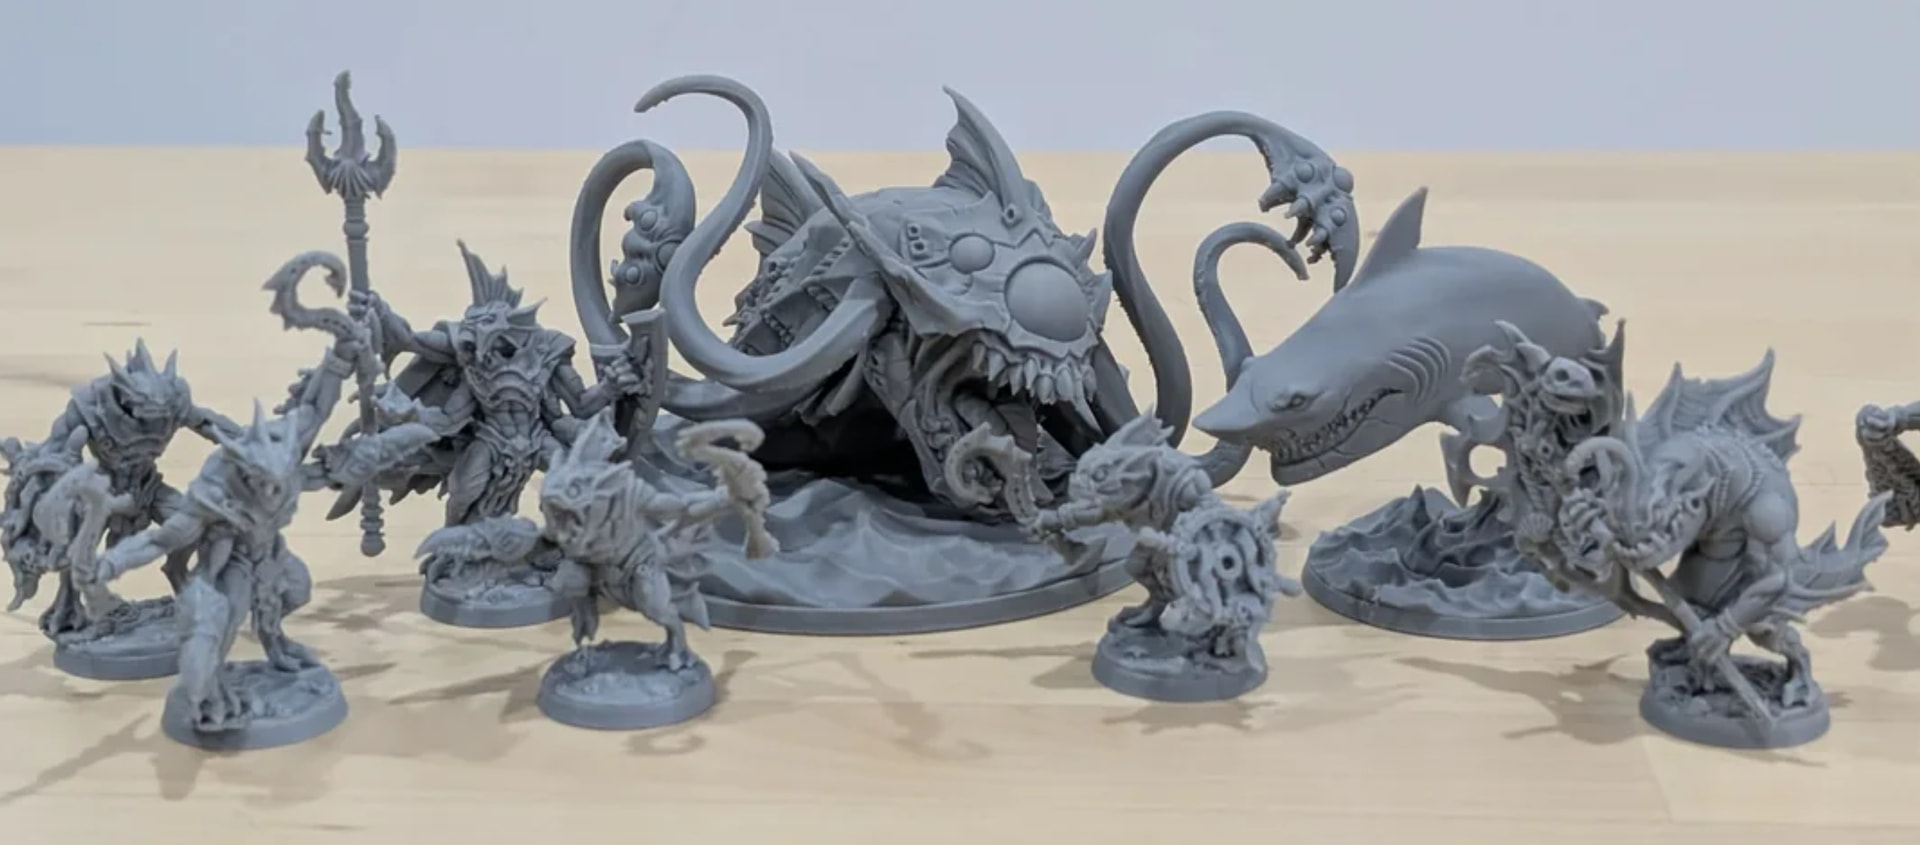
Bambu printer can get surprisingly close to resin-level quality. It just needs a lot of optimization. Of course, everyone has different expectations, and that’s totally fair. 

Still, if you’re interested in the hobby, I’d really recommend checking out this subreddit. Not to convince you of anything, but if you’re interested. There are many projects there that might interest you.
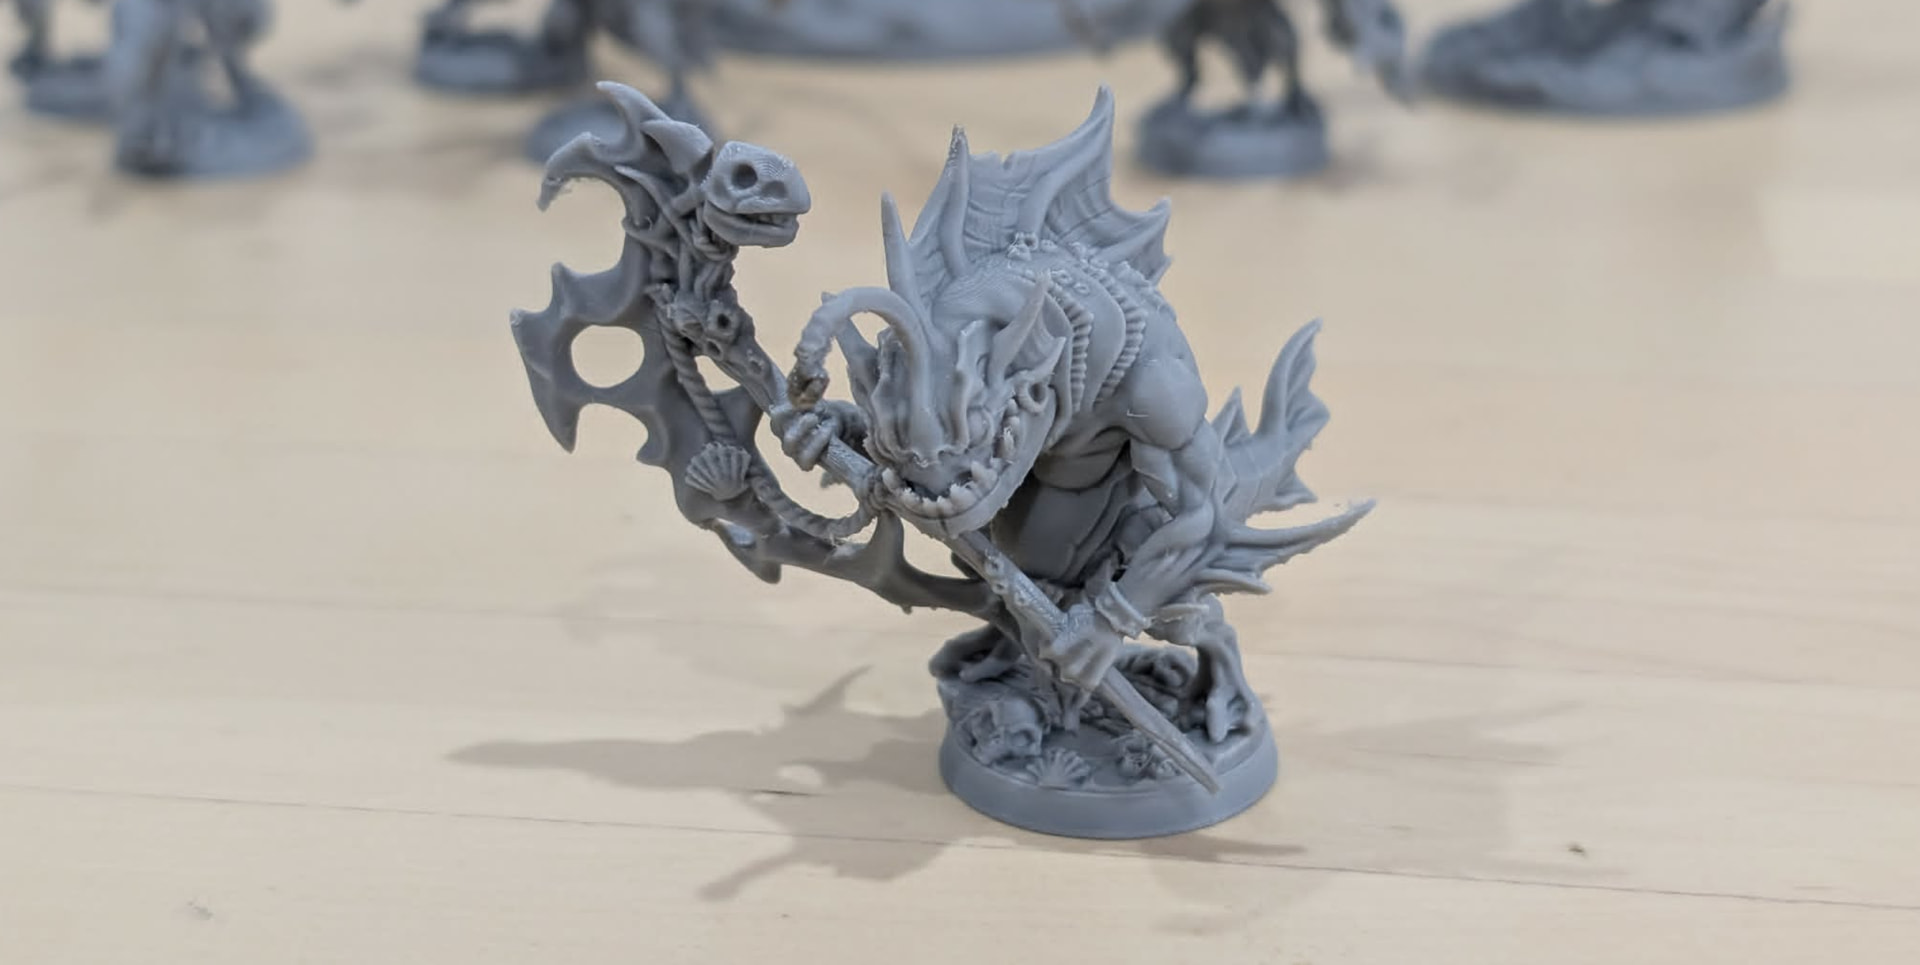
D&D FDMminiatures - photo by Gongamate
That is a tricky one. You can use model building email colors to apply paint directly to the model using a fine brush or airbrush with several thin coats, but do not expect it to last without a primer.
I painted a rather complex print a bit over a decade ago in this manner (after extensive sanding, using Revell email colors in multiple thin, brushed coats) and the paint and subsequent clearcoat are still ok’ish. But it spent 9 of those 10 years behind glass…
 &

For tiny accents on an unprimed model, gel nail polish can do ok. Test it out on a prime tower or something to make sure your flavor of goop works ok.
re: me saying I have never seen a good FDM for a tabletop scale figure
They are better than the standard 0.4 nozzle print.
They are noticeably worse than SLA. So we disagree on the definition of good, or the baseline to which it is applied.
1st photo has obvious issues where the camera’s DOF (Depth of Field) allowed it to focus e.g. the skull staff and the model’s teeth. Body is out of focus (common problem with phone cameras). 2nd photo needs a better camera. The subreddit has some decent photography of painted figures, but layer lines very visible. They become much more noticeable after painting.
BTW what is the print time you are getting? I estimate 4 hours per figure at 0.08mm layers from 0.2mm nozzle. Usable for an RPG. Might be an issue for a wargame that needs 100+ models. Then again, maybe that’s OK given how long the things take to paint.
Yea this works and is super convenient if you already have nail polish. I would recommend, however, paint pens like Gundam Markers or Army Painter Speed Markers or whatever is Vallejo, AK, your favorite brand etc sell.