I’ve been really frustrated trying to use the cutting tool and drawing tool. It seems like no one really knows how to use the Bambu Suite software because whenever I ask questions like how does it know where to cut on a printed labels paper, nobody can answer. No one knows! I asked someone if it used a paper printer to print the design with marks it can read in order to cut them and was told yes that is how it does it. Nope. Then I thought maybe the nozzle camera scanned the printed design paper area but nope! It cuts blindly!
You have to put the paper in the exact spot with the perfect size settings or else it cuts wrong. You’d think it would be easy to import a “11 x 8.5” paper with labels on it, and that it would find the labels easily on a transparent png without messing too much with setting, set the paper size, line up the paper on the plate, and cut. But no it is not so simple, especially w/o the bird’s eye view camera.
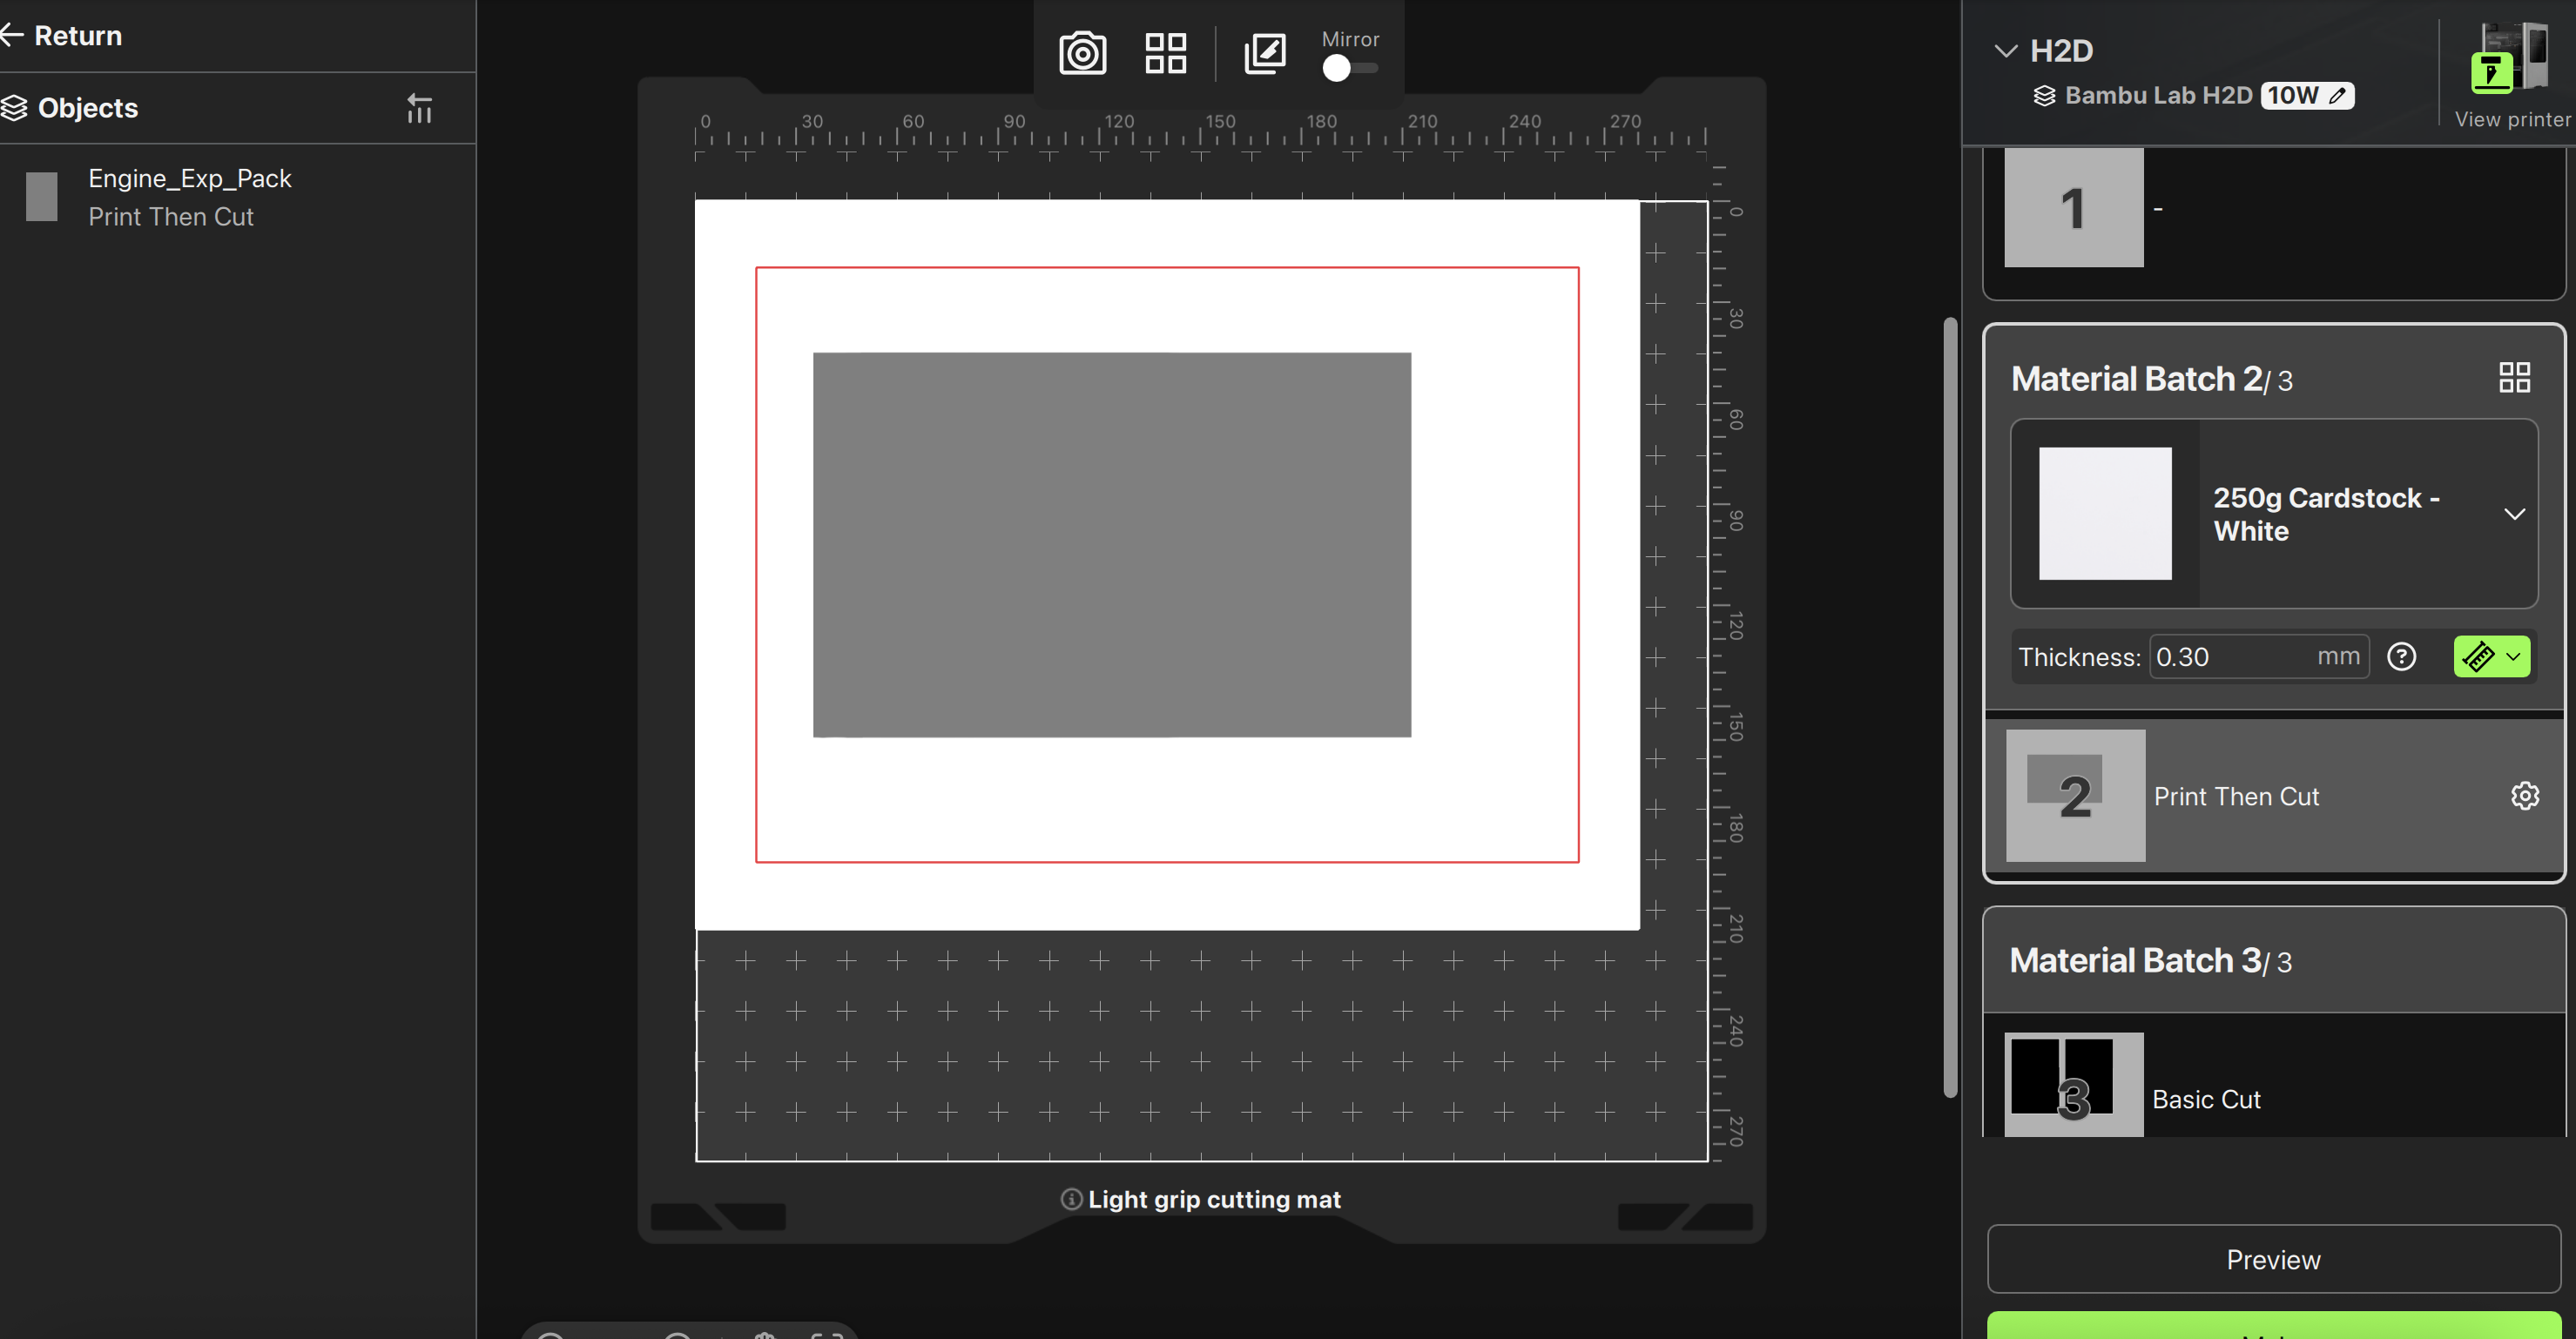
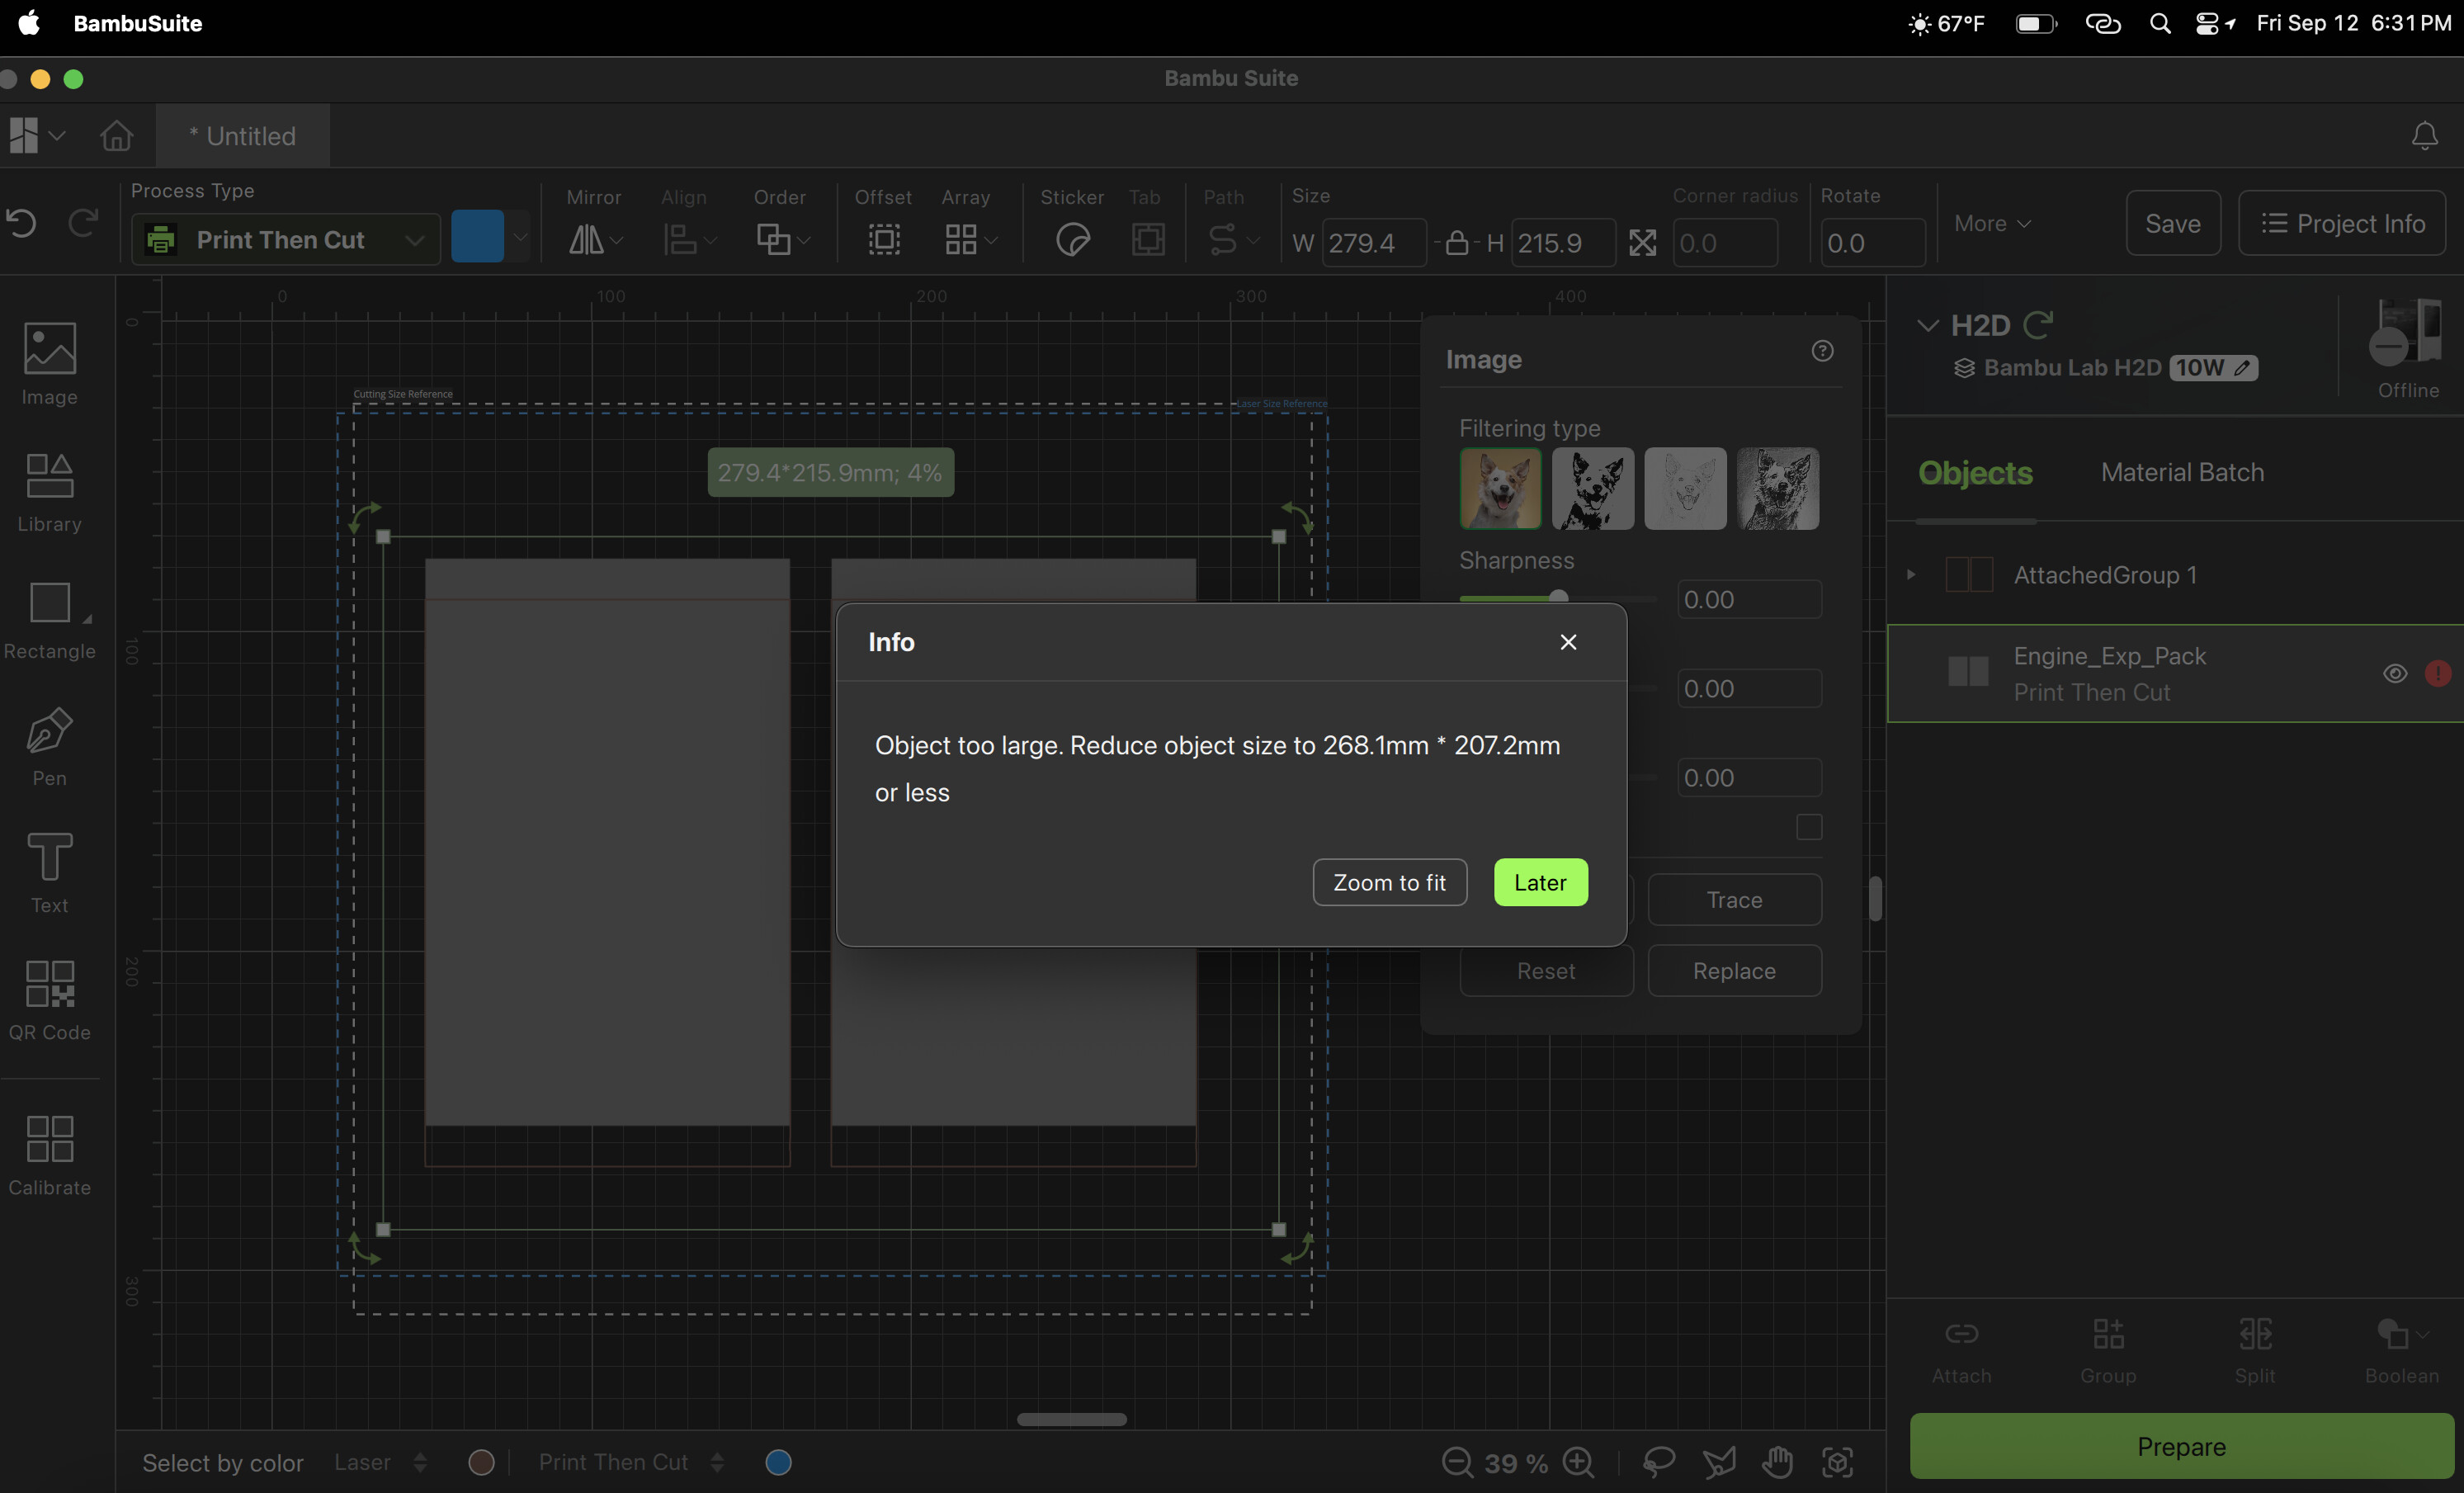
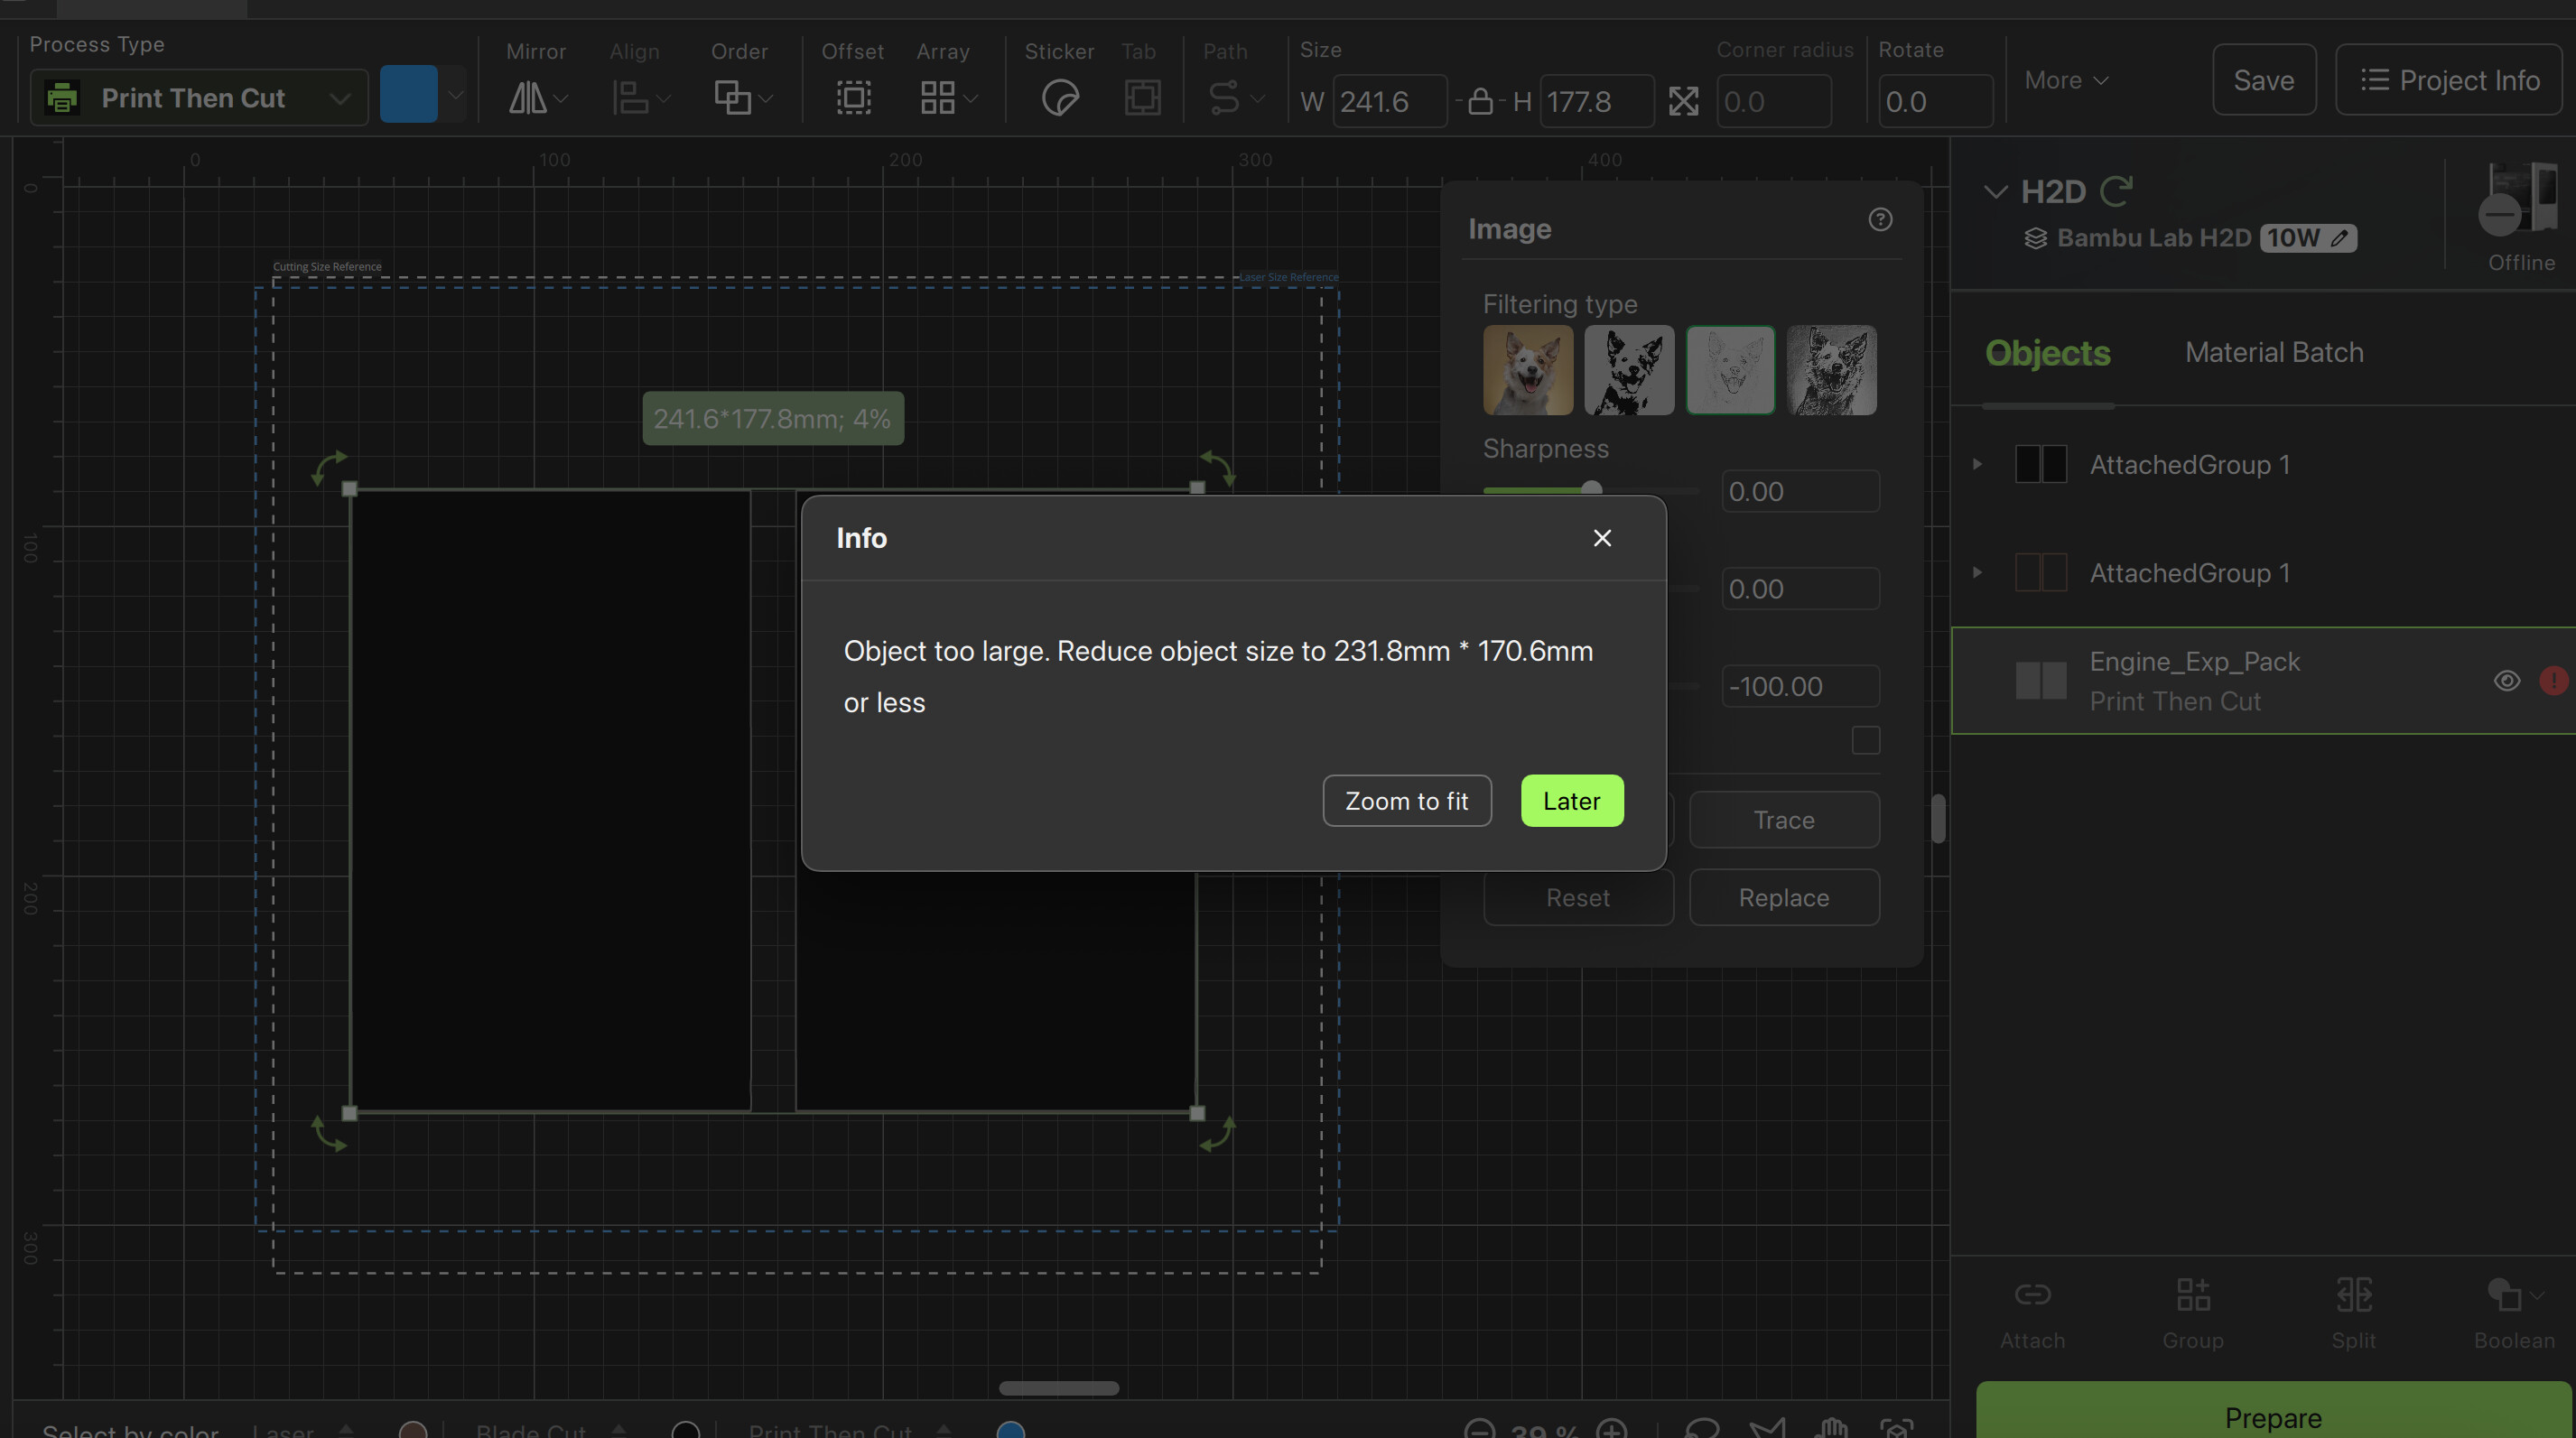
First, it imports my 11 x 8.5 design huge! Probably because it is 600dpi. So I size it manually entering paper size in mm to resize the design sheet. You cannot tell the program that you will be printing on 11” x 8.5” paper until the prepare step and doing that sometimes does nothing. In every single other graphic design program sizing your canvas is the first step. Not here. The area where the laser works is overlayed on top of the area marking where the cutter cuts. It doesn’t matter if you have no laser. So I finally get the program to correctly trace my labels without selecting inside the labels which it loves to do. Then it tells me I can’t go to make because it is too big?? 11” x 8.5” is too big?? It’s inside the marked area! So I decide to just cut one label by cropping it. I go to prepare and for some reason it has TURNED the design while keeping the paper horizontal! So I turn the design label back using shift and the mouse, and it snaps back. It will not turn the label back to its rightful previous position. I go back to the main screen and the design is turned normal, but I go again to the prepare screen and it is turned. Well if the design is turned but the paper is not, it is not going to cut correctly. So I quit the project.
Somehow I was able to restart the process over and got it to cut the 2 design labels at the correct size in the prepare/preview and get ready to hit make. I put the paper in the left top spot just like it is on the screen. Hit make but it cuts way over to the left. Since I do not have the bird’s eye camera, and the firmware to allow it on a non-laser H2D is not here yet, I cannot properly line up the paper exactly. I give up.
So basically the software is only good for creating designs on it like making words and using the picture library and cutting them out on colored paper for birthday parties. As graphic design software it is poor so I’m not going to design anything on it. I have only seen people use this thing to cut example images. Seriously I have seen no one actually use this thing for a real project which I tried to do with 2 different projects. $90 wasted. I regret buying this thing. I’m better off using my metal paper cutting machine or scissors.