Just out of interest… when you printed just the one part of the model and it was okay quality, where abouts on the bed was it?
If it was the front left I wonder if it’s to do with the buffer/length of the PTFE tube.
My H2s was printing very similar to this (with models that print flawlessly on any of my P1S’s) changing the tool head PTFE to a 30mm longer one.
My buffer wasn’t really banging about like some peoples are, but the 30mm extra tube made the world of difference, I couldn’t even get a consistent first layer down half the time.
Mine still a pile of rubbish for many other reasons but all of the shocking quality issues went with the tube change.
Thanks for advice. This printer is at work, and I believe the part was placed automatically - middle / left side. Slicer placing parts mostly there when printed just with right nozzle. I have to be honest little bit over 300 hours and never used left nozzle 
 . I’ve noticed though, both PTFE tubes are really scratched from the cable chain around 10 cm from the head. I’ll try change PTFE tubes in my privat one home to se different.
 for the heated chamber!
For any slightly more challenging geometries I also heat the chamber (for all PETG, not just HF, not just Bambu) to 45 °C. And I don’t use the auxiliary fan and I hardly use the extruder fan.
For me it’s confusing that basically all Bambu docs say to print PETG with activated cooling where I personally have the experience that a warmer environment makes PETG printing so much easier and also improves layer bonding significantly.
Jumping on this thread to ask my own questions about bad pressure advance with Bambu PETG-HF on an H2D.
To set the facts:
I’ve done a 8 hour dry on all of the PETG-HF loaded in my AMSes in my AMS HT at 75 degrees.
I’m printing on 0.4mm Hardened High Flow nozzles.
The machine prints PLA just fine - so this feels like a material profile calibration issue moreso than a machine issue.
and I’ve done all of the calibration steps, including automatic and manual flow calibration, landing at a 0.033 K value.
I printed a temperature tower to see how various settings would be affected by different print temps, and to see if I could get some help on this forum! I’m not sure what I’m doing wrong - printing at a higher temp seems to definitely help, but should I also slow down the print to eliminate some of the artifacting/lumpiness I’m seeing on the front?
Front of tower:
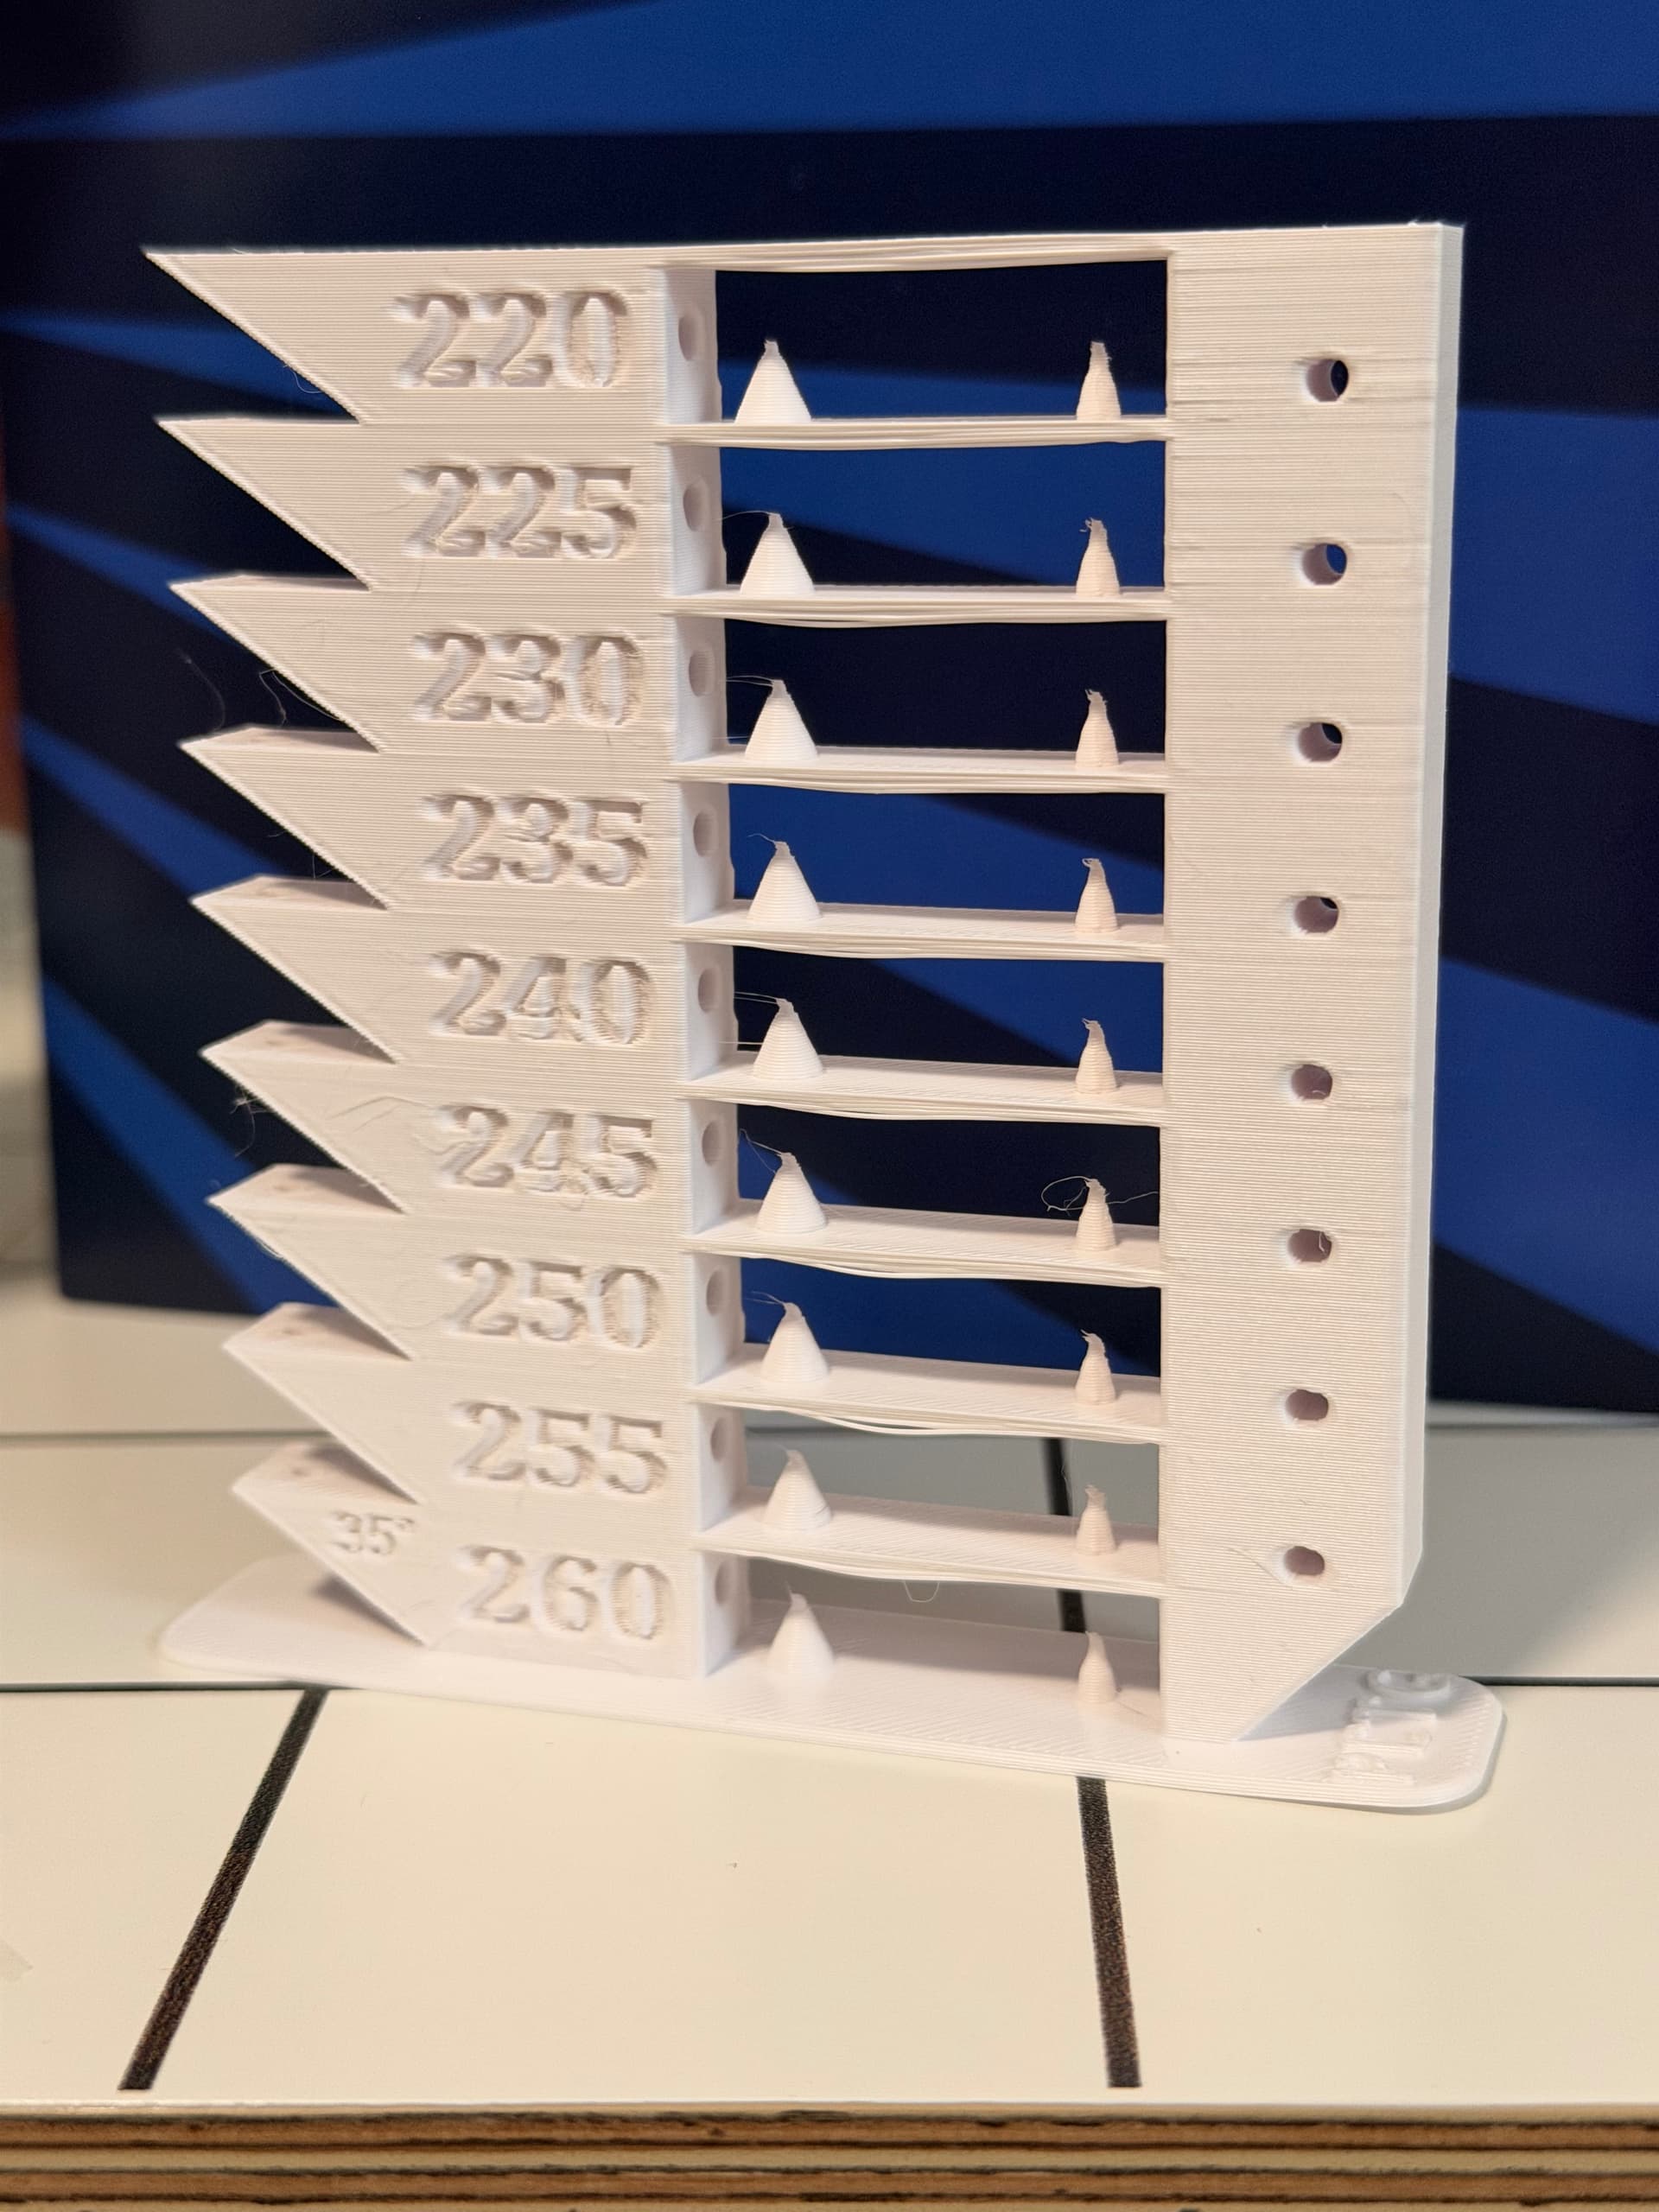
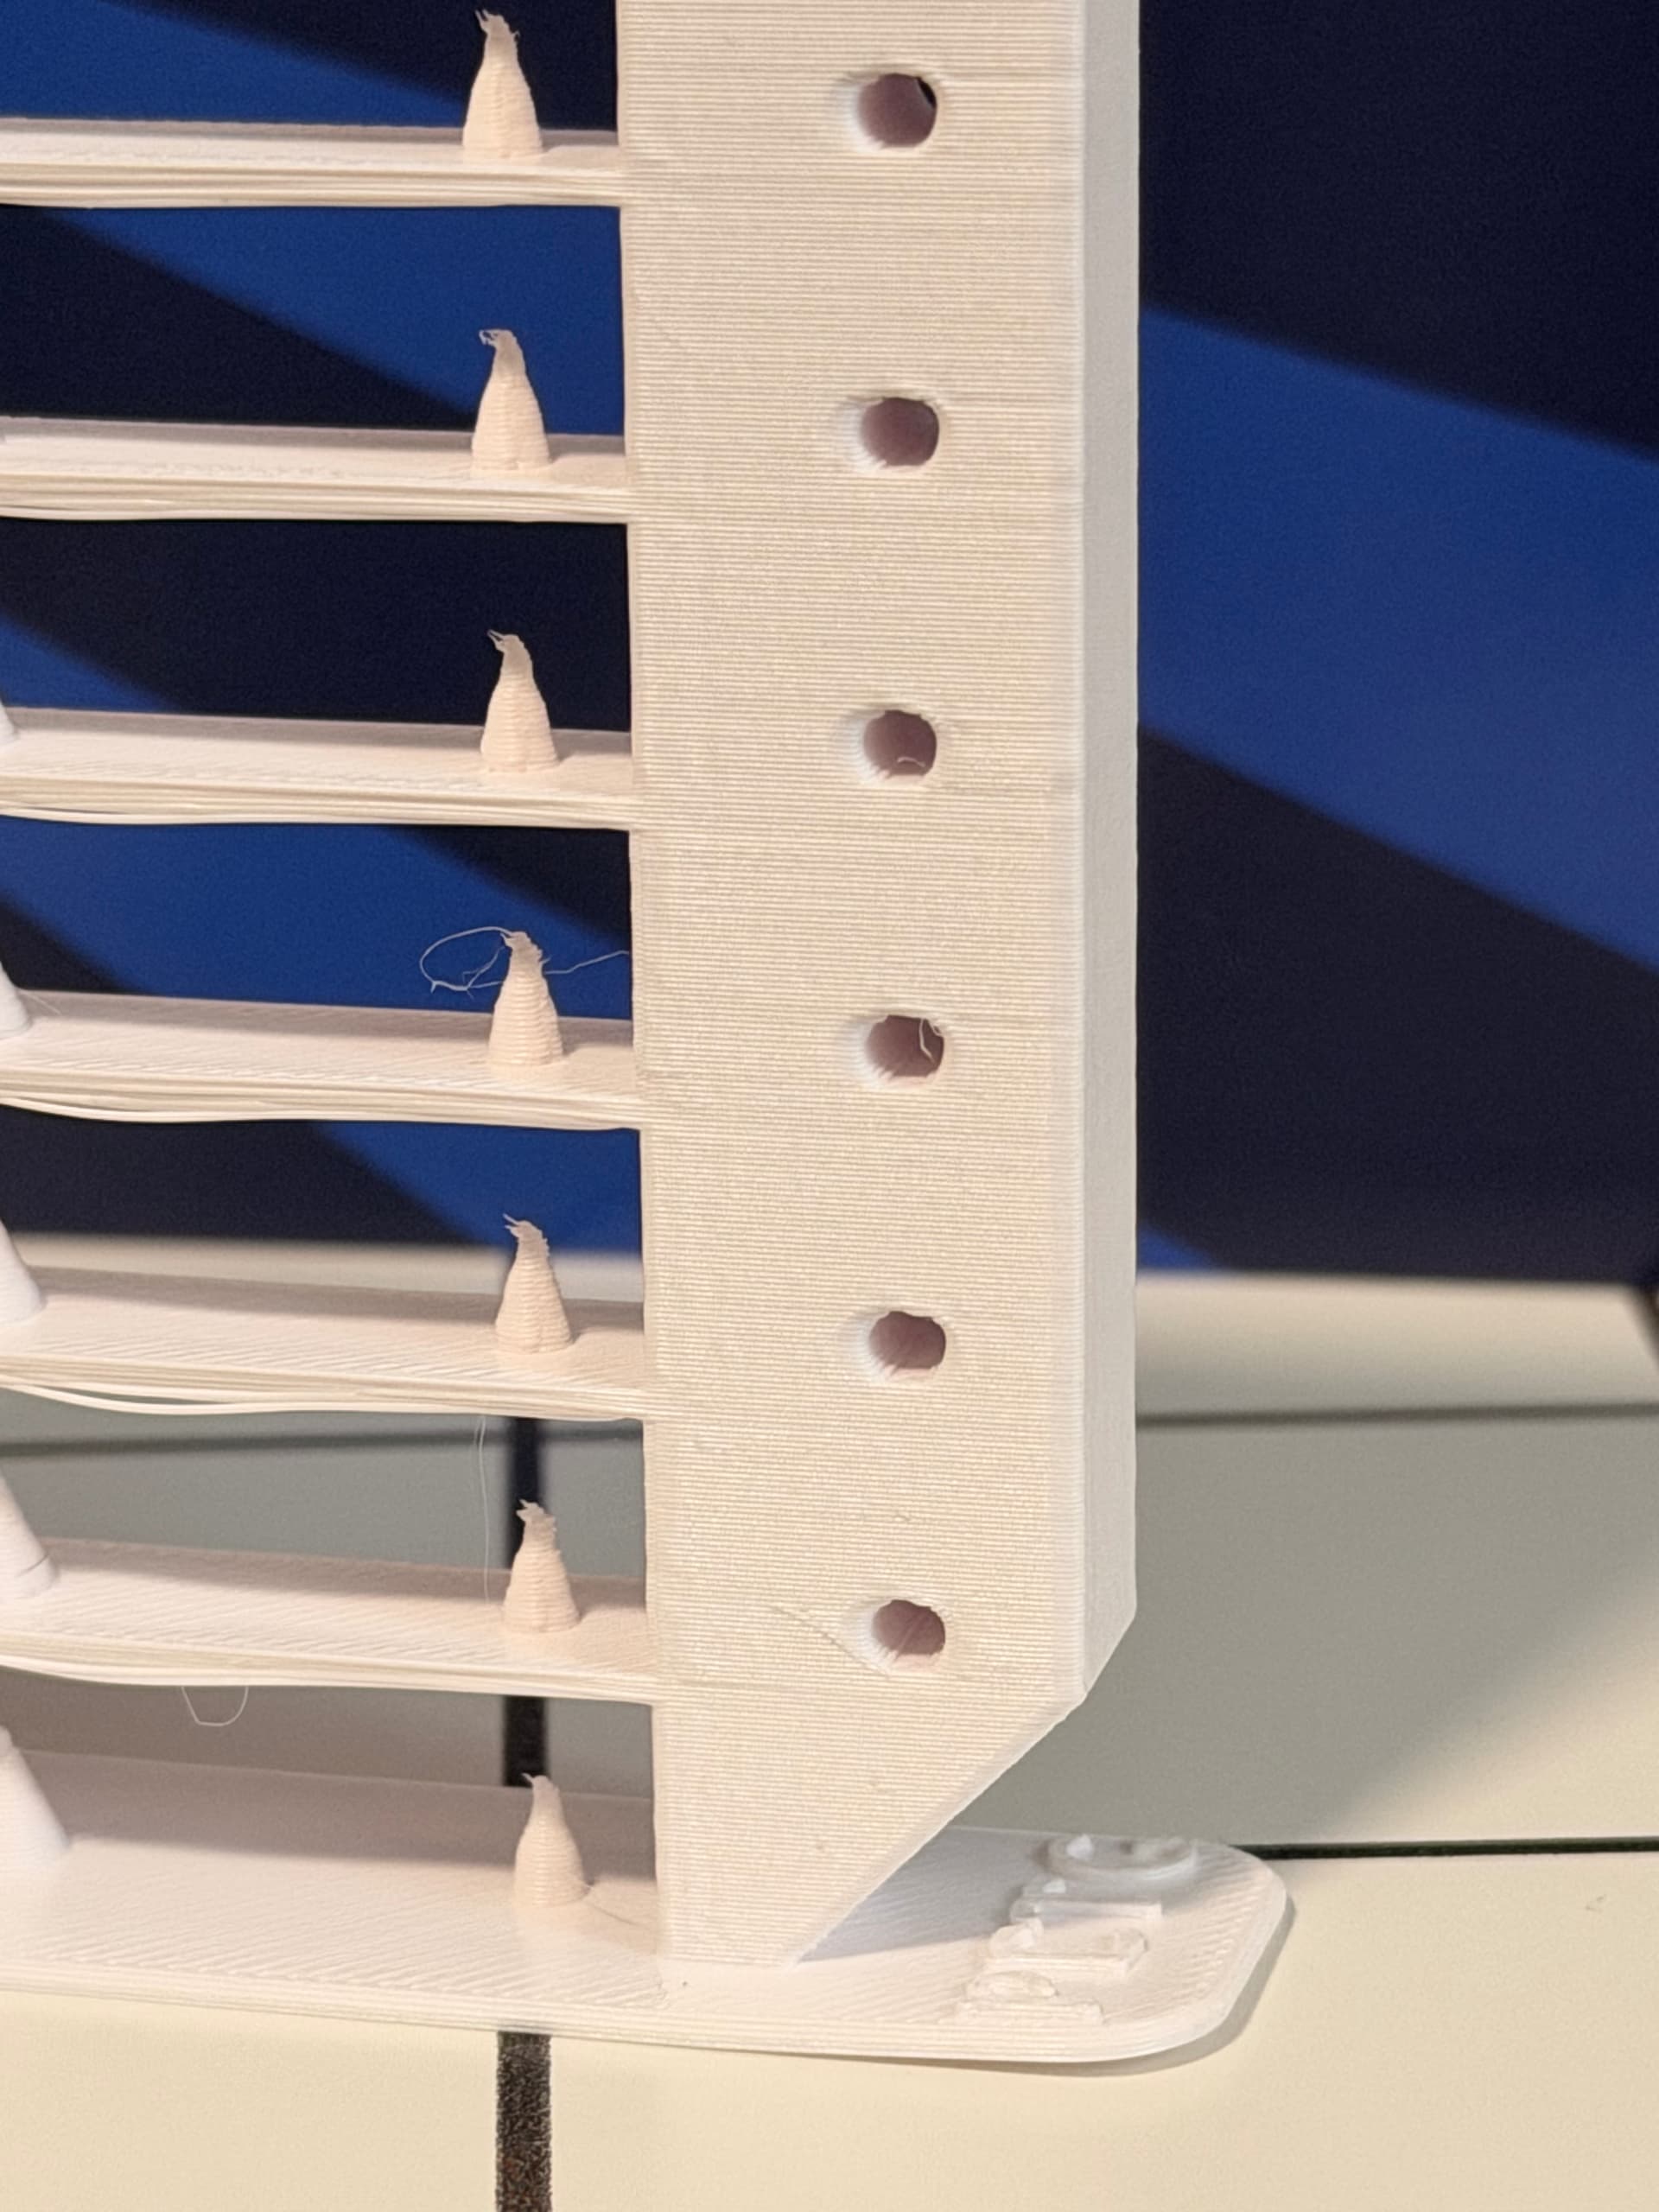
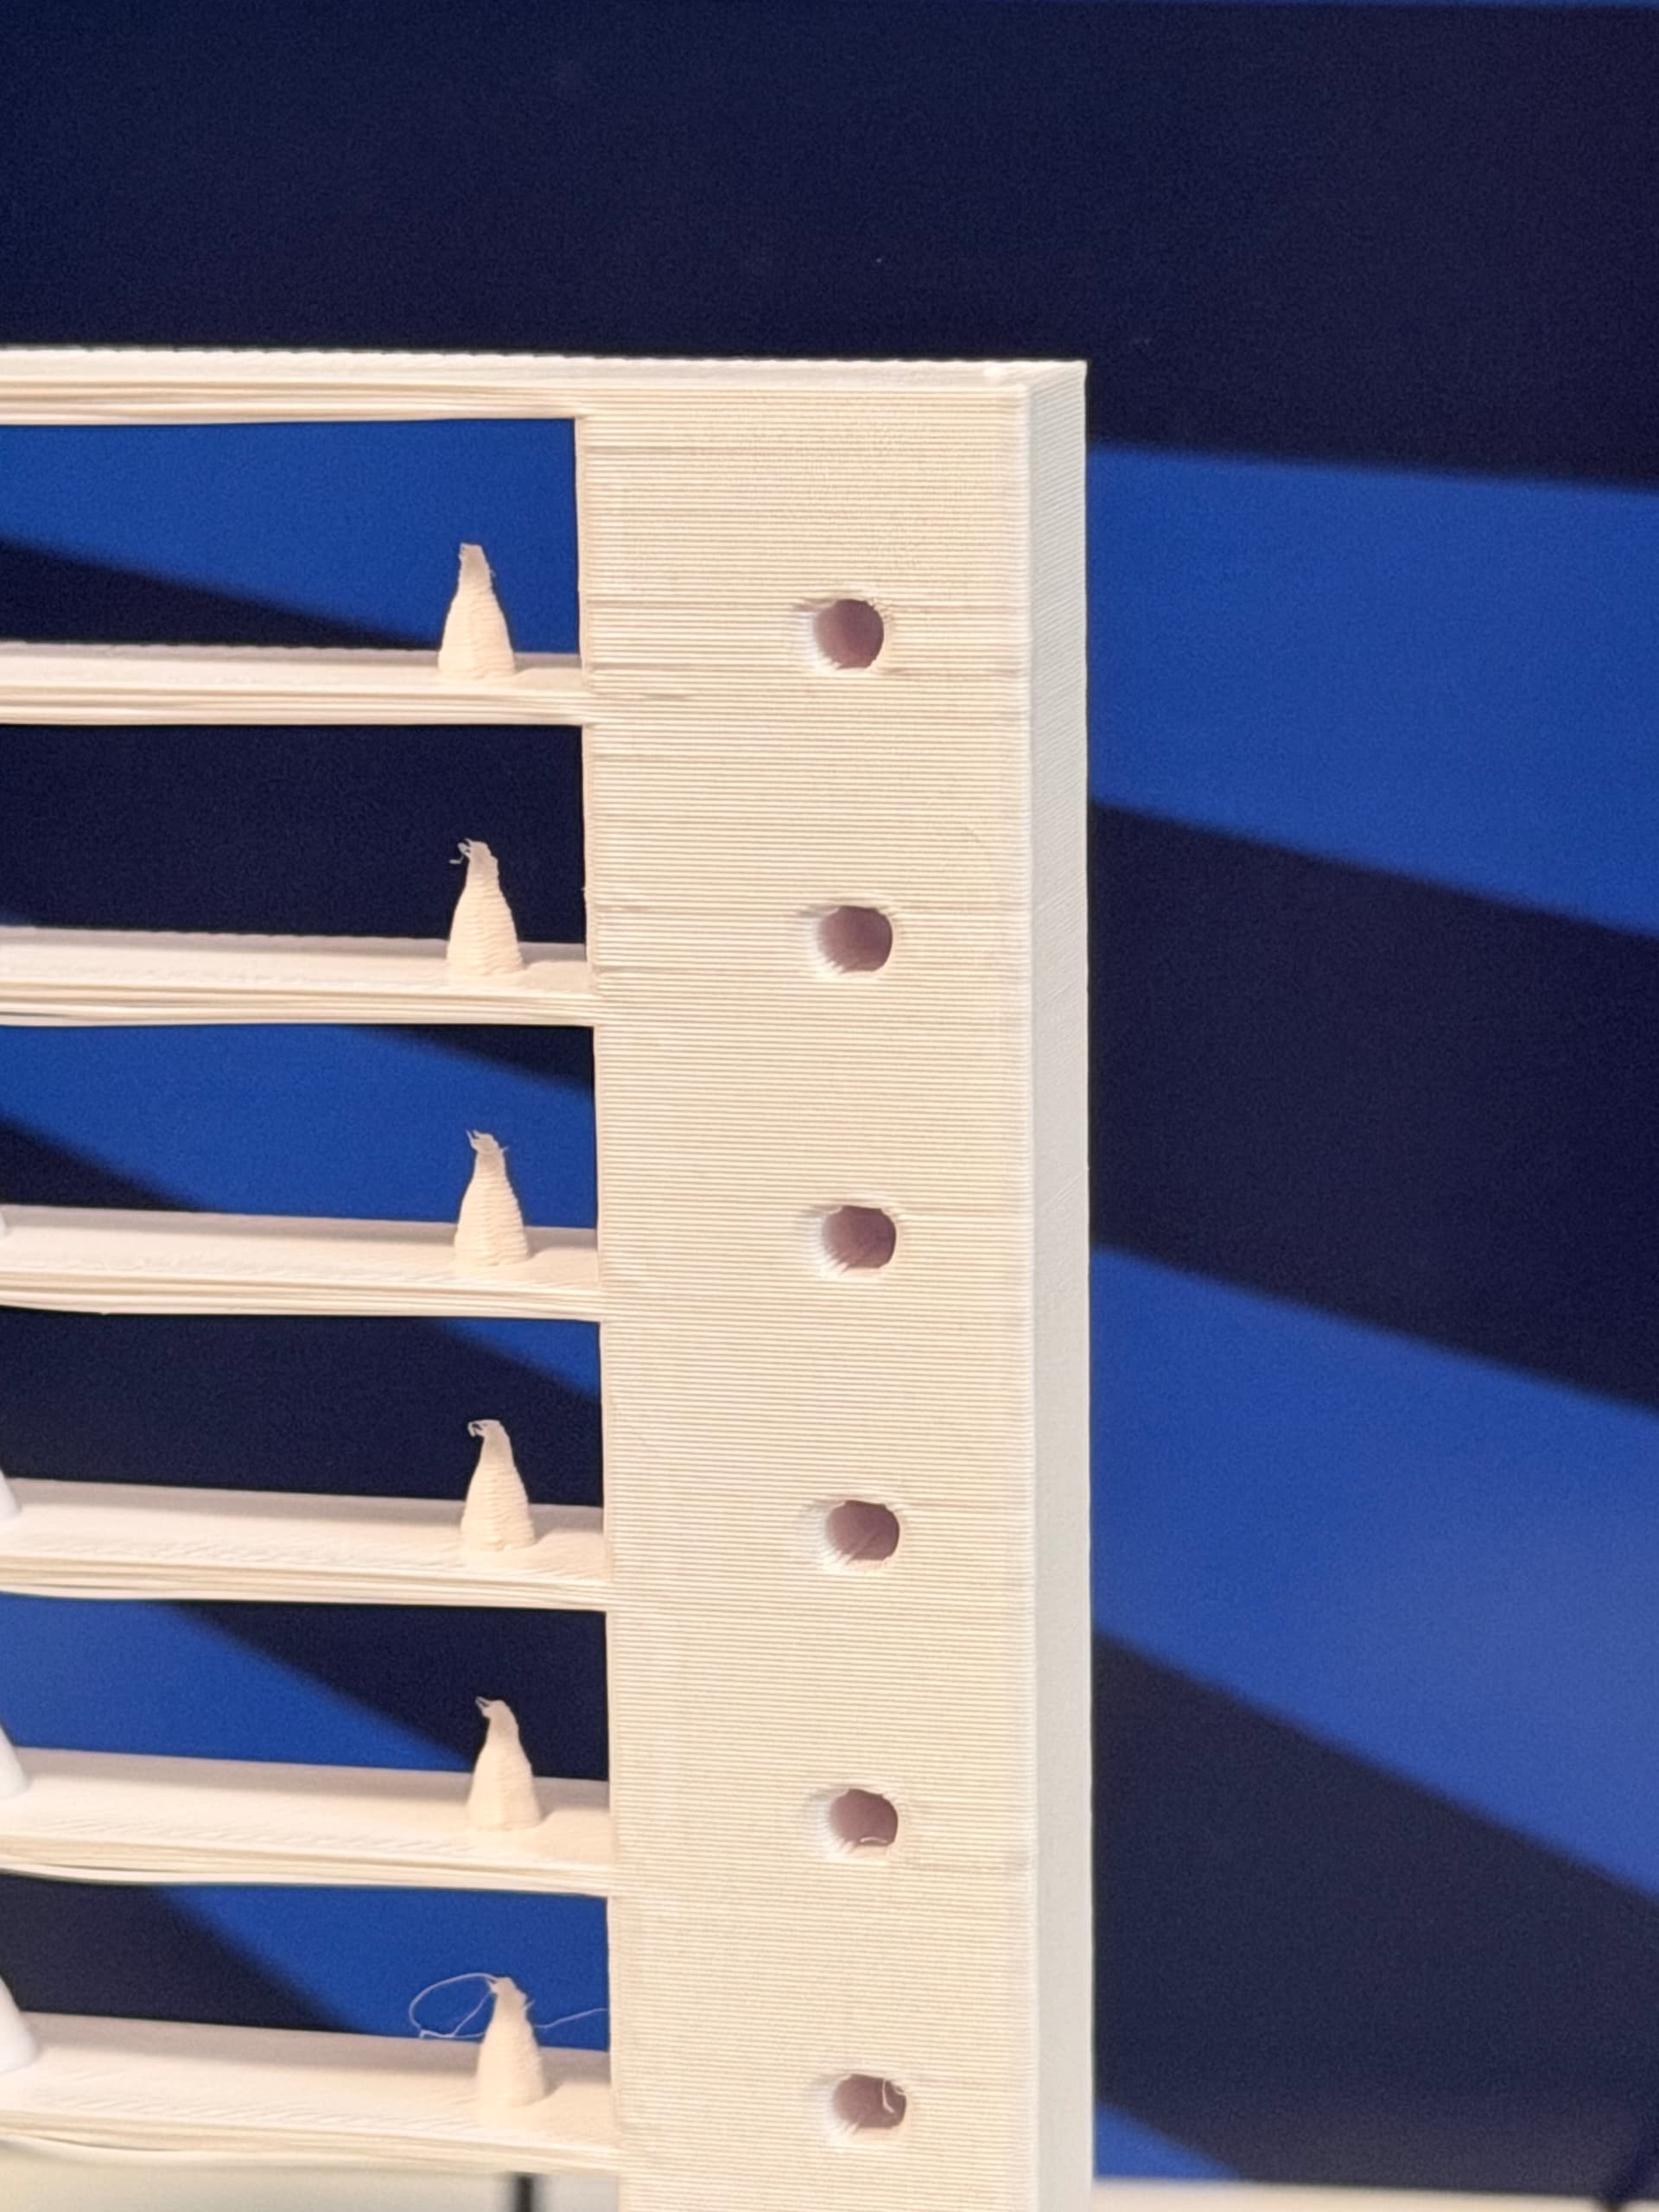
Back of tower:
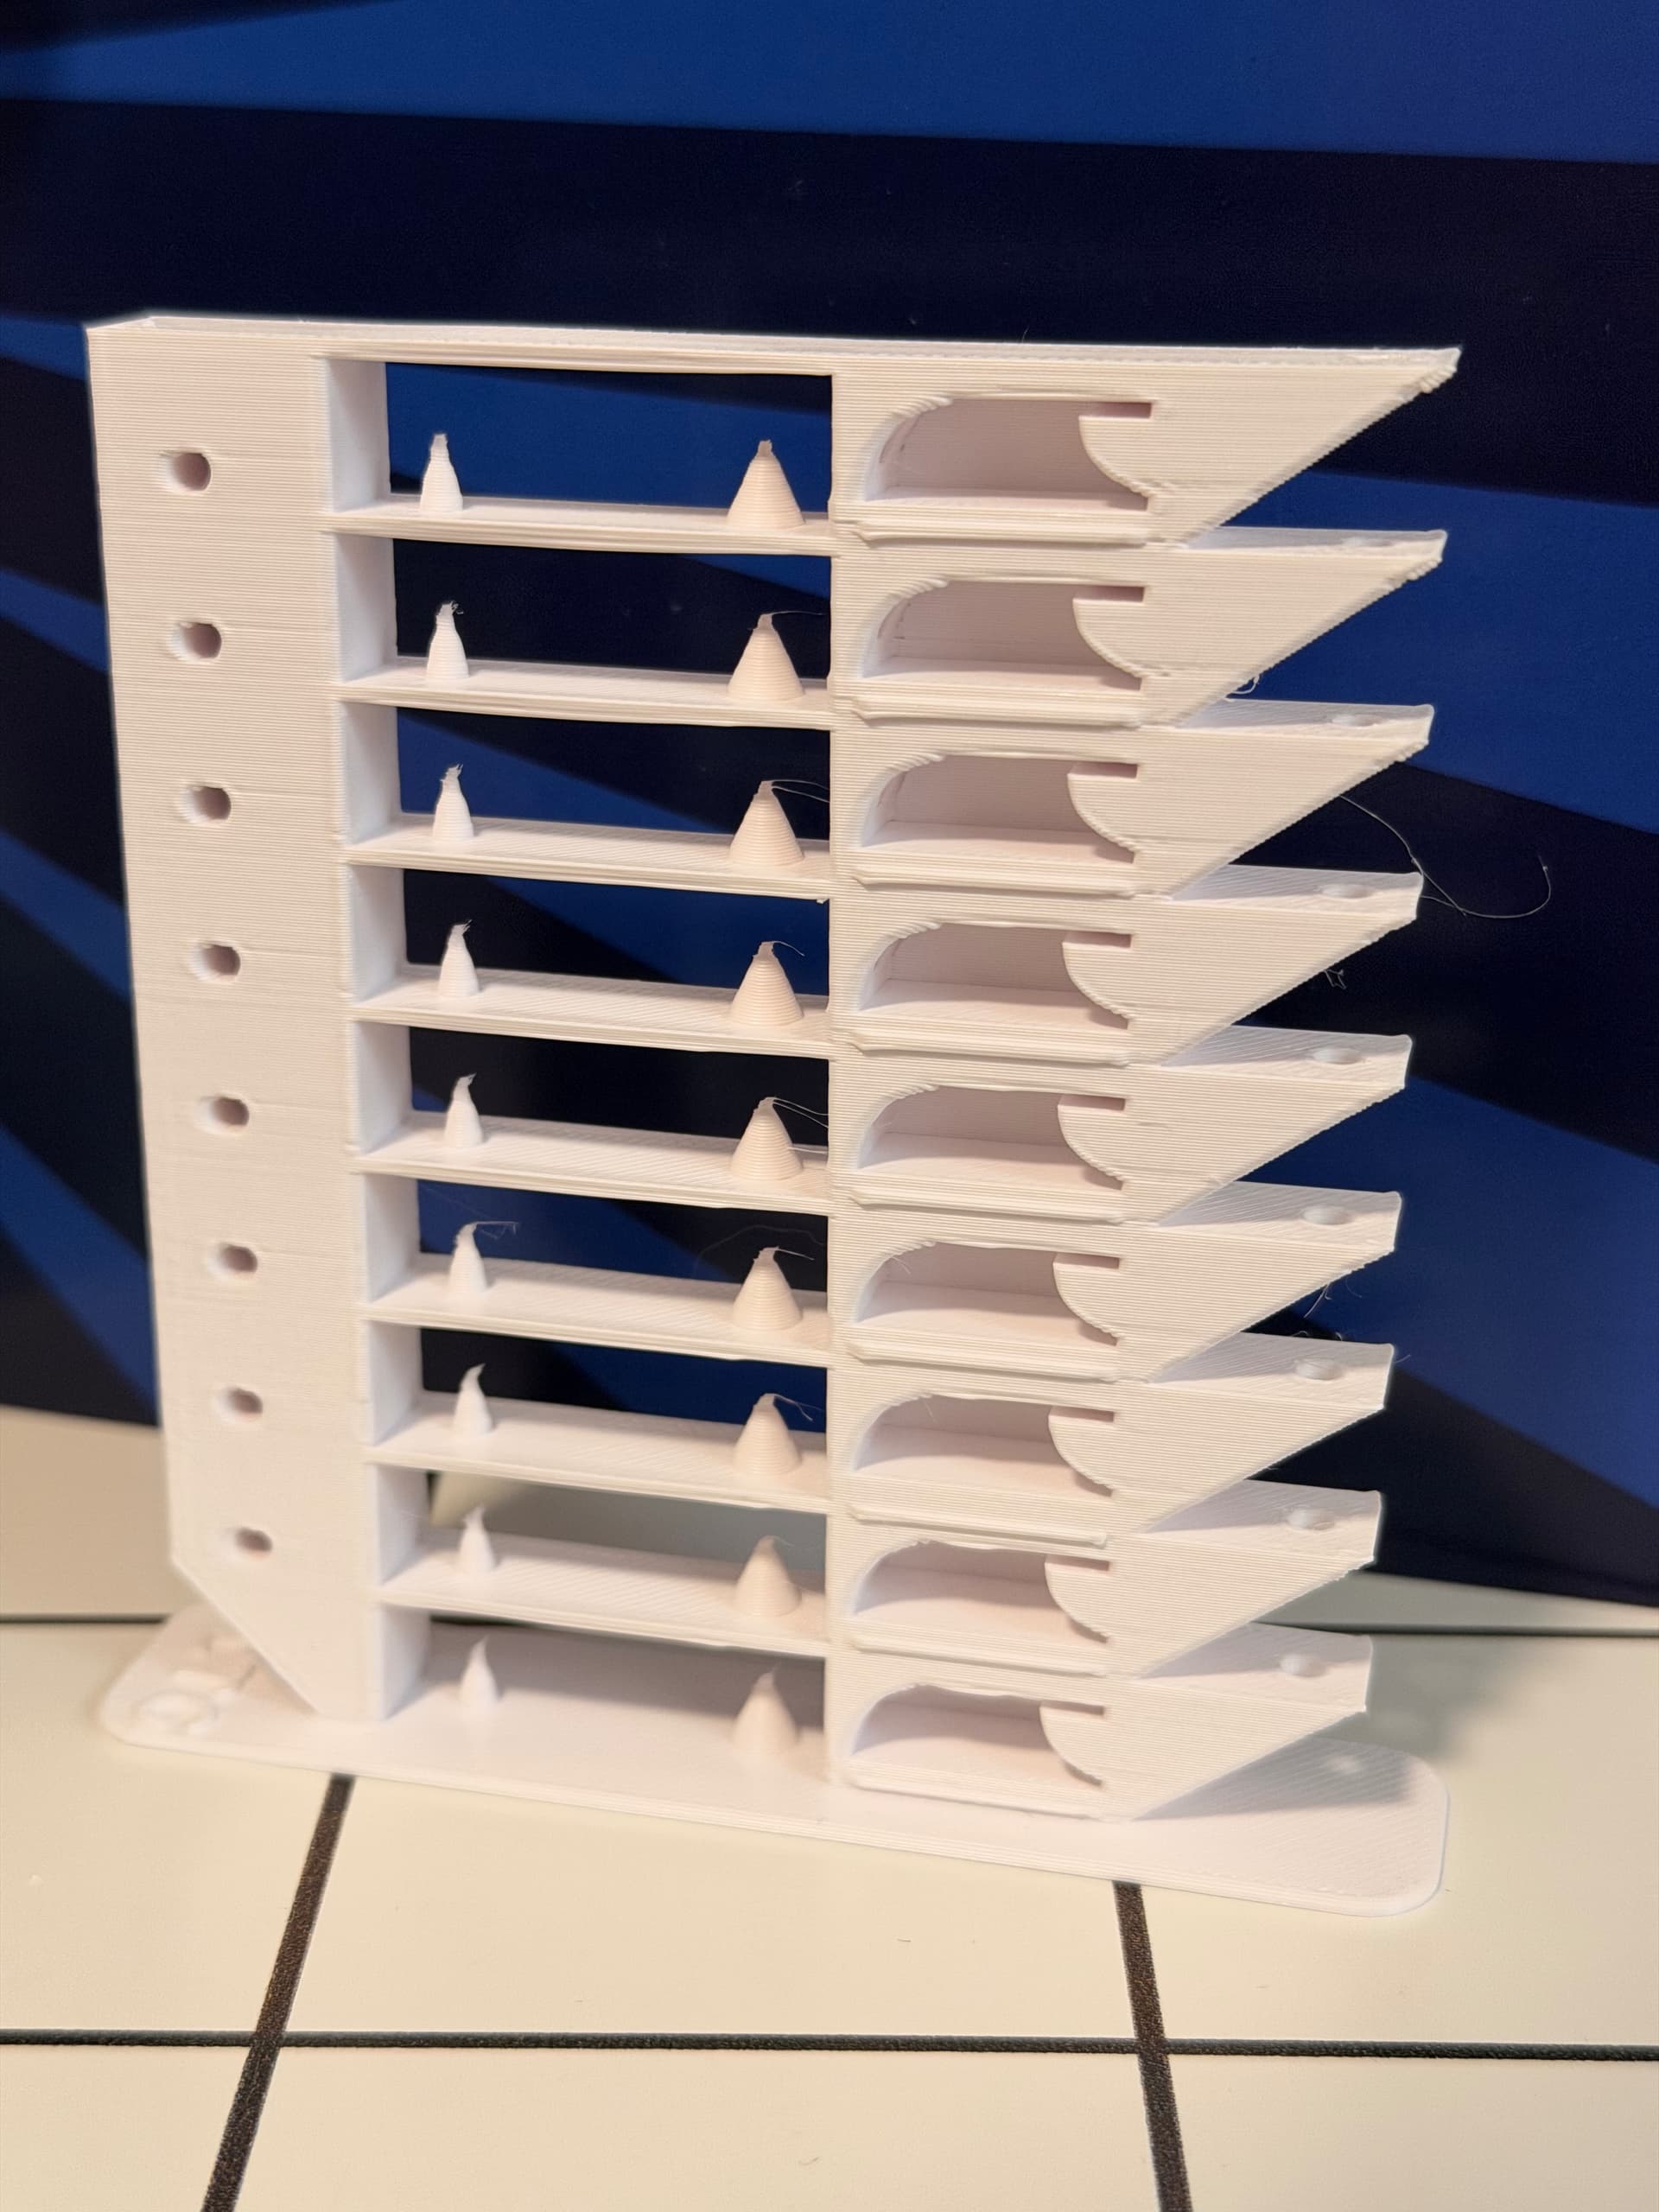
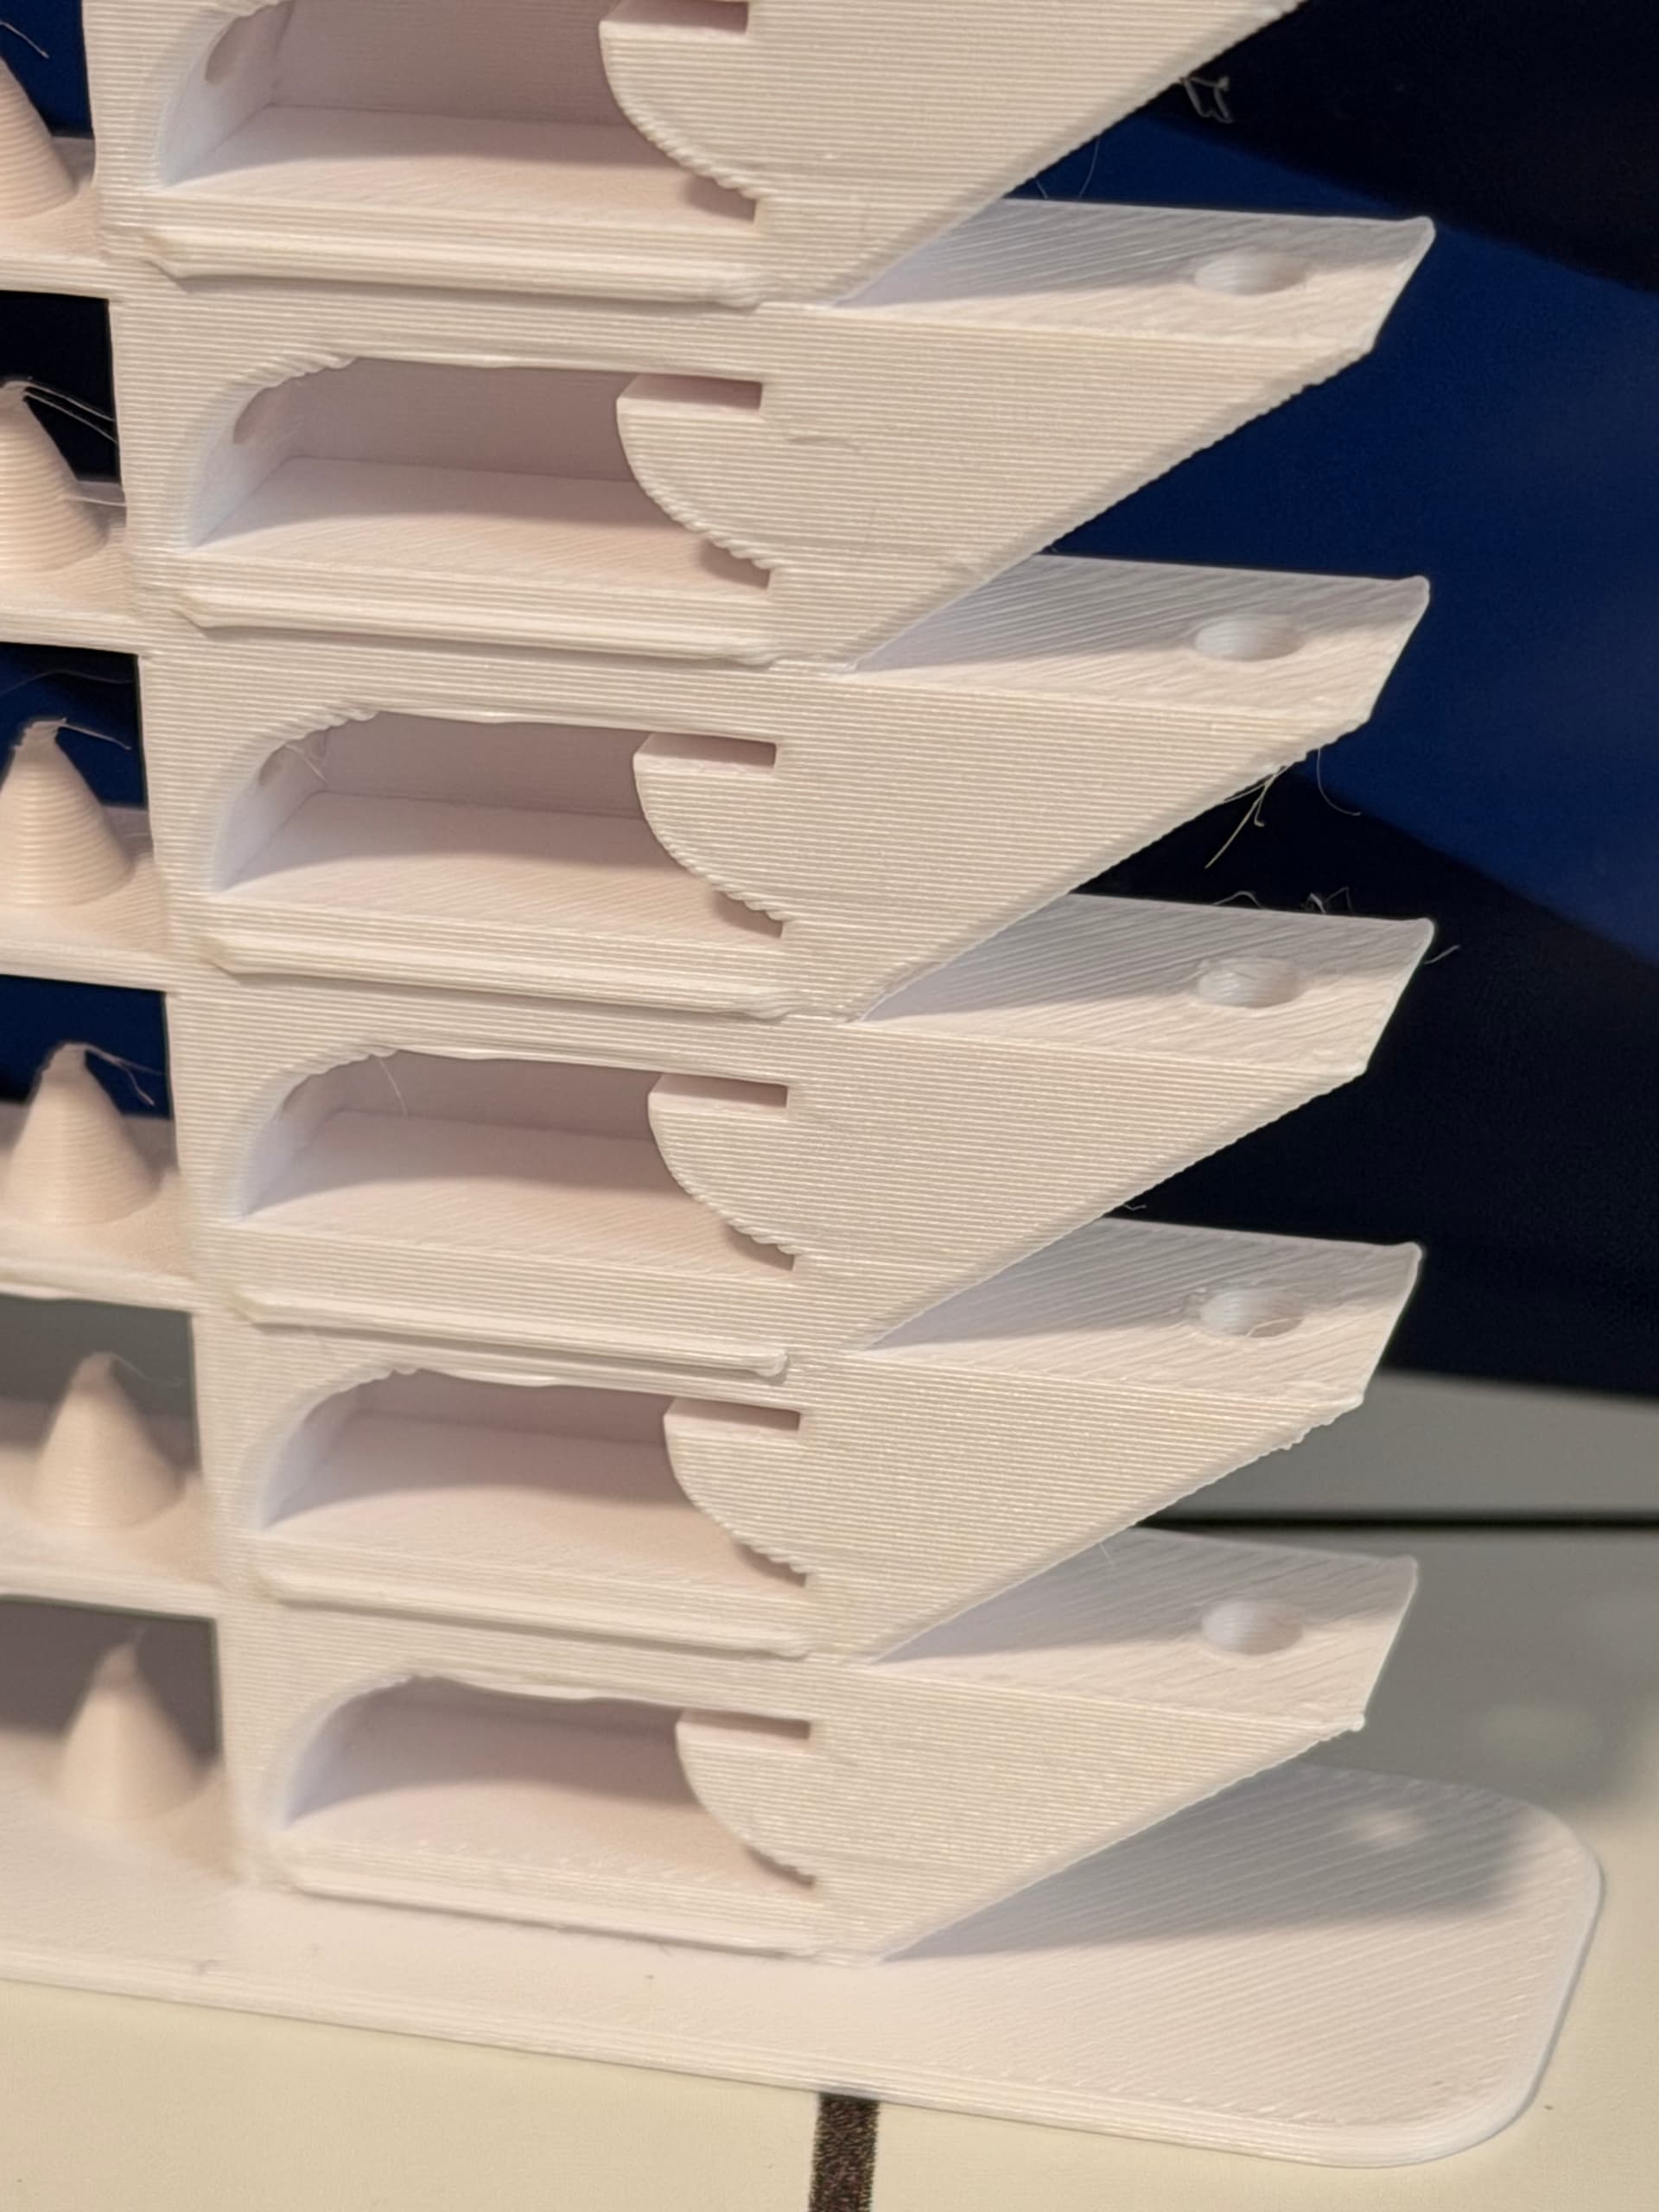
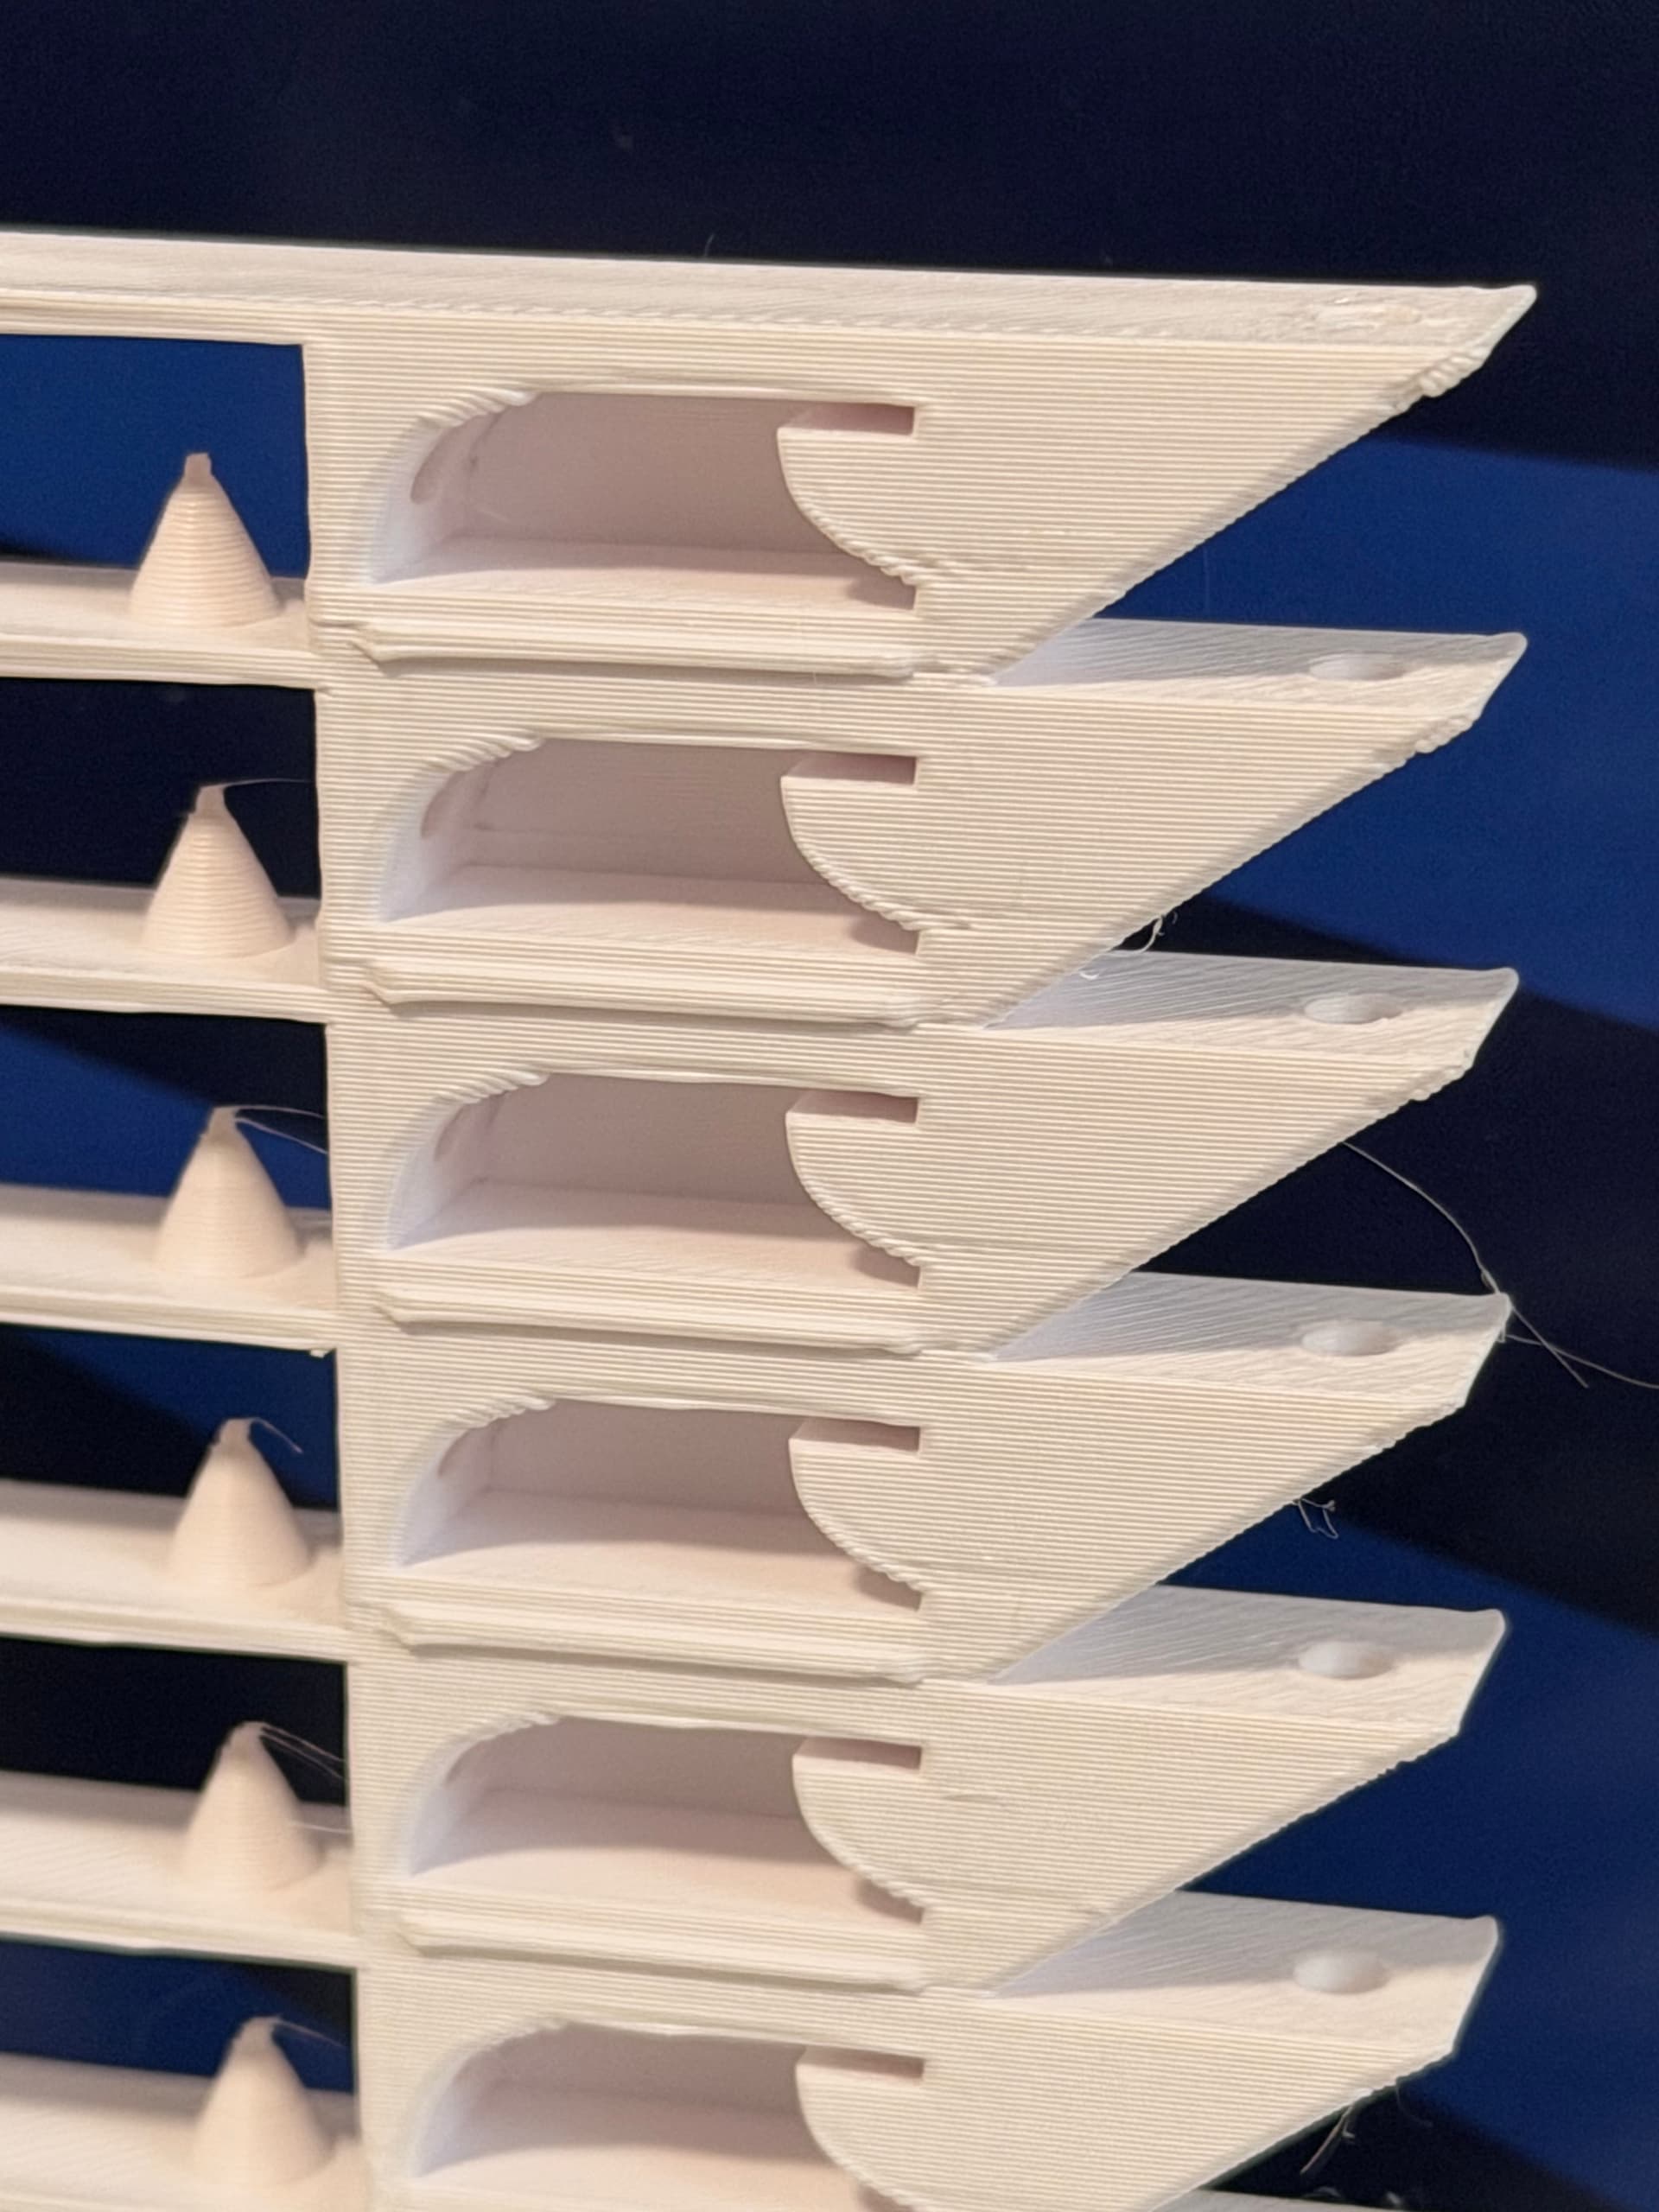
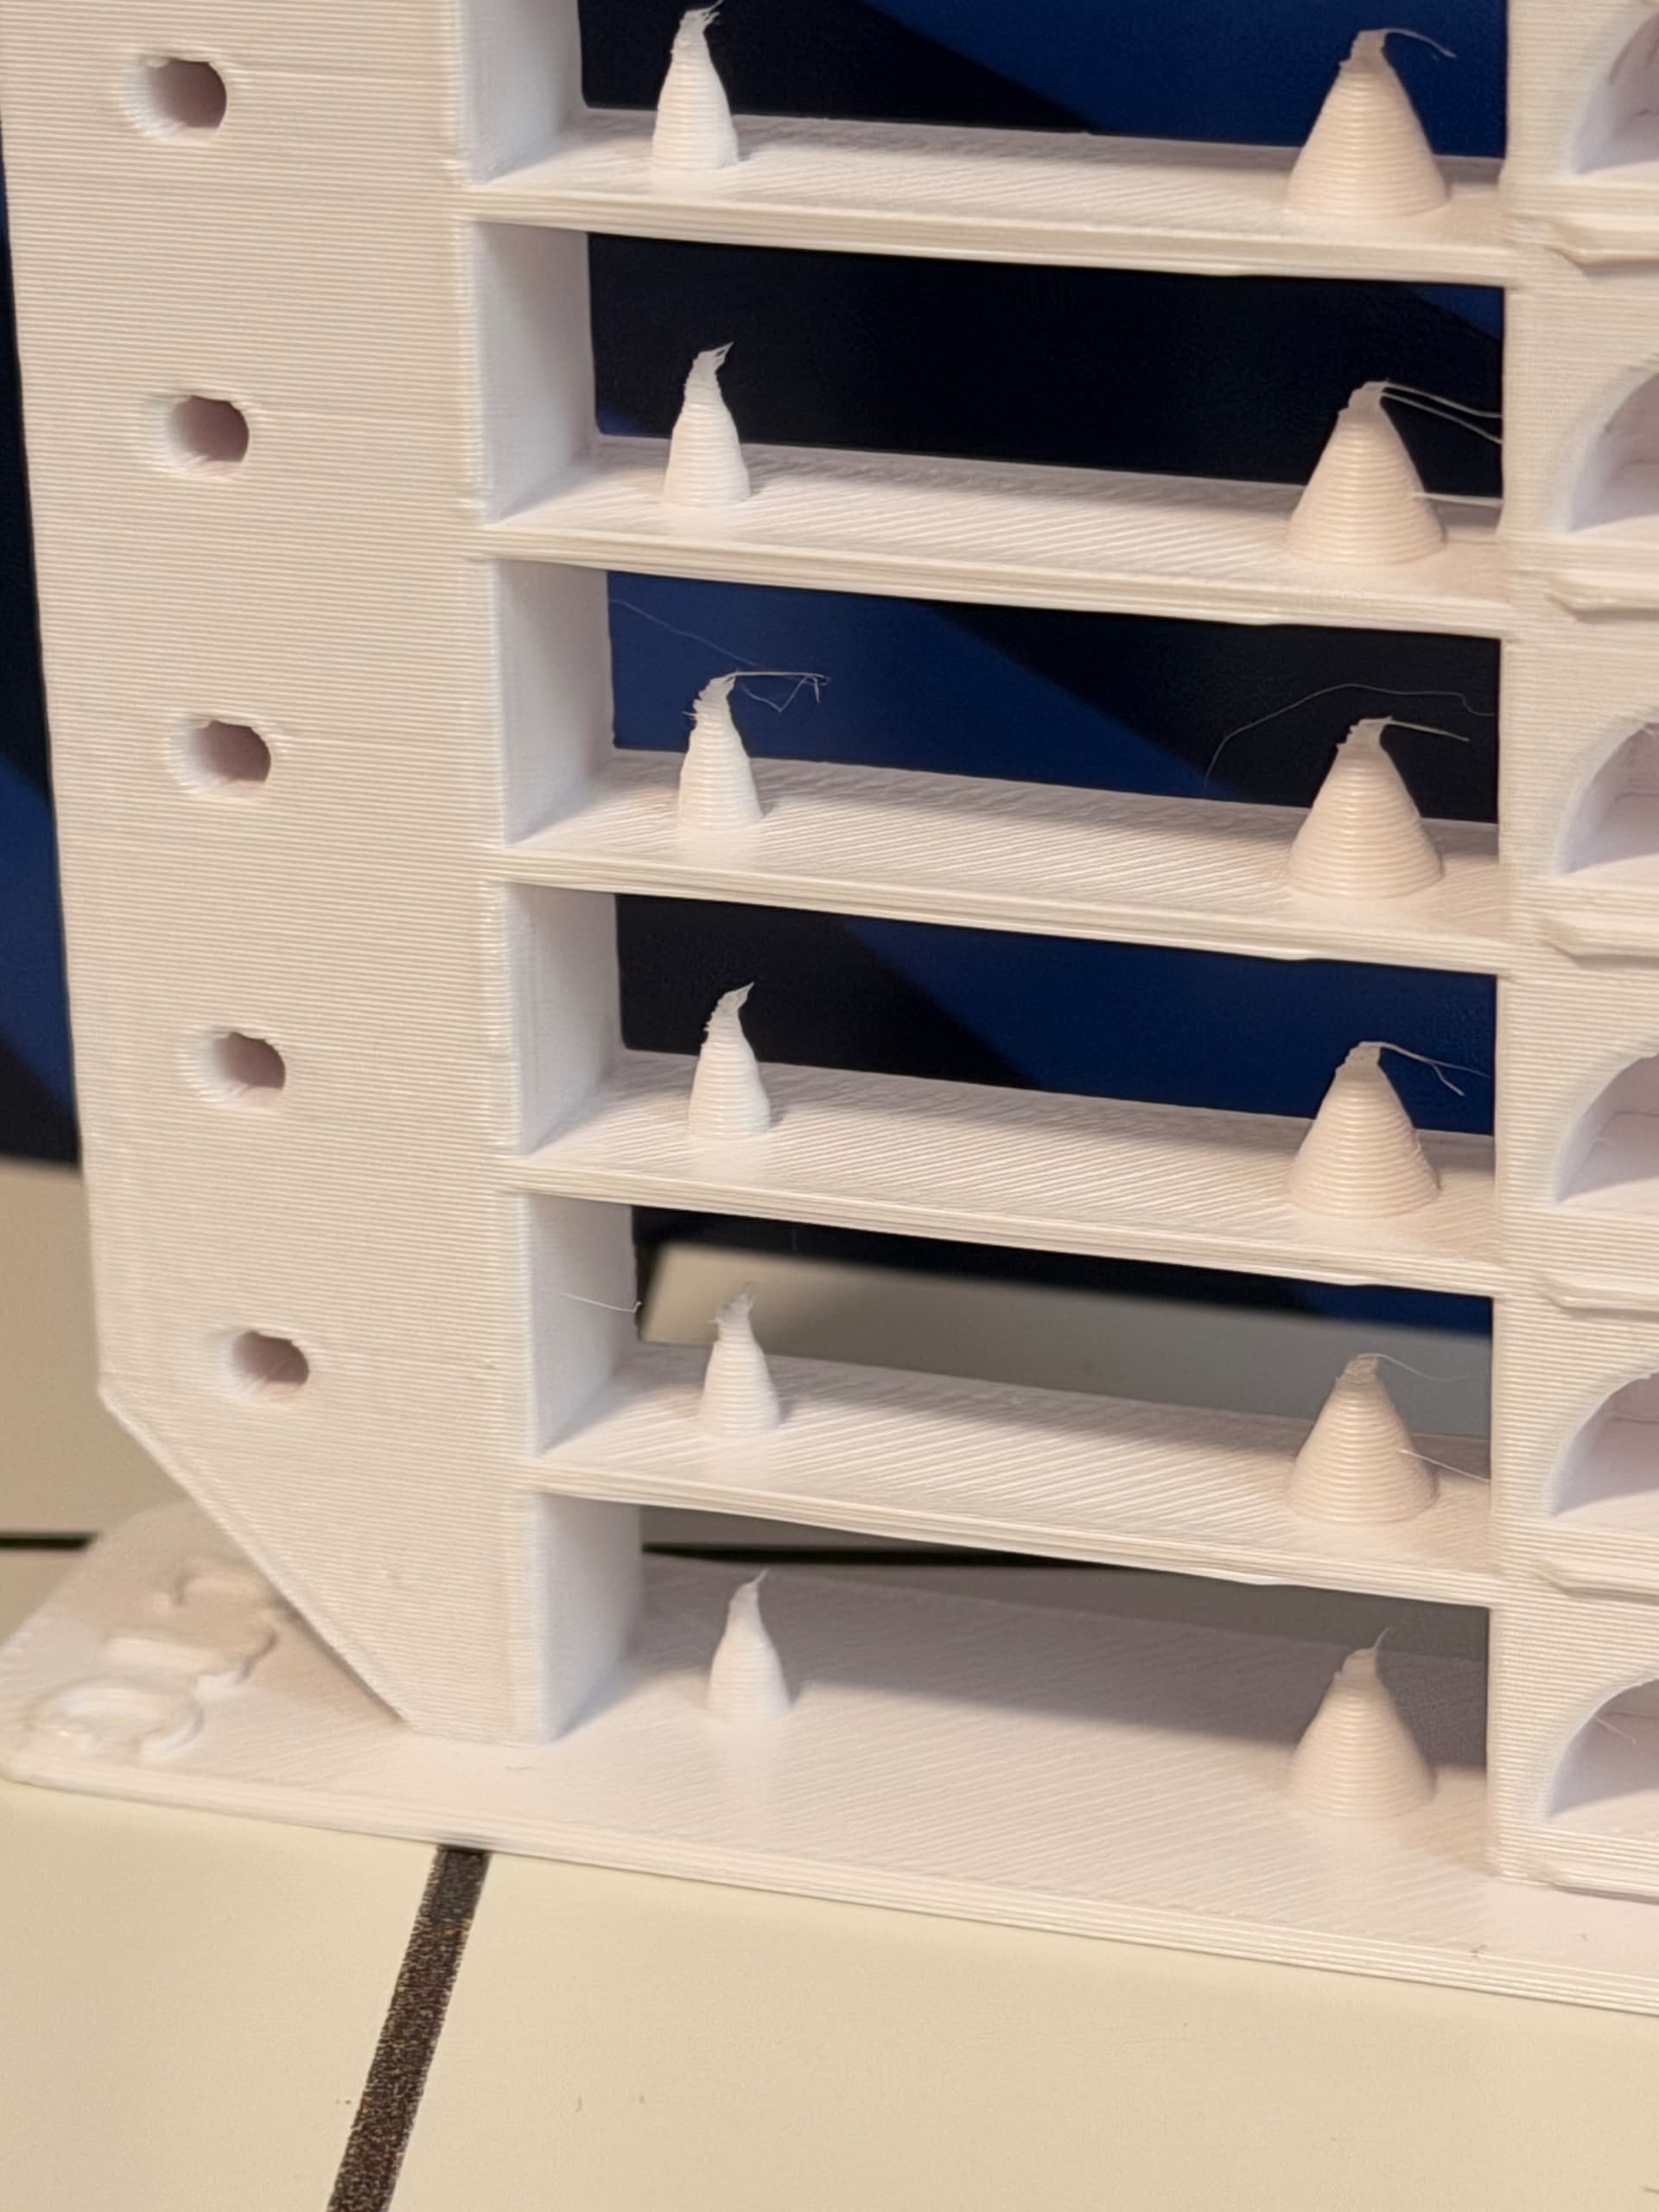
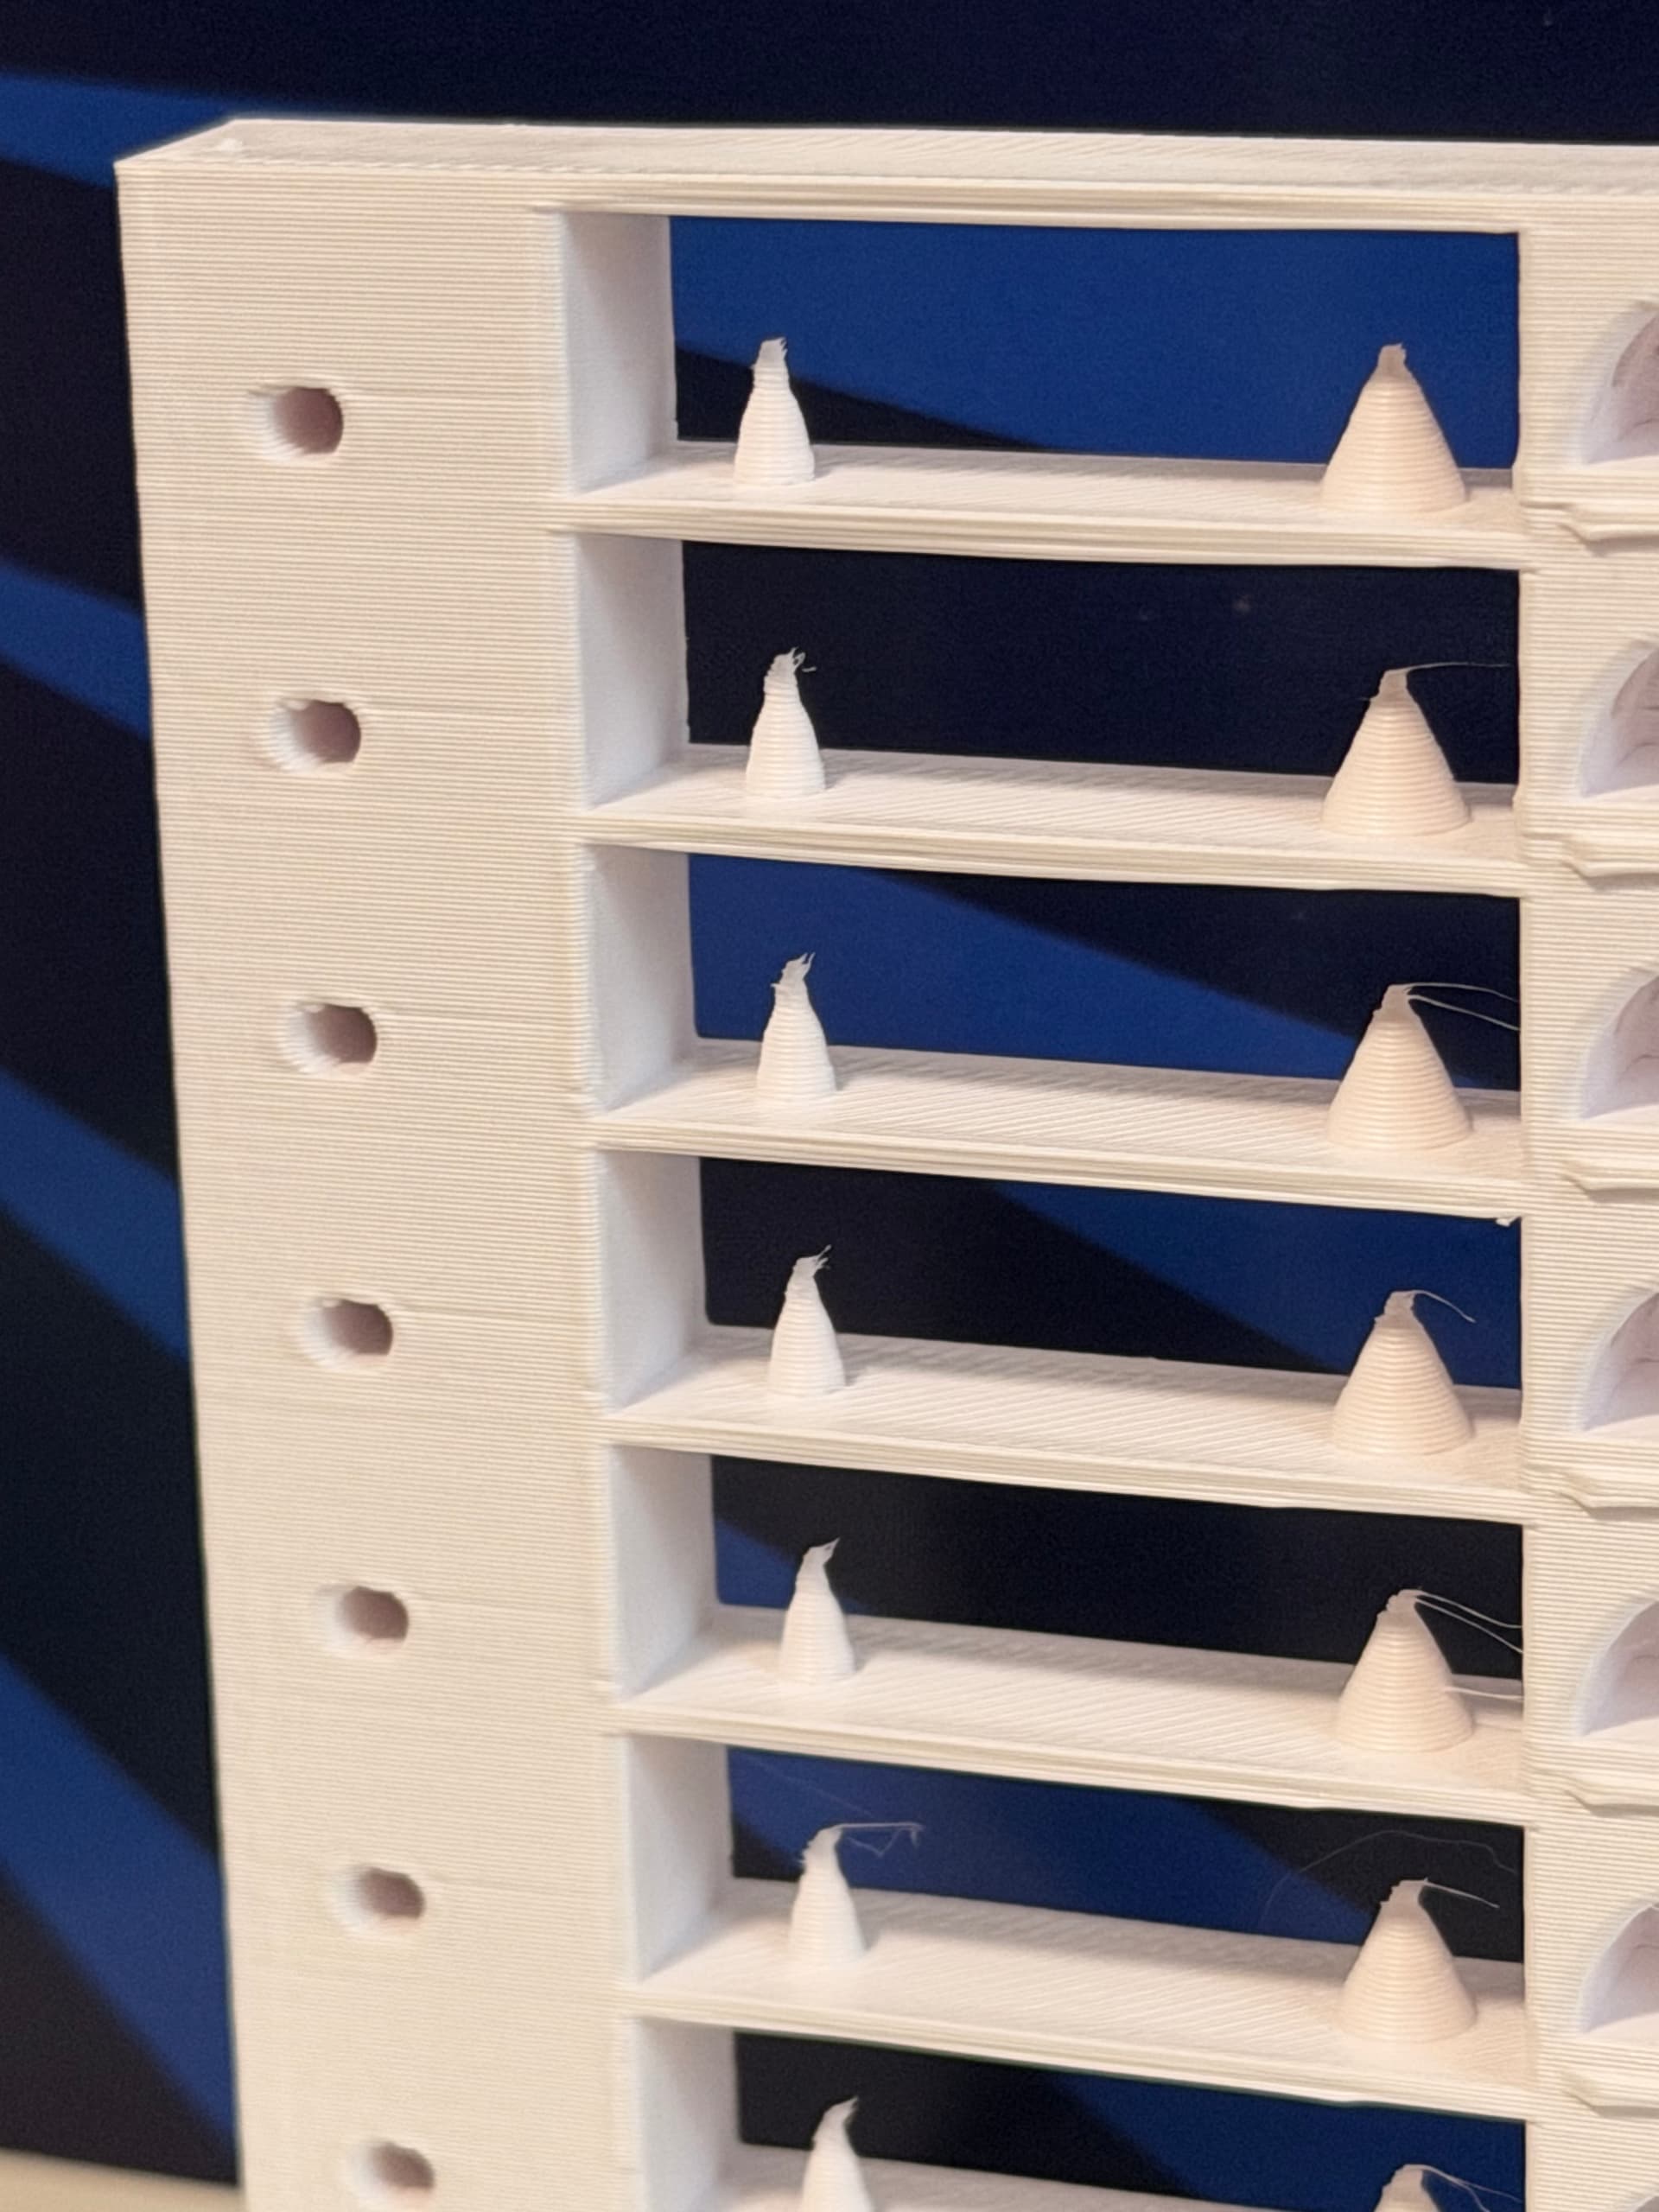
Production part - less concerned with bed adhesion problem than I am with the lumpiness/skipping around the corner… this was after running a Pressure Advantage test and setting an appropriate K value.
Many thanks – the responses in this thread have already been enlightening, so I’m really hoping some of y’all kind folks could point me in the right direction 