Need Help Painting Eyes on Life-Size LEGO Brickhead (600% Scale) in Bambu Studio – Fusion User**
 The Project
Hey everyone! I’m working on a big personal project — a 600% scale LEGO Brickhead Stitch, printed full-size. The project is going great so far, but I’ve hit a roadblock:
 What I Need Help With:
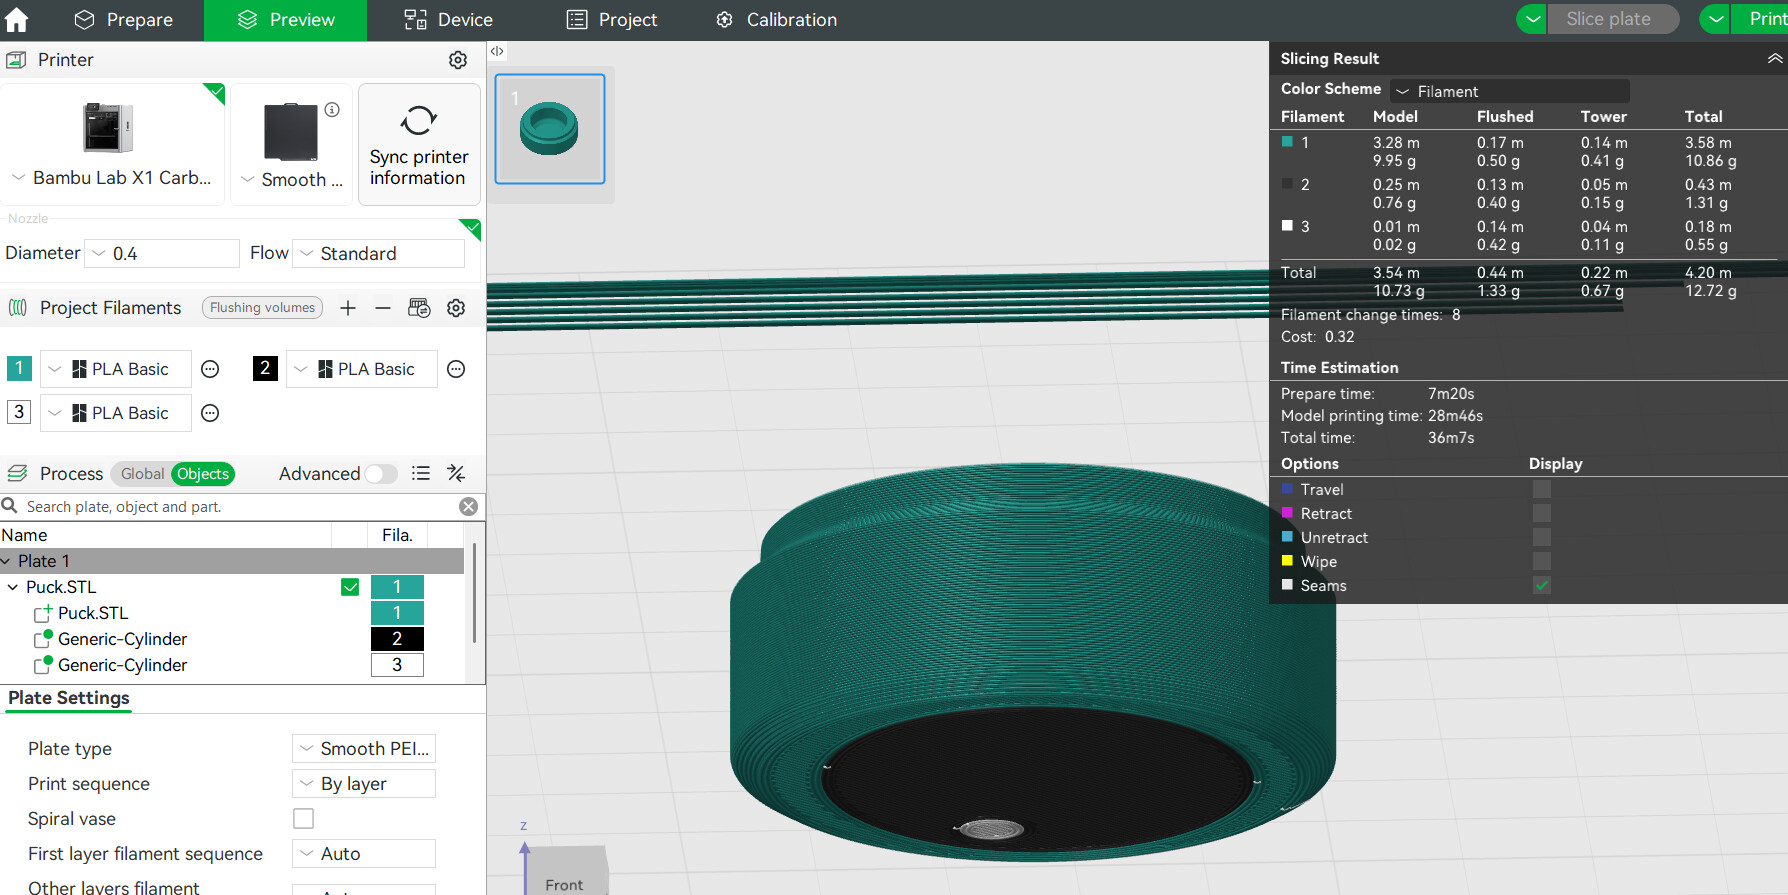
I’m trying to paint a simple logo (or eyes) onto a 1x1 round LEGO tile, and I’m having a hard time doing it inside Bambu Studio or any slicer.
I know it’s possible — creators like Nate from the Internet have done it with custom painting and logos (like on their print profiles or models in Handy). I’d love to do the same.
 What I’ve Tried:
- I modeled the parts in Fusion 360, and sometimes SketchUp or Tinkercad.
- I exported the round tile as a 3MF, and the size/scale is correct (600%).
- Tried painting in Bambu Studio and also looked into Onshape, but didn’t really understand how to do it properly.
- I’ve been searching for a tutorial or video, but still haven’t found a good one that explains it clearly.
 What I’m Sharing:
I’ve attached the file I’m working on right now:
![]() Puck.3mf (1448KB)
Puck.3mf (1448KB)
(a 1x1 round LEGO tile)
NOTE: I’m not sharing the full Stitch model yet, since this is still a private project in progress.
This tile is all you need to test painting eyes or a logo.
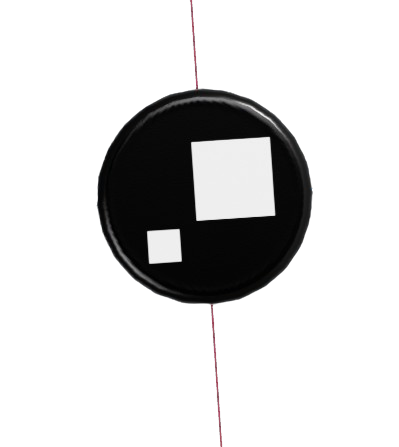
also heres what im trying to do the lego eye tile here
 What I Need:
- How do I paint clean 2-color graphics (like Stitch’s eyes) onto this tile face?
- Should I use a different workflow
- If anyone is able to demonstrate it with a video or even send back a sample, that would help a lot!
 Big Thanks + Shoutout
Whoever helps get this working will get a shoutout in my final LEGO Stitch Brickhead YouTube video when I release it!
![]() My channel: Andrews3DFactory
My channel: Andrews3DFactory
Thanks in advance for helping out!
— Andrew
 BONUS (Optional Add to Your Post)
Attach the file: