
Behind the Scenes of Our Sandtable Creations
Through our Sandtable Exhibition projects, we explore the creative possibilities of 3D printing by building detailed miniature worlds. Combining design, engineering, and craftsmanship, these installations showcase what can be achieved with 3D printing.
In our #BehindThePrint series, we share the challenges, creative solutions, and practical lessons behind these creations.
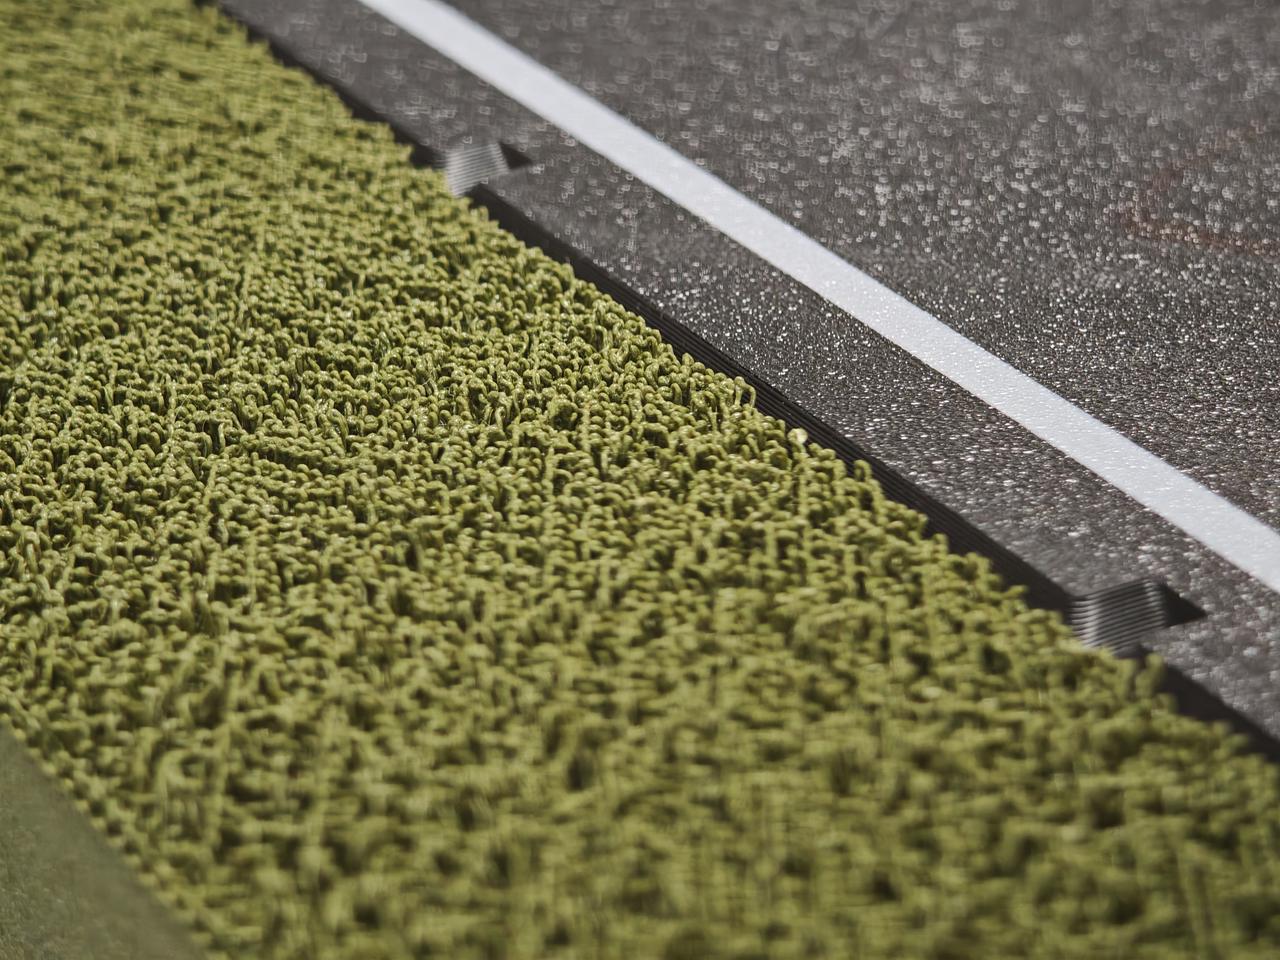
This Week’s Design Story: Creating 3D-Printed Grass
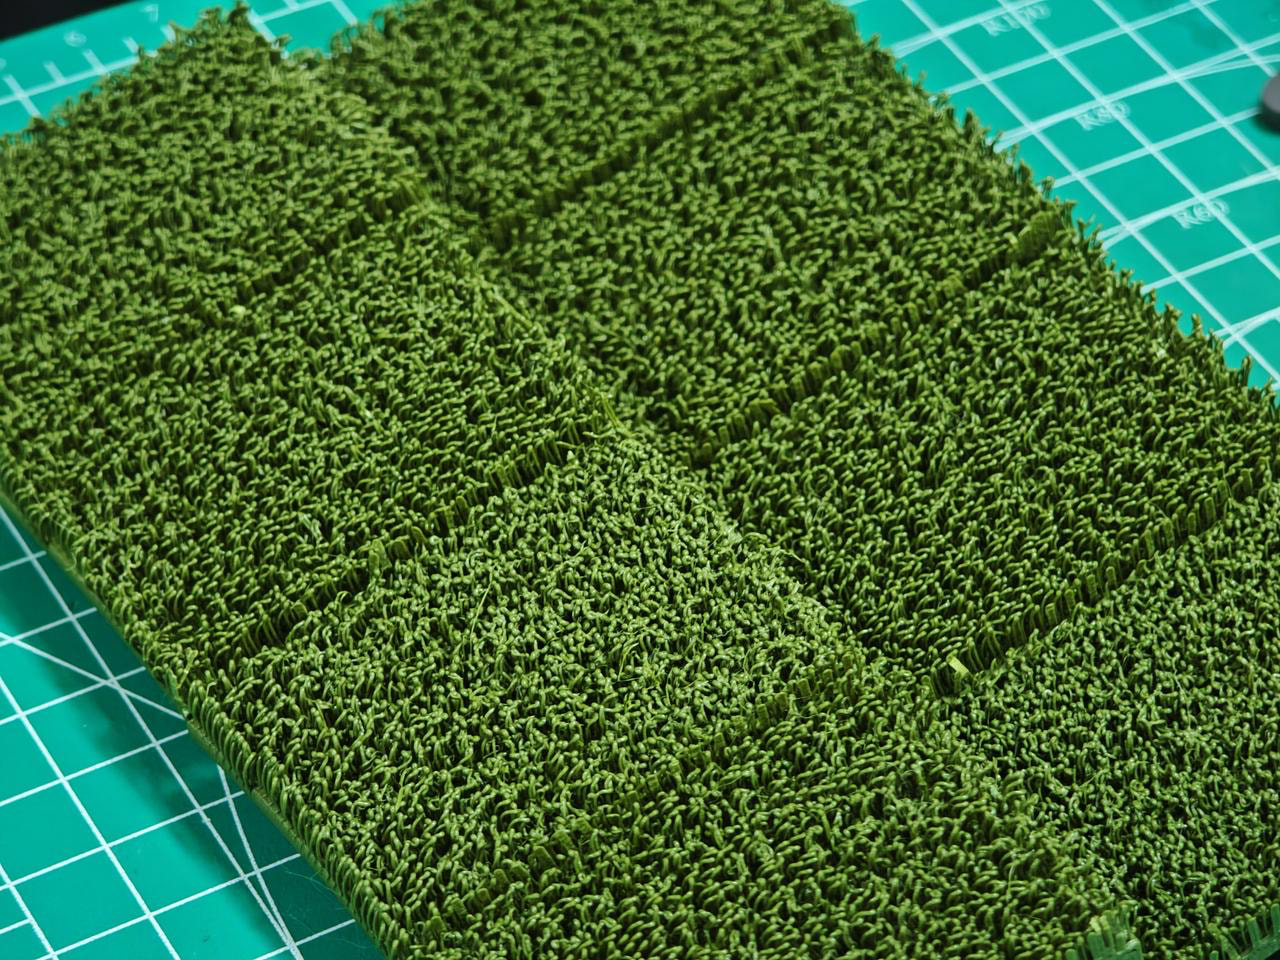
Sometimes, even the simplest details can become unexpected design challenges.
For one of our Sandtable projects, we wanted to add strips of grass along the edge of a miniature road. The goal was to create a dense, fine texture resembling individual blades of grass.
But achieving this with FDM 3D printing wasn’t as straightforward as it seemed.
When thin strands are printed vertically along the Z-axis, their dimensions are constrained by the nozzle. This makes achieving a fine, dense texture difficult. The slender blades are also fragile and can easily break during printing or handling.
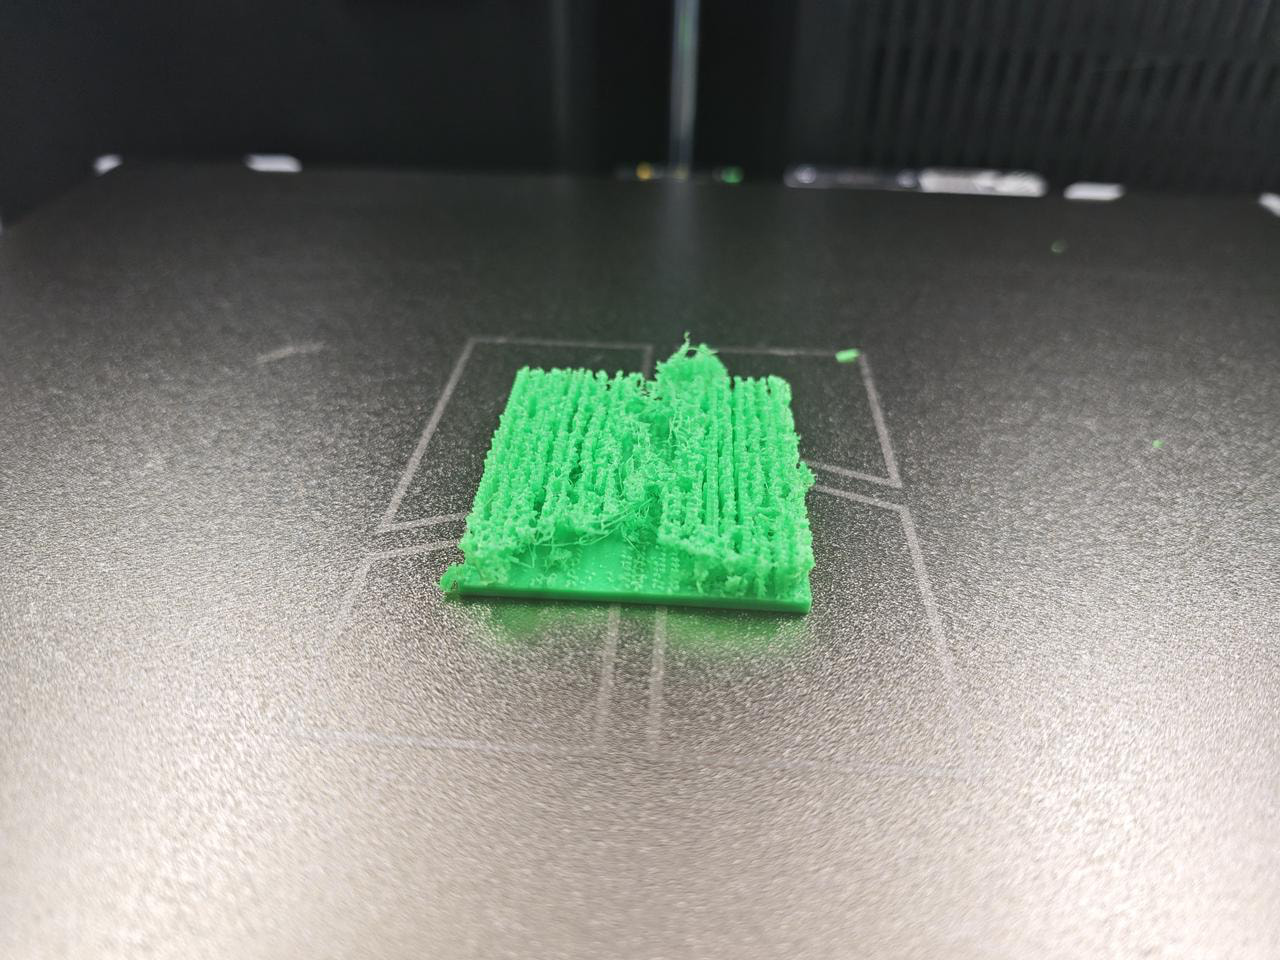
Creating dense collections of thin strands introduces challenges in both print quality and structural stability.
A smaller 0.2 mm nozzle could have produced finer blades, but it wouldn’t have solved the fragility of printing long, thin strands vertically along the Z-axis.
We therefore looked for a solution in the model’s geometry rather than the nozzle size.
A Different Approach: Changing the Orientation
Instead of printing the strands vertically, we positioned them horizontally, with their lengths parallel to the XY plane.
This small adjustment fundamentally changed how the printer could build each strand.
Why does this make a difference?
In FDM printing, the nozzle moves continuously across the XY plane, while the Z-axis determines how the model is built up layer by layer.
The layer height is typically smaller than the extrusion line width. For example, a 0.4 mm nozzle commonly uses a 0.2 mm layer height.
By placing the grass blades horizontally, we can use these characteristics to our advantage:
- Blade length extends along the XY plane, allowing continuous nozzle movement.
- Blade thickness builds up along the Z-axis, allowing stiffness to be adjusted through the number of layers.
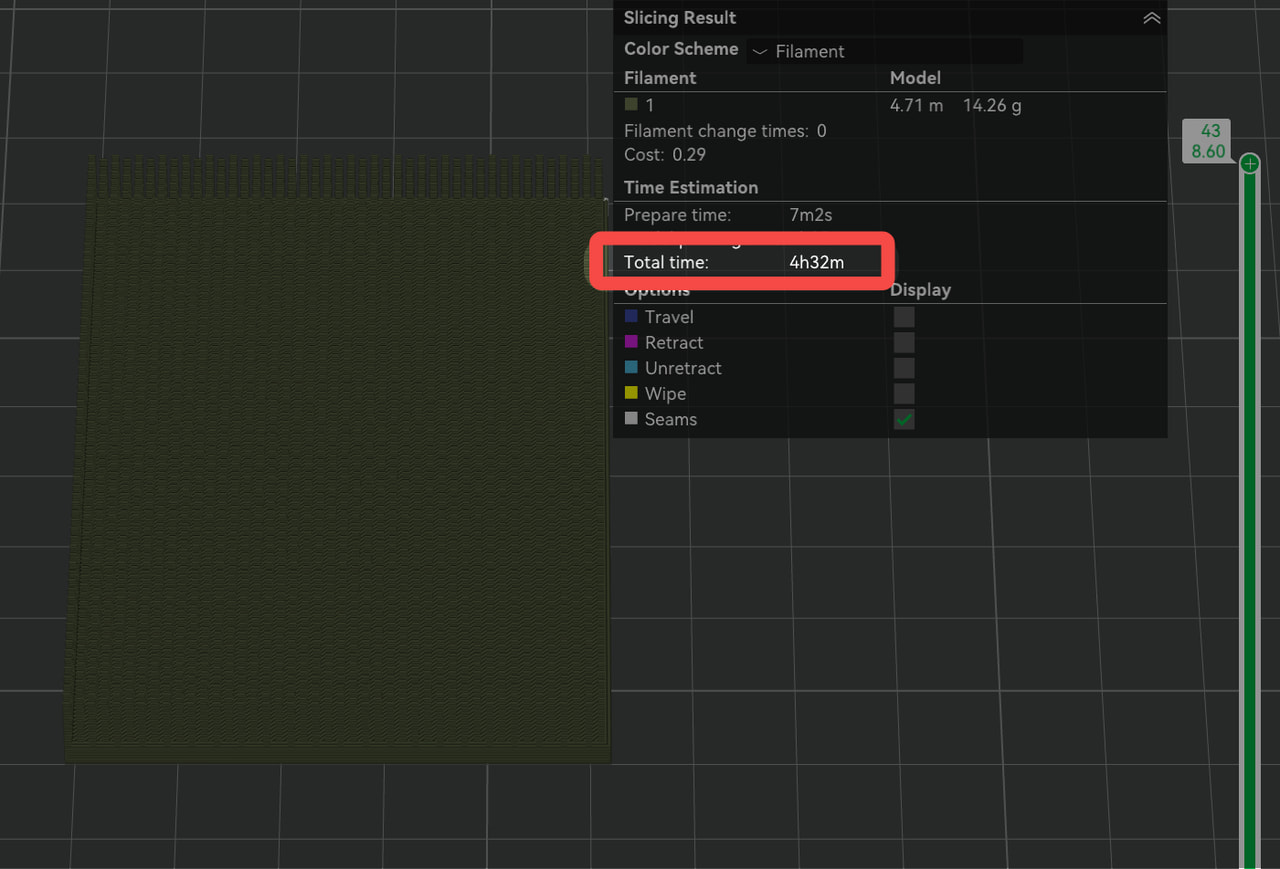
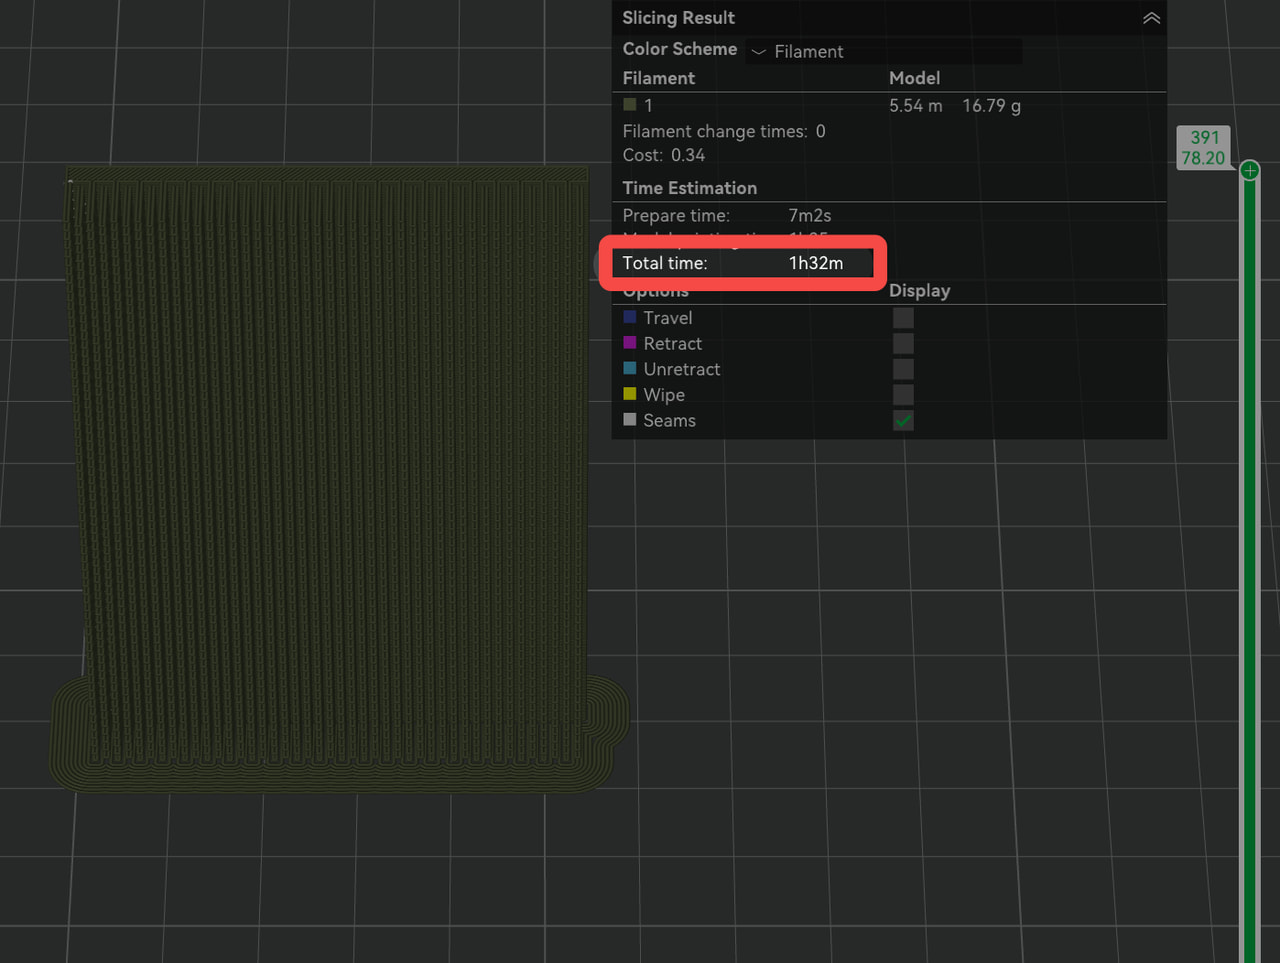
This approach makes it possible to form the blades through continuous extrusion paths rather than building them as tall, slender vertical structures. It can also significantly reduce printing time.
Why the Print Path Matters
Orientation is only part of the solution. The width of each grass blade also determines how the slicer generates the nozzle’s path.
For our grass design, we chose a blade width of twice the extrusion line width.
At this width, the slicer can create two adjacent extrusion lines forming a continuous path through the blades and their supporting base.

But what happens if the width changes?
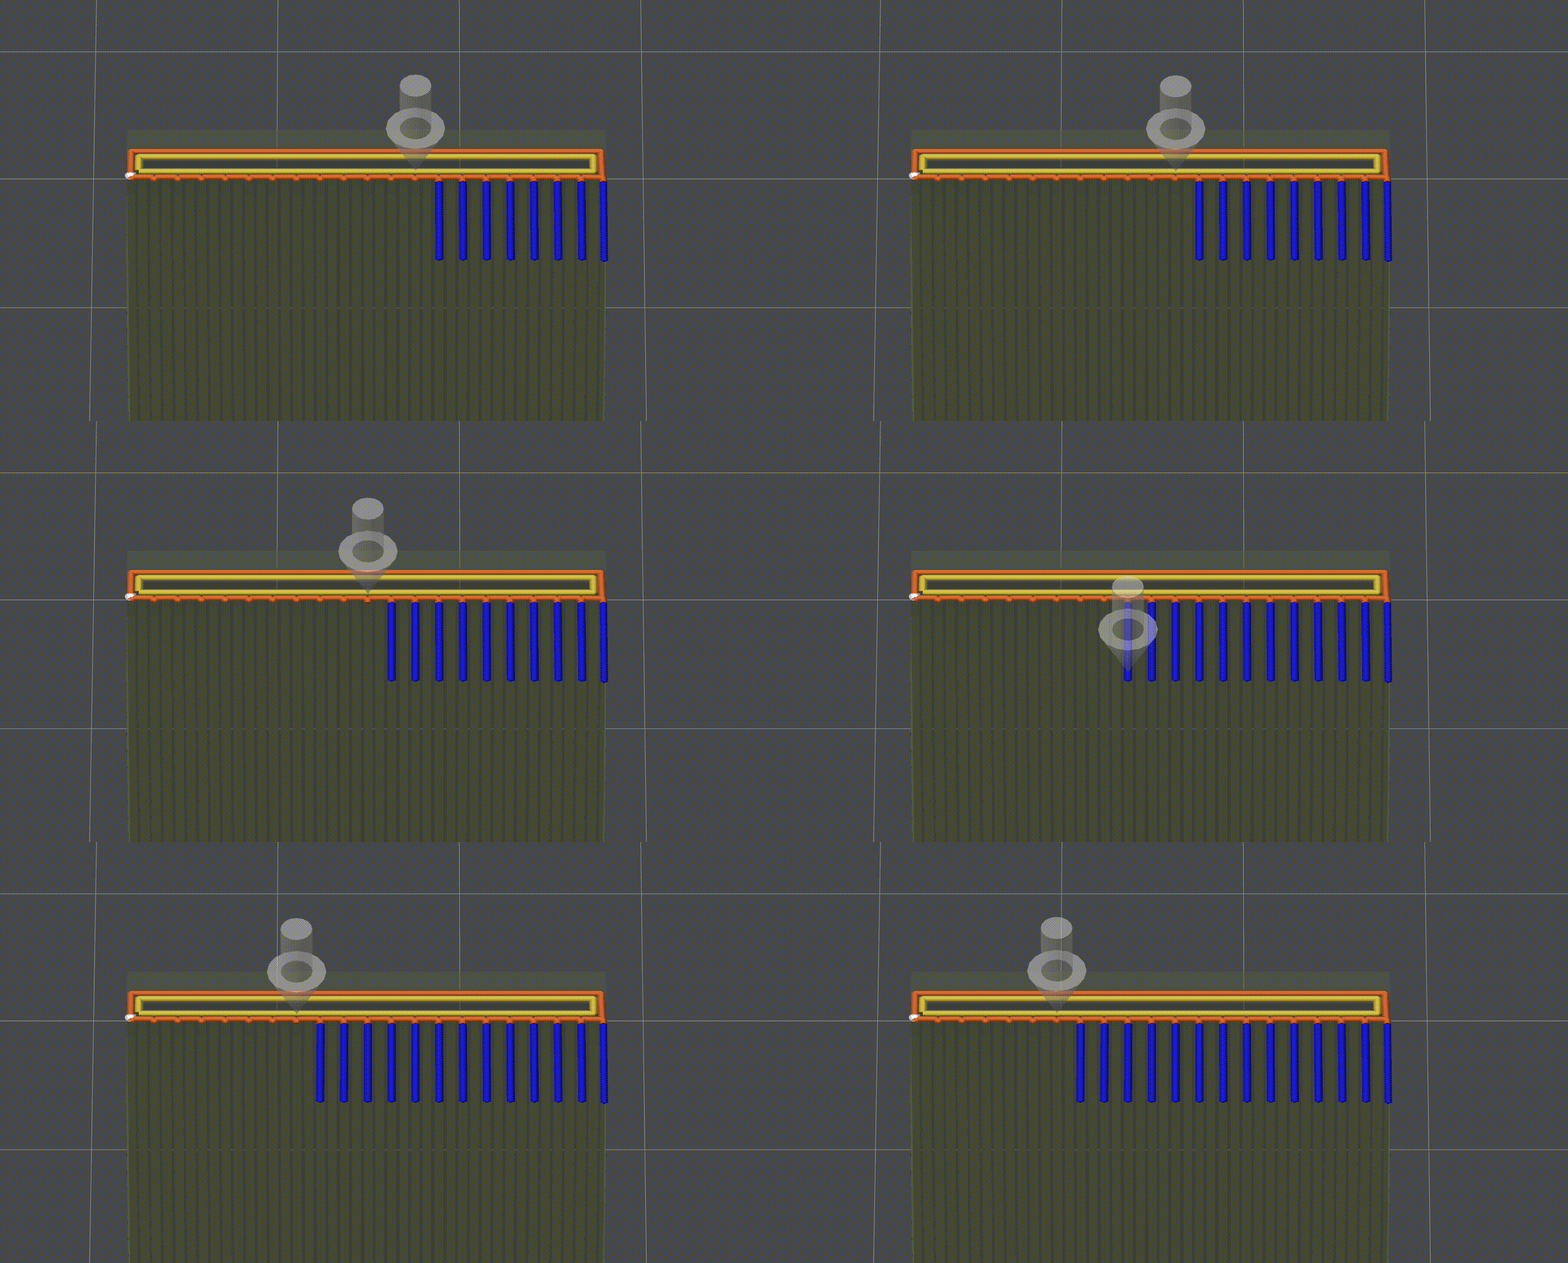
Too narrow or less than twice the line width
The slicer may generate separate paths for individual blades. Their start and end points occur near the base, creating potential weak points that make the individual strands easier to break.
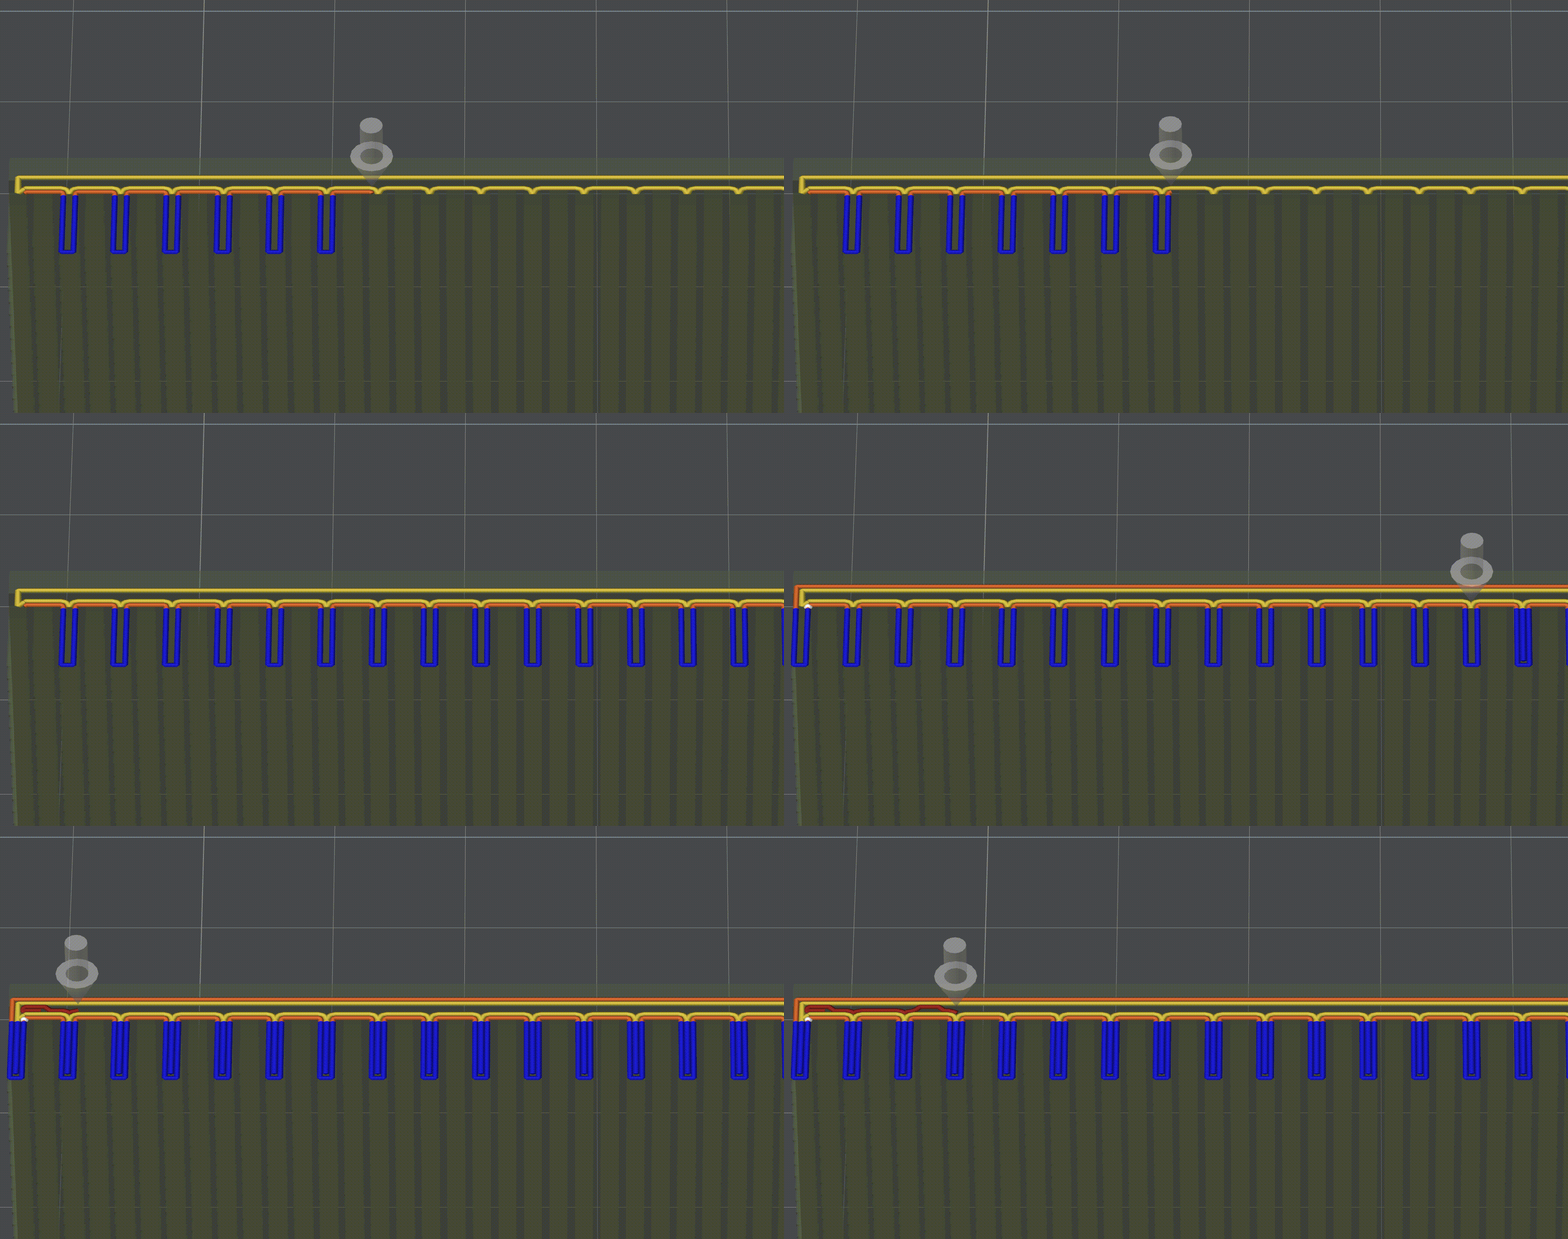
Too wide or greater than twice the line width
The slicer may print the outlines first, then return to fill the interior. Because the blades extend outward as overhangs, the outlines can deform before the nozzle completes the remaining material.
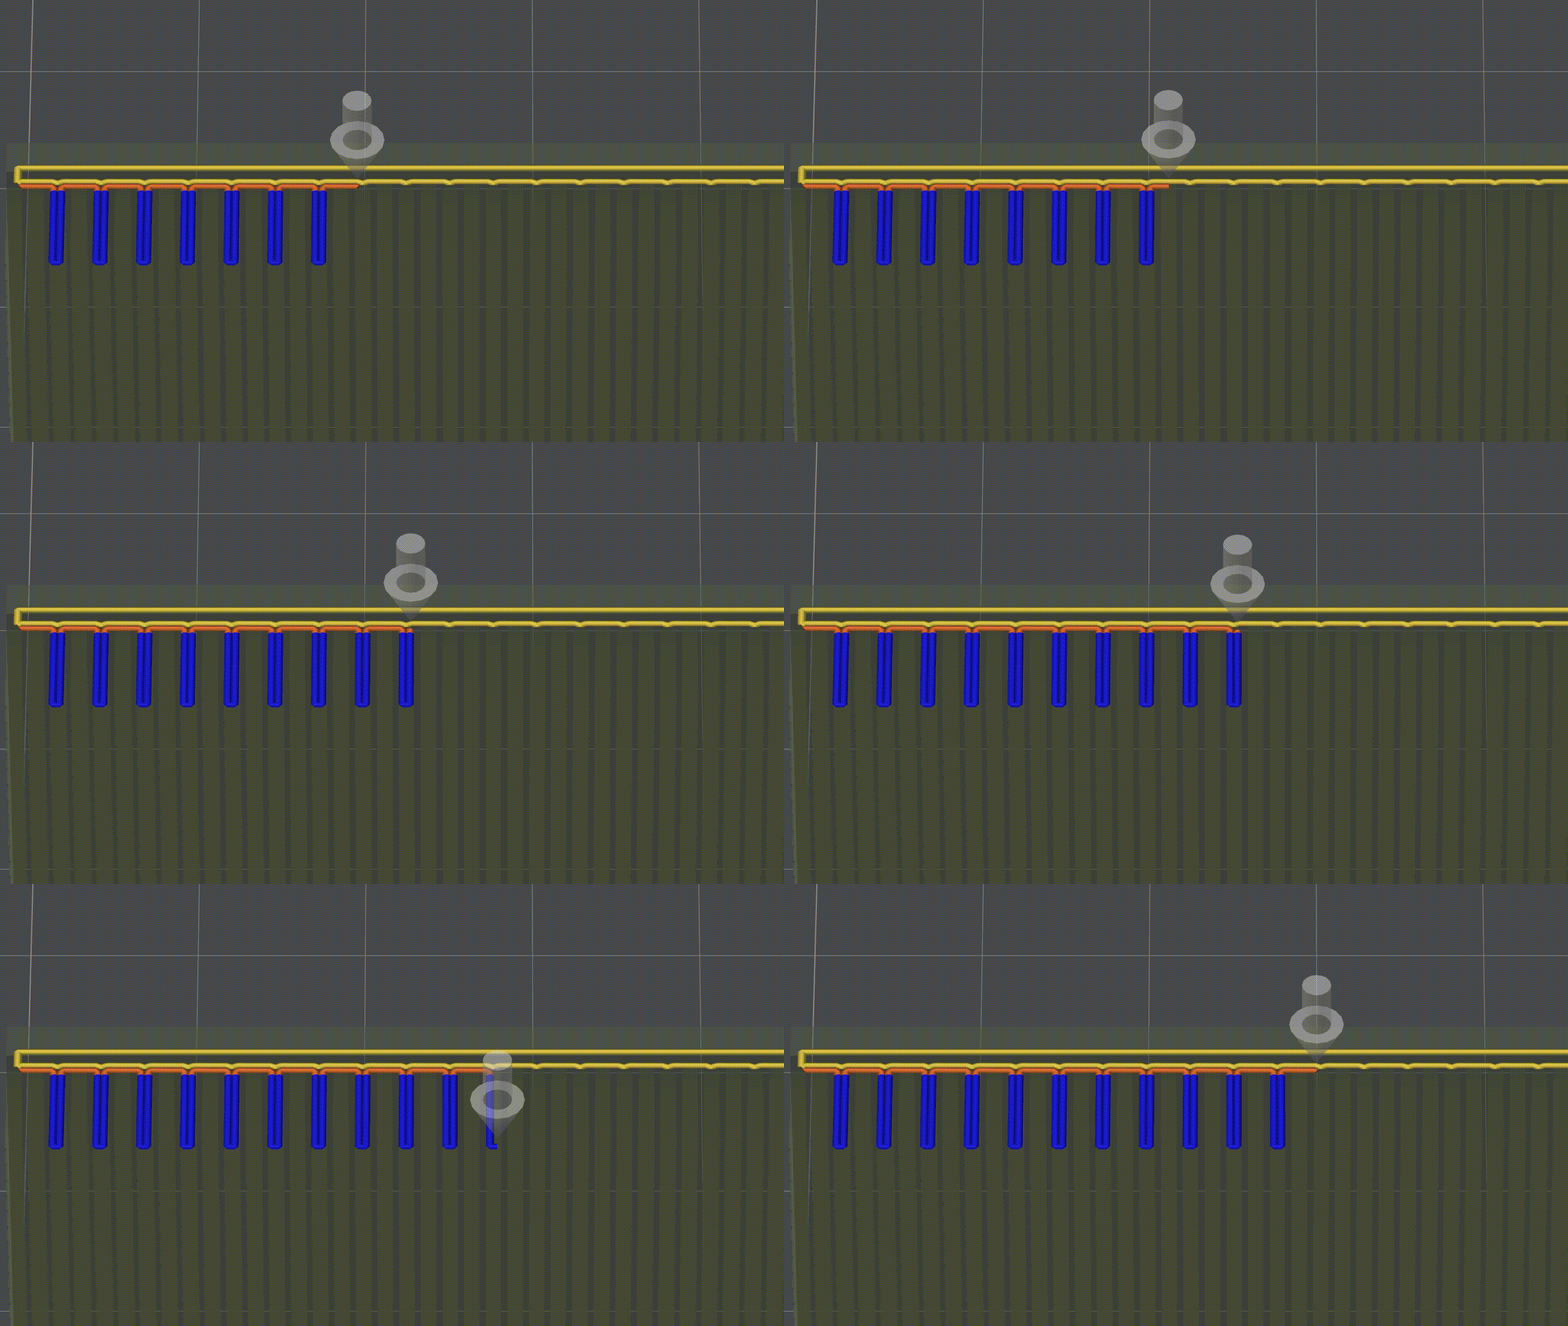
The right balance or twice the line width
Two adjacent extrusion lines can form a continuous path, helping maintain stronger connections while avoiding unnecessary filling.
Sometimes, improving print strength starts with understanding the nozzle’s path.
Finding the Right Flexibility and Length
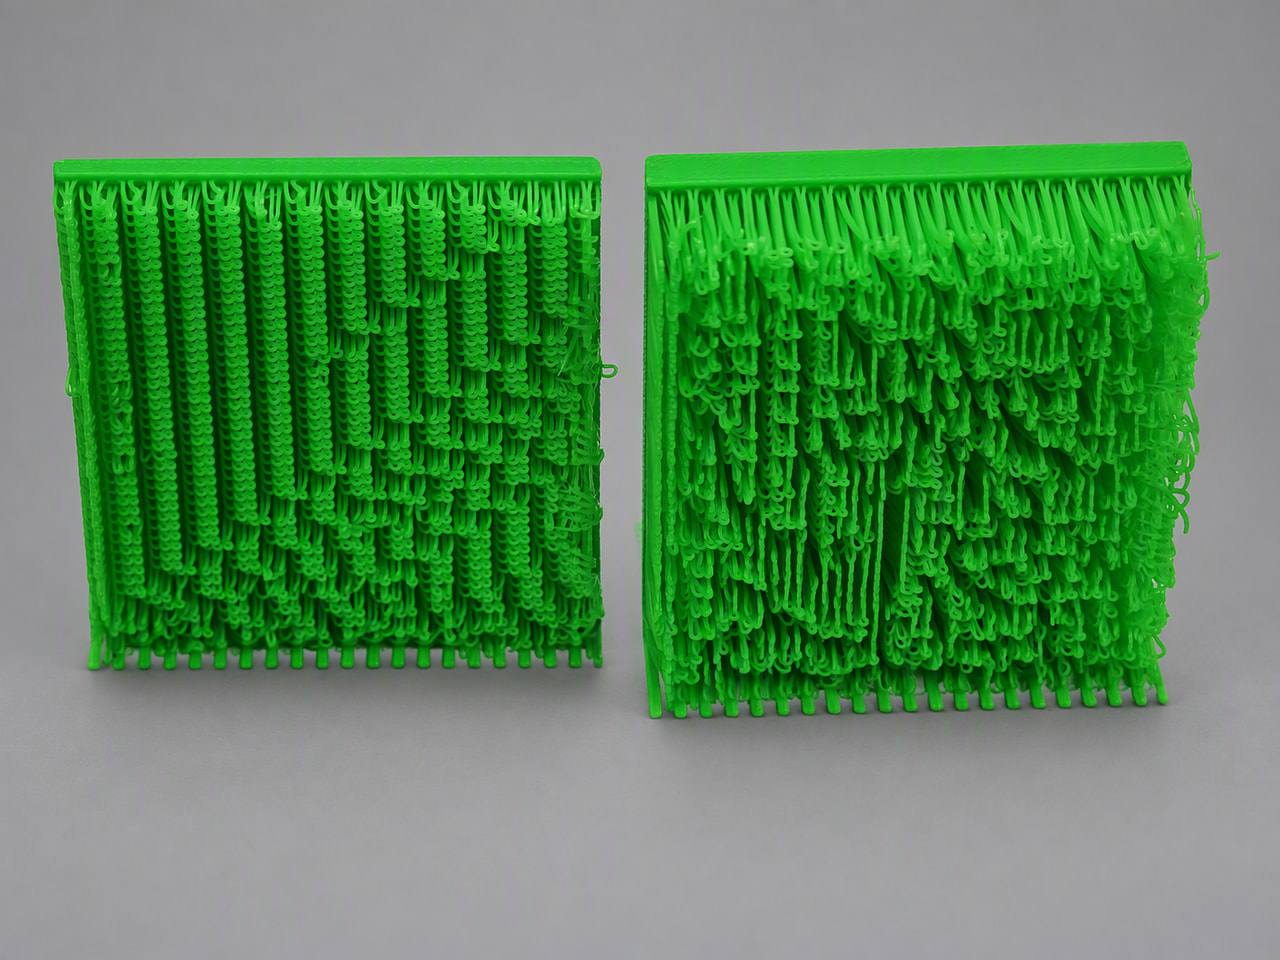
Once the blade width and orientation were established, two more dimensions influenced the result: thickness and length.
Thickness controls stiffness. Adding more layers makes each blade thicker and stiffer. However, excessive thickness can cause repeated reheating, uneven cooling, and deformation.
To balance flexibility and structural stability, we kept the blade thickness at 0.8 mm or less.
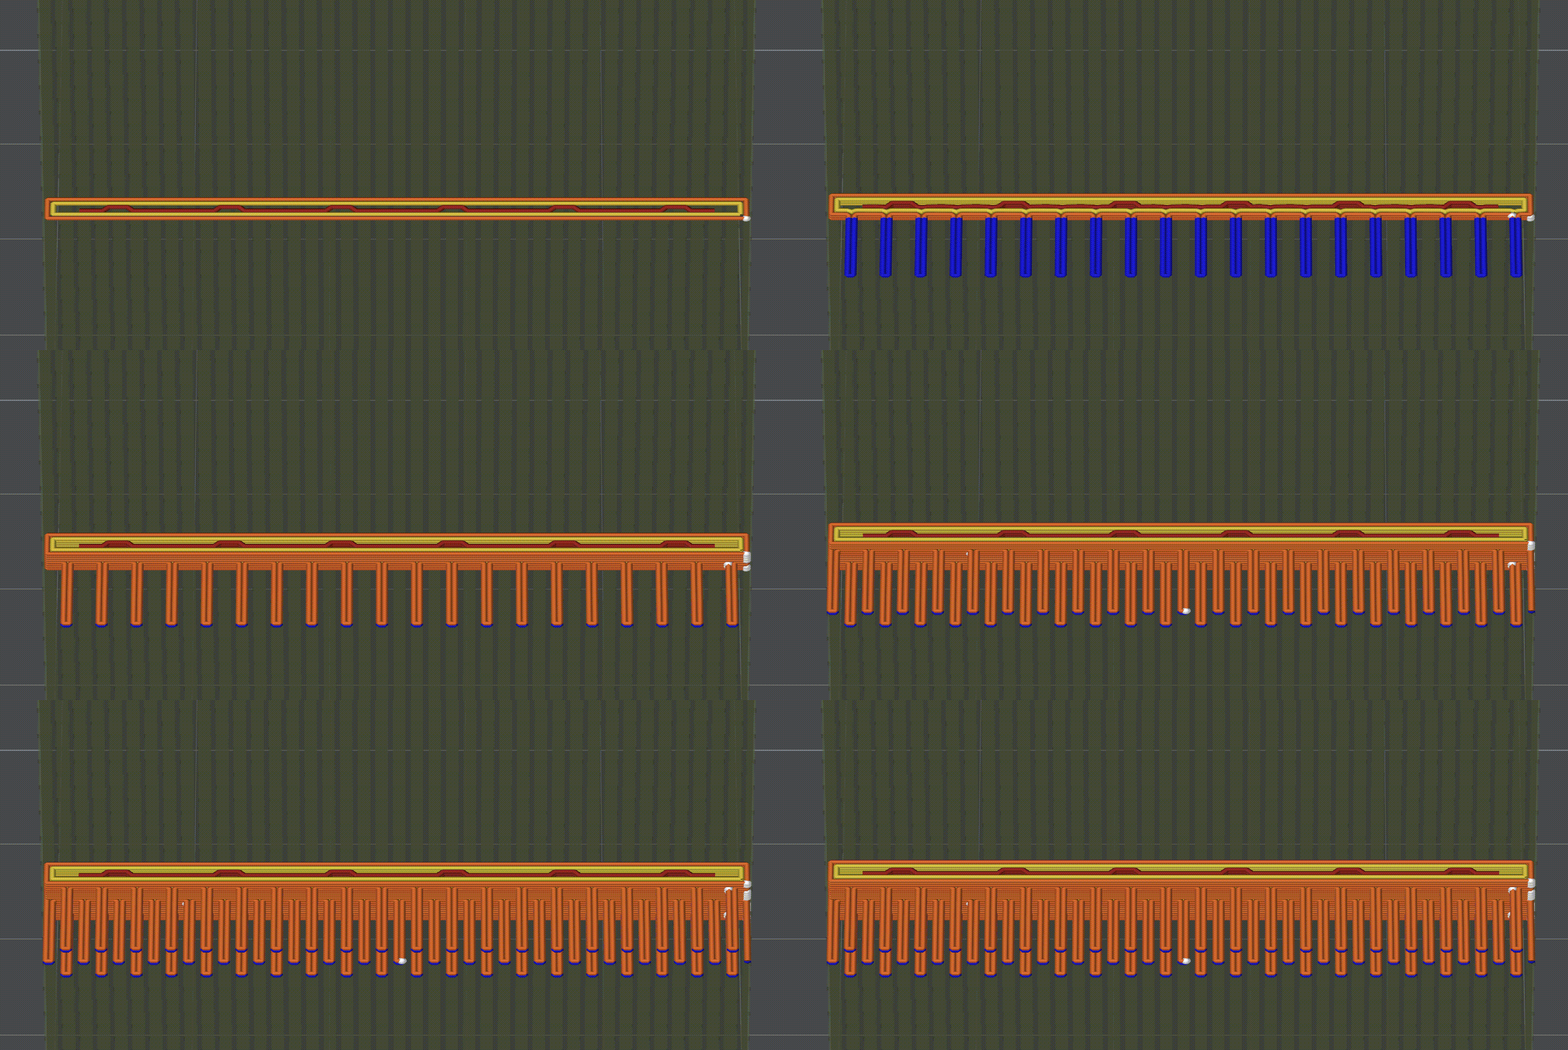
Length affects flexibility. Longer blades bend more easily, but they are also more likely to deform before cooling. This meant that blade length and thickness had to be considered together.
For designs requiring blades longer than 10 mm, we found it more practical to divide them into separate sections, each with only one row of blades tall. These sections can be arranged and printed together on the build plate, then joined afterward using glue or other suitable methods to form the complete grass texture.
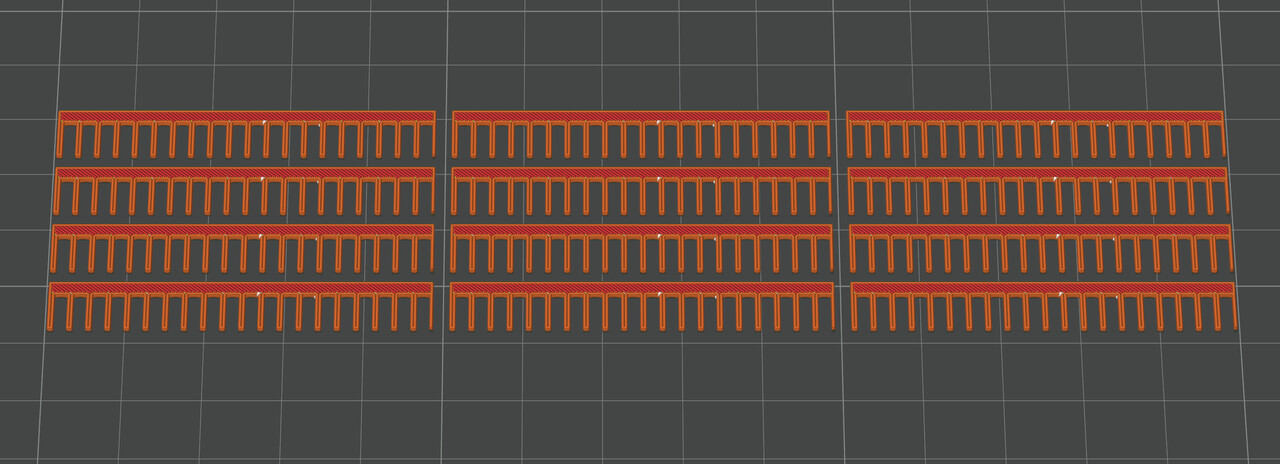
Printing the grass in separate, single-row sections allows them to be assembled into a larger texture afterward.
What Can We Learn From This?
Creating a convincing grass-like texture isn’t simply a matter of making individual strands thinner.
As we discovered, even small design decisions can significantly influence how a model is printed.
Changing the blade orientation allowed us to take advantage of continuous nozzle movement, while adjusting the blade width helped create more reliable connections between the strands and their base.
Balancing thickness and length introduced another consideration: the finer and more flexible a feature becomes, the more carefully its geometry must be designed to maintain printability.
This highlights a broader principle that extends beyond miniature grass. Whether you’re designing delicate decorative elements, brush-like textures, or other thin structures, it’s worth considering not only how the finished object should look, but also how the printer will build it.
Good 3D-printing design isn’t just about creating the right shape. It’s about creating a shape that works with the printing process.
More Stories Behind the Print
Of course, designing the blades is only half the story.
Because these strands are printed as overhangs, their final appearance also depends on how they are cooled during printing.
In our next #BehindThePrint, we’ll explore how adjusting fan settings can help control these overhangs and create a more natural-looking grass texture.
We’re always happy to hear your thoughts and experiences! Have you experimented with similar textures or techniques? Or is there another 3D-printing topic you’d like us to explore? Let us know in the comments. We’d love to hear your ideas!
See you in the next #BehindThePrint!