I have tried to change the colour of an object when using the bambu studio software. Is there a simple way to highlight the object and easily change the filament spool for the entire object? Right now, i am manually painting it the new colour. This takes time and also easy to miss small spots.
Yes. Set to process to objects so that is displays the object list. Highlight the object that you want to change color. It’s current color is displayed on the right. Right-click on the line. Near the bottom of the selection list is ‘change filament’. Click this and you can change the object color.
A simple way to change the filament used to print an object with the ams is to click on the object, then press the number key corresponding to the filament you want to use.
IE:
Filament 1=black, 2=red, 3-blue, 4-green.
Click the object you want to be blue.
press the number 3.
tada…
To my knowledge you can’t paint an object with the Handy app. It must be done in Bambu Studio. The only way to change colours in the Handy App is to pair a different colour of filament to the print via the AMS when sending the print to the printer.
I have text on an object. I want the object and the text to be different colors. Right now, I am unable to select the text and change the color of the text. When I do, it changes both the text and the object.
Or depending on how you have your SLDPRT set up, when you insert the text you could unclick merge bodies so they export as such. Then it is easy to change colors. Is the text embossed or debossed? IE how did you add it?
But I am kinda just guessing here. A picture would be great, but I know your trust level isnt high enough yet.
Yeah thanks for the paint tool tip. I got it done. Appreciate it.
I will probably add text in BambuStudio for the time being. I am definitely a newbie. Where would you “unclick merge bodies” as you say?
In Solidworks, after I created the object, I created a new sketch for the text only. Then raised it. I’m not able to add a pic (forum tells me media uploads not allowed).
@CincinnatiDesigns And flush text is as easy. Extrude-cut the recess using the text sketch, re-use the sketch and extrude-boss the text into the recess “up to next” and don’t merge. I do that all the time.
You can use split lines on the body, and apply the appearances to certain faces before you export as a 3mf.
This is a great tip. But I would also add that an important step is adding a very slight offset to the original sketch (~0.05mm). Depending on how your tolerances work out of course.
If it applies for anyone else reading, you can pretty much do the same thing in Fusion and Onshape as well. The process is slightly different, but its all in the same.


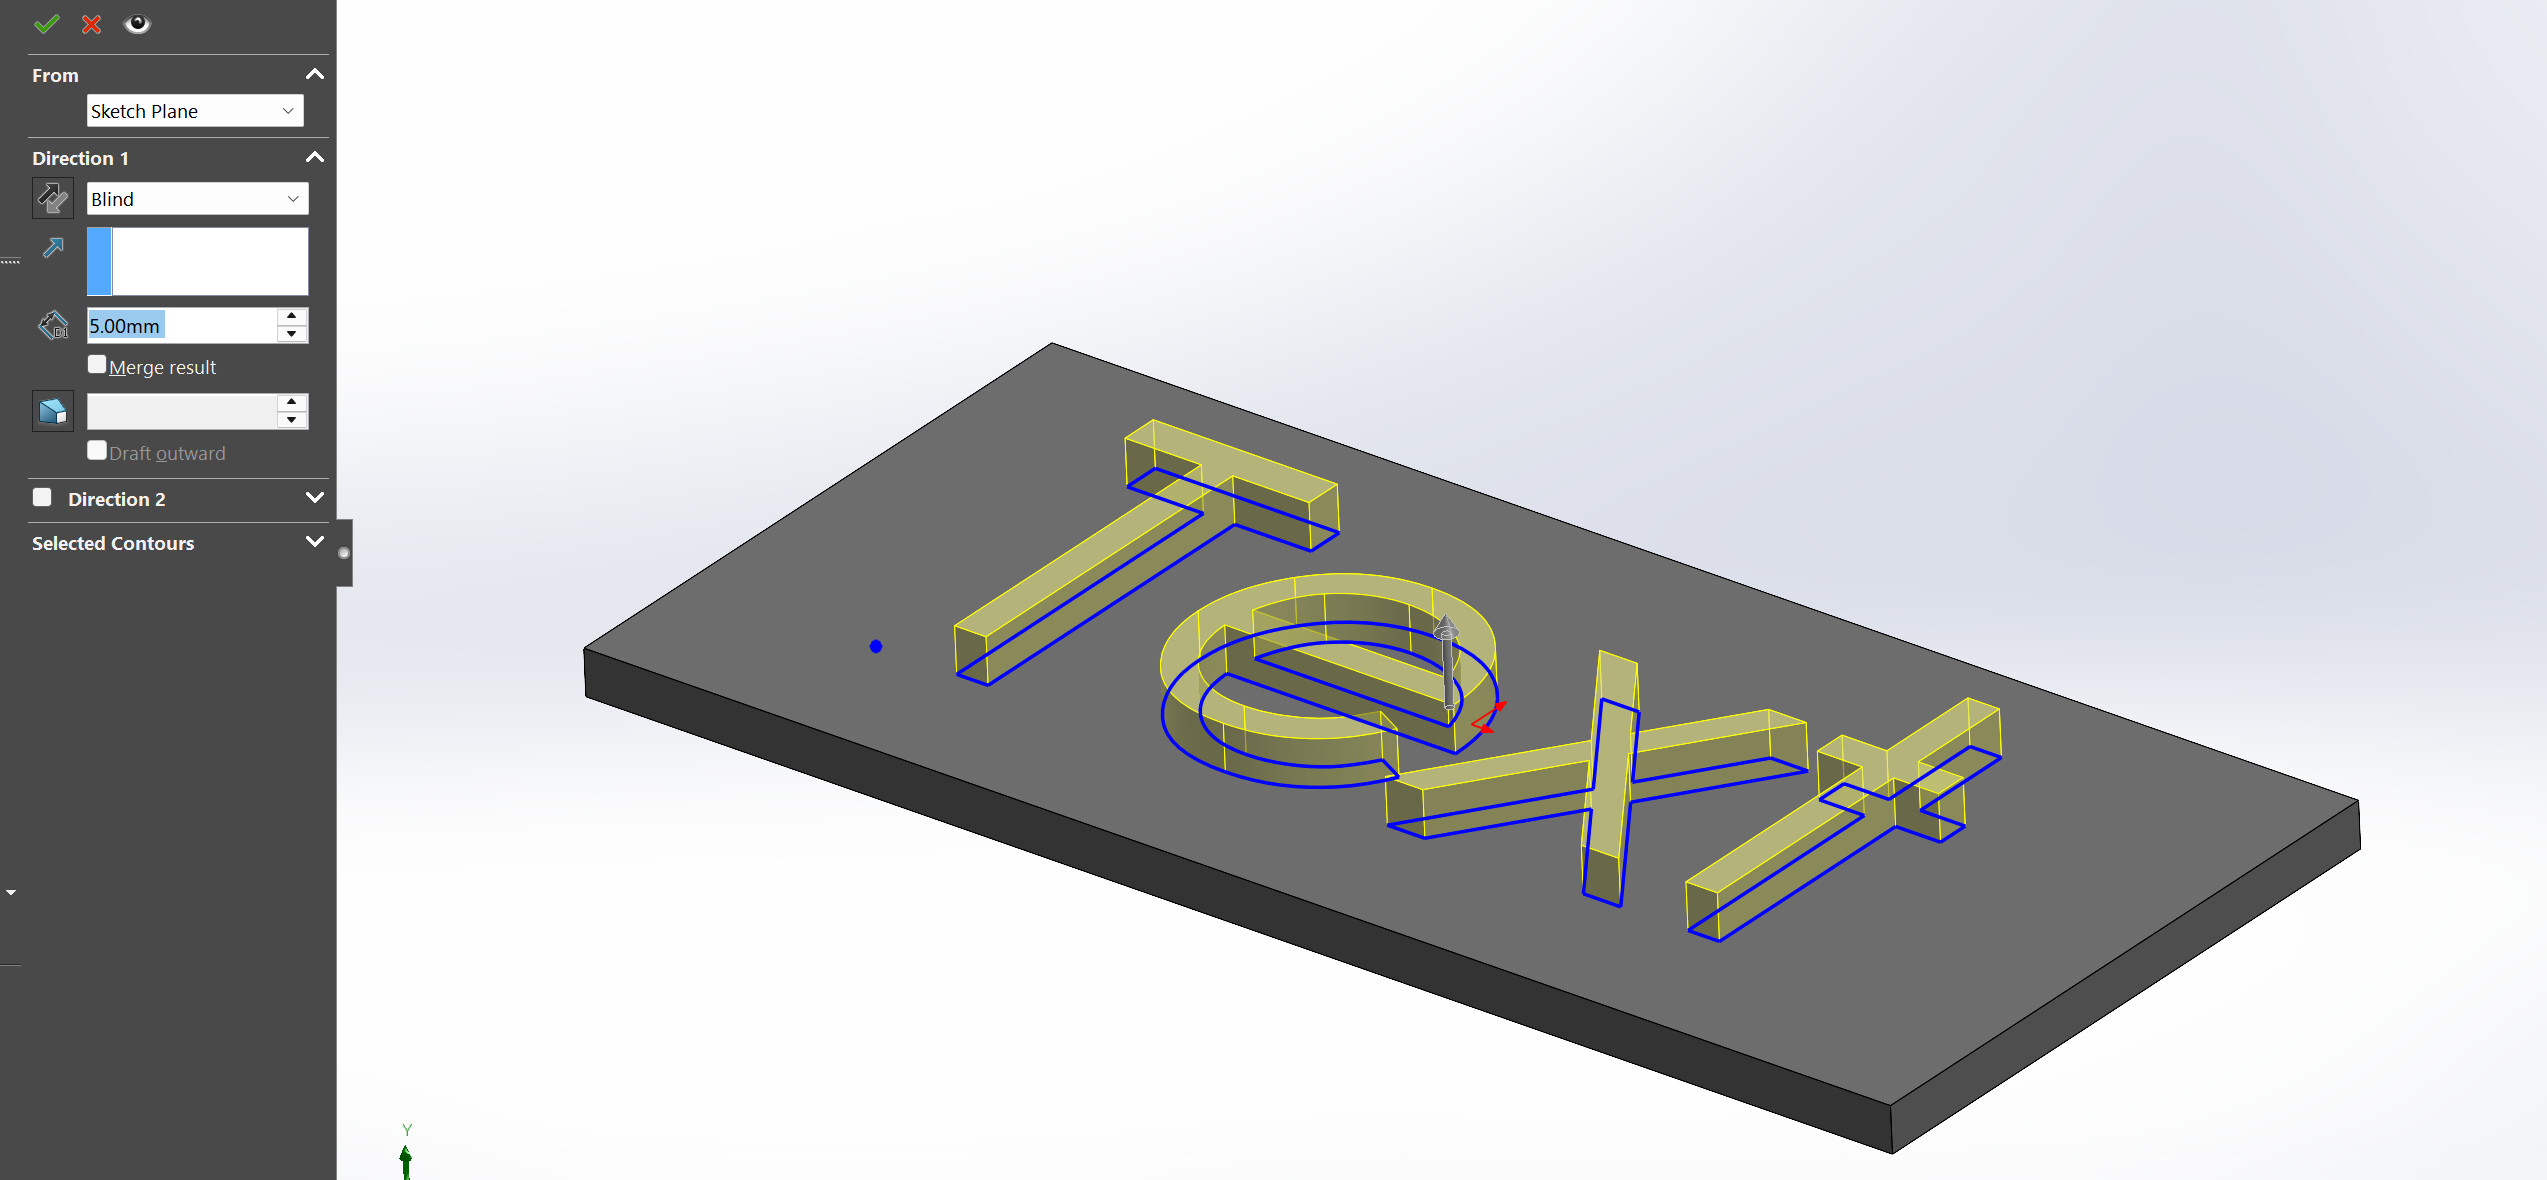
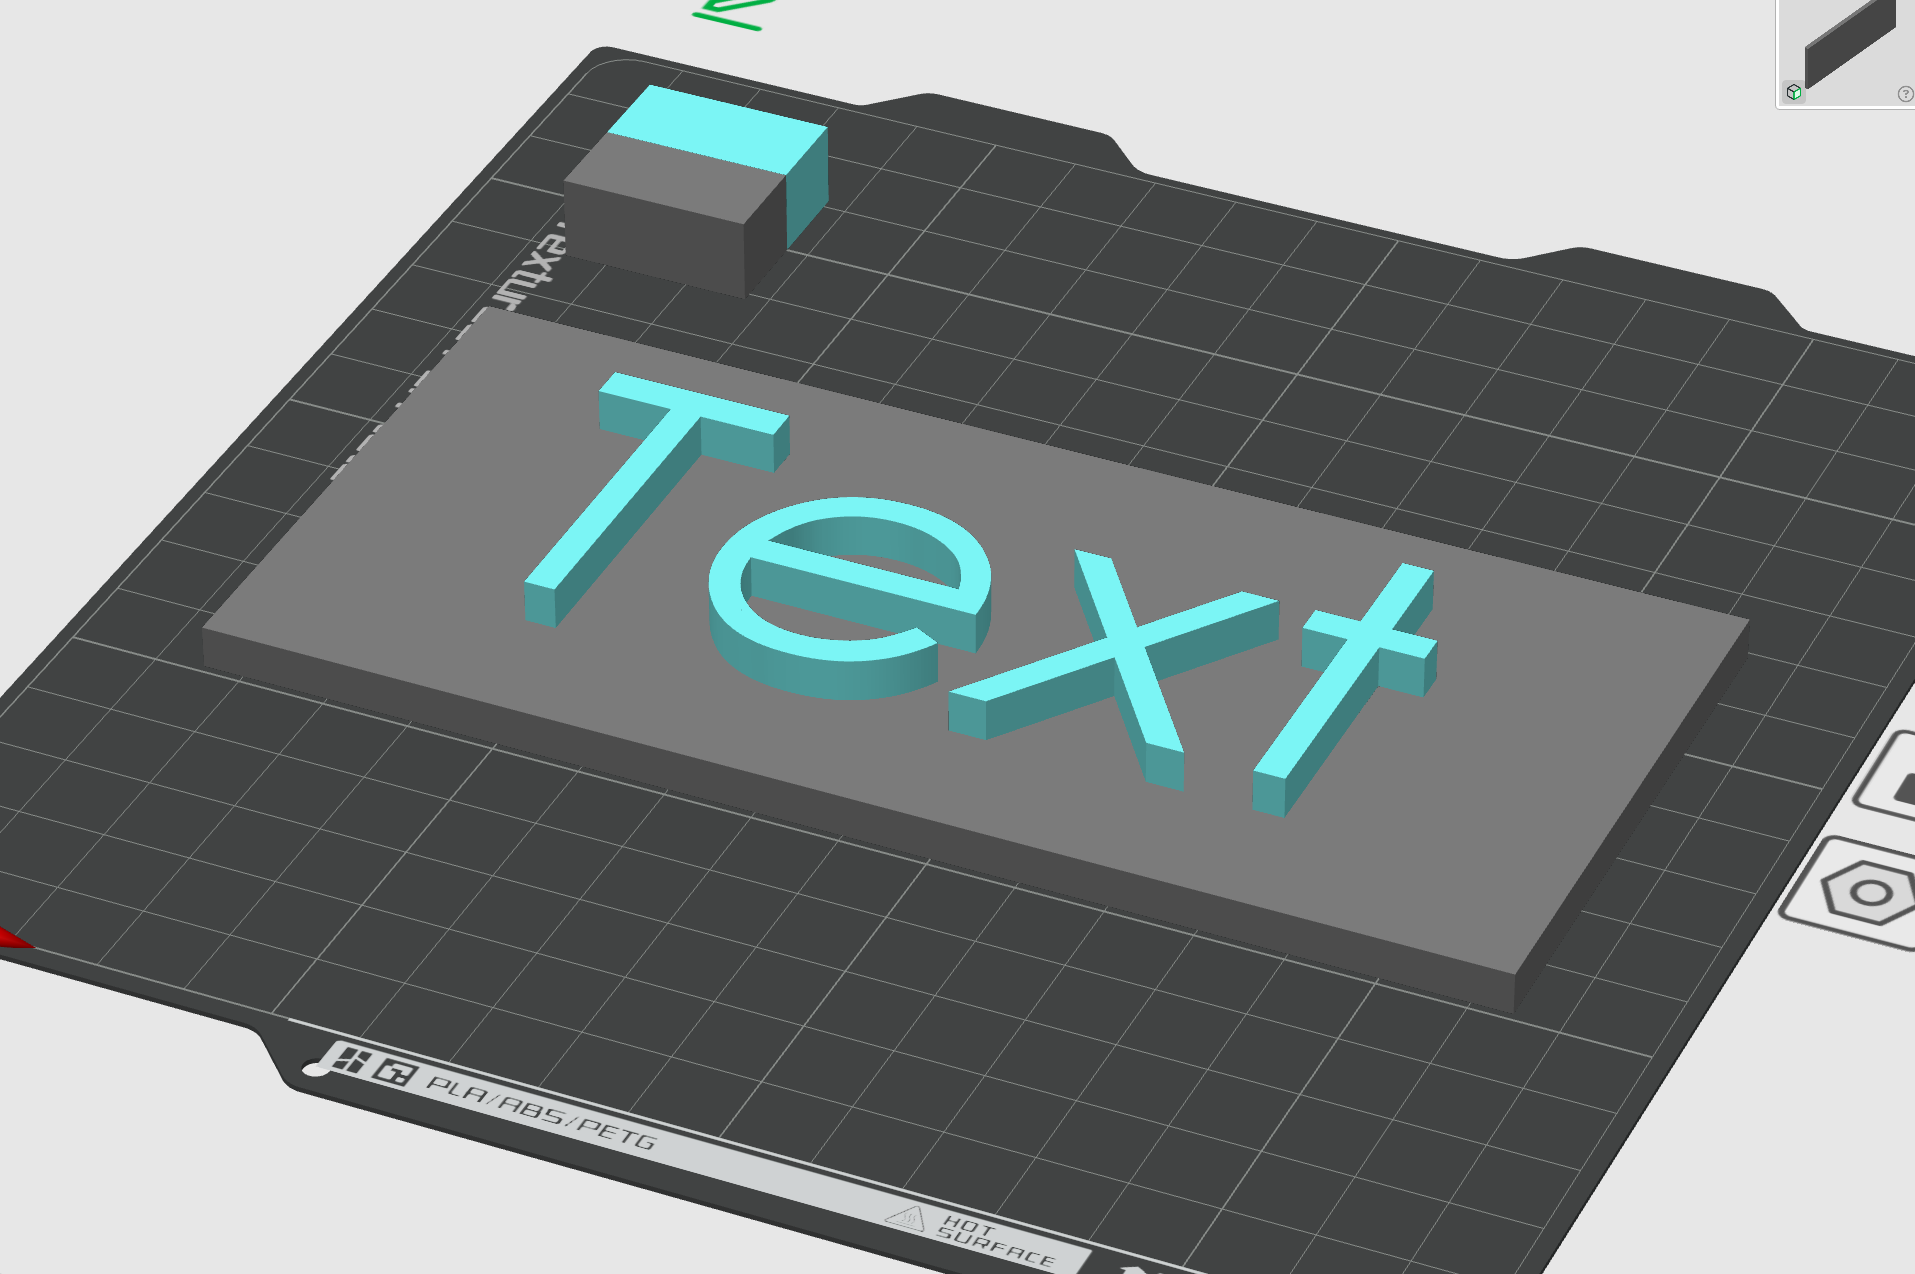
 And flush text is as easy. Extrude-cut the recess using the text sketch, re-use the sketch and extrude-boss the text into the recess “up to next” and don’t merge. I do that all the time.