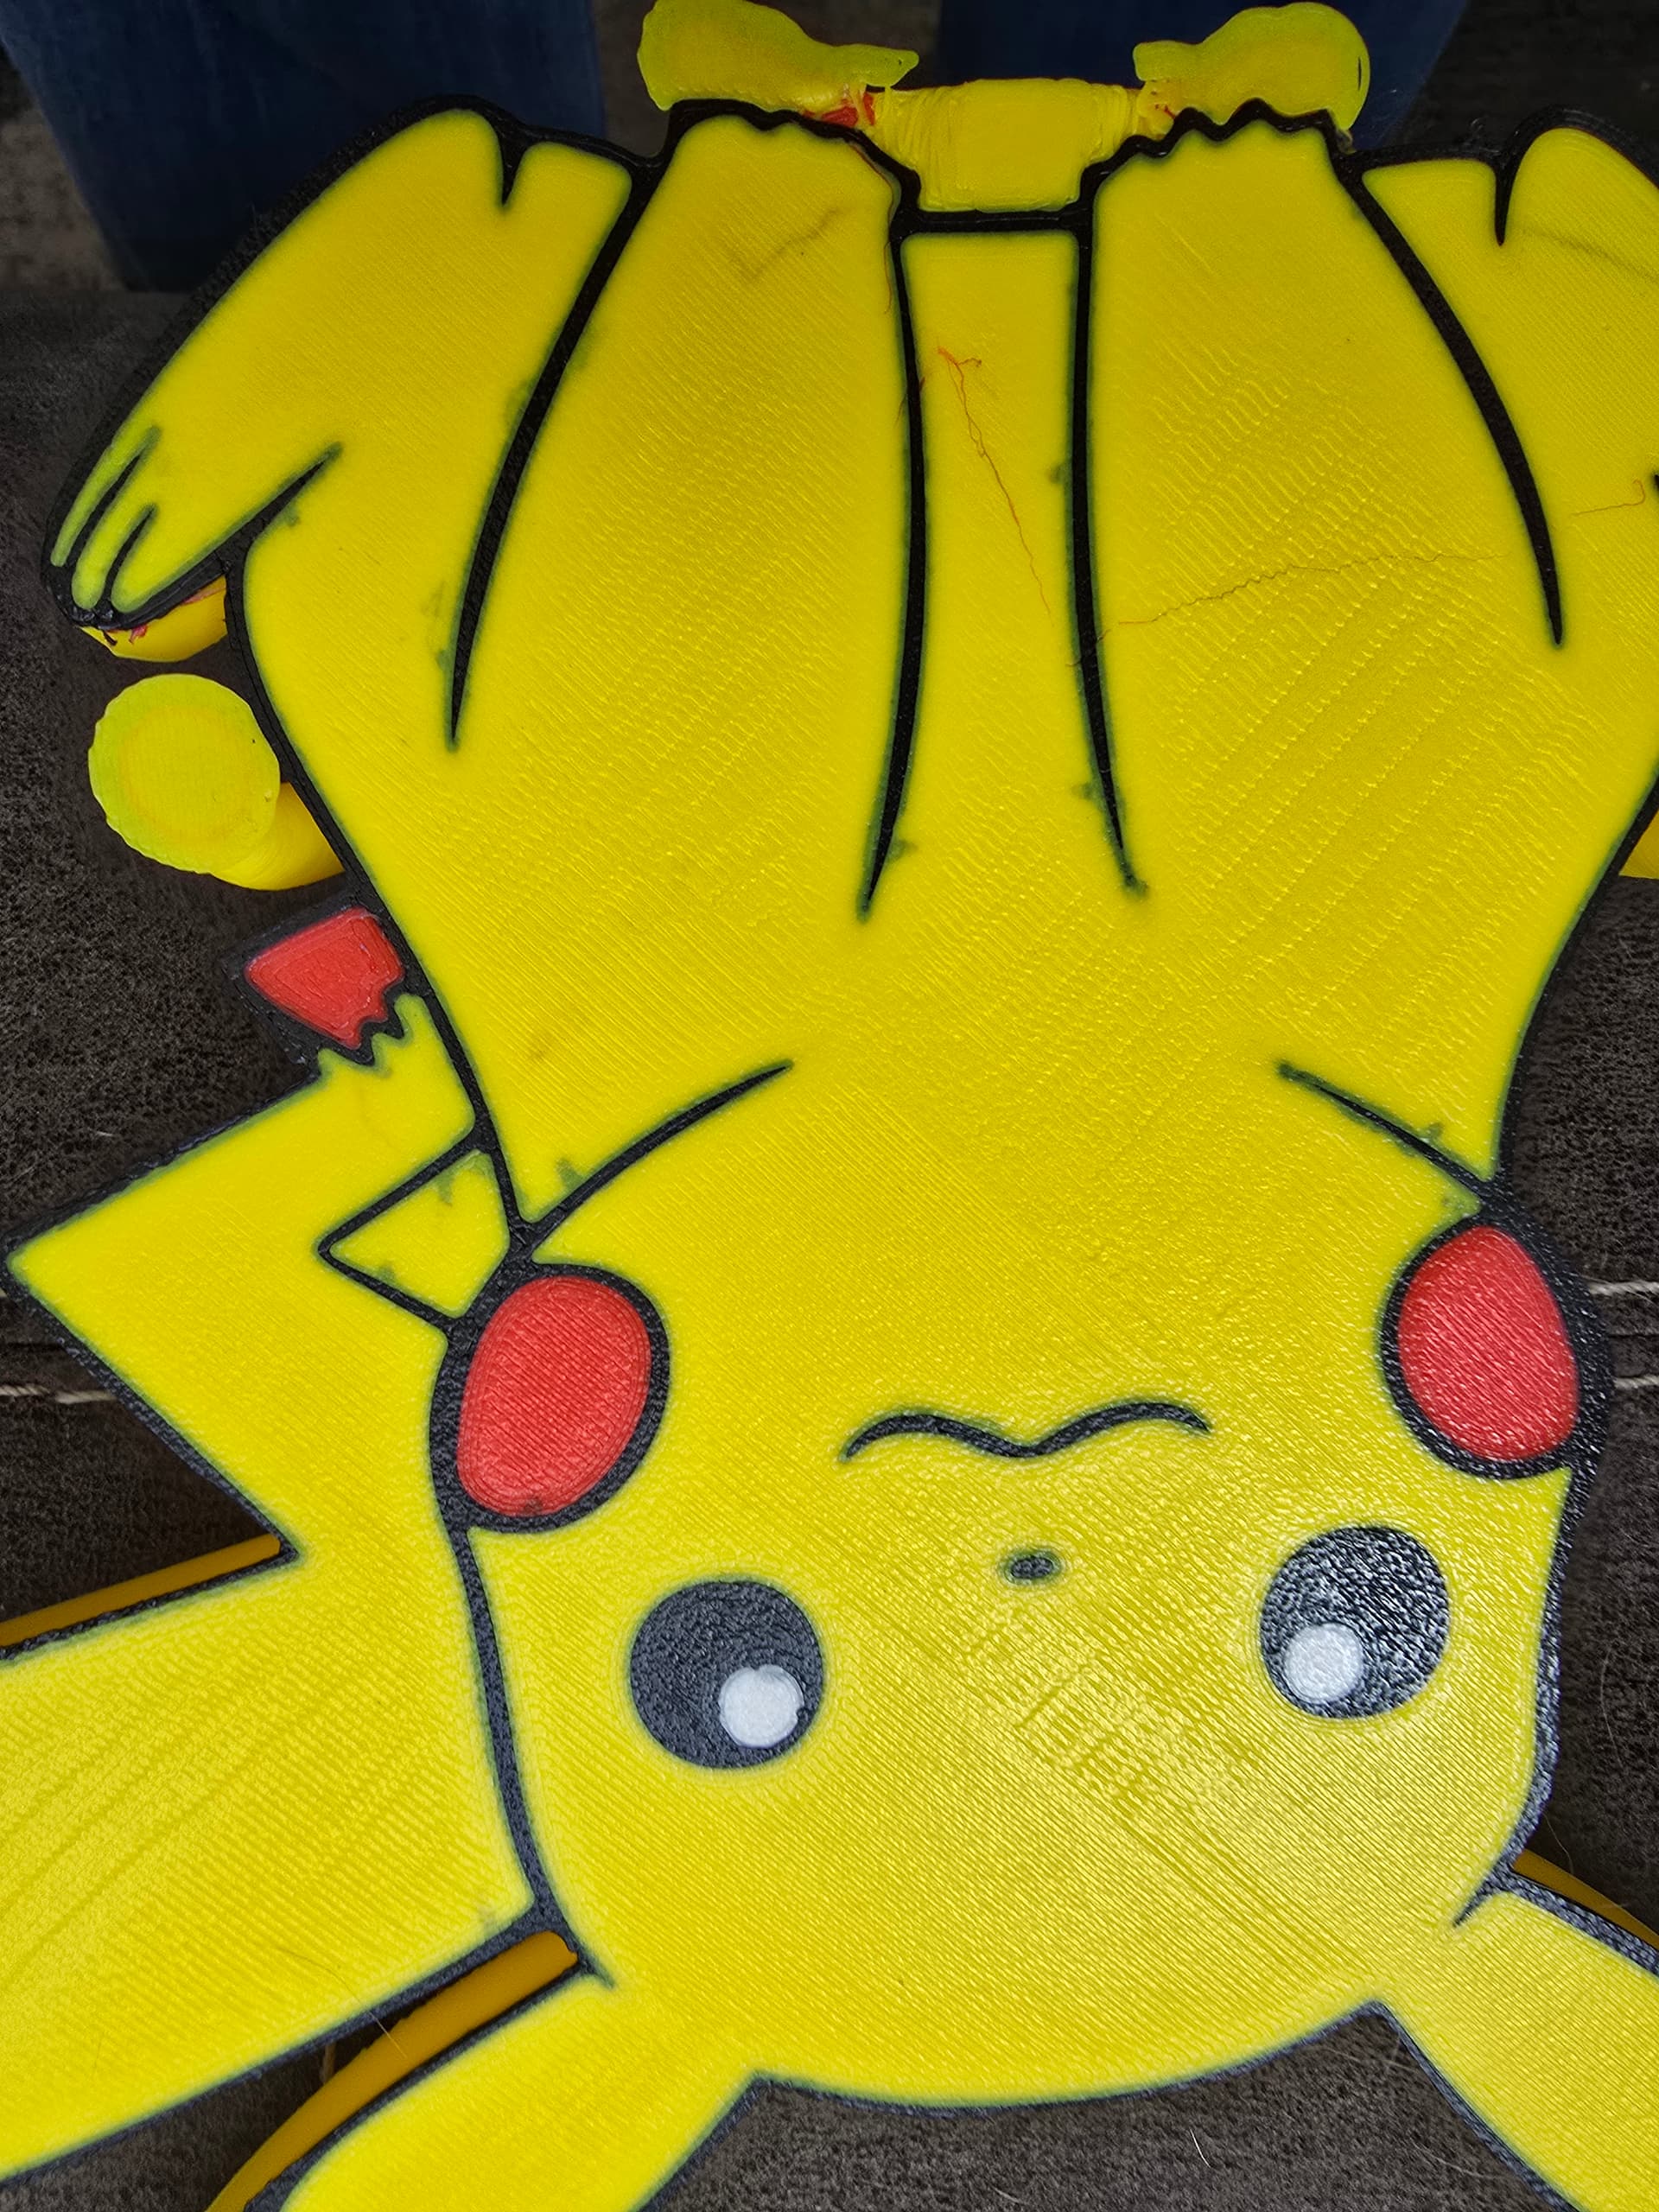
This happens with all of my A1’s and P1S. We sell a lot of multicolor prints that we print face down so the surface comes out smooth and crisp. About half the time there is a blemish, a little piece of the wrong color filament that ruins the print. Unfortunately we don’t find out until the 4-hour print is done. It only takes a tiny bit of red filament on a yellow or white section to ruin it.
We tried touching up with acrylic pens but it’s amateur and we can’t ship it.
I installed a mod on my P1S that incorporates an A1 wiper but I still get blobs.
Other than that, the gcode is the more important part. You need to wipe in between every color change. Even if it adds a few minutes.
Increasing purge will help as well. You are putting yourself in a non ideal position when using red and yellow. Although this does not sound like the color is bleeding. Post some pictures up of the issue.
Not sure which wiper. I pulled it off of MakerWorld. But the latest issue happened on the A1.
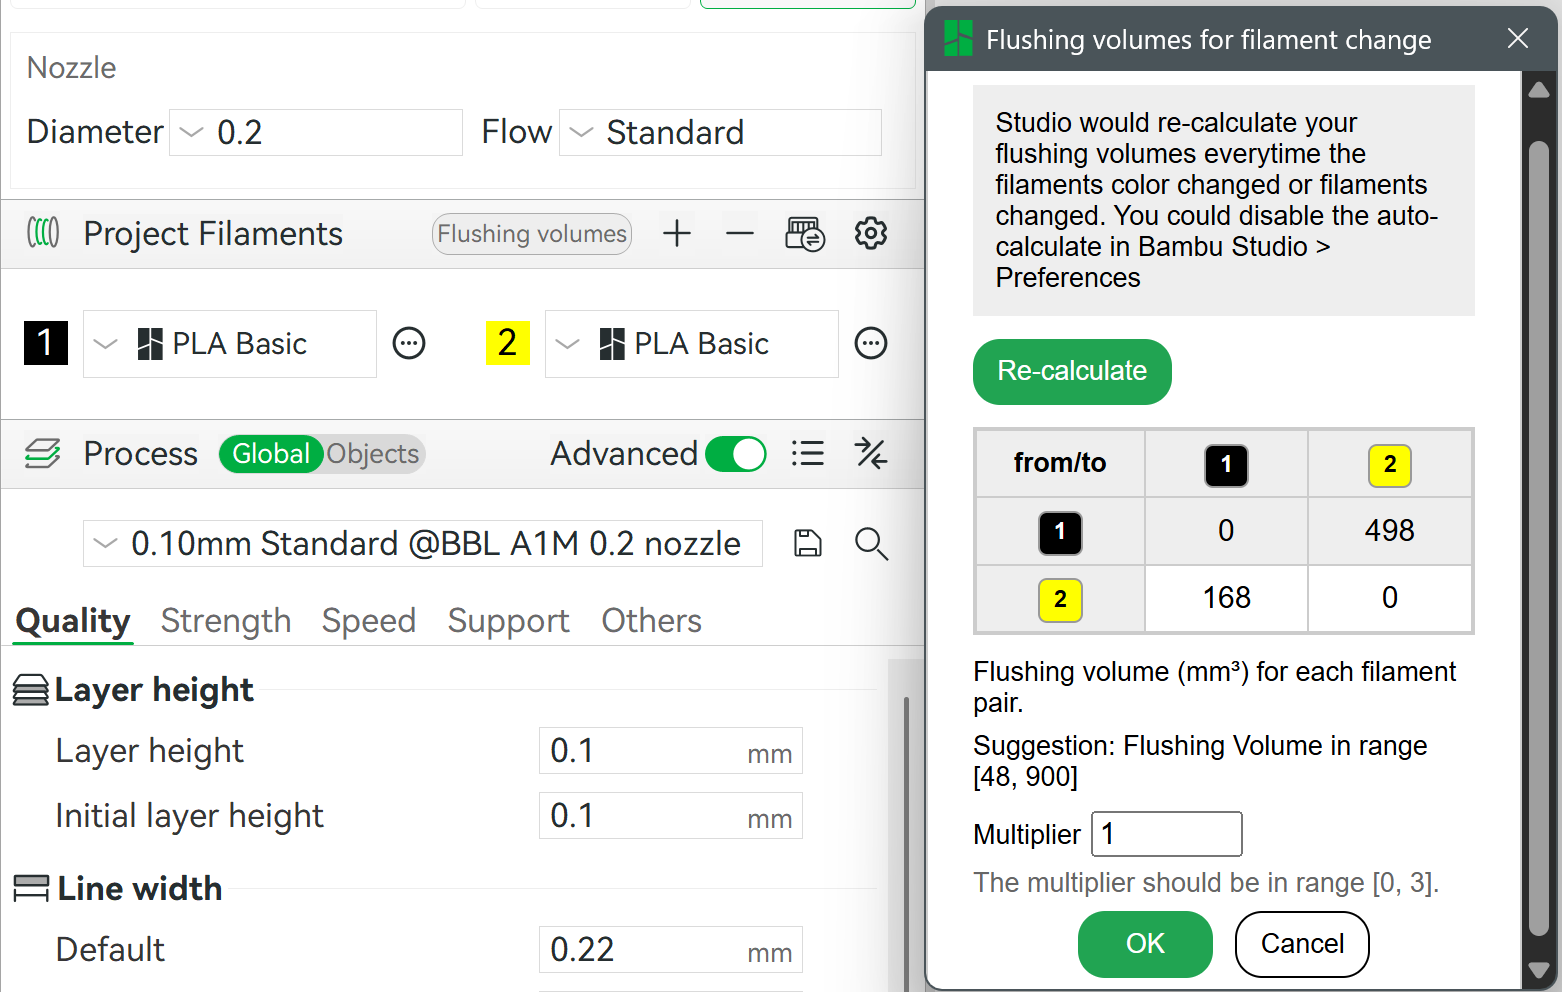
Are you saying increase flushing values? I’ve been reading about it today but have never changed those.
Hey when you’re printing Pikachu you gotta have red and yellow.
Doesn’t it already always wipe after every purge? Edit: No it doesn’t.
Is this what I want? G1 X70 F12000 ; Move to wiperG1 X100 F12000 ; Wipe move 1G1 X70 F12000 ; Wipe move 2
No. You need custom gcode for it to wipe after every color change.
Increasing purge values will help. But let’s say “tune” Purge values. Start with high purge and turn the values down little by little as long as quality stays the same.
But this doesn’t have anything to do with a little filament being on the nozzle and getting into the print, right? Should I make my prime tower bigger?
Anyone know how I make it wipe every color change?
In addition to the tips you have already received: Have you increased the flush volumes yet? It’s almost mandatory, especially for yellow and black. Clearly, you are experiencing colour bleeding too, which suggests that the nozzle was not clean.
These are just the standard values, which should be increased:
I take no responsibility for anything that happens if this advice is followed. Use your best judgment.
I do a lot of these kinds of prints too and have a method that gets me good results. YMMV.
Some may be tiny bits of filament wisps that get stirred up by air currents in the printer. A good cleaning of the printer insides can help. Also check fans themselves for dust buildup on the fan blades and clean as necessary.
The thing I do that takes great care is first start with a fresh as in cleaned build plate. Dust/filament specs on the plate are just waiting to spoil the print.
When the head parks for a color change I use masking tape to go in and remove any bits that may have been left from the last color. As soon as the fan fires up to knock the extruded filament from the color change get out. That print head can hurt you. You may also use the pause to make sure it stays parked if you need more time.
I keep a flashlight handy to light it up at a low angle to highlight any specks. Also a single edge razor blade and xacto knife. Sometimes little bits can get slightly melted in and it takes a blade sometimes to scrape them off.
Last, after the inspection seems to be problematic since it can carry tiny bits that don’t get wiped off. I try to pay special attention then just in case.
The last bit is filament. Make sure it’s dry since wet seems to cause more problems with oozing and wisps.
Kind of but I’ve found ways to be less involved. Color order is generally light to dark. The lighter filaments don’t pose as much danger to the darker ones. As long as you are controlling dust and starting with a clean plate, it’s been enough for me to just check in to make sure there’s not some other problem.
Where things seem to need attention with my stuff is immediately after the 1st layer inspection. I frequently have black as the last color and there can be a short length of filament that oozes and then doesn’t get knocked off on the wipe and can get carried into the print. It seems after the inspection and starting on the 2nd layer is where I’m most likely to see that. During regular color swaps the purge blob is heavy enough it breaks free and falls down the waste chute just fine.
So the 1st layer itself is less of an issue for me. It’s the later layers where I typically see more funny business. But for critical prints that have large light color areas, yeah, I babysit some. I know that’s not practical for everyone but it is for me.
But wiping down the inside of the printer with a tack rag was an eye-opener. There were lots of little black wisps all over everything inside mine after some 2 years of printing. Just doing that really cut back on blemishes for me but unfortunately doesn’t eliminate them.
As an aside, I have a can of compressed air I was using to help blow away any bits. Once I saw what the tack rag grabbed it got obvious with a dirty printer blowing air in can actually make things worse.
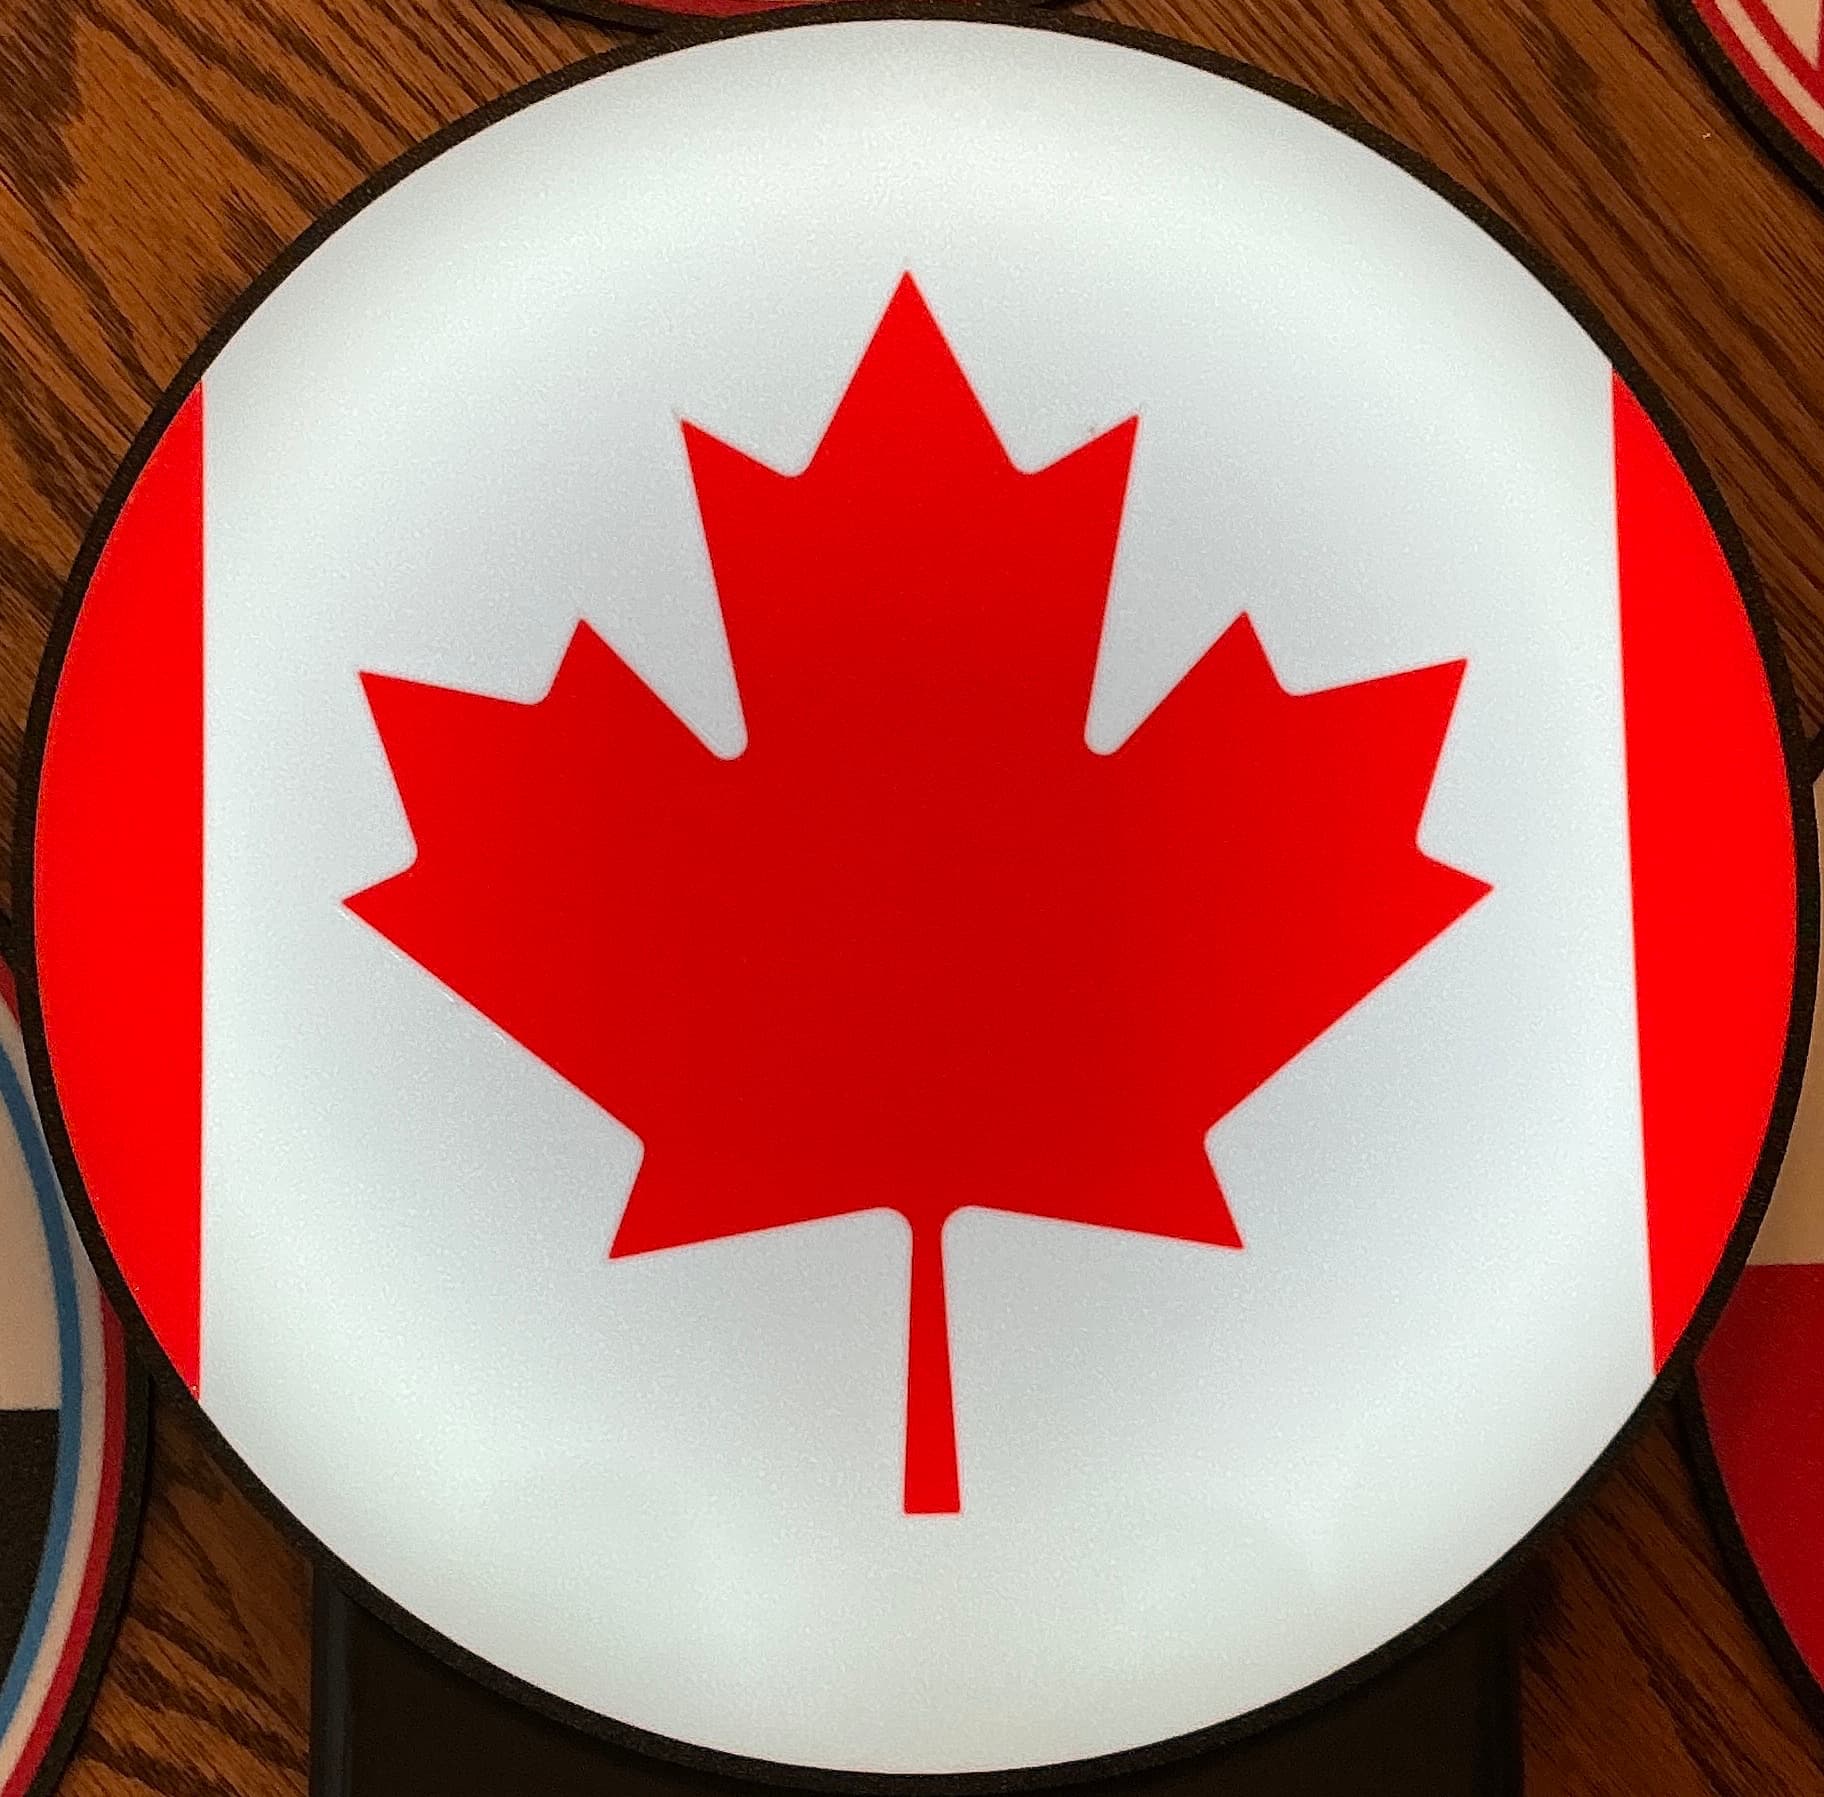
This is a red/white/black print but the white is pretty much blem free.
-Watched as it dropped 2 different colors of filament strands during the bed leveling. Would have ruined it.
-After the first purge I wiped it with a wire brush.
-I watched the first layer like a hawk. It printed the small red areas first. I made sure there were no red particles on the yellow areas. Then it printed yellow. Then it printed black and dropped a small black blob on the yellow which I’m sure would have been visible from the front. I got it off.
So it has 2 more hours to go. Can I define the order of colors?
I was recently struggling with a roll of black 3dhodor matte filament. I dried, changed color order, full filament recalibration, nothing eliminated stray black strings appearing on the first layer. What did work was changing to a different brand spool.
There’s another setting that might be of interest and of course I forget what it’s called and am not at my computer to check. But it sets how far the print head can go out of its way to stay over the color it’s printing and not travel over other colors/regions. It can help keep wisps from one color contaminating others.
Maybe someone else knows what it’s called?
But with ordering the colors using Malc’s steps it makes the first layer much less critical. Going light to dark helps keep dark bits out of light bits. You really just need to watch for stray bits of filament getting dragged into the print.
And forgot to mention, prime towers also help get rid of bits before the extruder moves onto the print proper.
Another possible trouble area are fine strands and strings that can get caught up around the nozzle. Some is so fine you can’t really see it with just the eye. A bright flashlight can make it show up if you light it with the light beam shining perpendicular (or at some wide angle) to the direction you’re looking so the area behind the extruder isn’t lit by the beam. You want to look at the hairs with a dark background is what I’m getting at. If the flashlight beam is parallel to the line of sight to the hairs there’s too much light behind the hairs to see them easily. You may also need to manually turn on the extruder fan to get them to stretch out to be able to see them.
That sounds like a mess but once you see them it will hopefully make sense.
One other thing about color order. I usually order lightest to darkest but not always. On some complex prints you can get better results depending on the image to print a darker color before a lighter color that surrounds it. An example would be maybe animal fur with lots of little dark specks.
It’s not a hard rule but sometimes if printing fine details it’s better to print the detail first even if it’s darker so the edges don’t get less defined. Trying to print small details after the surrounding area is printed seems to cause less defined edges sometimes.