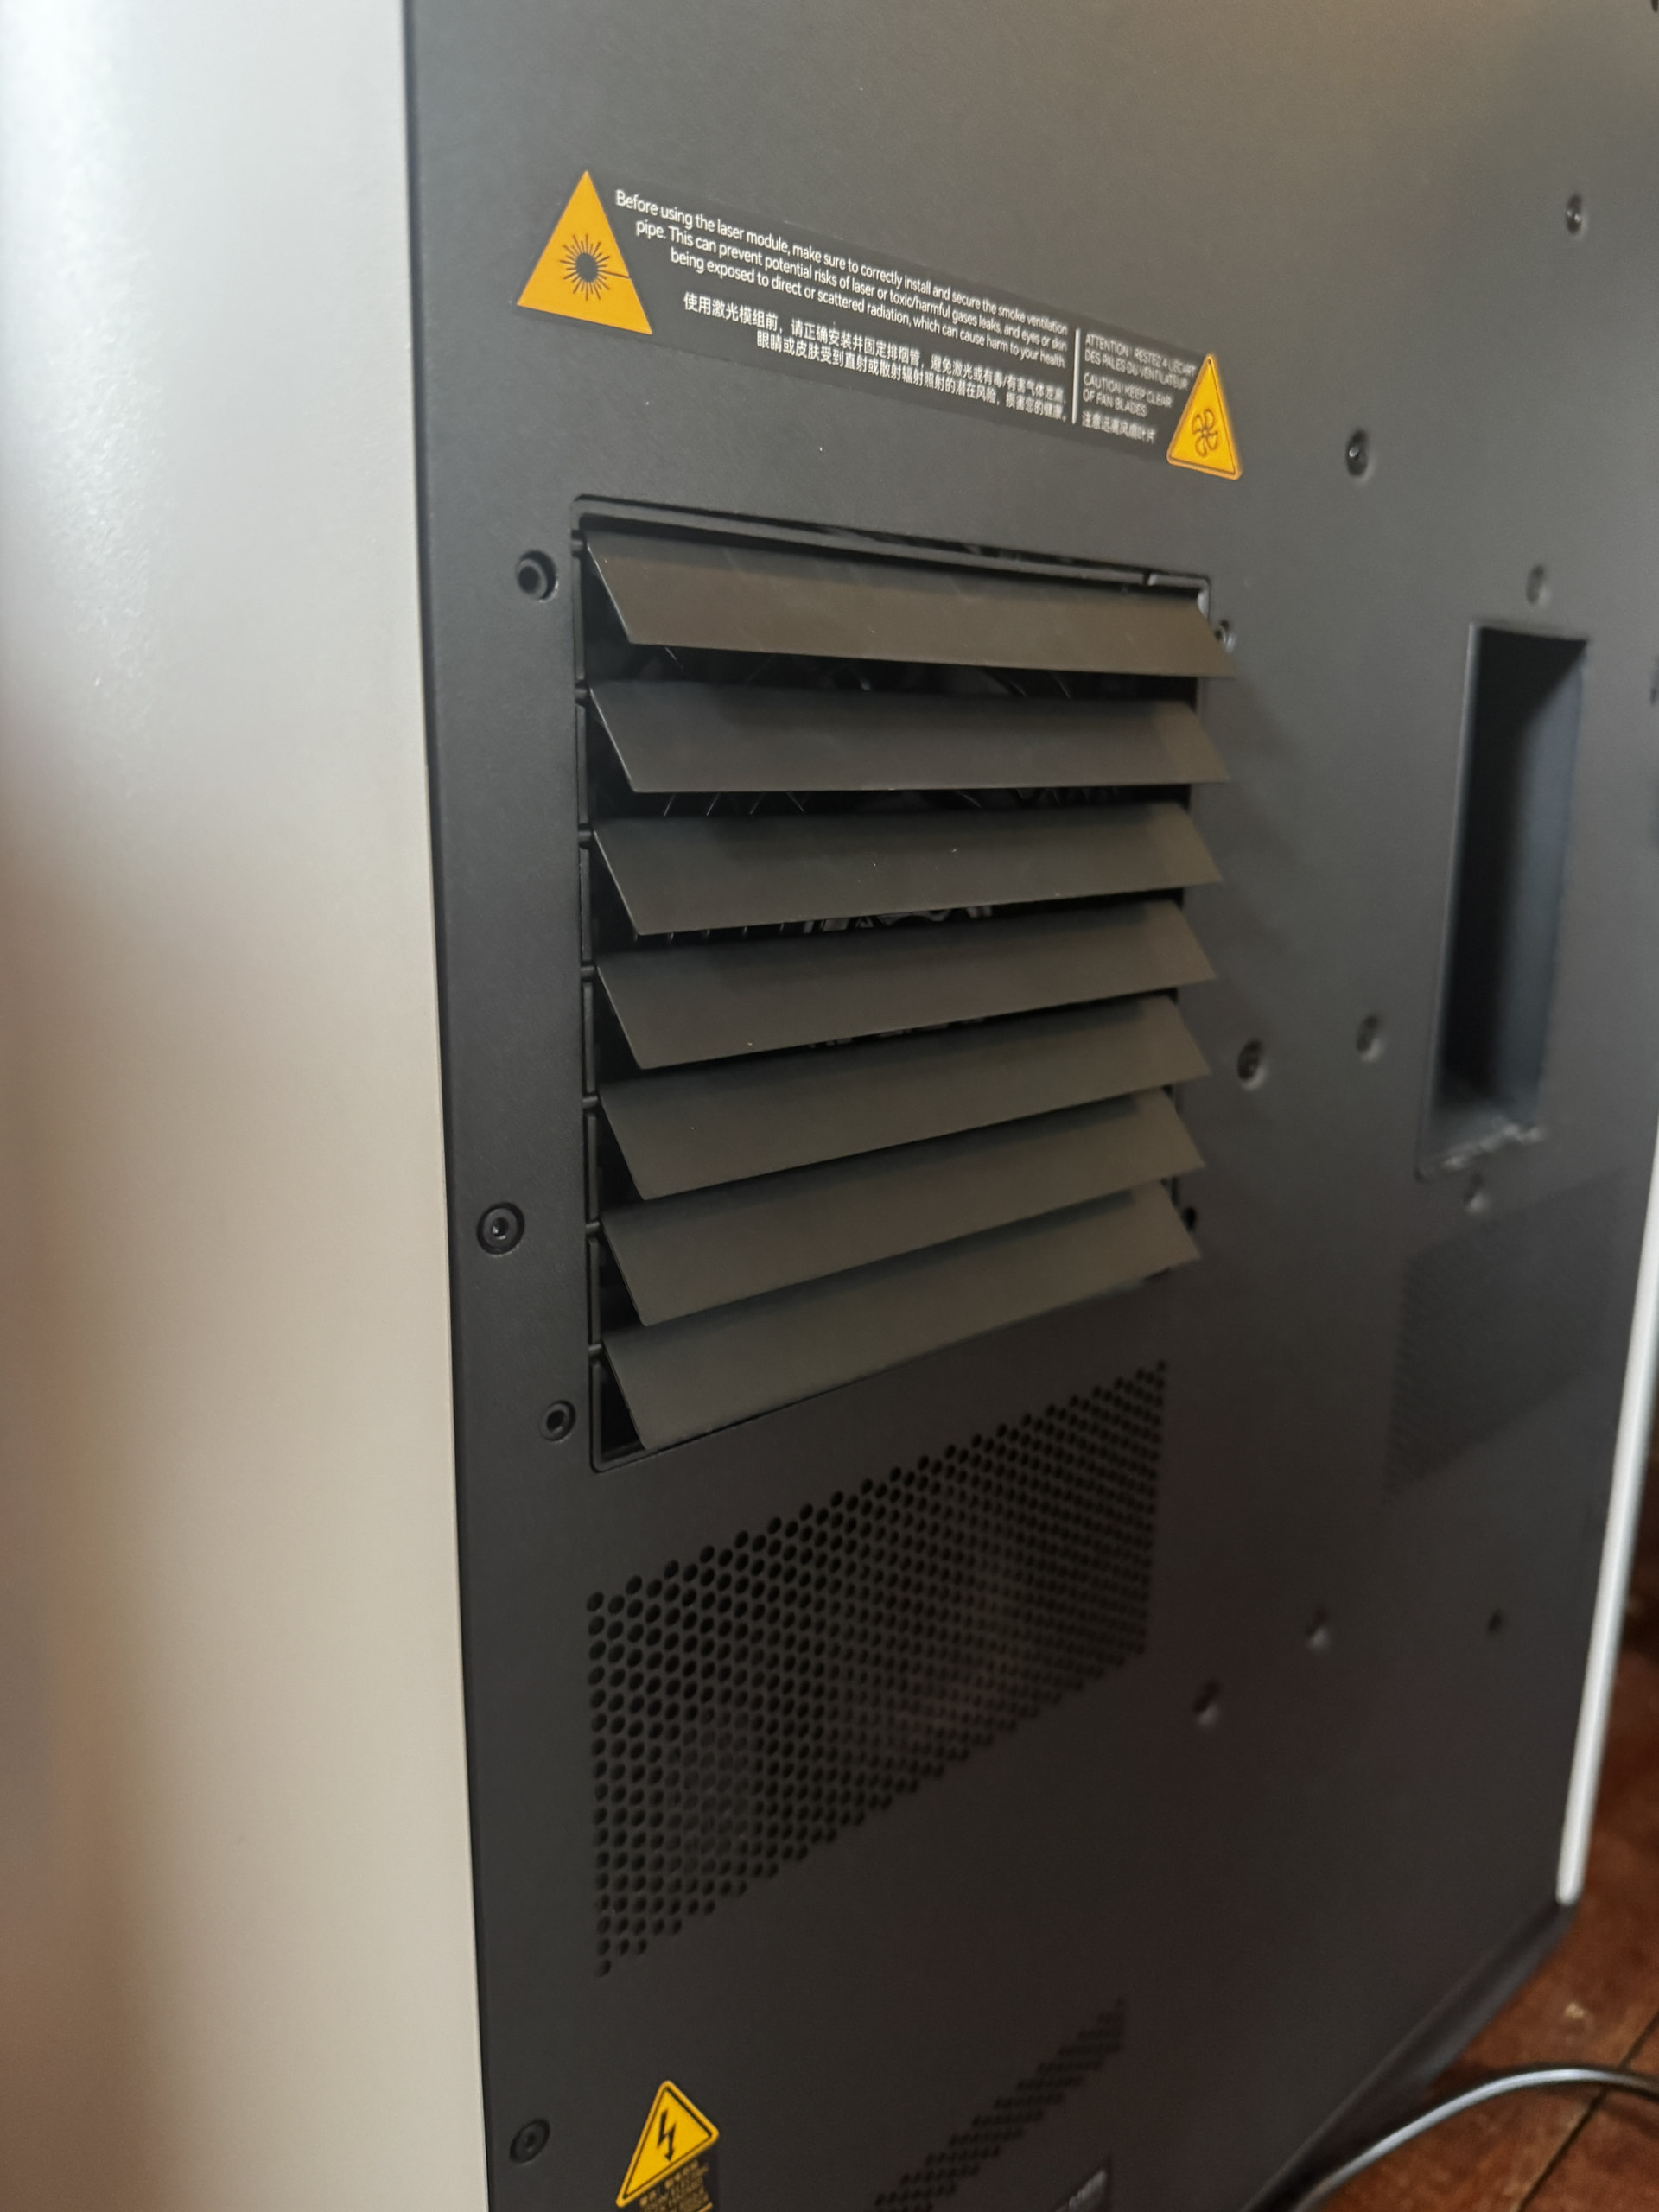
As a follow on from my stuck vents post. My H2S (10 months old) has developed a fault where the rear exhaust vent wont close. The fix is at the link below and support is telling me they are sending out the parts.
I am not comfortable doing this level of “surgery” on my H2S, the instructions seem very complex. That said I would welcome your counsel as to how concerned I should be. thanks for any help.
If you work slowly, label every part (including screws), check fits before fastening, do not break any of the tiny connector plugs, and make sure you do not over-tighten anything, you should be OK. Having a good pair of flat bladed (not pointy) tweezers would help.
Then again, I don’t know anything about you.
If there is a makerspace / hackerclub etc near you, you could go there. They will have the skills and willingness to help you.
thanks. will have a look for a makerspace. I have also asked support for other options. This just feels like a lot can go wrong when you are taking out power sources. Seems crazy when the issue is down to a small.
That is crazy that they generally expect an end user to do this., and I have done a lot of repairs of things I shouldn’t have in the past. This is 10 months old and out of warranty? Since they are so twitchy about the servo (which I understand) I would mark one tooth of the gear and put a matching mark on the block or body just incase it got bumped and rotated.
I am very concerned about doing this. the issue is on the back. the long piece with teeth will move up and down freely when pushed by hand and the vents open and close. But when power is used rather than a hand the long piece with teeth won’t go all the way. there may be a lose screw I can’t see so that when the servo activate the long piece is being pushed out of alignment because it is loose.
The response from support was to send me the spare parts to replace everything!
It almost sounds like it has jumped a tooth? So that the servo is moveing full range but the rack is lower than it is supposed to be so that when the servo stops the rack is not all the way up. But that is all a guess on my part.
Edit: Does the servo sound like it is weak or struggling when it is doing the work?
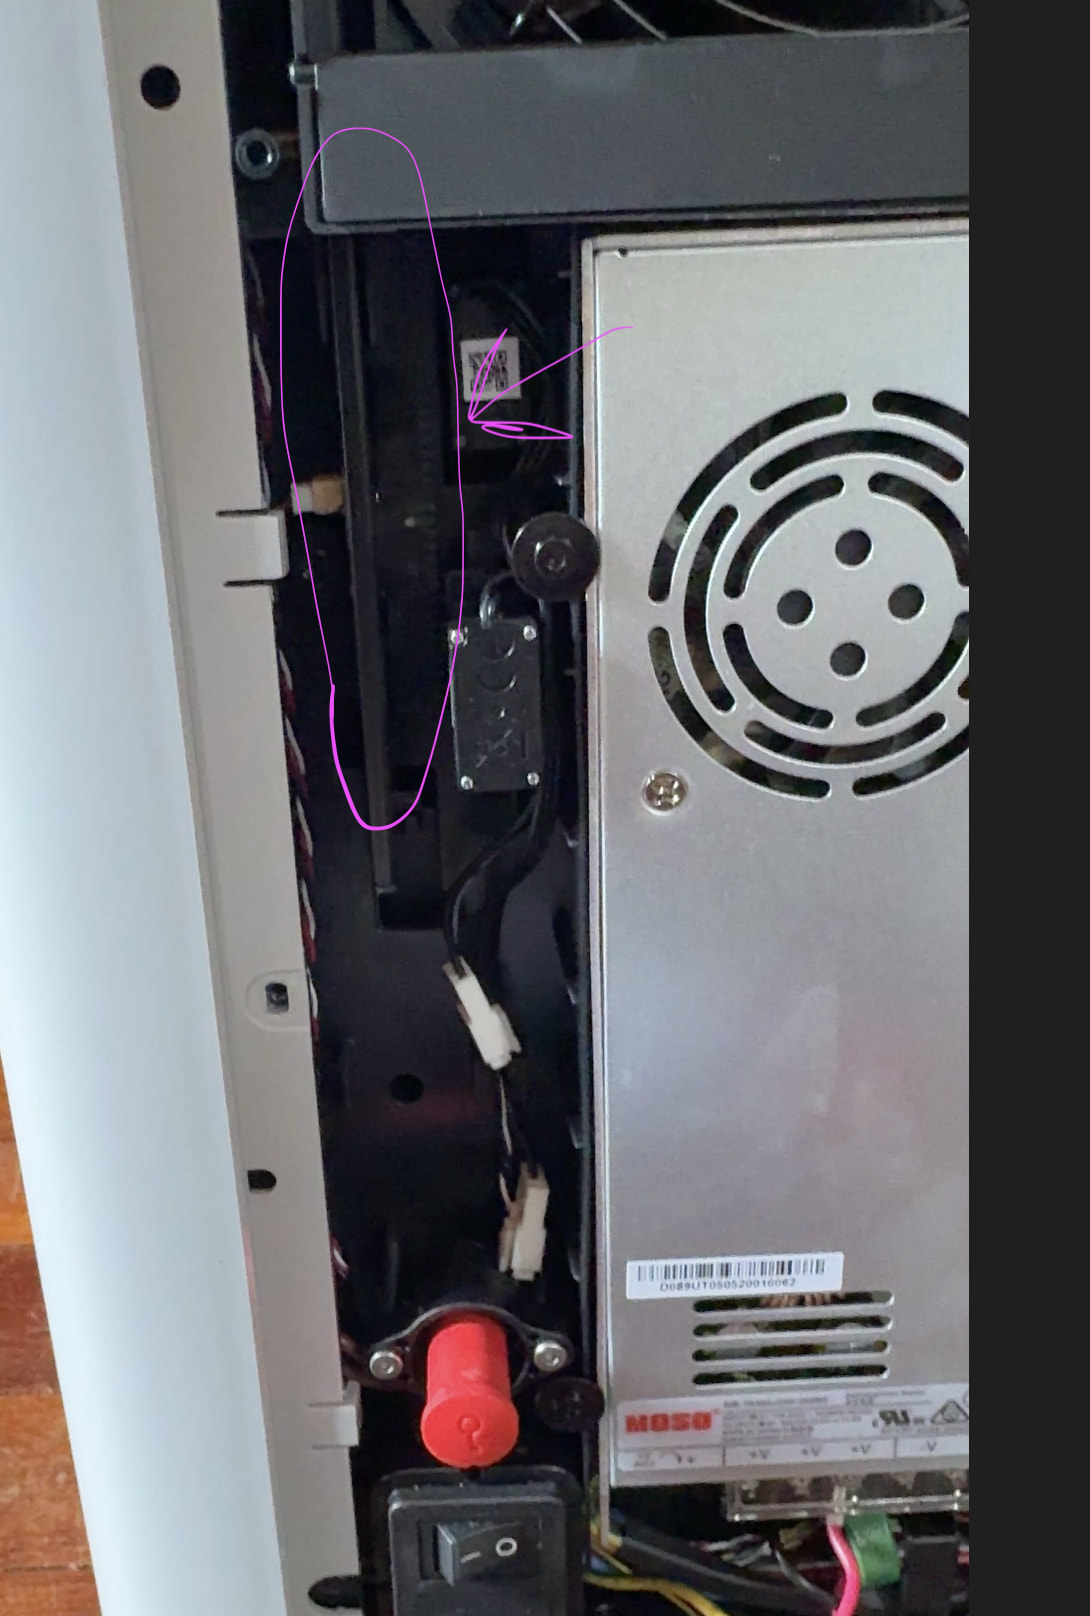
Looking at the repair pictures from the wiki I am not seeing any screws as far as the servo and gate are concerened that could cause the issue. It looks like it uses a magnetic sensor/switch for the servo but I could be wrong. Maybe someone else knows for sure. When you get the spare parts you maybe able to tell also. Did this act up from day one? If so I would suspect tooth (or sensor) misalignment when it was assembled. Again, all speculation on my part. There is something that looks like it is holding the servo sensor/power board to the plastic support but I can’t tell if it’s a screw head or the common practice of plastic through a hole then melted down to hold it in place.
EDIT: Picture under 4. Remove the Chamber Exhaust Fan
makes it look like a screw head. If that was loose and there is a sensor on it then it could cause issues.
Thank you. Will have a look at that. And never an issue before this week. Unit is 10 months old. I have a video of the issue but apparently we can’t share videos on here.
I’ve never done this repair but wanted to say that I find that ChatGPT is really helpful with these things. You can send it pictures to look at, ask questions, and it scrapes info from all the internet to get you answers. It has the entire Bambu Wiki, Reddit posts, this forum, the whole internet to gather you information from. It has more knowledge than people can probably fill you in on in this thread.
Just tell it what machine you are working on and your problem just like you have here in the post and it will help you. ChatGPT is free to use for a short time. You can dowload the app and even tell what you want it to know about you in the memory profile section. You can say you use 3d printers and what type you own and it will always know that information. After you tell it all that you have told us here you can even ask it to look at that screenshot
You can also use google and ask a question and it will start the AI up which is google Gemini and keep writing im the area to continue the conversation.
I just asked chatGPT how to install self-tapping screws and it says clamp the parts, drill a pilot hole, and just drive the screws in. Nothing about how to not ream out the existing thread if there is one. Its advice would quickly break a plastic part.
Now it “knows” this, because if I ask it how to RE-install a self tapping screw, it says to thread the screw by hand first before using a power tool, but it’s not the best explanation of how or why this is necessary.
A new user won’t realise there is a difference between doing it the first time and doing it again., and it should tell you because it’s very important.
Anyway I really don’t recommend trusting these things vs a well made video by an actual human expert. Of which there is no shortage.
edit The way I do it is by pressing down on the screw while backing it out; it will then “click” down into the correct position when it enages the existing thread.
Thanks for the comments. Update. Bambu have responded quickly and the parts arrived within 2 days. I told them about my concern about self repair of something that looked complex and they said that an alternative would be provided but did ask that I look at the parts they sent first and assess the repair prospects then.
I opened the parts and took the back off the printer and was able to compare my installed parts with the new ones. This allowed me to see a hidden flap, inside the mechanism which I manually opened and closed 3 times and then powered up the printer. The vents opened and closed correctly. I will be doing a full test tomorrow but hopefully this has fixed it.
if these does seem to have “fixed” the issue, could you post/copy a pic from the wiki of this part (if there is one) for future reference for other users?
What you wrote is frightening, and I strongly advise against relying on AI services for such tasks. If you had spent just ten minutes testing their actual capabilities by asking them about difficult topics within your absolute area of expertise, you would notice the random, absurd errors they produce. These are delivered with a vocabulary dripping in such unwavering confidence
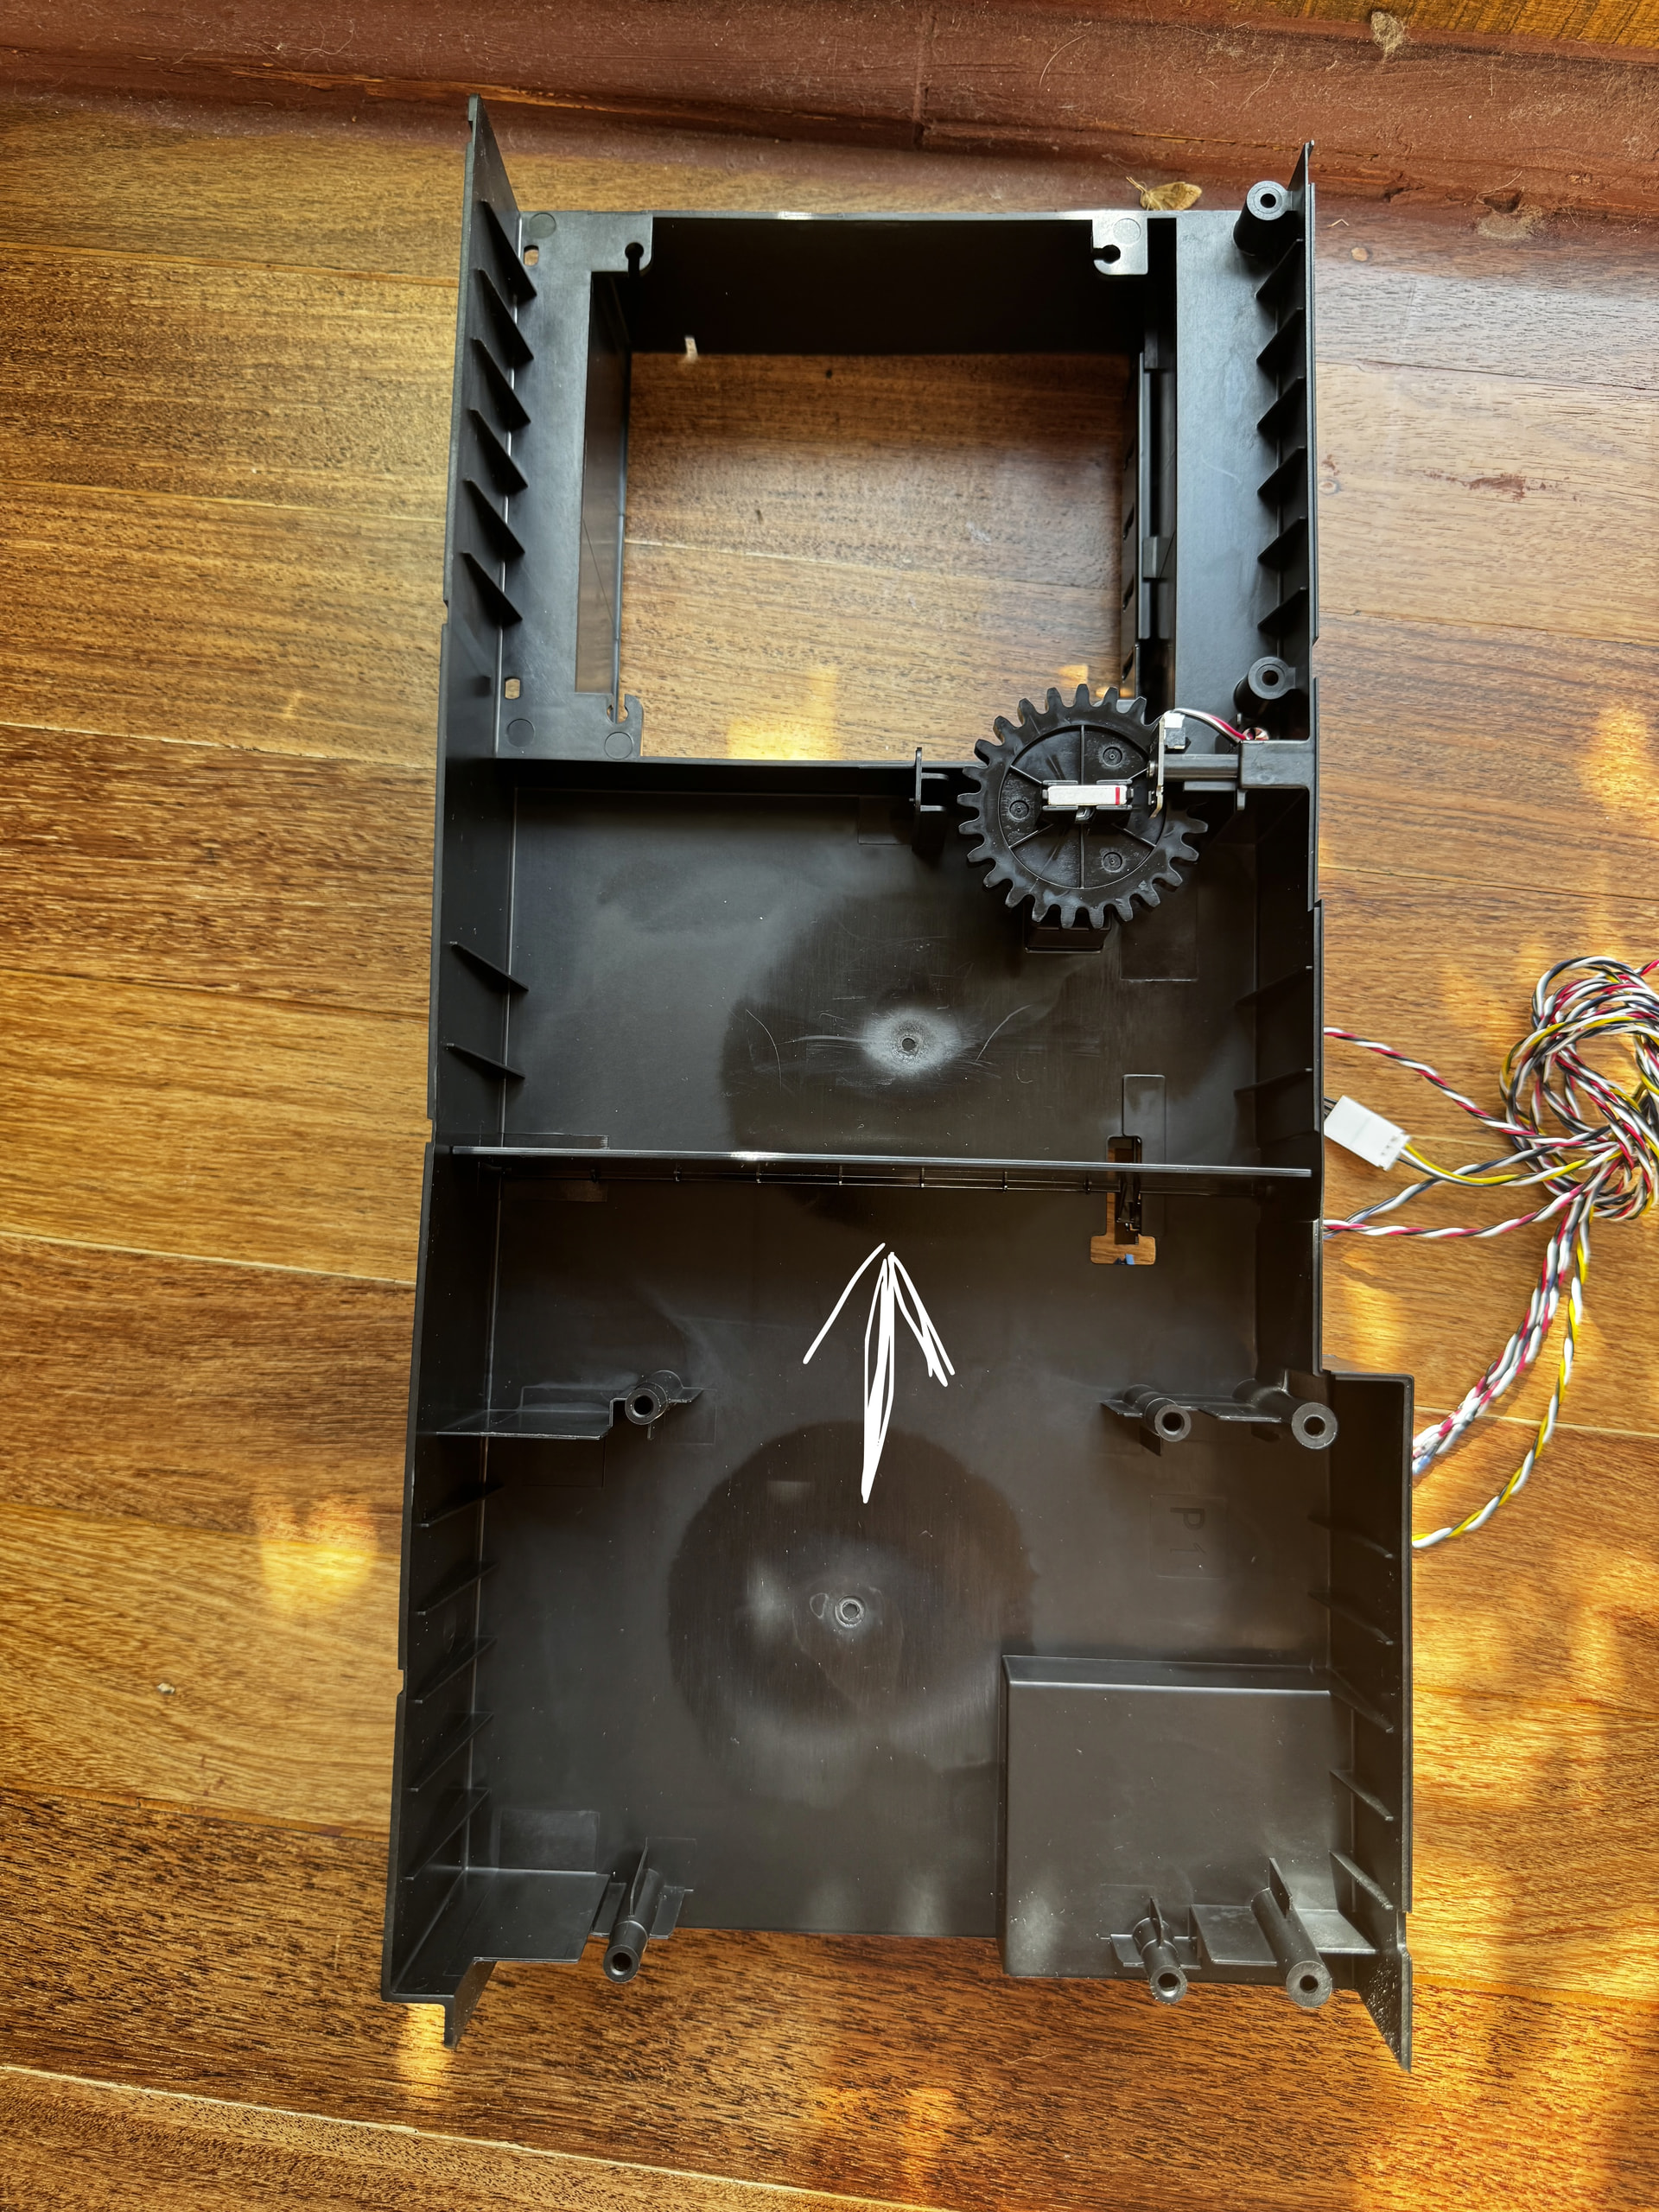
Hi. Here you go. this photo is not on the wiki. It is a “Hidden” until you disassemble the chamber, flap. See photo with arrow. In summary, despite the mechanism to open the rear flaps working when manually operated by hand, under power the servo “jammed”.
When the spare part was mailed out to me it allowed me to see this hidden flap and I then reached inside my unit to manually open and close that a few times. When this was done I did a further test and the rear flaps opened and closed with no issue.
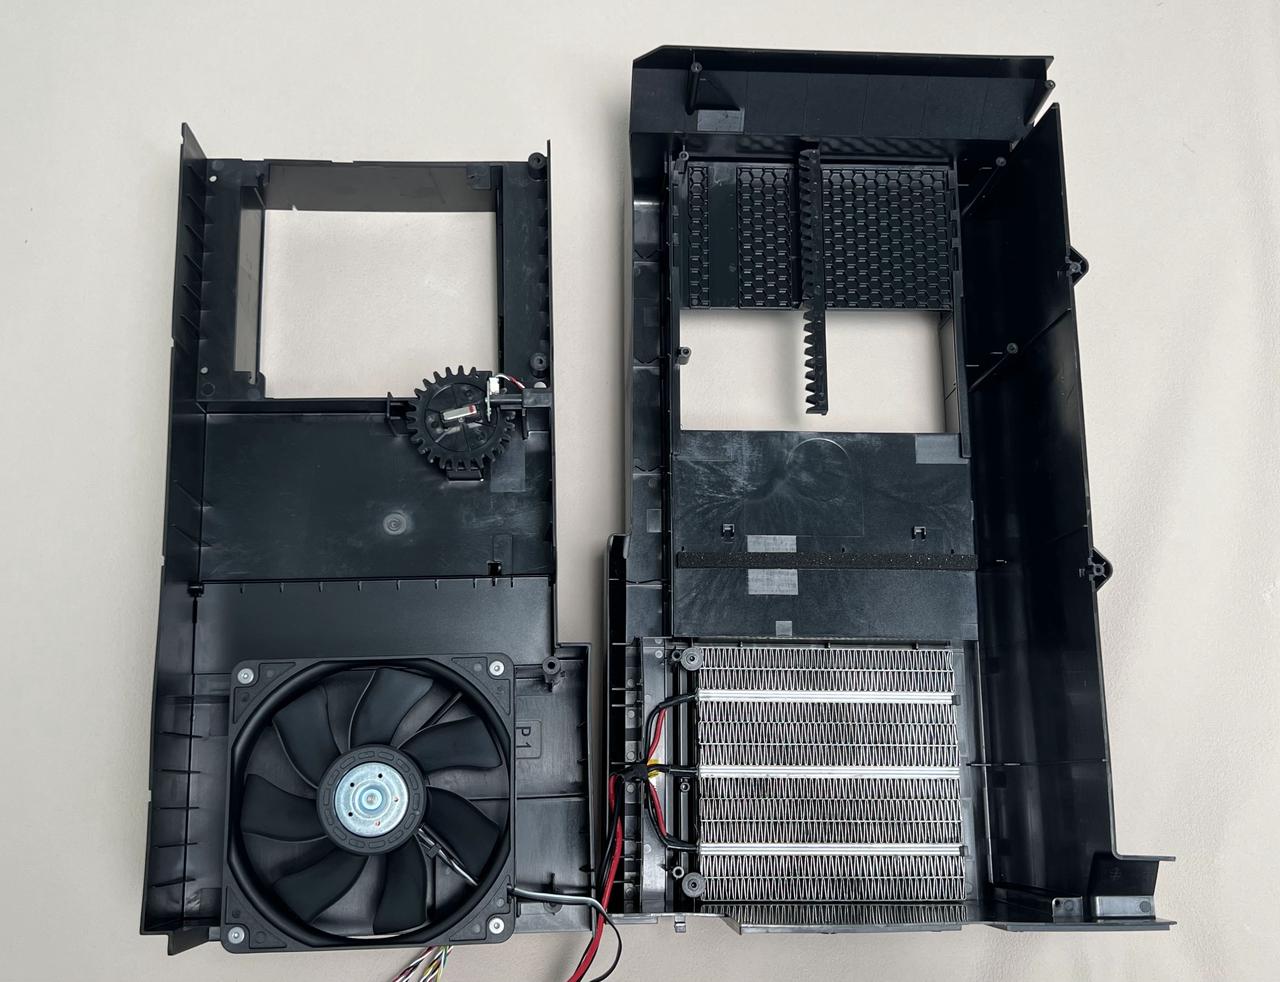
Thanks. Very helpfull. The part in the wiki shows the holders for the pins on the flap and the outline for what I am guessing is a knock out for what I guess is a spring. Your part has the flap, the “new” part they show does not. I don’t know if this is an “evolution” in design like the A1 board or if the part they show in the wiki is just not really all there. Or maybe from a different “H” model. (Edit; this is at top of wiki Note: This page uses the H2D machine as an example. The replacement steps are exactly the same for the H2S, and H2C.)
Did the new part you received have the flap? From your description of events it sounds like it did.
Edit: attaching pic from Wiki. They area in question is shown multiple times and I never see the flap the OP shows. It’s possible the wiki does mention it somewhere and I just missed it.
Hi. sorry for the delay in response. Yes the new part had the flap. I have since printed another 10 hours with the old part fitted and it has not malfunctioned again. Could have been debris?