I don’t understand why I have stripes in depth as per the template. I don’t understand why this could be. The printer is practically new. The belts are taut. This is a standard cube figure, only low.

There are many factors that can influence the results of a print, but without understanding what the slicer sent to the printer, it’s difficult to diagnose. It’s important to include a screenshot of the model as it appears in both the prepare and preview windows. Even better, upload the 3MF file you’re working with. This will allow us to provide quality feedback; otherwise, it’s all guesswork.
test.3mf (25,4 КБ)
Everything is very simple, standard settings. Everything I print has these stripes.
Ok. Thanks for uploading that. This answers a lot of questions.
Although your printer is new, there is growing evidence that Bambu’s factory quality control isn’t what it used to be. Your printer may have shipped in working order but might not have undergone all the necessary tuning before leaving the factory. You mentioned tightening the belts. Unless you have prior experience, this usually makes things worse. Unless the factory seriously messed up, it’s unlikely you’ll improve upon the factory settings. For now, focus on slicer settings before making any hardware adjustments.
Can you also post an image of the corners?
From your 3MF file I see evidence of the following and I will suggest either a remedy or diagnostic step.
- There’s evidence you’re using an AMS.
- Diagnostic Step - Remove the AMS from the equation by feeding the spool directly.
- Remedy - If there is a problem with your feed, this will at least eliminate the AMS as a cause. If the problem goes away, start looking at the PTFE tubes and pathways to your printer from the AMS forward
- I don’t see any evidence that the filament was calibrated.
- Diagnostic Step - Have you tried using another filament profile from let’ say Generic PLA or Bambu PLA?
- Remedy - Trying two more profiles will at least determine if the printer gives you a different result. If it does, that means the filament profile needs to be calibrated.
- Diagnostic Step - Does this happen with every filament? Have you tried to manually calibrate your filament Orca Slicer is best for this purpose
-
Did you dry your filament? Even factory sealed filament can arrive with moisture although your lines aren’t typical of moisture laden filament, nevertheless it is a good diagnostic step.
-
Did you clean your lead screws and wipe the carbon rods with alcohol like the Bambu Maintenance Wiki states?Bambu Lab P1 series printer Maintenance Recommendation | Bambu Lab Wiki
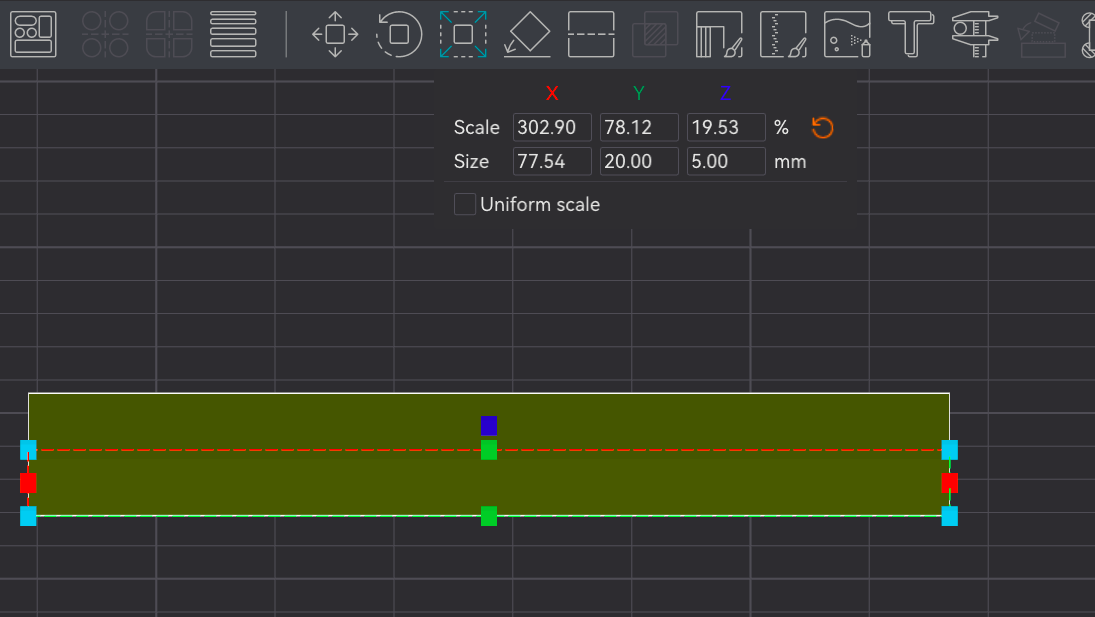
Do these in order and print a new model after each one. Since you already printed a cube primitive, I’d recommend just changing the dimensions to 70x20x5mm which will give you the same stretch of wall but take up a fraction of the filament and time. This will allow you to run more iterative tests.
2 Likes
I’ve had this P1S printer for six months, and it has been printing well without any issues.
However, over the past few days, I started noticing these stripes.
I’m using the AMS and have tried filament from different brands. Right now, I’m testing with ELEGOO PLA. I’ve printed over 5 kg with it, and everything was fine.
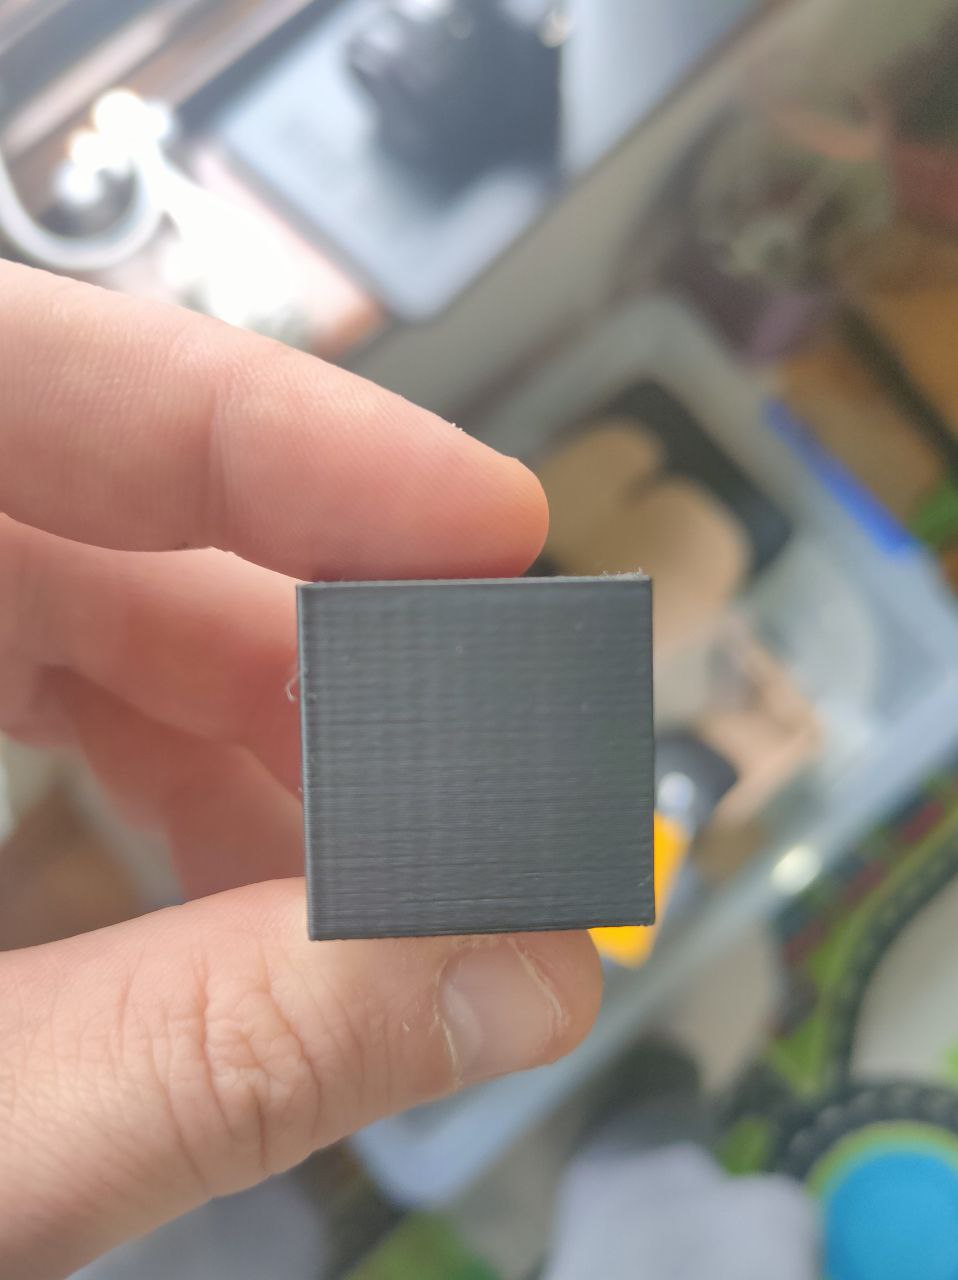
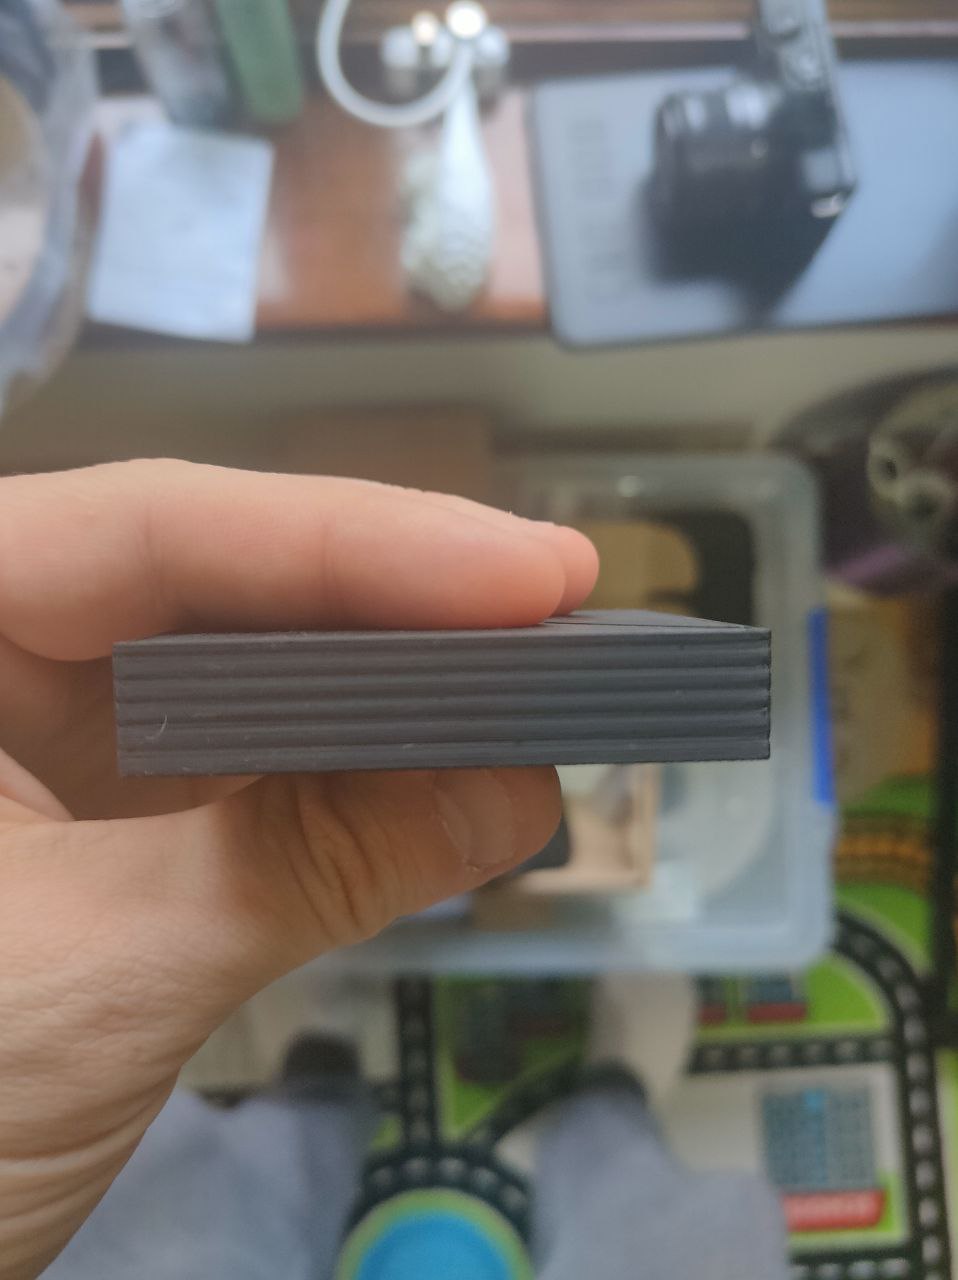
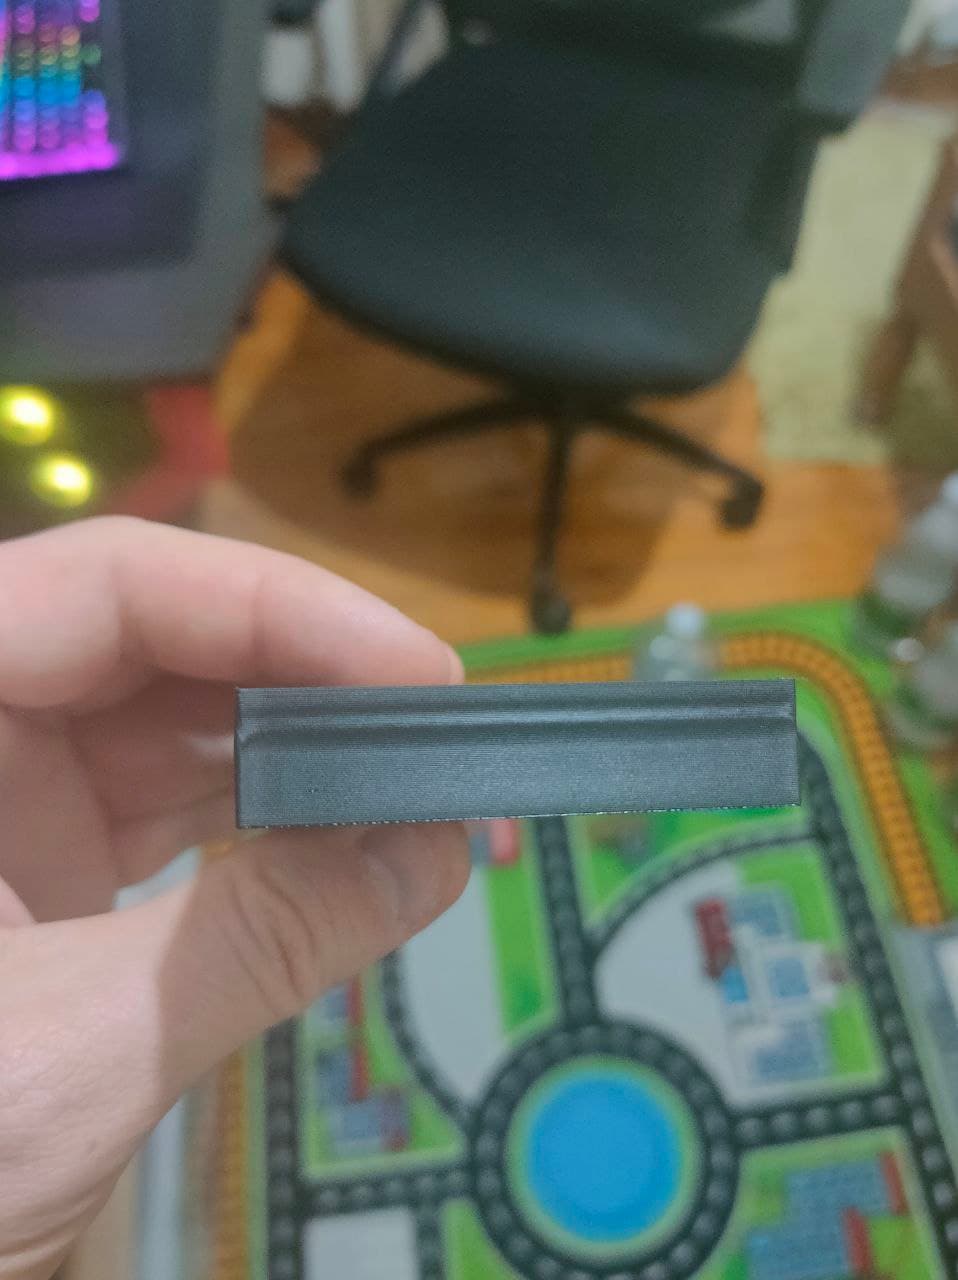
What’s interesting is that if I print a small cube with dimensions 25.60 x 25.60 x 25.60, everything comes out perfectly.
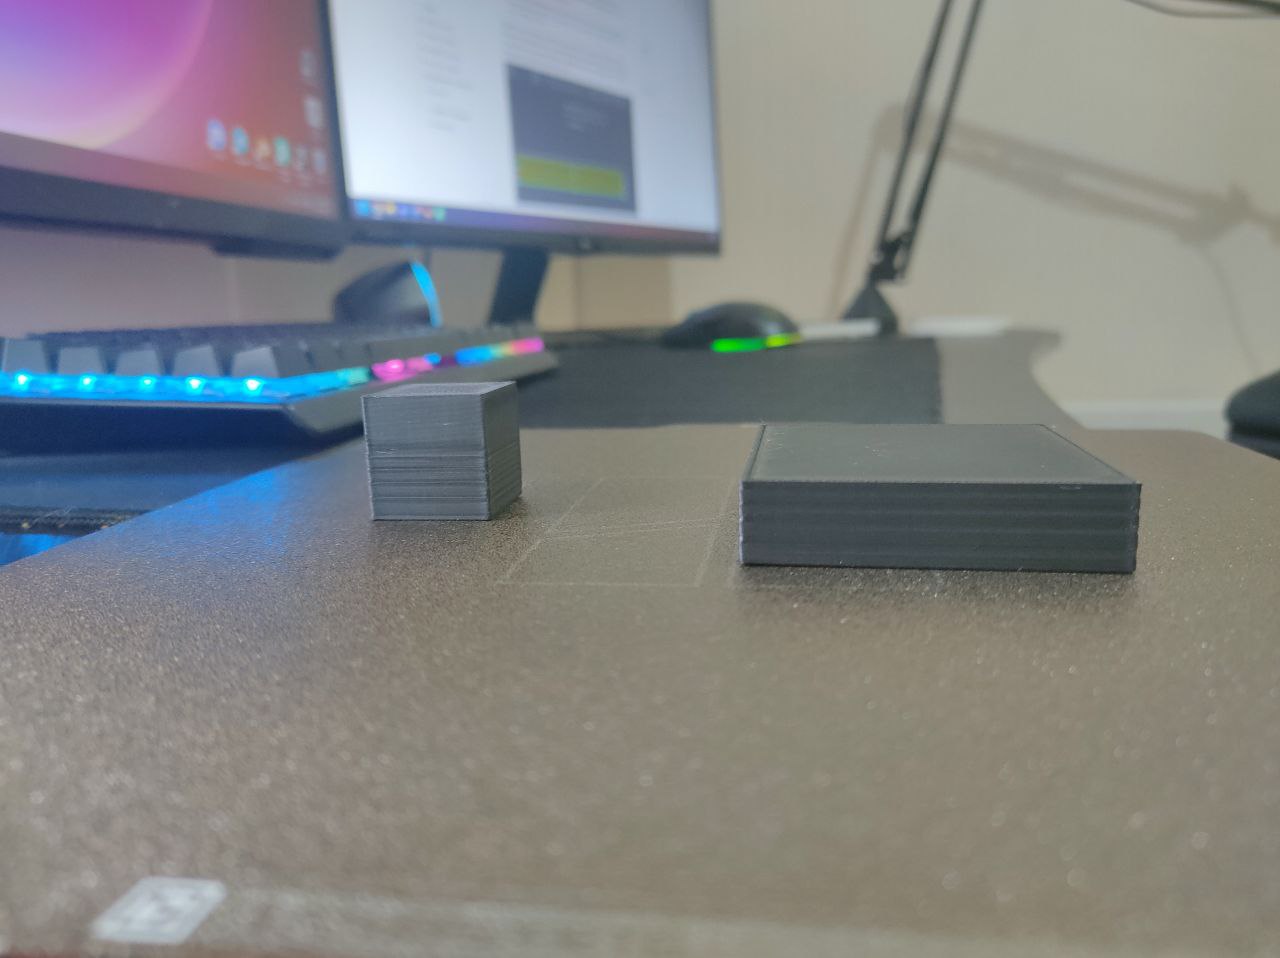
But when I print the same cube with a base of 67 x 61 x 13, as you can see in the picture, the surface has stripes. The cube itself also has them until the base finishes printing, and then the cube becomes smooth.
Tried printing without AMS, same result.
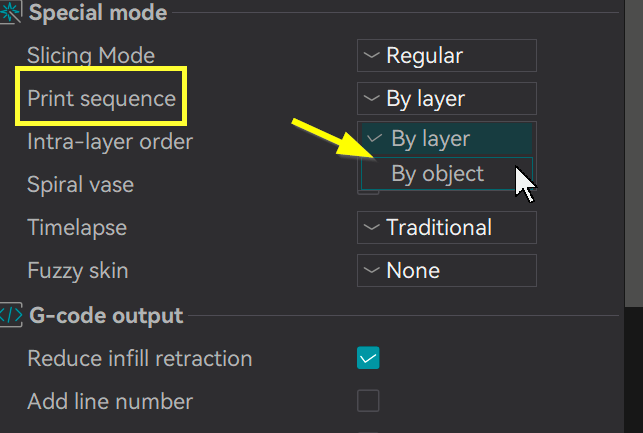
The two cubes side by side is actually very helpful because it tells us a lot. It’s well understood that when there is an extrusion issue, it often will manifest itself as the nozzle moves between objects. This occurs in the default slicer setting of “print by layer”. You can prove this theory by changing it to print by object. This will force one model to complete before the other one starts. Just be aware that when you do this, safety borders will appear around the objects and the slicer won’t let you print until you space out he objects. This a safety measure designed to protect the tool head from smacking into a previously printed object.
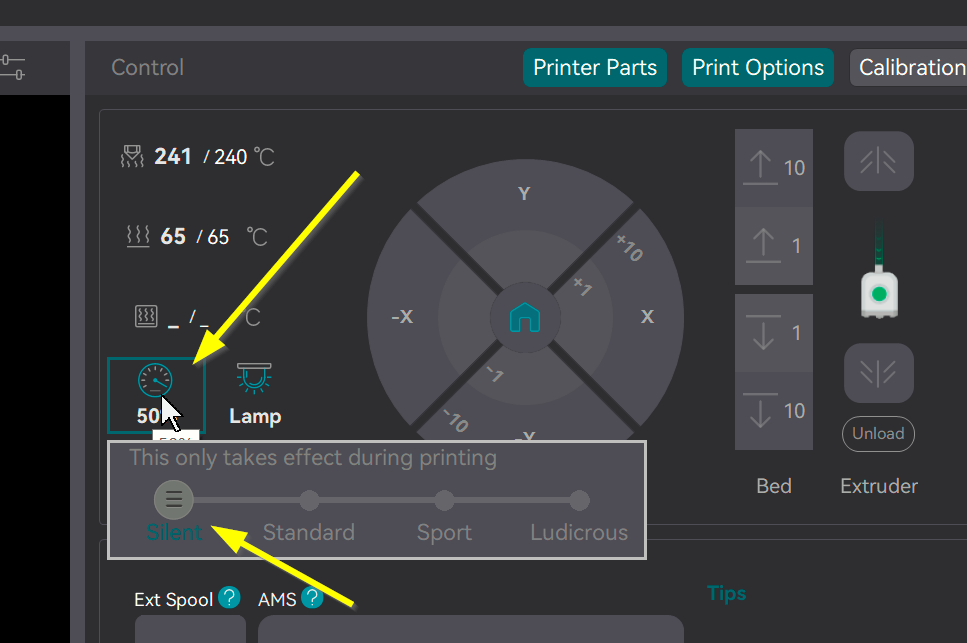
The reason I said this is helpful is because it virtually is the smoking gun that points to filament calibration. As a diagnostic step, go into the slicer or front panel on the printer and set it to 50% speed by selecting “Silent Mode”. I don’t recommend this as permanent solution because it sets ALL movements to 50% speed but it is a good one-click diagnostic tool.
If the quality improves or goes completely away than that suggests that Max Flow rate is set too high. Again, this is an indicator of incorrectly calibrated filament.
The other place you can change the speed for the walls alone is in the speed submenu. As a diagnostic step, try setting this to a number lower than 100.

I also noticed in the file that you uploaded that you have max volumetric speed set to 21. That should normally be fine but try setting it to 10 and see if it affects the print.

T
1 Like
The thing is, I have already used this filament, specifically this spool, and everything was fine before. I’m confident in this filament.
I’ve tried different brands, and I even found an old spool of PLA Basic from Bambu Lab, which had no issues before, but now it does.
Right now, small objects print normally, but medium or large ones have stripes. I previously provided a picture of a small cube printed separately—it’s perfectly smooth.
Printing at 50% speed. There are no changes.
Max volumetric speed 10. I interrupted the print. No changes.
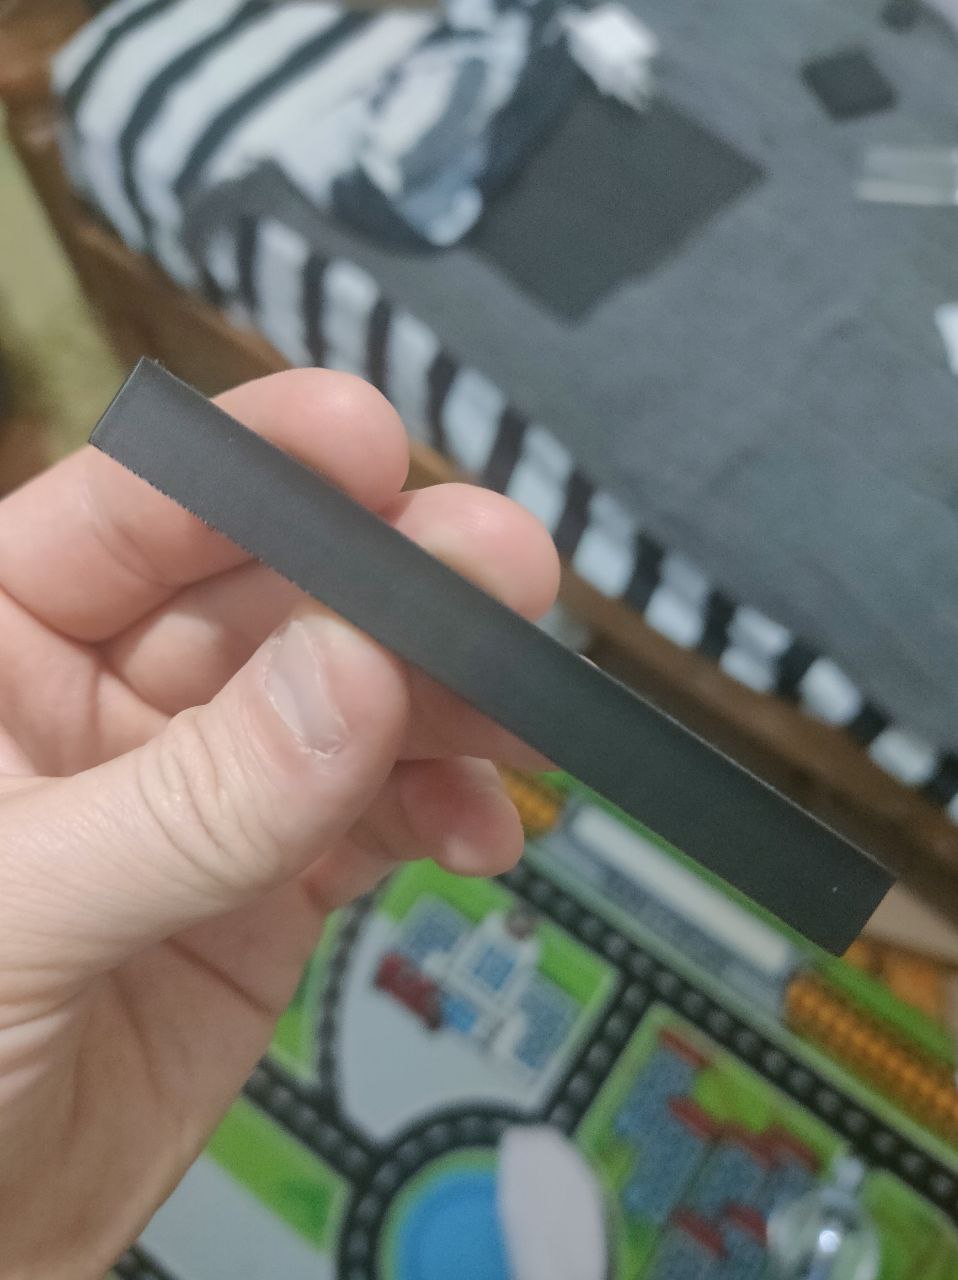
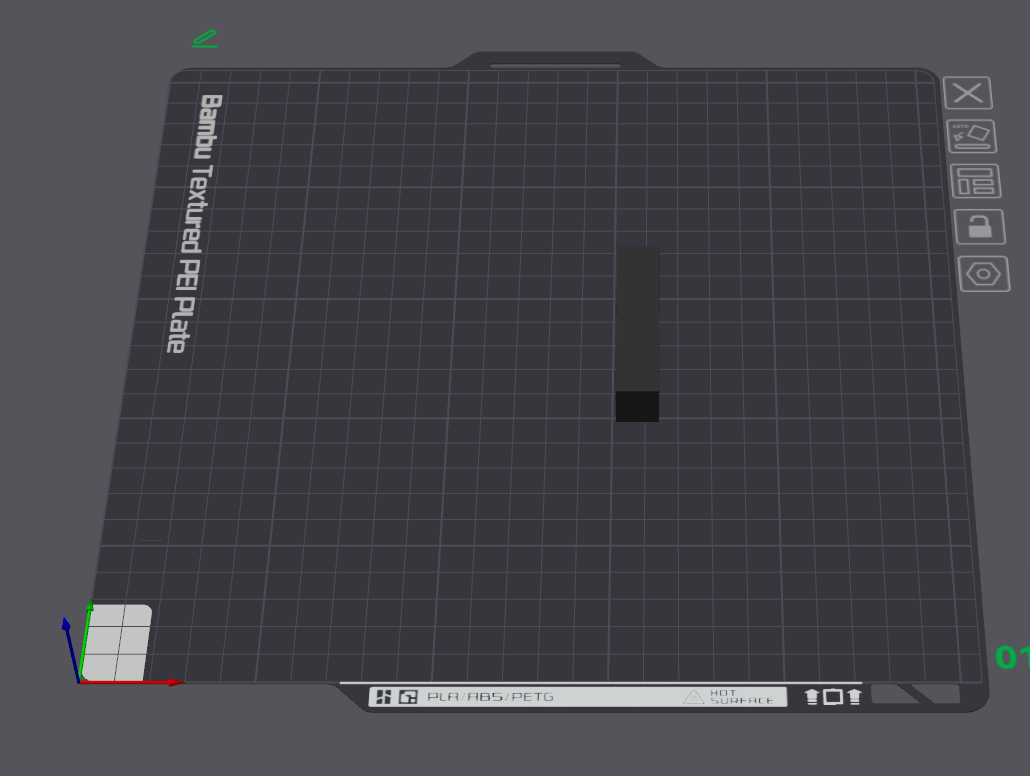
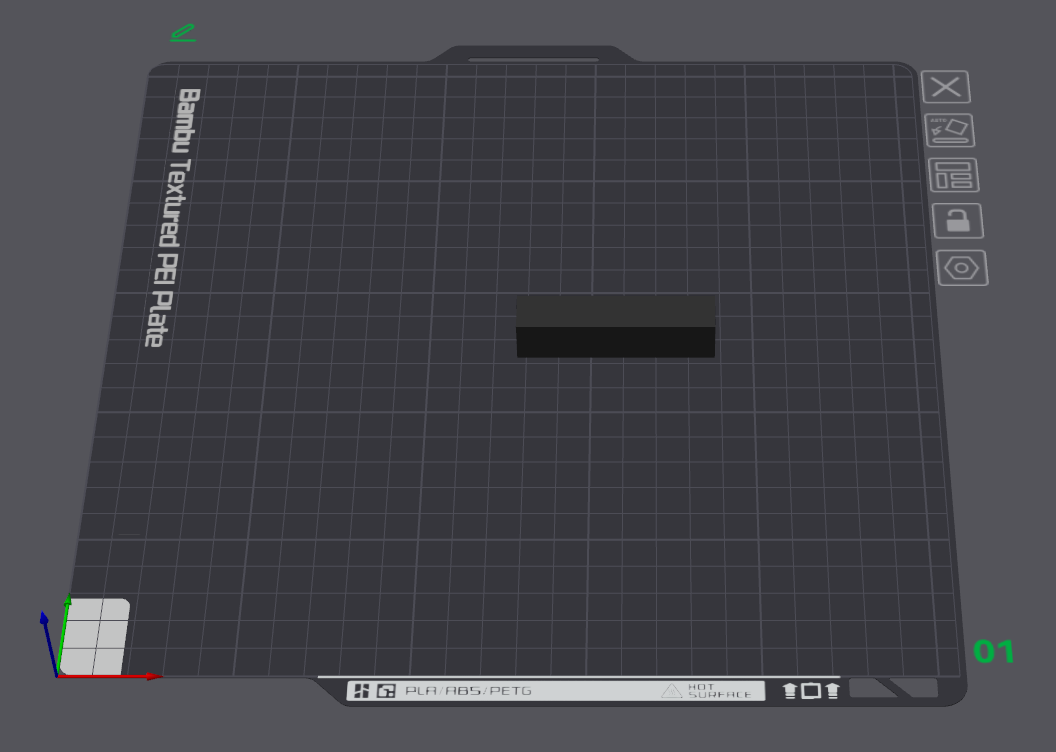
I conducted an experiment and printed two sticks—one positioned along the X-axis and the other along the Y-axis.
Both printed perfectly.
Then, I decided to try printing without infill, setting the infill to 0, and it also printed perfectly.
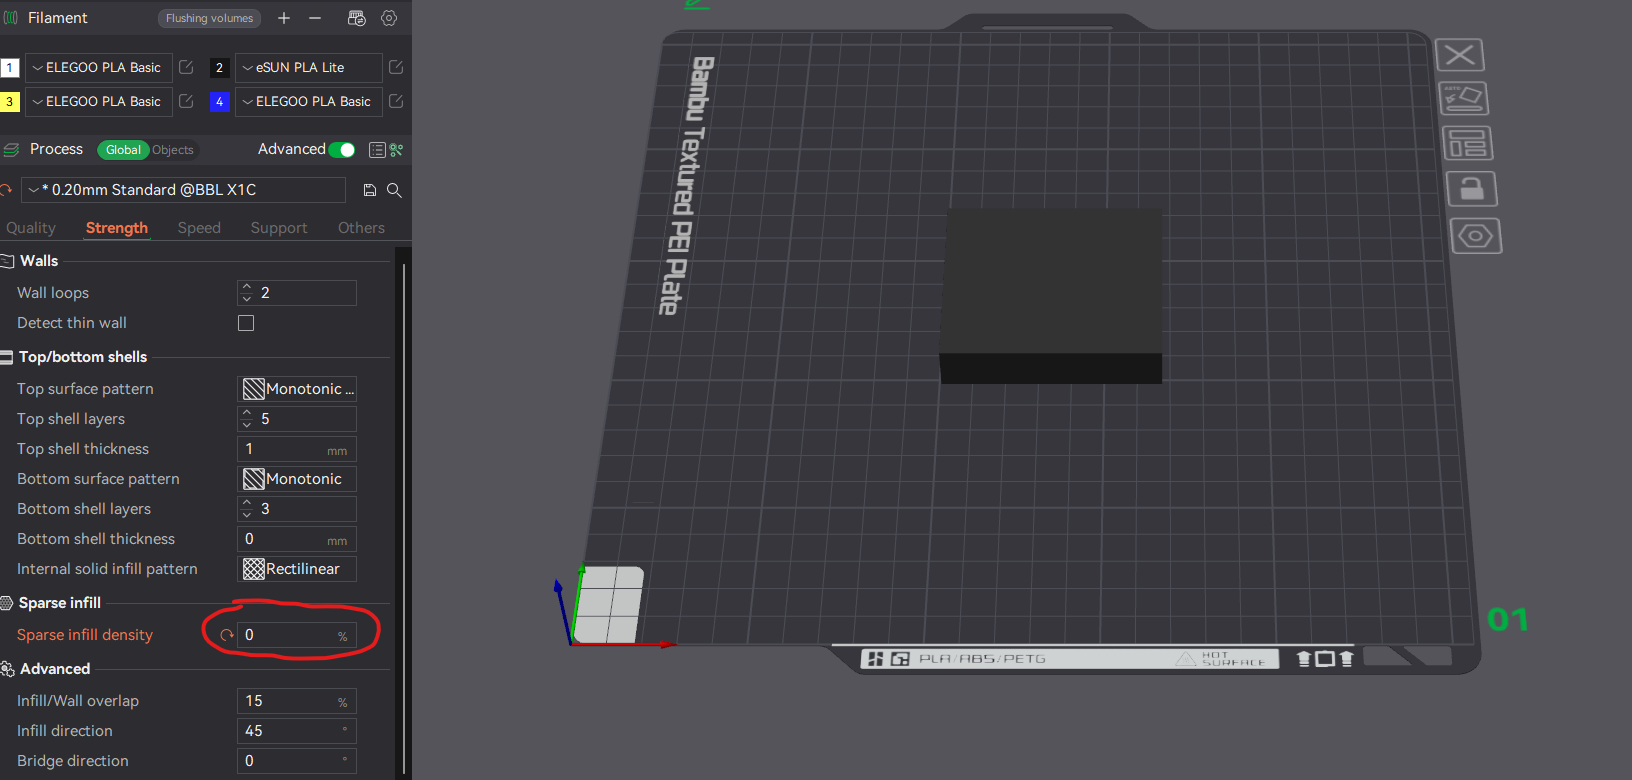
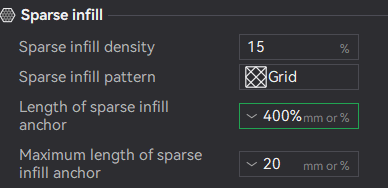
It turns out that the infill somehow affects the stripes. My infill settings are standard.
I’m already completely confused and don’t know what to do.
Try a different infill pattern like gyroid and see if that changes anything.
1 Like
While this is obviously your experience, consider what happens with any spool of filament. It get’s lighter as the spool unwinds, AMS hate light spools as is evidenced by the number of printable weights used to counter this issue. Also, over time, that spool may no longer spin as freely if the spool hub or the spool edges are worn or damaged. You haven’t mentioned whether or not you did an isolated spool test outside of your AMS. Those results would be telling.
You also haven’t mentioned the moisture test results and what happened when you weighed the filament before you dried it and what the weight was after. This is an important diagnostic step to rule out filament issues and since it now appears to be isolated to this spool, this is an excellent troubleshooting step.
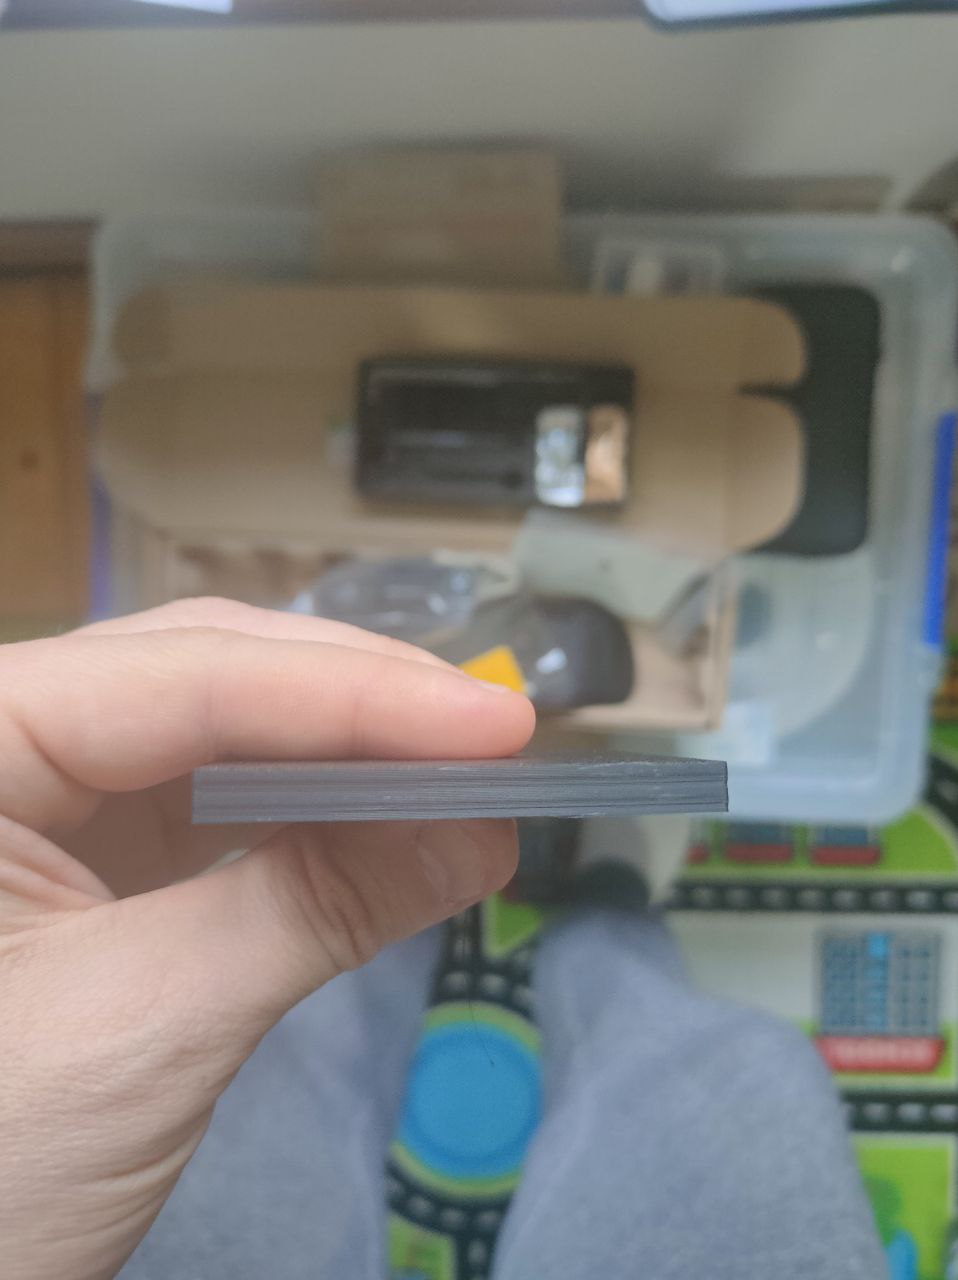
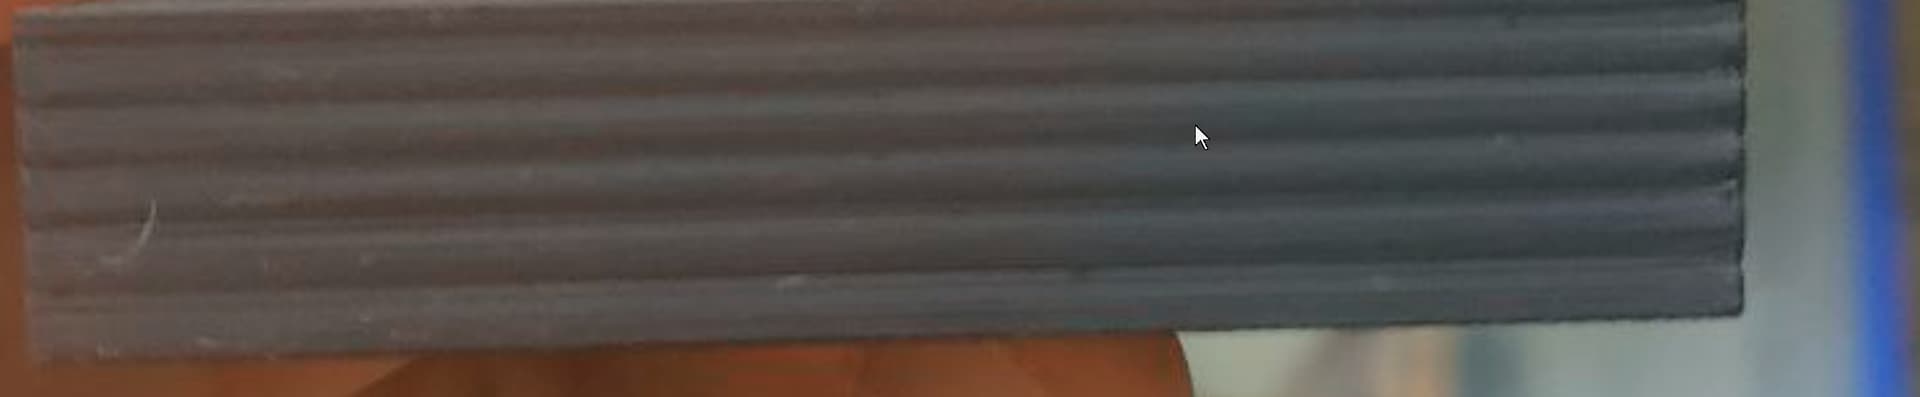
I found advice on the forum that these are 3 walls, I tried it for an experiment and this is what happened.
- I tried without AMS - the result is the same.
- I’m sure that my filament is dry because I store it in a large box with a significant amount of desiccants. I also measure the humidity inside, and it shows 7%. In the AMS itself, it shows 1
That actually is progress because you were able to affect a change. Adding more walls will thicken and smooth out filament issues and can compensate for a multitude of filament sins. While it may be a Band-Aid, its not attacking the root cause which it sounds like you want to do.
The thing is, you are still getting banding at the same layer level. So I looked at your settings in your 3MF file. There isn’t anything in the filament settings that would indicate that the fan is kicking on at a specific layer. However, did you try another PLA profile just to rule out a profile error? Also, maybe try a cylinder primitive as another geometry.
One question I forgot to ask. did you inspect and clean the Z-axis lead screws? More specifically, in the area of where the build plate moves that corresponds with that layer height. If let’s say there was a contaminant like a strand of filament stuck on the screw or bearing, that could interfere with the smooth motion of the Z-Axis, although in all fairness, this look mere like a feed issue but it should be at all heights not just one.
This photo here supports the notion of a Z-Screw issue but one caused by the belts which you stated earlier that re-tensioned. If you produce a small length of model but at the same height, does the banding appear at a consist set of height(every 3mm I guess?) The reason I ask that is if it is a belt issue and the period of intermittent banding changes with the amount of travel, then that goes back to the notion that the belts or Z-Axis movement is being compromised somehow.
Here’s what I mean. In your banding here which looks to be fairly regular intervals, only two factors generally cause this, model internal structure, such as using Gyroid or 3D Honeycomb with too few layers. The geometry of the shape behind the walls shrinks at a faster rate than the the parts that are not in contact. But you would see more of “pedal leaf” pattern than a linear one as is this case.
I’ve already mentioned that I tried different filaments and profiles. For example, I have an old Bambu Lab black spool, and I printed with the PLA Basic profile because the AMS automatically detected it.
I believe the Z-axis is not the issue because if it were, the small cubes would also have stripes. Additionally, I provided an example where printing without infill resulted in a smooth surface.
With three walls, there is only one stripe, and it is larger compared to when printing with two walls, where multiple smaller stripes appear. I think that if the Z-axis were the problem, the stripes would always look the same.
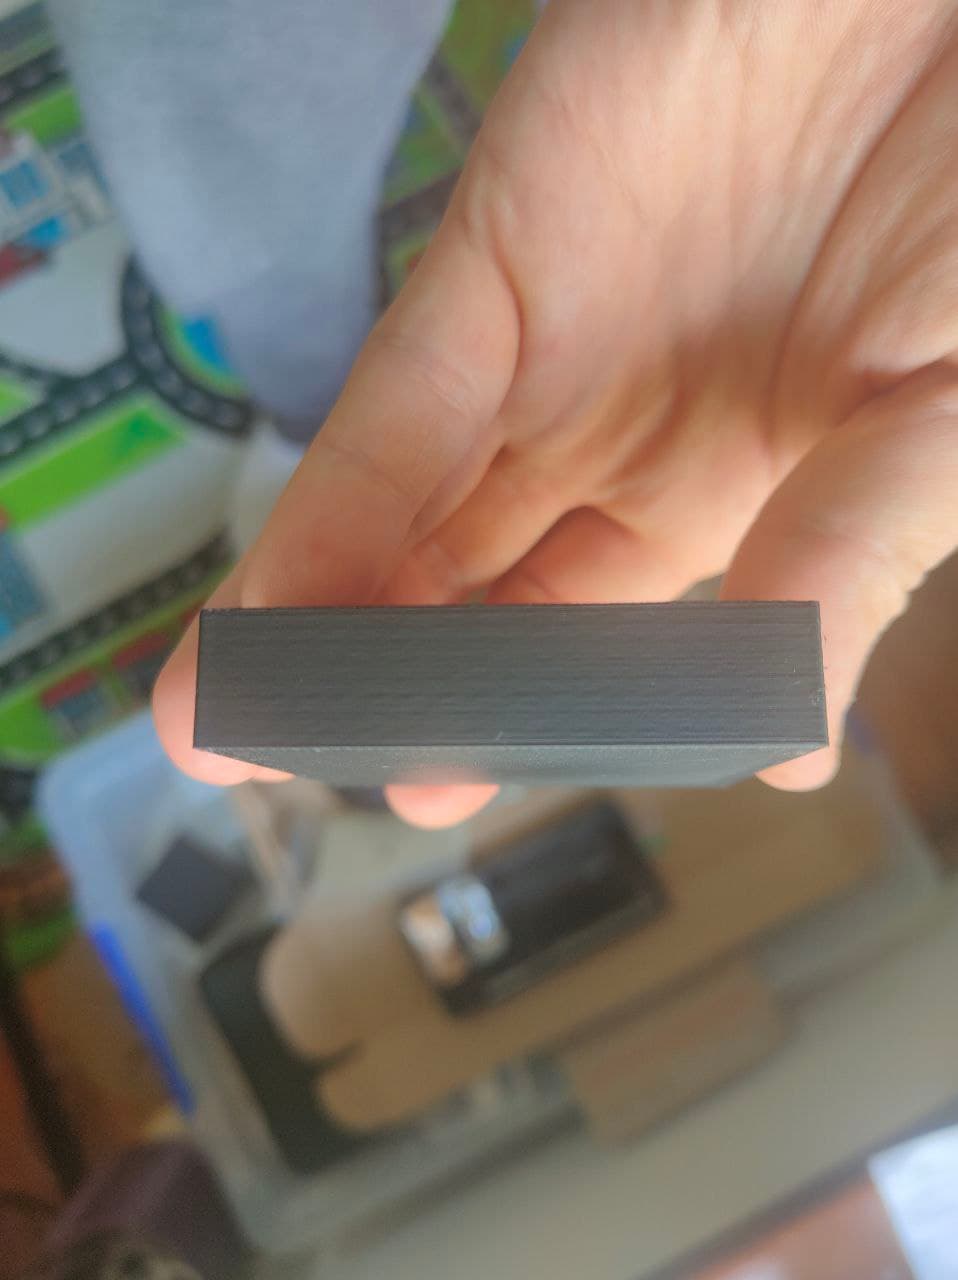
Another interesting point: I set 2 walls again but changed the infill to Gyroid—everything printed perfectly. But this significantly increases the printing time.
1 Like
Conclusion:
The issue is clearly related to the interaction between infill and the outer walls of the model. The fact that changing the infill type (e.g., to Gyroid) eliminates the stripes suggests that standard infill settings somehow affect surface quality.
Key Points:
- Mechanical issues are unlikely – the belts are taut, small objects print perfectly, and the Z-axis does not cause stripes under other conditions.
- Filament is not the cause – different brands have been tested, the spool is verified, and low humidity levels are maintained.
- AMS has no effect – printing without AMS did not change the outcome.
- Print speed and volumetric speed had no impact – adjustments did not resolve the issue.
1 Like
I have no more ideas, maybe you have some?
At this point, I think you have exhausted the practical remedies that can be considered. Perhaps some were overlooked, but for now, you can be assured that the last results at least provided a workaround, even if a slower print is undesirable.
This is one of those rare occasions when I might consider opening a ticket with Bambu to get their response. I say rare because every time I open a ticket, the process is the same: send us your logs, upgrade to the latest firmware, and oh yeah, you have to buy these parts to make it whole again. In your case, since you’ve had the printer for less than six months, the odds are pretty high that they will send you some complimentary components to install simply to rule out mechanical issues. It’s worth a shot if you’re willing to spend the time, and time and patience are what you’ll need when dealing with their tech support. It’s sad because when these printers were first launched, their tech support was actually quite good.
1 Like
the problem was solved. I understood that the nozzle was clogged. This video helped me.

This topic was automatically closed 2 days after the last reply. New replies are no longer allowed.