I have 7 P1S printers and one of them has developed a dimensional accuracy problem that I can’t figure out. This printer worked fine/same as the other printers until a month or so ago. Prior to this problem the same model came out the same on every printer, but now on this particular printer it comes out a bit off. Parts that normally fit together like a glove are a tiny bit too tight. I print with PETG.
Here is what I have tried:
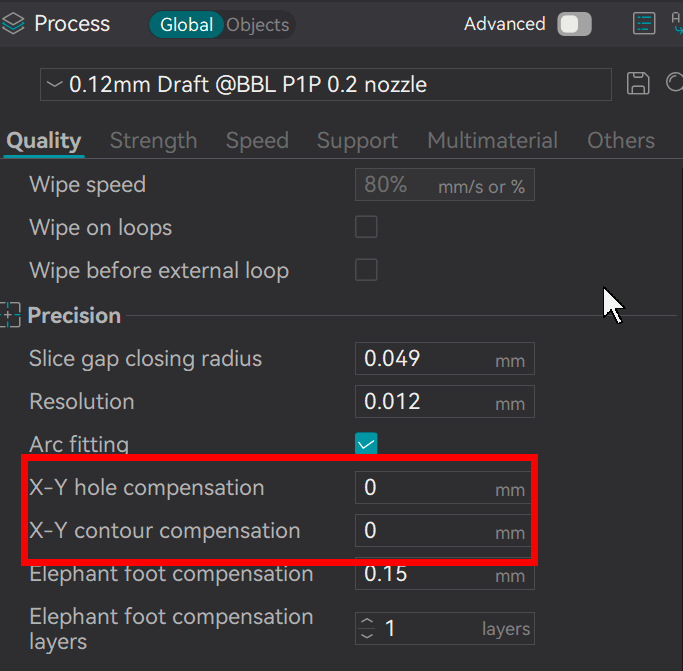
All calibrations
Replaced the nozzle and heating element
Examined/cleaned the extruder
Tried different rolls of filament, same problem
Made sure that the nozzle fans are working properly.
This printer also shows a tiny bit more stringing than the others, which to me would point to a temperature issue but I’ve tried adjusting the temp also to no effect.
I suppose the good news is that the dimensional inaccuracy is consistent LOL. Prints do come out the same every time, but they are just off by a tiny bit, just enough to be a problem.
All printers - even those of the same brand/type - have their own personalities due to the fact that they’re mechanical machines and not wholely digital. Ask anyone who’s into sewing machines and they’ll delightfully tell you the same thing.
You may need to calibrate this machine in its own way via the calibration features in your slicer. It’s the nature of the beast, really. Machines be machinin’.
This doesn’t explain why the printer that behaved like 6 others, suddenly started to drift away from the others.
Have you checked the belt tension? I think that would be my next check.
For the print head, it could also be the temperature sensor. you could swap the entire assembled nozzle with one if the other printers to see if the problem moves with it.
It’s a machine. Over time parts shift, over time bits “settle”. Over time mechanical wear and the fact that its a thing that -moves- means that it will develop its own characteristics over said aforementioned time depending on what it was used for, how you’ve treated it and the how parts that it was made out of were also created.
You will have to calibrate and adjust and figure this out on your own and accommodate for that. You will never have all your printers acting the exact same. It’s physically impossible.
Im sure, If all 7 machines behaved the same and now one starts to behave differently while 6 others still produce the same parts, something is off for that machine.
Maybe something is worn and needs replacement, but I doubt that you just have to accept that machines have a “personality” that you just have to live with.
My last printer has been printing 8000 hours until it got retired and i didn’t experience any change of performance in that time. It started squeaking but parts still looked exactly the same. In my opinion, 3d printing isn’t a high precision process.
I’m sure, if you suddenly see a change in performance after a long period of consistent performance, that is something that can be fixed.
No matter how much you insist otherwise it isn’t going to be a binary “yes or no”, a “1 or 0”. It’s gonna have its quirks and as a printer owner you have to learn to work around that. You’re gonna have to get dirty and fiddle with settings.
If your knee was injuried you’re not gonna go off and join some Olympic sprinting team so I’m not really sure why this is so hard to understand.
Sometimes you’ll just have a printer that’s slightly stringy with certain filaments. Sometimes you’ll have one where the far corner is just kinda bad for printing and edges lift.
You’re never going to achieve perfection and the best you can do is accommodate, calibrate, replace and just do your best despite that and if that is unreasonable to you then you picked the wrong thing to get into.
I am 100% shocked by this, but the first thing I did was a factory reset and the first print came out perfect, like it used to. After the reset I did all the in-machine calibrations, but I had done those same calibrations before to no effect. Somehow the factory reset fixed it (at least for 1 print) but I have no clue why that would be.
It would be helpful if you could clarify what you mean by dimensional problems. A screengrab of the sliced parts on the build plate noting what parts needed to fit into which would help take the guesswork out of this troubleshooting.
To get you started on what I’m looking for, here are some example questions.
Are we talking about a peg not fitting a hole? Or a tab not fitting into a slot?
Is the dimension of fitment in the X, Y or Z vector? This information alone will narrow down your diagnostics to specific movements of the printer and aid in suggesting next options.
Does the dimensional tolerances appear across printers or within the same printer? So if I print a peg on the suspect printer, will it fit in a hole of a part printed on a known good printer?
Have you isolated the test onto just two printers? Printer 1 would be the suspect printer and printer 2 would be the “known” working printer.
Have you taken parts from the known working printer and fit them into the suspect printer and vice versa?
Have you repeated that diagnostic step by swapping filaments between the known bad and the known printer?
These diagnostic steps will save you time.
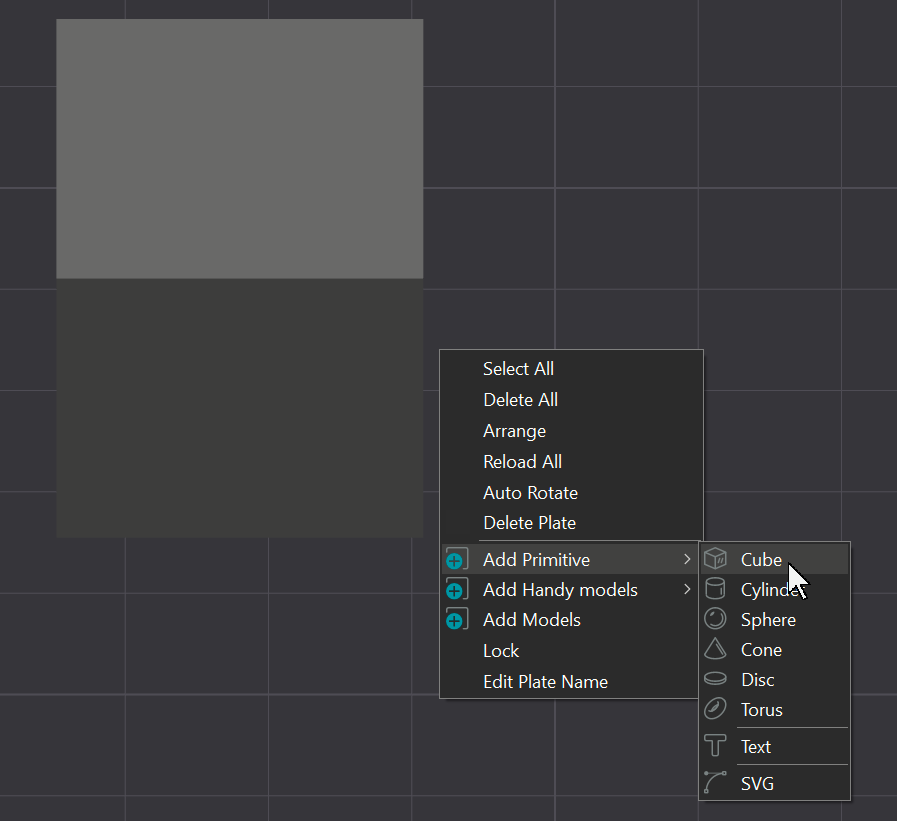
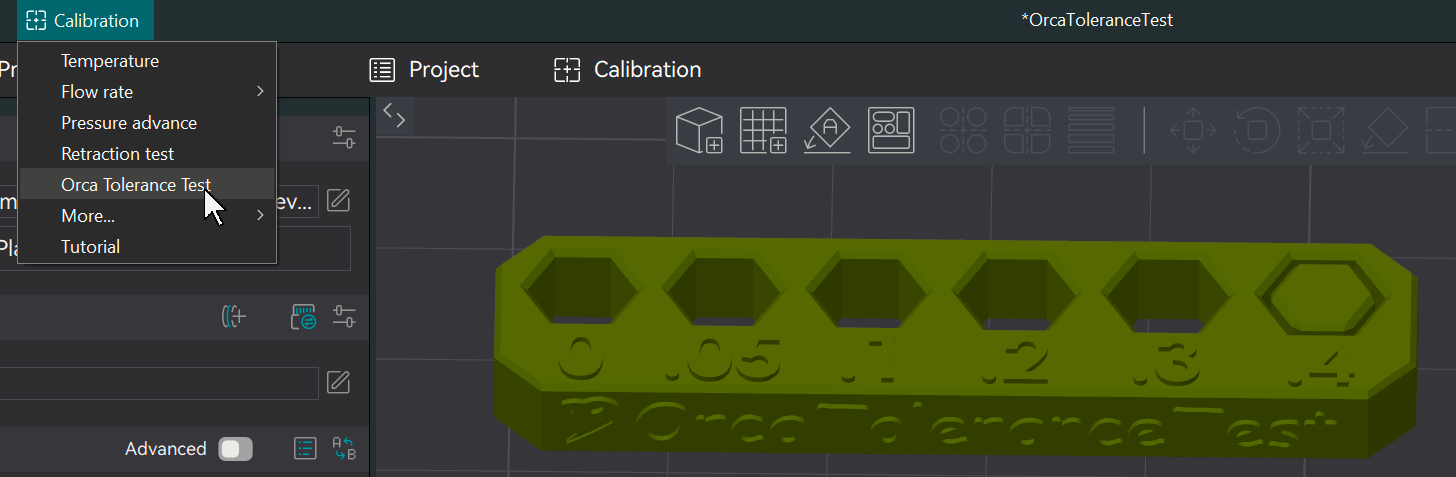
One other suggestion. Don’t waste your time with downloading models. To be honest, there mostly ego-driven models by the creator trying to show how “clever” they are when in fact that are filament and time wasters. Here is a much easier approach. This assumes that we are testing for X/Y tolerance. For Z, flip the models.
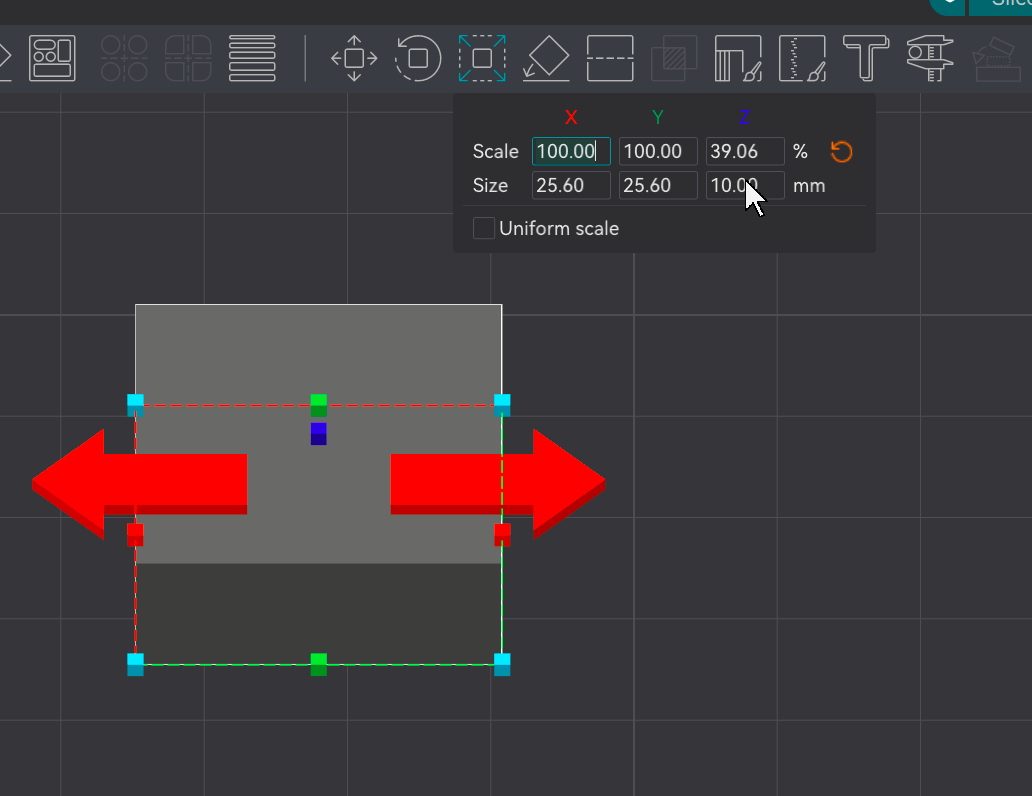
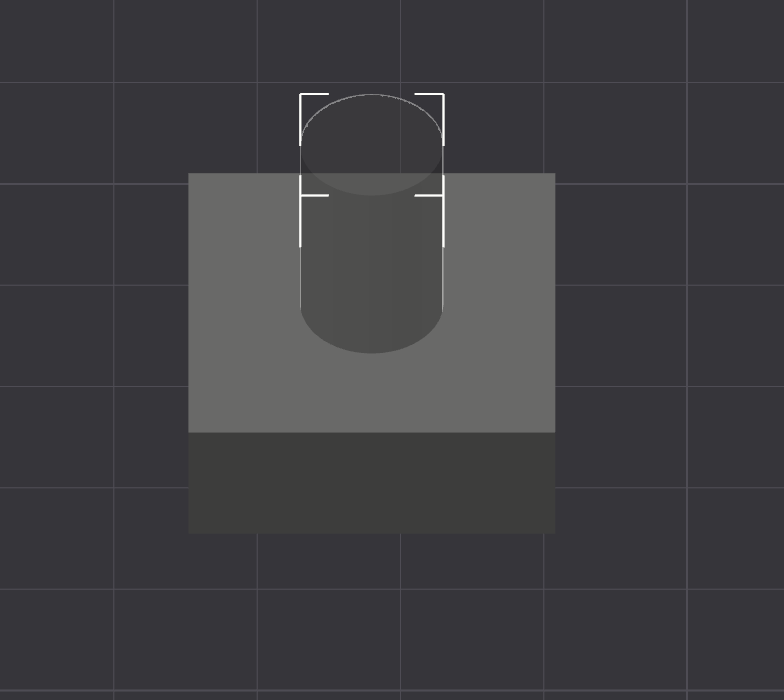
Take a cube primitive and scale it to 10mm in height.
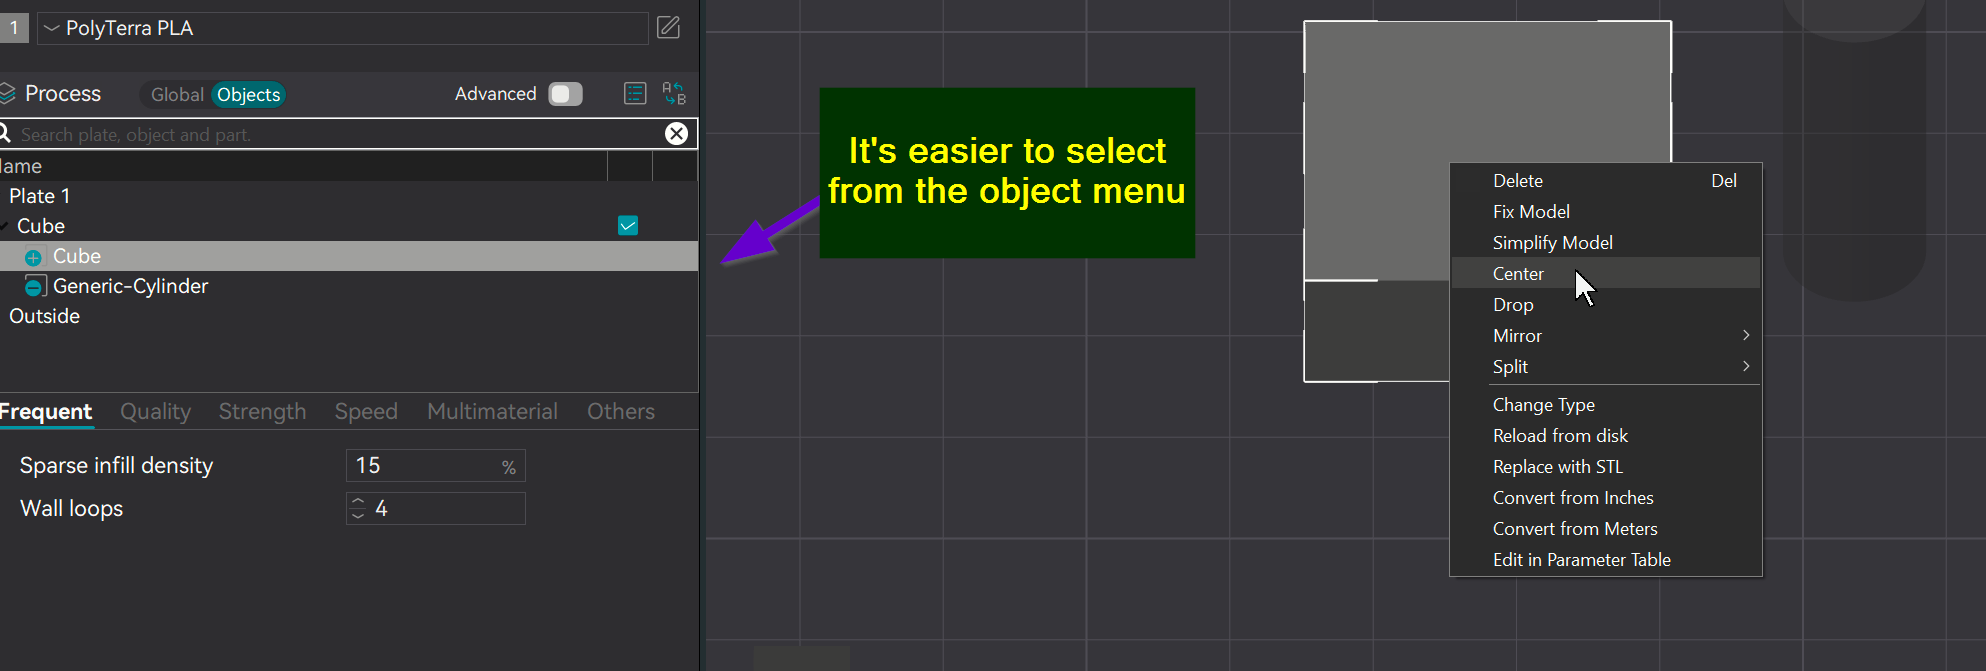
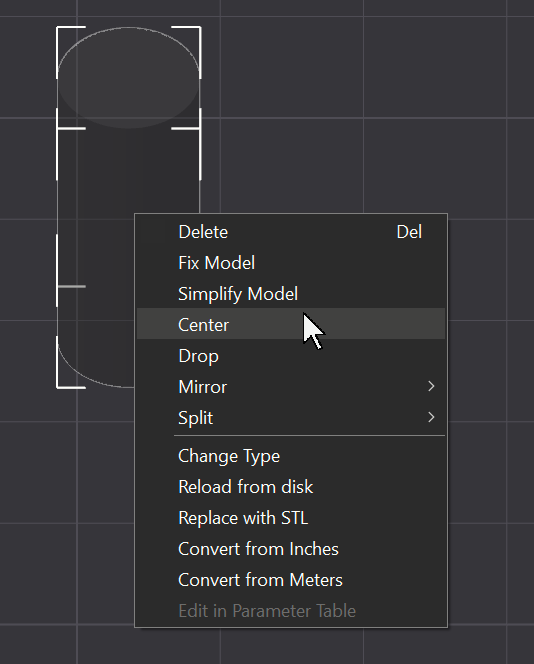
Add a negative part and scale that part to the cube, I’ll use a cylinder in this example. Scale it to half of the width of the cube and center both objects. Click on gallery to scroll through images.
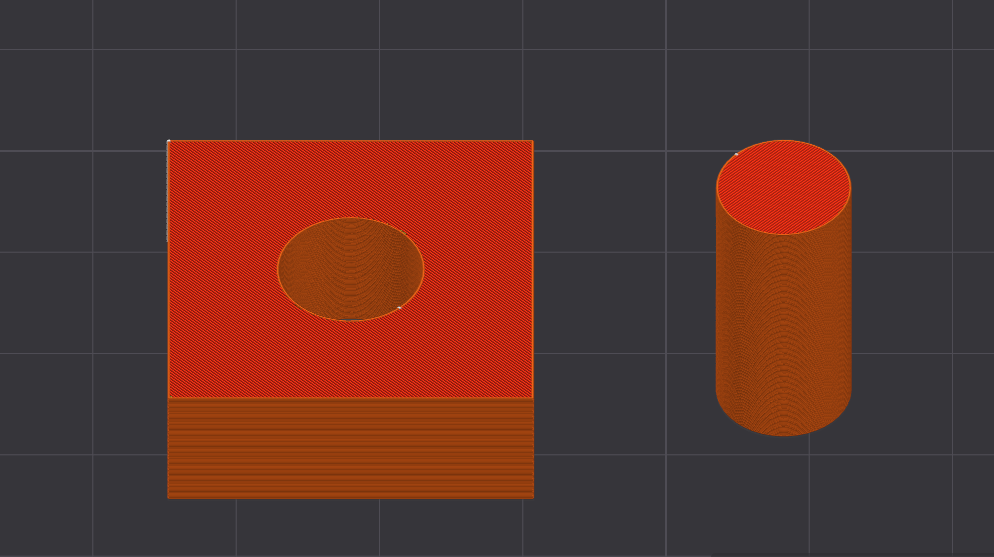
Create a separate cylinder primitive using the same dimensions. (note, these will not fit so you will want to scale one of them by some amount until they do fit).
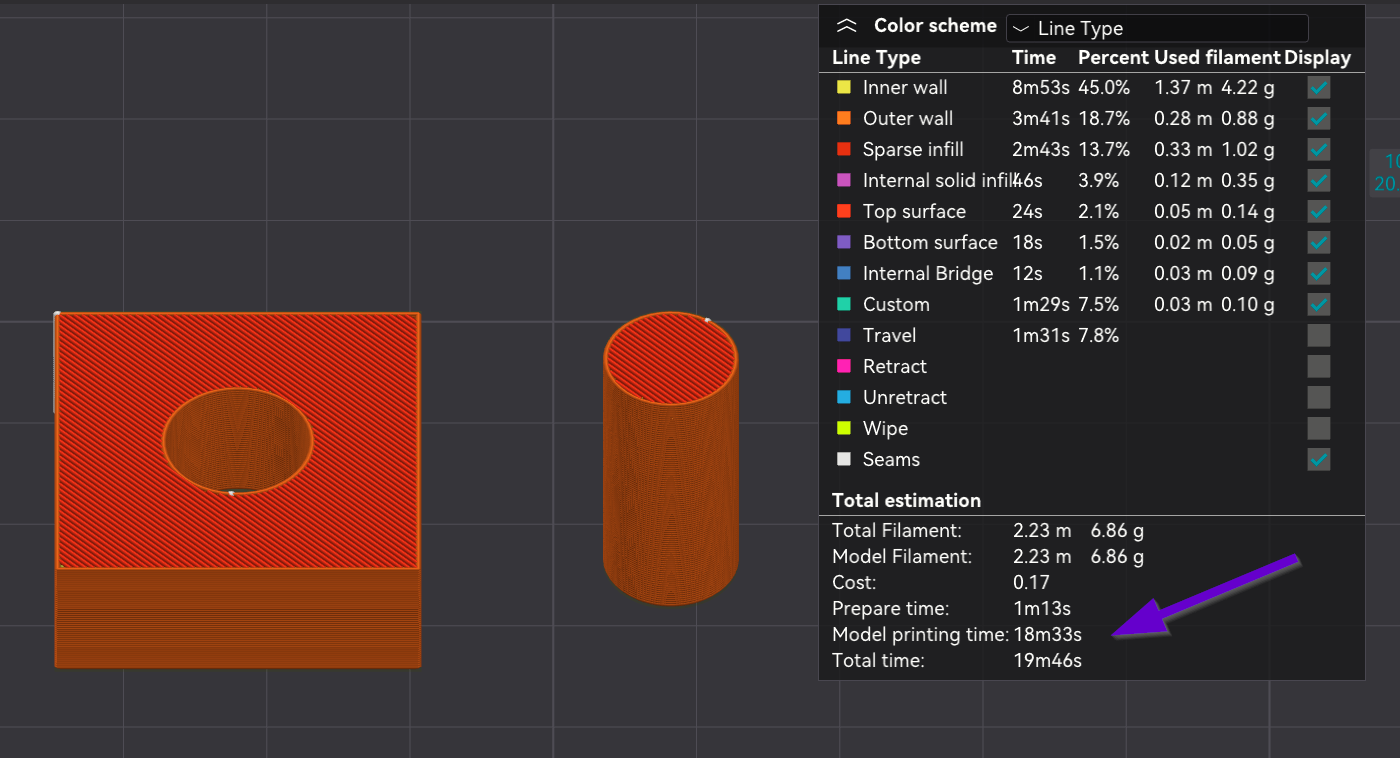
Save the 3MF file and print them on both printers. Find a way to mark the models so that you know which came from which.
What will this accomplish? Based on which hole is too small/large by interchanging the models built on different printers, you’ll be able to determine if this is a shrinkage problem or a dimensional problem.
The advantage to doing this is time. Use a smaller model if you want to save even more time but larger models allow for measurement of greater tolerances.
As I said before, it cures the oddest of problems. It seems like there is some sort of internal calibration that goes askew and a factory reset seems to fix it.