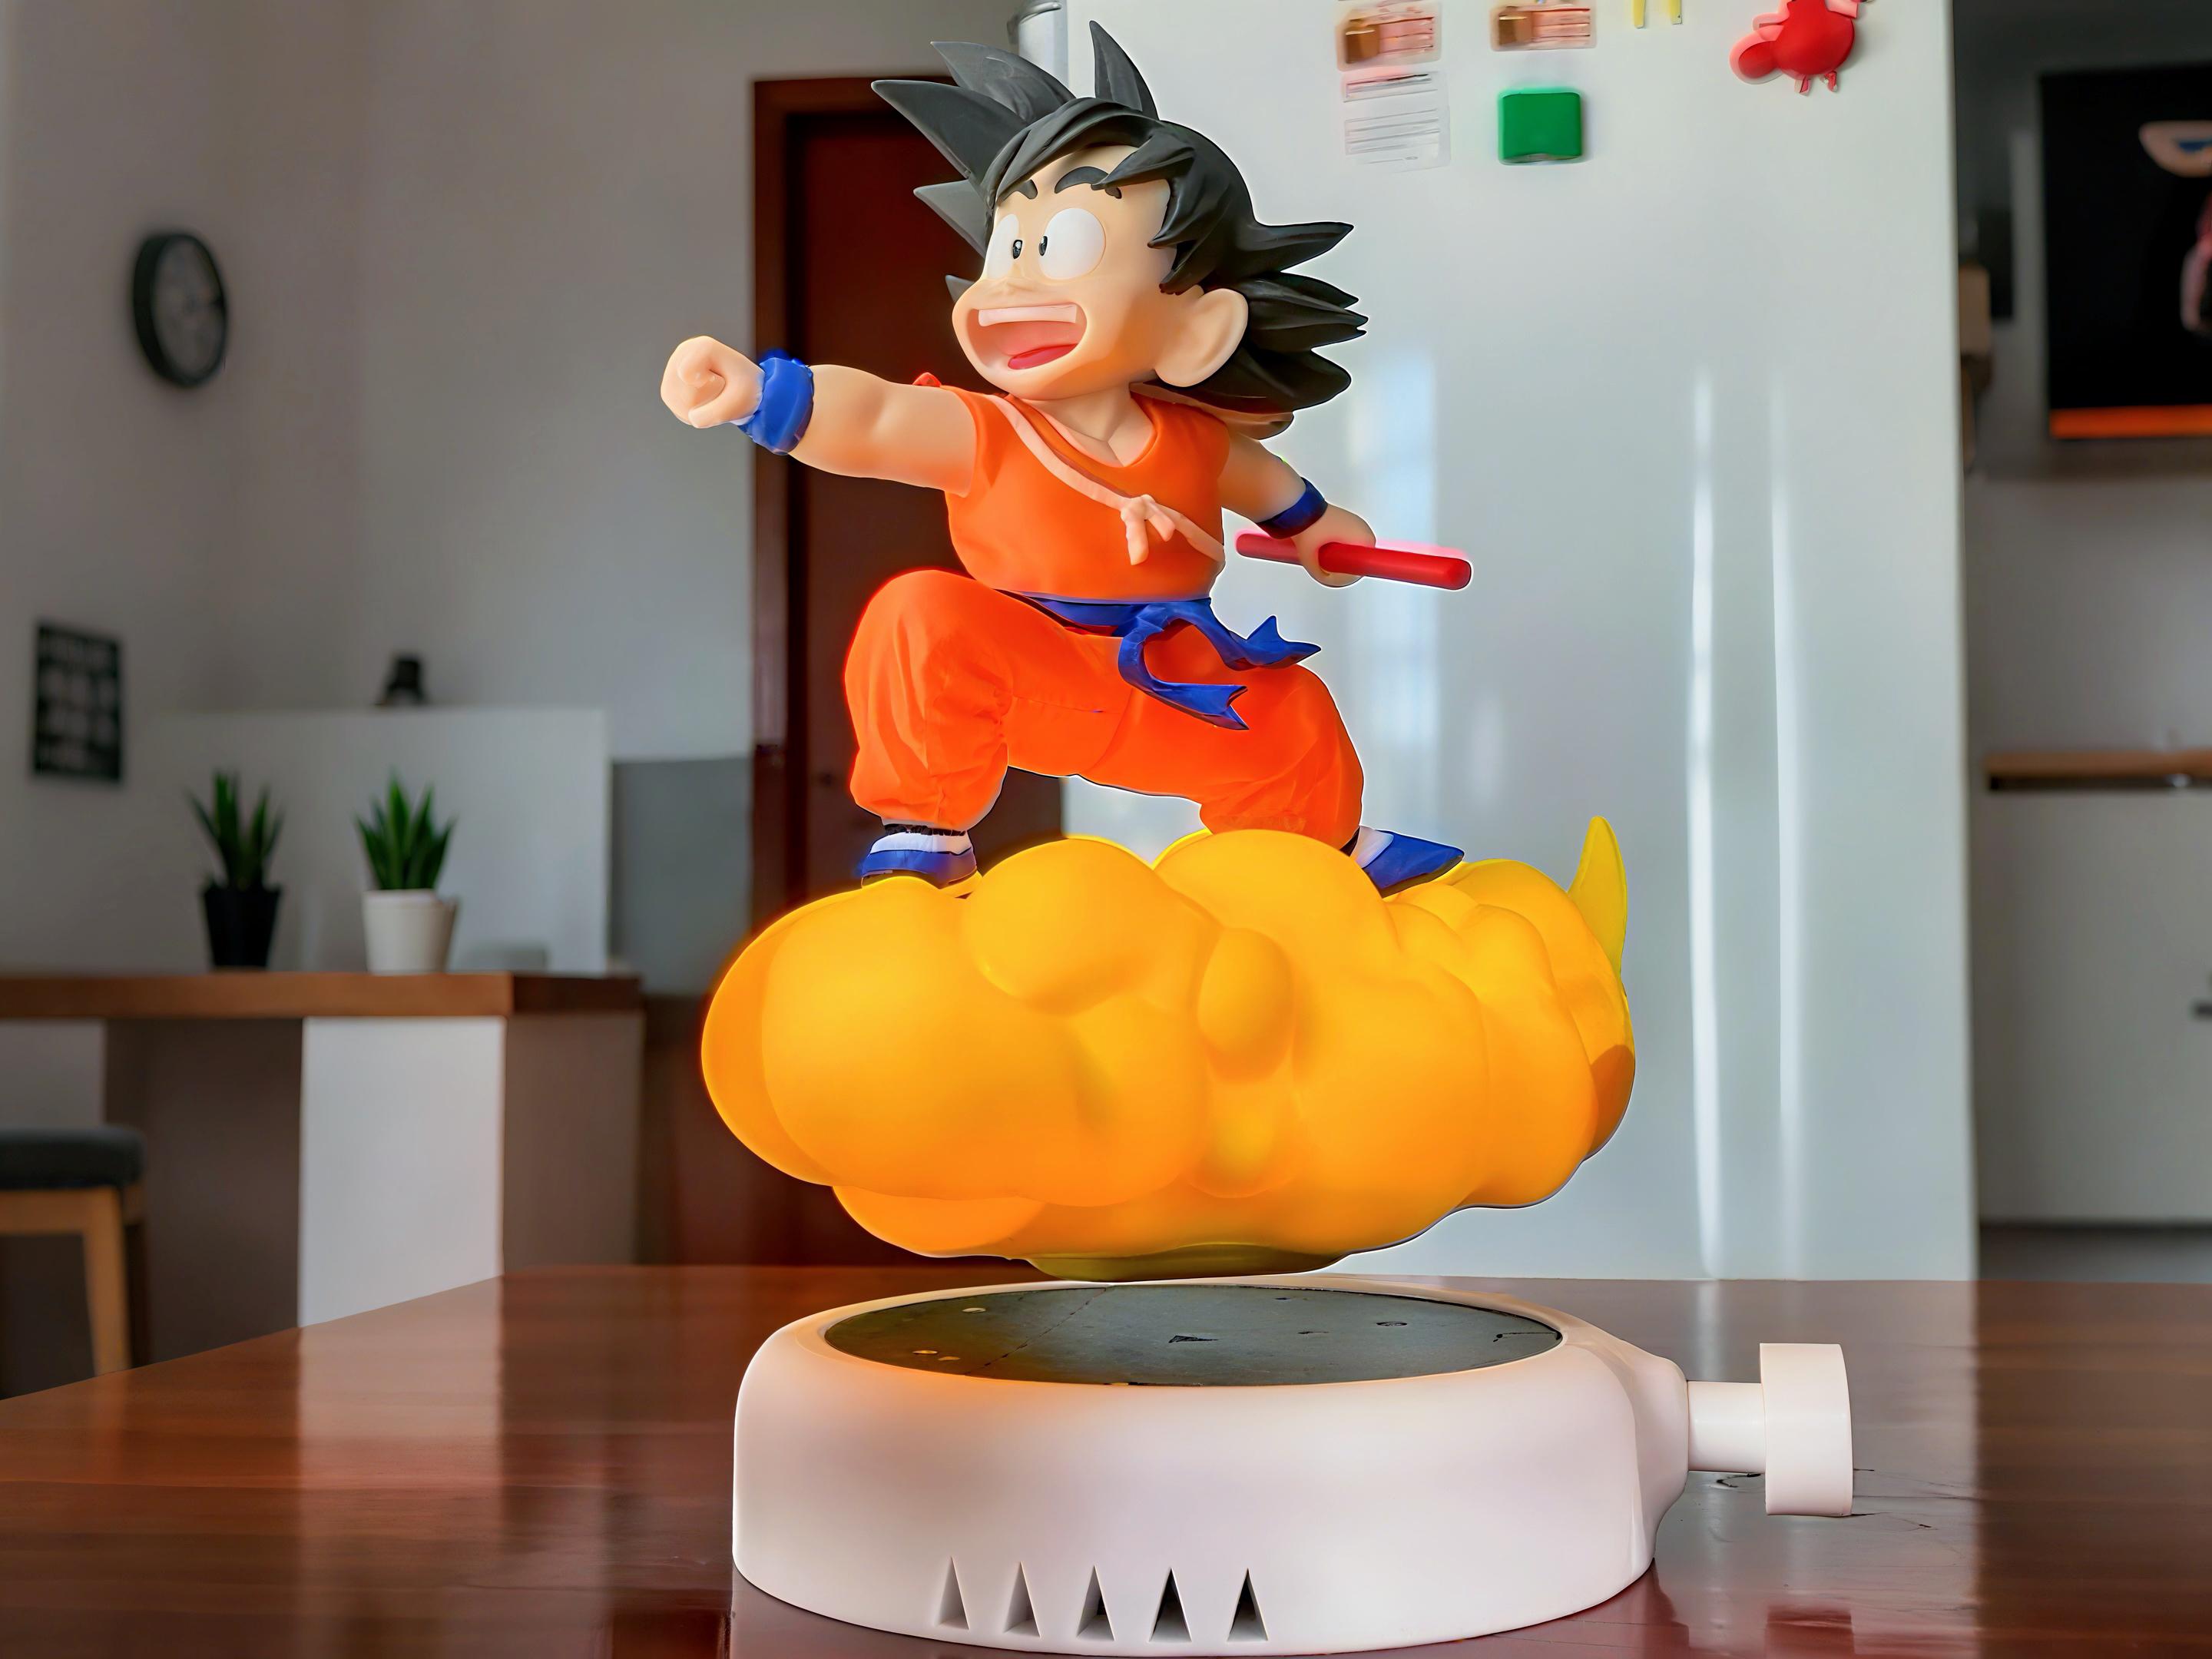
I purchased two Magnetic Levitation DIY Kits because I had this idea in mind for months: creating a levitating Goku. It was a project that took dozens of trials and errors, but seeing it floating at last was incredibly satisfying.
However, I quickly realized that making any 3D print levitate is much harder than expected. The magnetic force is so intense that even a tiny misalignment can cause the object to snap off violently — and potentially damage the base or the print itself.
At first, I tried everything, including 3D-printed centering tools like the one featured in the levitating pyramid model. While clever, these tools added more steps, printing time, and complexity.
Then, I made a discovery that changed everything:
![]() Just use the black foam that comes with the kit.
Just use the black foam that comes with the kit.

Place the foam pad over the base, right above the center magnet. Set your model on top of the foam and start gently sliding it around. When it begins to slightly “rotate” in place or circle subtly, that’s a sign you’re near the sweet spot. From there, carefully remove the foam while keeping the model steady - and voilà! It floats.
![]() Why this works so well:
Why this works so well:
- No need to print alignment tools
- The foam cushions any fall if the magnet rejects it
- You find the center intuitively and safely
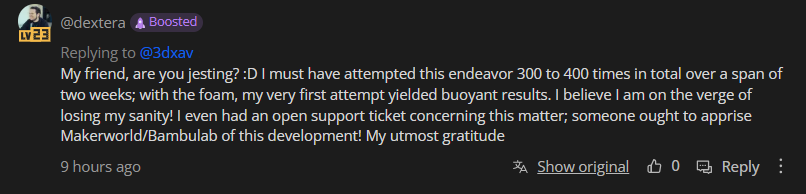
When I shared this tip with another user, his reaction said it all (see attached screenshot). He had already printed multiple support structures and attempted over 300 times to get the levitation to work! One even opened a support ticket out of frustration.
This is why I felt compelled to post it here - I know many others might be struggling with the same issue.
So, if you’re using the Bambu levitation kit or a compatible one, try the foam method. It’s quick, easy, and way less stressful.
Hope this helps many of you!