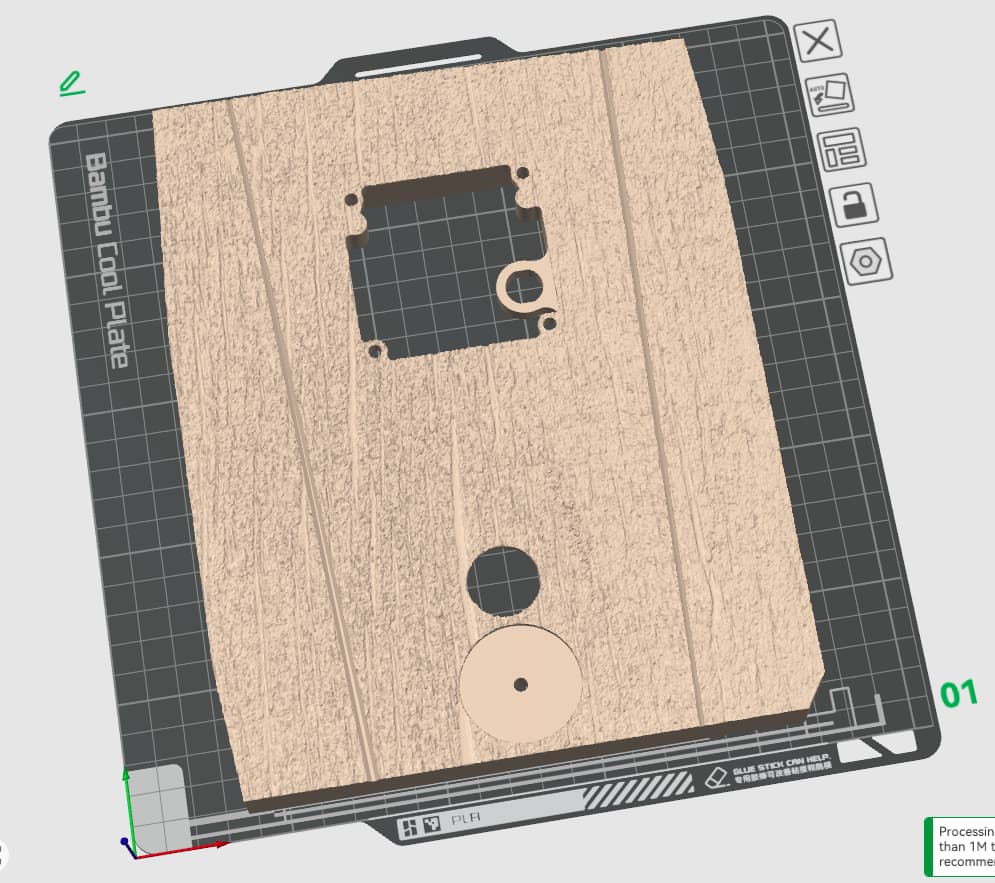
Basically most stuff you create in Fusion will have flat faces and very few triangles defining the surface. That screws up texturing. You have to increase the number of triangles (increase tesselation) on any faces you are going to texture so you can get the resolution needed to draw the texture in the surface. On a test piece where I was adding wood grain I set the maximum distance between vertices at 0.5mm and it worked well but depends on model scale, detail in your texture image, etc. But stock bodies in Fusion don’t even look textured if you don’t tesselate up.
Once you get the mesh properly increased, you just add the texture and off it goes. Things do slow down because you’ve given it lots more to do/keep track of and file sizes get bigger, but dang if it doesn’t work like a charm. It also really slows down slicing and printing.
Check the video and you’ll see how to do it. Game changer here for me. I’ve been beating my head on Nomad and Blender to be able to do this and getting mostly nowhere because I’m not familiar with those yet. Fusion? Yee Damn Haw!
This is just a test part and needs some changes but you can see the texture. I only pulled it into Studio to make sure things were actually working and it’s like a champ.
Was notified this is a “hot link” so might add some things for completeness. I should also add I haven’t tried resubmitting the design to see if things have been fixed.
Increasing tesselation and going with deep textures really blows up the models. It also made slicing take a while. At the time I uploaded the final model, it caused MW to deem it broken even though it wasn’t. MW wouldn’t let me post it as a print profile at that time.
So just be aware you can get too carried away with textures but if you want the textures, you want the textures.
I think it was @MaKim who mentioned you can import the model into Blender and “decimate” it to take out unnecessary vertices and shrink the file size significantly. I haven’t gone back and done that yet but need to at some point to see if I can upload it as a print profile. The model is posted but just in the files section of the model page.
The problem is I’d need to reprint it to photograph it and it’s a significant use of plastic and print time.
But I used the Fusion texturing on a number of things since and it really works well.
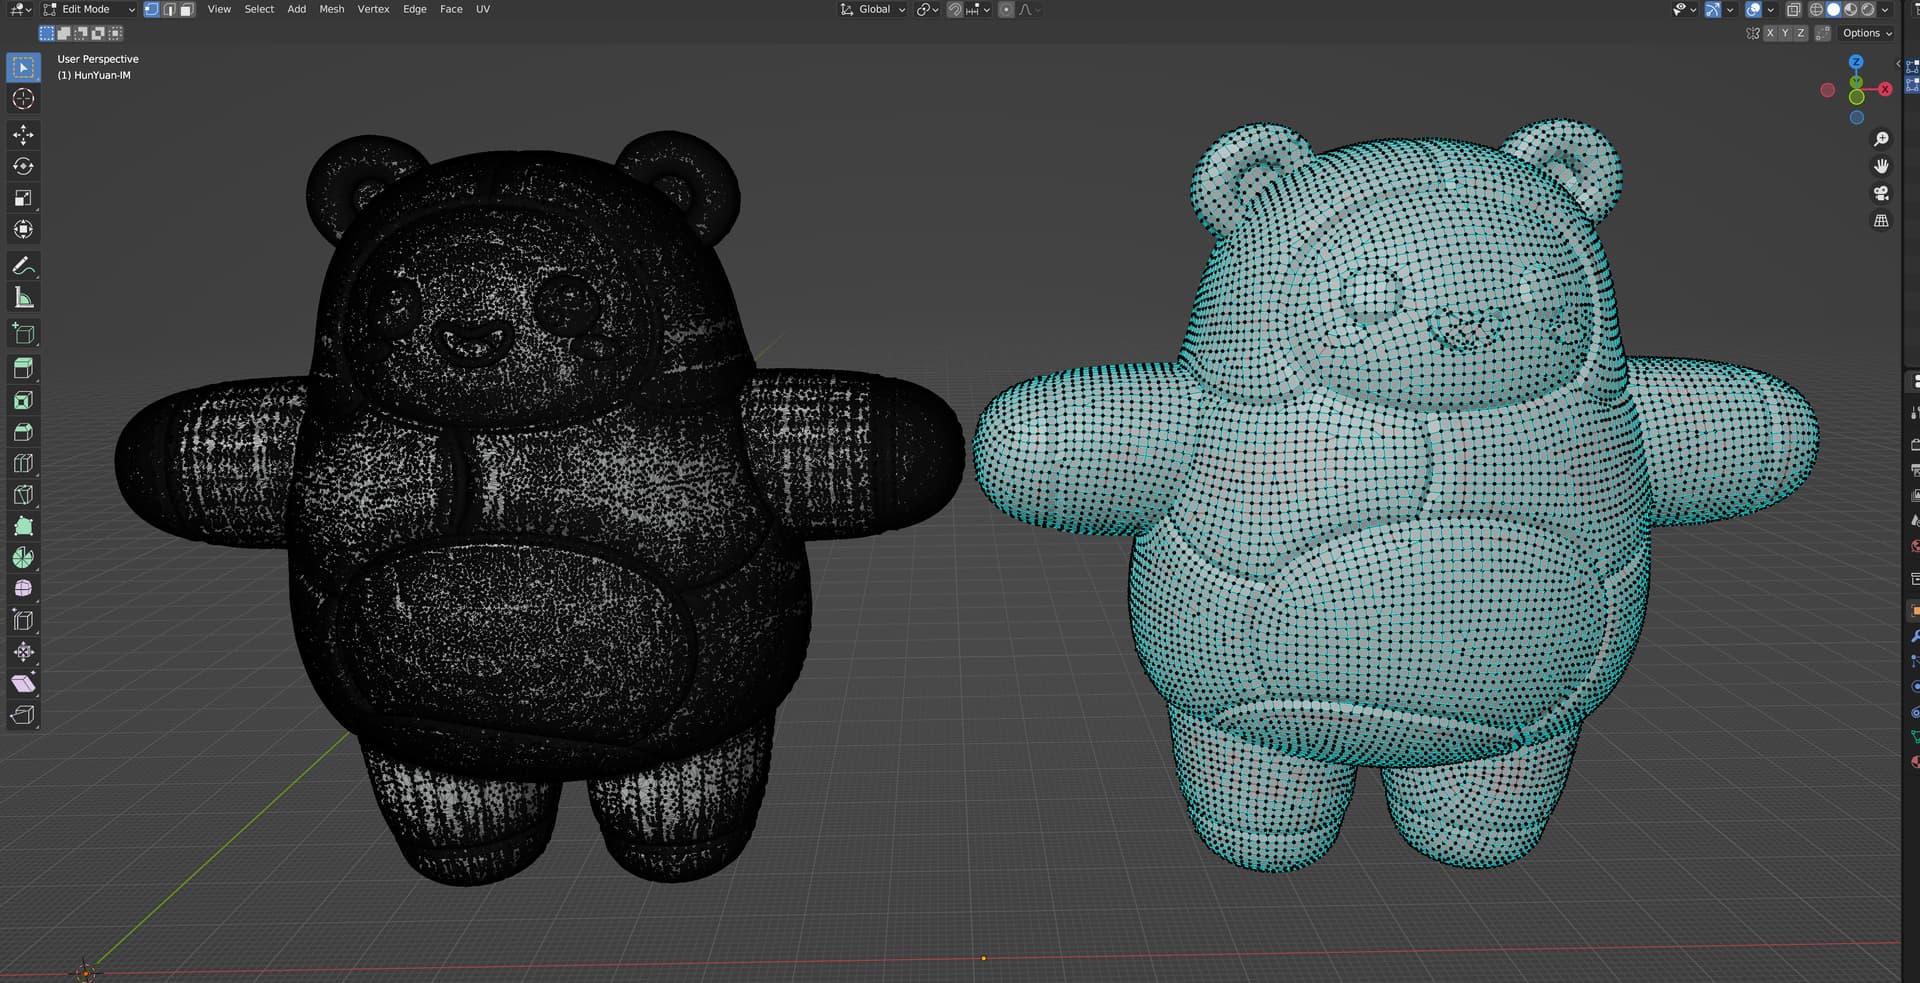
In addition to Blender, I’ve had good luck using Instant Meshes lately to clean up messy geometry.
Of course, you will lose detail so it’s a bit of trial and error to figure out how much to reduce it to arrive at a small enough mesh without losing too much detail.
I find that this can sometimes work better than the default remesh or decimate modifiers in Blender since it accounts for the shapes and seams in the model vs just applying a consistent value blindly.
Using it is pretty painless
You’ll need to export the mesh as an OBJ
Import it into Instant Meshes and click Solve under Orientation Field
Click Solve under Position Filed
Click Export Mesh and then Extract Mesh before saving the new OBJ
You can adjust settings such as the Target Vertex Count to try and preserve details if needed