Feature Request: Resume from Layer

Hi, I’m surprised this doesn’t exist already (maybe it does?) but I sometimes have prints where it stops extruding partway through for whatever reason like a nozzle/extruder clog but still finishes the print. If I am not monitoring and pause/resolve the issue immediately it ruins the print, and is very frustrating on long prints.

Here’s the feature request - could you enable a setting to start/resume a print from a given layer number, rather than from the first layer? That way I could determine which layer it failed on, fix the problem, and then print the rest of the model on top. Of course, it won’t be ideal with the printed material fully cooled, but that could be mitigated by pre-heating the bed. A bonus feature would be if the printer could determine which layer it failed on automatically by touching off the height of the print with the nozzle at a user-specified point, just like it determines bed height during leveling (or would micro lidar work well for this?). Otherwise, if you added a feature to timelapse that showed the layer number during video playback, the failed layer could be determined by reviewing that footage. Would be nice to also be able to specify where in the layer to resume printing, if it can be determined (though this wouldn’t matter on many prints of mine). This could help recover spaghetti failures as well, so long as they weren’t caused by the model collapsing or fuse so much extraneous filament to the model that it can’t be cleaned off.

I’m also interested if there is a way to do this with the current version of the slicer, so anyone that knows please chime in!

Yes please add this feature bambu!!!

I’d like to request a new feature for Bambu Studio to make it easy to resume a print from a specific layer in a print even if the print was ‘stopped’. This would save a lot of time and money on large prints if they stop printing 20 hours in for no apparent reason as just happened to me and seems like it should be easy to implement into the software.

It would also be really helpful if the print head could measure where the print got to on the z axis so I don’t have to use a tape measure and basically guesstimate. From what I can see on the A1 when you home the print head using the screen on the printer it does not even tell you the location of the print head which was a common feature on older printers.

Thanks.

First of all: This shouldn’t happen ^^ At least so rarely that such a feature would probably not really be high on the list.

And if something does stop, the likelihood that it happened during a layer change is pretty low. You also have a certain amount of progress per layer. So if layer 1432 is already 85% complete, do you want to start again in layer 1432 and simply drive over the previous line? Or do you want to start in layer 1433 and then have an unfinished layer underneath?

Thanks for the reply.

Print failures and the need/want to restart a print at a specific layer are quite common aren’t they. I’m not sure exactly why but my print stopped printing at about 80% completion. The printer itself thinks it completed the print and the full time to print was displayed on the end screen but no filament was extruded after around 80% of the way through the print. So it looks like it could have been a clog in the nozzle but everything seems to be working fine now but I will look for instructions on declogging the nozzle before my next print just in case.

There are ways to restart prints from a specific layer but it involves modifying the Gcode in notepad outside of bambu studio and people use this method successfully. I’ve looked into this but on the A1 you cannot use the print head to determine height of the model and when I extract the 3mf file that the software created to get a whole plethora of files and folders so it’s very difficult for me to know where to even start with that, or how I would put all those files back into a .3mf.

I understand that there will probably be a line in the print and it won’t be perfect but it’s better than losing £8+ worth of filament and lots of time when a large print has issues deep into the print.

It just seems to me this would be a very useful feature for a lot of people.

Okay, not in my world :smiley: Something is going very wrong if that happens often.

I had that happen once, but I calculated the time incorrectly myself and switched off the printer with smart plug before the print was finished. Apart from that, I haven’t had a case like the one you describe in the last 13 years.

I understand your approach, but until then I hadn’t realised that this would be a common problem. Sounds really wild :smiley: It’s a shame that this happens to you more often, which is of course annoying with the waste.

I once had a blocked nozzle on an old printer, but I only measured the previous piece, then cut the model in the slicer and reprinted the rest. Later, I simply glued the two parts together. Which may even hold up better than unfinished layers on top of each other.

As the stepper motors are not always energised and will forget their position at some point, it is of course not so easy to measure them without homing in between.

But maybe there is a better workaround for you.

Yes, please impliment this. A lot of us would find it usefull.

PLEASE add this.
No, it’s not a frequent problem, but it IS a problem, and any time it comes up on a big / long / expensive print it SUCKS.

I’m shocked it doesn’t exist already - several of the other big slicers have this baked in, and the ones that don’t have simple(ish) ways to do it manually. So it’s clearly not a hard thing to do. But Bambu goes out of the way to make it nearly impossible, even if you’re willing to do some risky / tedious workarounds.

You’ve already lost the print aesthetically if this happens. Even if it theoretically were a feature, and somehow managed to “home and calibrate” without crashing into stuff on the plate, the “home” will never be exactly lined up to when the steppers were previously energized. In addition, time has elapsed, and cooling/shrink has occurred. The best you can hope for is a layer line. So if thats the best, just cut the model in your slicer at that layer, print the other half, and use epoxy/glue to glue the halves together.

This sounds like something an AI hallucinated. Can you show an example?

Would be awesome to have this feature!
I had a pretty lucky unlucky failure on a too big print I just didn’t want to do again.

The luck was that it happened exactly at AMS filament change point, so I knew the exact layer number.

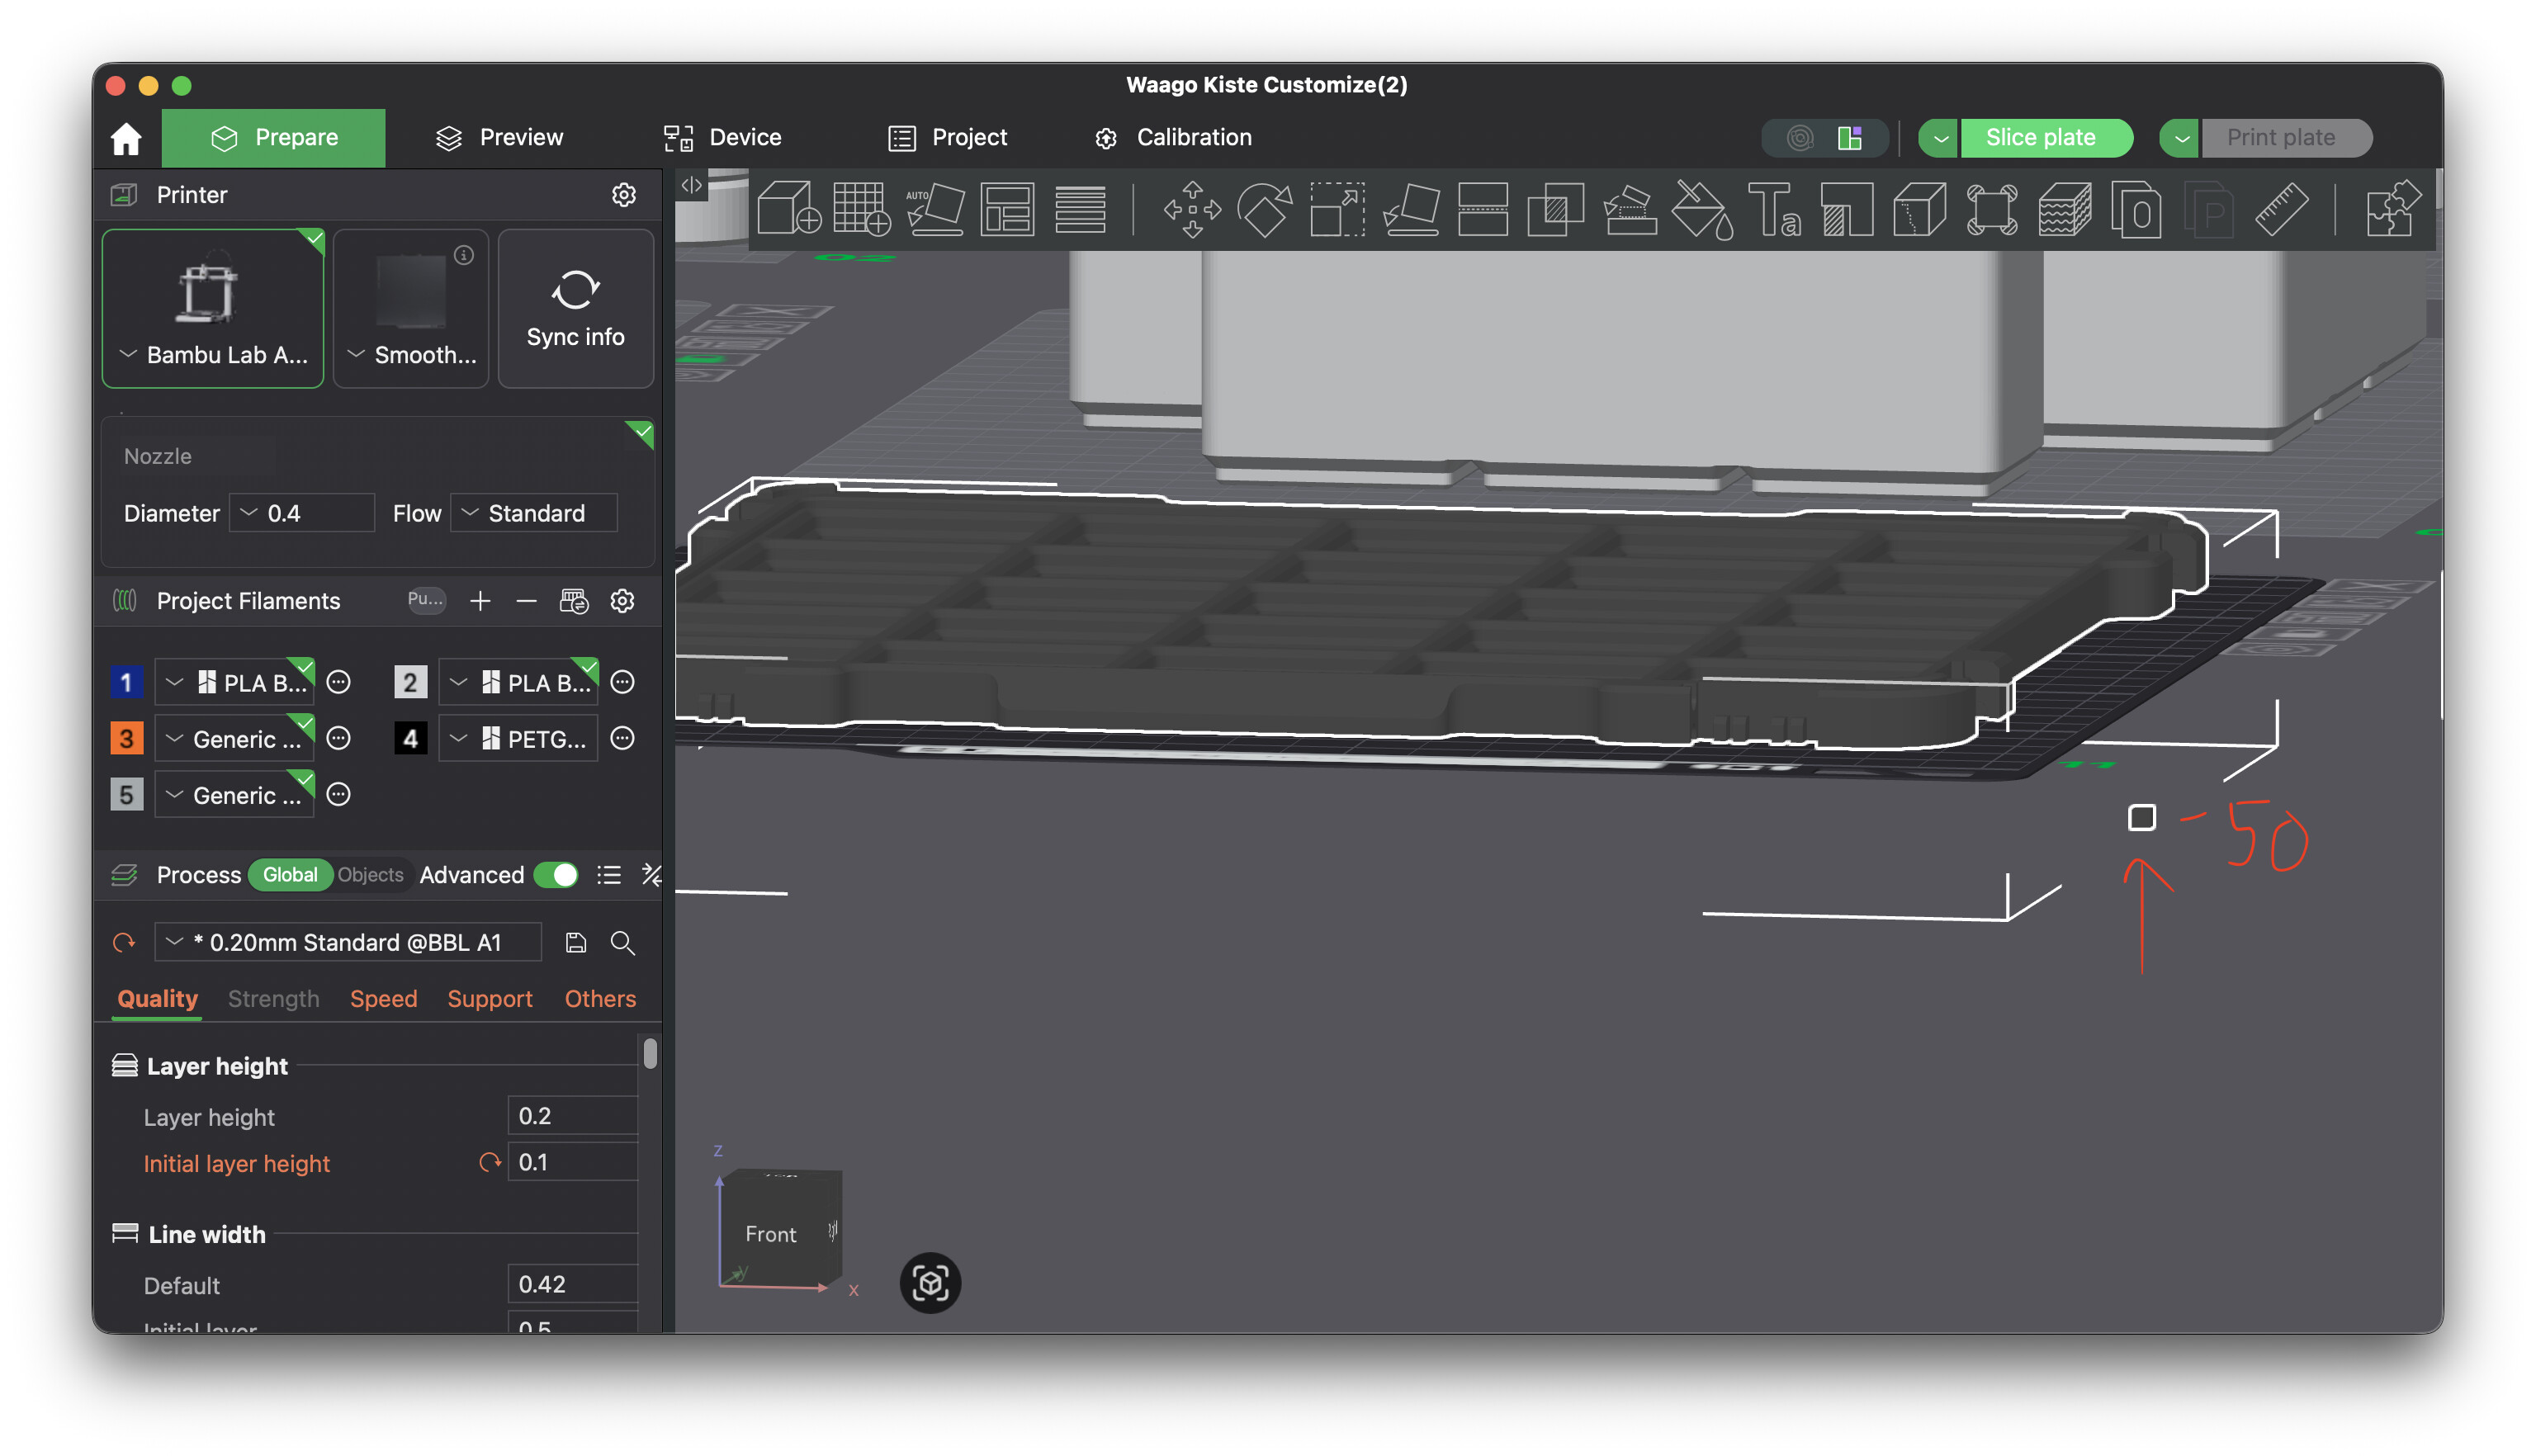
There I sliced the plate, but made sure the missing part was where it was before, floating in the air. To do that, group it with a small cube or anything really, and move the cube to below the print plate so as not to print it. This stops the object from falling to the build plate and keeps on floating.

Remove all calibrations, dynamic flow adjustments, homing, etc what is available from UI, or they will go over your existing print and kill it.

For A1 printers, modify your G-code to remove the nozzle wipes and useless stuff, since your know you are groing to just continue the print.

;===== machine: A1 =========================
;===== NIGHT MODE – QUIET / NO PURGE =======
;===== base: 20250822 ======================

G392 S0
M9833.2
;M400
;M73 P1.717

;===== start to heat heatbead&hotend==========
M1002 gcode_claim_action : 2
M1002 set_filament_type:{filament_type[initial_no_support_extruder]}
M104 S140
M140 S[bed_temperature_initial_layer_single]

;=====start printer sound ===================
; NIGHT: disable startup music
;M17
;M400 S1
;M1006 S1
;M1006 A0 B10 L100 C37 D10 M60 E37 F10 N60
;M1006 A0 B10 L100 C41 D10 M60 E41 F10 N60
;M1006 A0 B10 L100 C44 D10 M60 E44 F10 N60
;M1006 A0 B10 L100 C0 D10 M60 E0 F10 N60
;M1006 A43 B10 L100 C46 D10 M70 E39 F10 N80
;M1006 A0 B10 L100 C0 D10 M60 E0 F10 N80
;M1006 A0 B10 L100 C43 D10 M60 E39 F10 N80
;M1006 A0 B10 L100 C0 D10 M60 E0 F10 N80
;M1006 A0 B10 L100 C41 D10 M80 E41 F10 N80
;M1006 A0 B10 L100 C44 D10 M80 E44 F10 N80
;M1006 A0 B10 L100 C49 D10 M80 E49 F10 N80
;M1006 A0 B10 L100 C0 D10 M80 E0 F10 N80
;M1006 A44 B10 L100 C48 D10 M60 E39 F10 N80
;M1006 A0 B10 L100 C0 D10 M60 E0 F10 N80
;M1006 A0 B10 L100 C44 D10 M80 E39 F10 N80
;M1006 A0 B10 L100 C0 D10 M60 E0 F10 N80
;M1006 A43 B10 L100 C46 D10 M60 E39 F10 N80
;M1006 W
;M18 
;=====start printer sound ===================

;=====avoid end stop =================
G91
G380 S2 Z40 F1200
G380 S3 Z-15 F1200
G90

;===== reset machine status =================
;M290 X39 Y39 Z8
M204 S6000

M630 S0 P0
G91
M17 Z0.3 ; lower the z-motor current

G90
M17 X0.65 Y1.2 Z0.6 ; reset motor current to default
M960 S5 P1 ; turn on logo lamp
G90
M220 S100 ;Reset Feedrate
M221 S100 ;Reset Flowrate
M73.2   R1.0 ;Reset left time magnitude
;M211 X0 Y0 Z0 ; turn off soft endstop to prevent protential logic problem

;====== cog noise reduction=================
M982.2 S1 ; turn on cog noise reduction

M1002 gcode_claim_action : 13

G28 X
G91
G1 Z5 F1200
G90
G0 X128 F30000
G0 Y254 F3000
G91
G1 Z-5 F1200

M109 S25 H140

; ===== NIGHT: skip initial extruder prime =====
;M17 E0.3
;M83
;G1 E10 F1200
;G1 E-0.5 F30
;M17 D

G28 Z P0 T140; home z with low precision,permit 300deg temperature
M104 S{nozzle_temperature_initial_layer[initial_extruder]}

M1002 judge_flag build_plate_detect_flag
M622 S1
  G39.4
  G90
  G1 Z5 F1200
M623

;M400
;M73 P1.717

;===== prepare print temperature and material ==========
M1002 gcode_claim_action : 24

M400
;G392 S1
M211 X0 Y0 Z0 ;turn off soft endstop
M975 S1 ; turn on

G90
G1 X-28.5 F30000
G1 X-48.2 F3000

M620 M ;enable remap
M620 S[initial_no_support_extruder]A   ; switch material if AMS exist
    M1002 gcode_claim_action : 4
    M400
    M1002 set_filament_type:UNKNOWN
    M109 S[nozzle_temperature_initial_layer]
    M104 S250
    M400
    T[initial_no_support_extruder]
    G1 X-48.2 F3000
    M400

    ; ===== NIGHT: skip AMS flush and heavy purge here =====
    ;M620.1 E F{flush_volumetric_speeds[initial_no_support_extruder]/2.4053*60} T{flush_temperatures[initial_no_support_extruder]}
    ;M109 S250 ;set nozzle to common flush temp
    ;M106 P1 S0
    ;G92 E0
    ;G1 E50 F200
    ;M400
    M1002 set_filament_type:{filament_type[initial_no_support_extruder]}
M621 S[initial_no_support_extruder]A

; ===== NIGHT: skip secondary purge + wipe in the corner =====
;M109 S{flush_temperatures[initial_no_support_extruder]} H300
;G92 E0
;G1 E50 F200 ; lower extrusion speed to avoid clog
;M400
;M106 P1 S178
;G92 E0
;G1 E5 F200
M104 S{nozzle_temperature_initial_layer[initial_no_support_extruder]}
G92 E0
;G1 E-0.5 F300

;G1 X-28.5 F30000
;G1 X-48.2 F3000
;G1 X-28.5 F30000 ;wipe and shake
;G1 X-48.2 F3000
;G1 X-28.5 F30000 ;wipe and shake
;G1 X-48.2 F3000

;G392 S0

M400
M106 P1 S0
;===== prepare print temperature and material end =====

;M400
;M73 P1.717

;===== auto extrude cali start =========================
; ===== NIGHT: whole auto extrude cali disabled ========
;M975 S1
;G90
;M83
;T1000
;G1 X-48.2 Y0 Z10 F10000
;M400
;M1002 set_filament_type:UNKNOWN
;M412 S1
;M400 P10
;M620.3 W1
;M400 S2
;M1002 set_filament_type:{filament_type[initial_no_support_extruder]}
;M1002 judge_flag extrude_cali_flag
;M622 J1
;    ...
;M623
;G1 X-48.2 F3000
;M400
;M984 ...
;M106 P1 S178
;...
;M106 P1 S0
;M623
;G392 S0
;===== auto extrude cali end ========================

;M400
;M73 P1.717

; ===== NIGHT: completely skip wipe / touch / brush / extra steel-plate circles =====
;===== wipe nozzle ===============================
;M1002 gcode_claim_action : 14
;M975 S1
;M106 S255
;M211 S
;M211 X0 Y0 Z0
;M104 S170
;M83
;G1 E-1 F500
;G90
;M83
;M109 S170
;G0 X108 Y-0.5 F30000
; ... (all the zigzag X/Y/G380/G2/G1 stuff)
;M211 R
;===== wipe nozzle end ================================

;===== bed leveling ==================================
M1002 judge_flag g29_before_print_flag

G90
G1 Z5 F1200
G1 X0 Y0 F30000
G29.2 S1 ; turn on ABL

M190 S[bed_temperature_initial_layer_single]; ensure bed temp
M109 S140
M106 S0 ; turn off fan , too noisy

M622 J1
    M1002 gcode_claim_action : 1
    G29 A1 X{first_layer_print_min[0]} Y{first_layer_print_min[1]} I{first_layer_print_size[0]} J{first_layer_print_size[1]}
    M400
    M500 ; save cali data
M623
;===== bed leveling end ================================

;===== home after wipe mouth============================
M1002 judge_flag g29_before_print_flag
M622 J0

    M1002 gcode_claim_action : 13
    G28

M623
;===== home after wipe mouth end =======================

;M400
;M73 P1.717

G1 X108.000 Y-0.500 F30000
G1 Z0.300 F1200
M400
G2814 Z0.32

M104 S{nozzle_temperature_initial_layer[initial_extruder]} ; prepare to print

;===== nozzle load line ===============================
; (left disabled – still no long purge line)
;G90
;M83
;G1 Z5 F1200
;G1 X88 Y-0.5 F20000
;G1 Z0.3 F1200
;M109 S{nozzle_temperature_initial_layer[initial_extruder]}
;G1 E2 F300
;G1 X168 E4.989 F6000
;G1 Z1 F1200
;===== nozzle load line end ===========================

;===== extrude cali test ===============================
; ===== NIGHT: disable final extrude test pattern =====
;M400
;    M900 S
;    M900 C
;    G90
;    M83
;    M109 S{nozzle_temperature_initial_layer[initial_extruder]}
;    G0 X128 E8  F{outer_wall_volumetric_speed/(24/20)    * 60}
;    G0 X133 E.3742  F{outer_wall_volumetric_speed/(0.3*0.5)/4     * 60}
;    G0 X138 E.3742  F{outer_wall_volumetric_speed/(0.3*0.5)     * 60}
;    G0 X143 E.3742  F{outer_wall_volumetric_speed/(0.3*0.5)/4     * 60}
;    G0 X148 E.3742  F{outer_wall_volumetric_speed/(0.3*0.5)     * 60}
;    G0 X153 E.3742  F{outer_wall_volumetric_speed/(0.3*0.5)/4     * 60}
;    G91
;    G1 X1 Z-0.300
;    G1 X4
;    G1 Z1 F1200
;    G90
;    M400
;M900 R
;M1002 judge_flag extrude_cali_flag
;M622 J1
;    G90
;    G1 X108.000 Y1.000 F30000
;    G91
;    G1 Z-0.700 F1200
;    G90
;    M83
;    G0 X128 E10  F{outer_wall_volumetric_speed/(24/20)    * 60}
;    G0 X133 E.3742  F{outer_wall_volumetric_speed/(0.3*0.5)/4     * 60}
;    G0 X138 E.3742  F{outer_wall_volumetric_speed/(0.3*0.5)     * 60}
;    G0 X143 E.3742  F{outer_wall_volumetric_speed/(0.3*0.5)/4     * 60}
;    G0 X148 E.3742  F{outer_wall_volumetric_speed/(0.3*0.5)     * 60}
;    G0 X153 E.3742  F{outer_wall_volumetric_speed/(0.3*0.5)/4     * 60}
;    G91
;    G1 X1 Z-0.300
;    G1 X4
;    G1 Z1 F1200
;    G90
;    M400
;M623
;===== extrude cali test end ===========================

G1 Z0.2

;M400
;M73 P1.717

;========turn off light and wait extrude temperature =============
M1002 gcode_claim_action : 0
M400

;===== for Textured PEI Plate , lower the nozzle as the nozzle was touching topmost of the texture when homing ==
;curr_bed_type={curr_bed_type}
{if curr_bed_type=="Textured PEI Plate"}
G29.1 Z{-0.02} ; for Textured PEI Plate
{endif}

M960 S1 P0 ; turn off laser
M960 S2 P0 ; turn off laser
M106 S0 ; turn off fan
M106 P2 S0 ; turn off big fan
M106 P3 S0 ; turn off chamber fan

M975 S1 ; turn on mech mode supression
G90
M83
T1000

M211 X0 Y0 Z0 ;turn off soft endstop
;G392 S1 ; turn on clog detection
M1007 S1 ; turn on mass estimation
G29.4