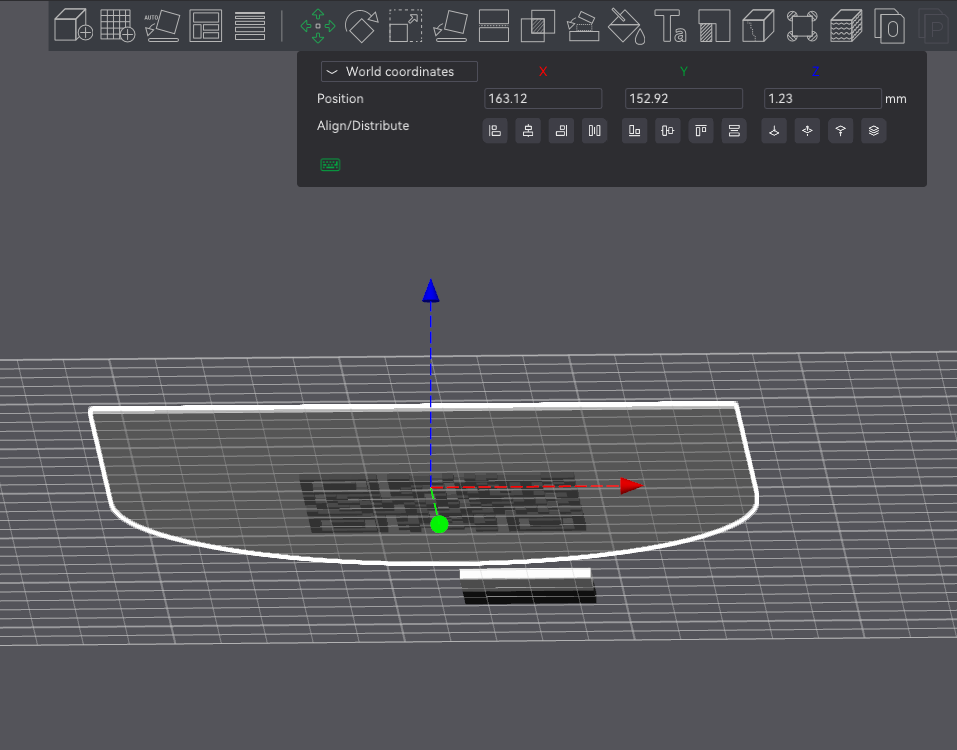
First layer text gets overprinted on same layer

Hey together,

I’ve made a model in Fusion360. There’s a text inside an object. I’ve opened it in BambuSlicer and split the objects to asign the colors. Now it’s printing the text first but overprints everything with the third color instead of filling the gaps around the text. What could that be?

You need to “Assemble” both parts together. Otherwise the slicer thinks they are sperate parts.

Select each object and right click.

Assembly

Before Assembly
test1

After Assembly
test2

OMG! Thank you so much! I would never have found this. :smiley:

Sorry to bring this back up, but having this same issue and there is not “assemble” option in the current version of studio…

Sorry, meant to add that there is a merge into one part, but this seems to do something different than assemble.

Welcome to the forum.

“Assemble” is now “Merge” in the current version of Bambu Studio.. It does the same thing. What issue are you having?

So Im not really getting why Im having this issue as I just made a clock face using the same process and it worked ok, a little fiddely but good end result.

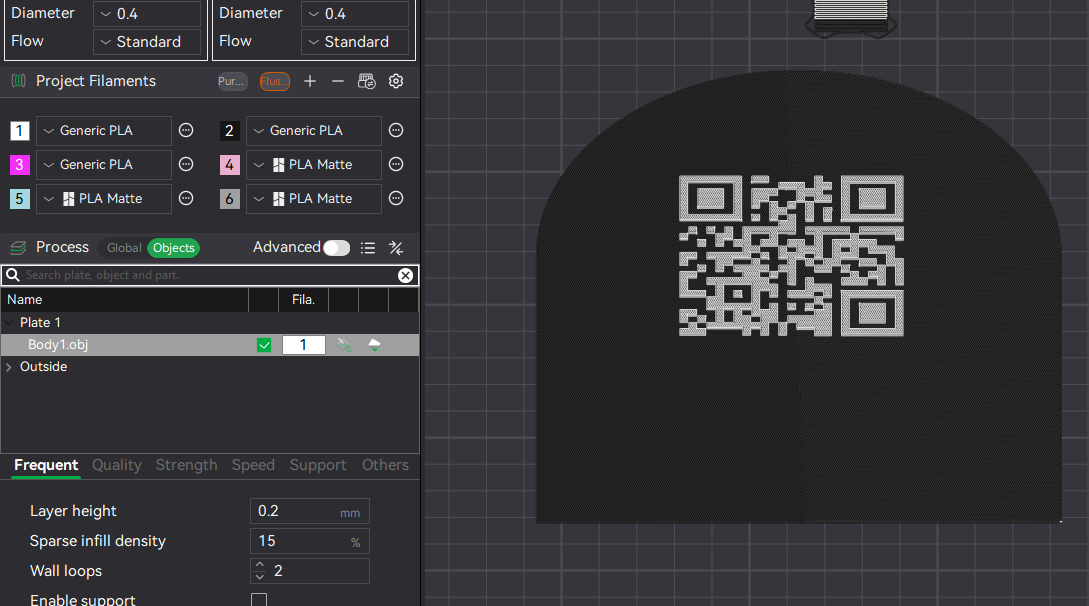
I have a 1mm thick plaque that Im trying to put a logo and a QR code on it. neither will show up on the first layer no matter what I do.

It’s telling me I cant embed media into a post. Maybe cause Im a new user?

You should be able to now.

Adding the .3mf file for the part your having issues with is the best way to get help.

Thanks, Well I’ll attach the file but Ive been messing with it trying to get it to work. so not really going too help all that much at the moment.

Clock Face I successfuly set up this way.

Still cant attach files.

You can attach pictures so you should be able to add .3mf files.

I get this “Sorry, new users can not upload attachments.”

The forum shows you as a “basic user”.

Try logging out and back in as this sometimes helps to sort things out.

QR Code Problems.3mf (55.9 KB)

There we go! Thank you Jon!

My guess is the OBJ import is screwing things up.

This is how it loads in.

Changing the object to white changes just the QR code section.

Right click on the object and “Fix Model” solved the colour discrepancy. I think “Simplify” will do this as well. Basicaly it removes the conflicts with the OBJ import.

Then I just painted the QR surface. I’m not sure if this was your end goal? I didn’t see any other logo in the model.

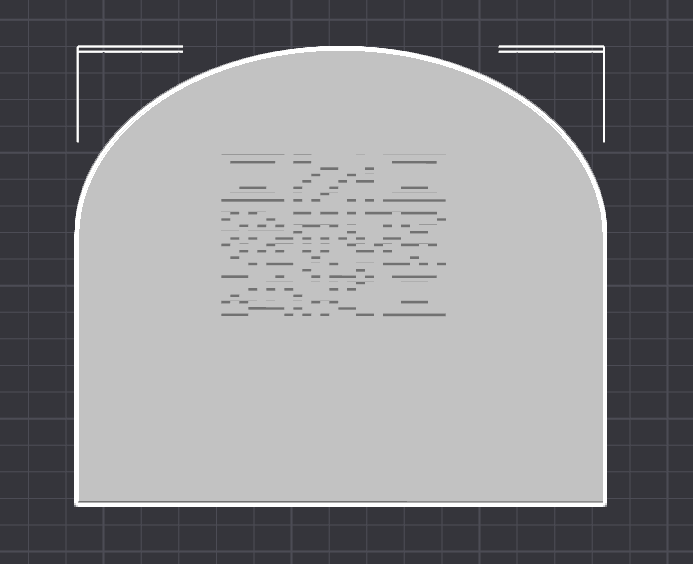
Another thing I noted is that your base isn’t a flat surface. See the line?

QR Code Problems Fix.3mf (111.1 KB)

Thank you, that simplify model helps! I had another logo on there but removed it because I was testing at this point.

So on the lay on face. I cant seem to get it to lay it flat on the bed.

Oh you want the QR code on the bottom?

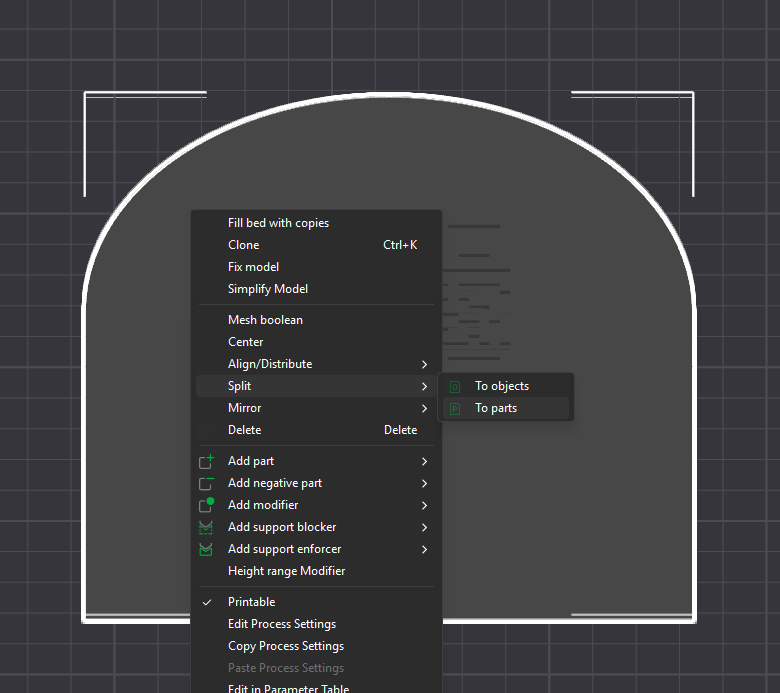
Probably the best route here is the “Split” to “Parts” before “Fixing”.

This way you can colour them easier and move them in relation to the base. Select all of the QR parts and use the “Move” button to drop them into the base part.

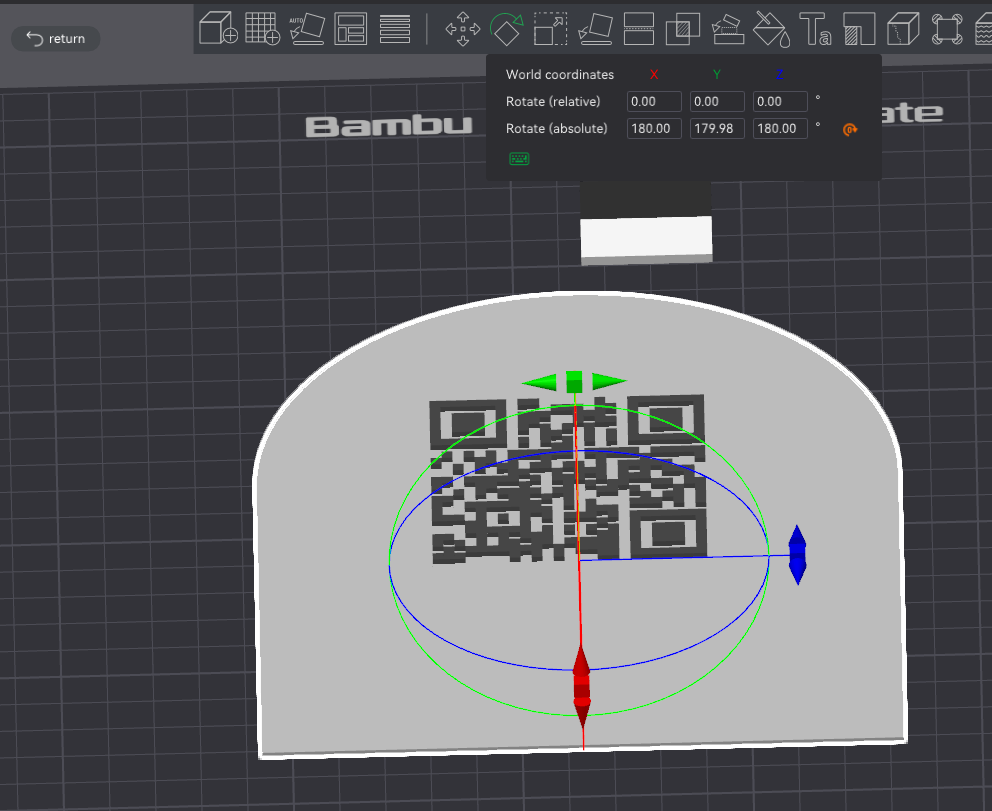
And then the “Rotate” to flip the part over. The lay on face should work but your base geometry problems I pointed out before are screwing it up.

Finally use the “Move” button again to drop the part slightly into the bed. This should also fix your base top layer issue.

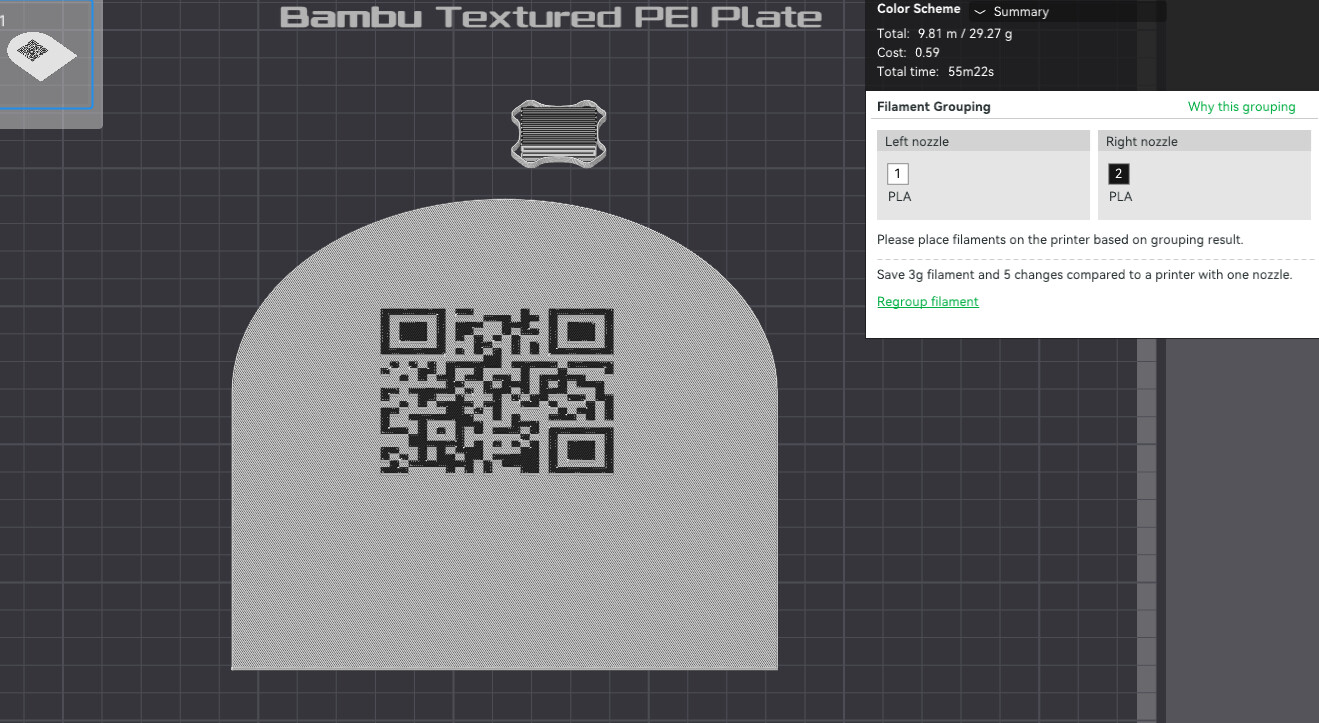
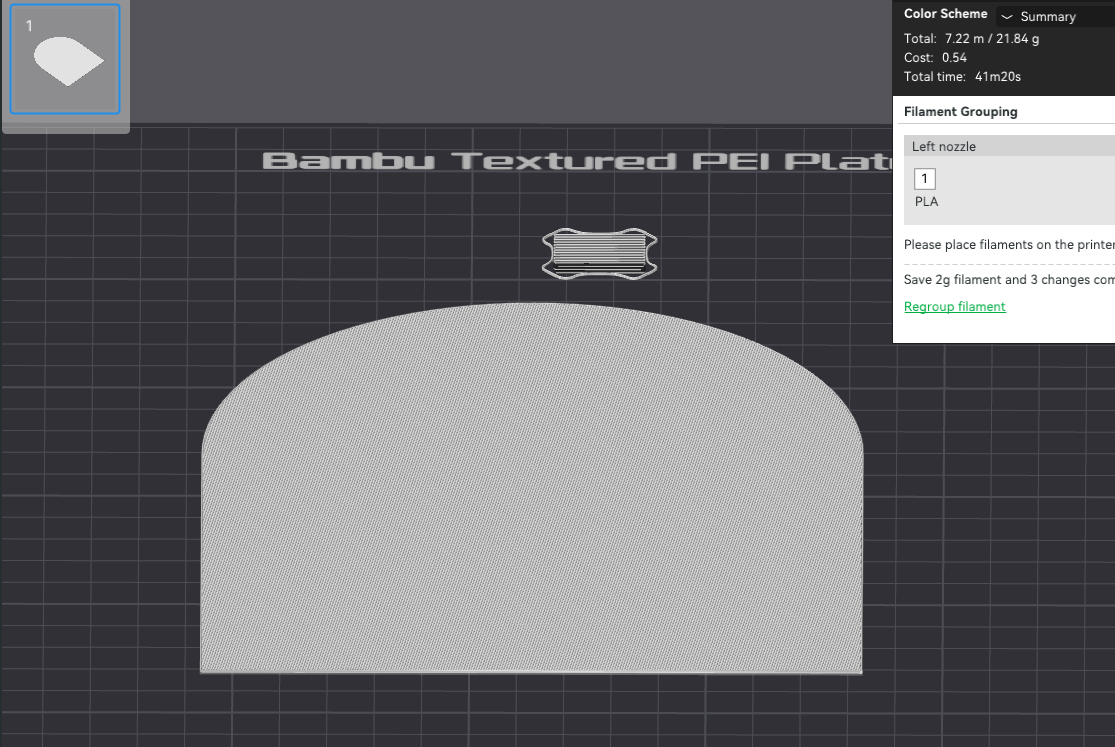
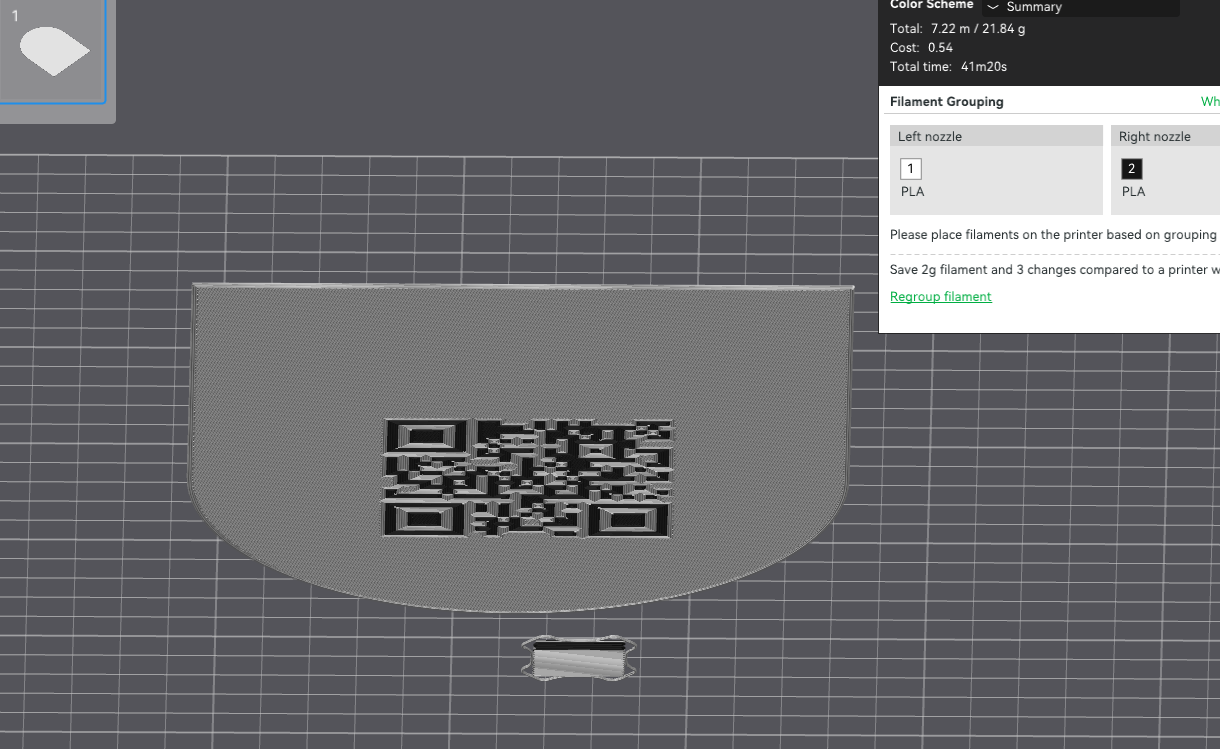
Slice
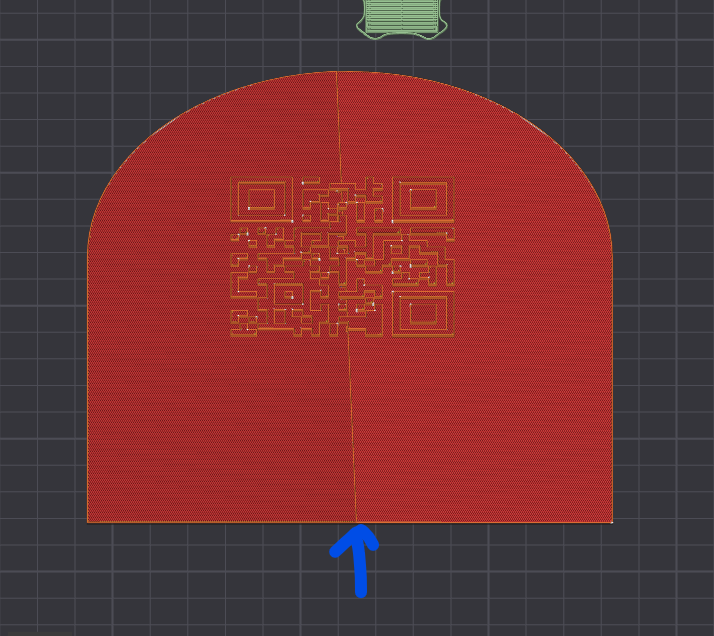
Top view


Bottom view

QR Code Problems Fix 2.3mf (67.3 KB)

Man this is just not working for me. Im not understating what I’m missing, Ive been 3d printing for over 10 years, use fusion360 regularly, and have gotten it to work before. But I just cant get this to work. Started over completely, and tried to follow your instructions and still wont work. it either shows just the QR for the first layer, or the QR disappears and the plaque is the first layer, but not both.

I’m not really sure what the desired outcome is here. And now that you have forum privileges maybe a new thread would be better.

I might be biased at this point, but I think this is another case of inadvertent painting being applied to the base object. Note the bucket icon in the object list. I don’t see any reason for this to be painted… it’s all just one color anyway.

Click the bucket, and “Erase all painting”. Also the “Shift to bed” icon in that list. Now we’re back to “expected behavior” land.

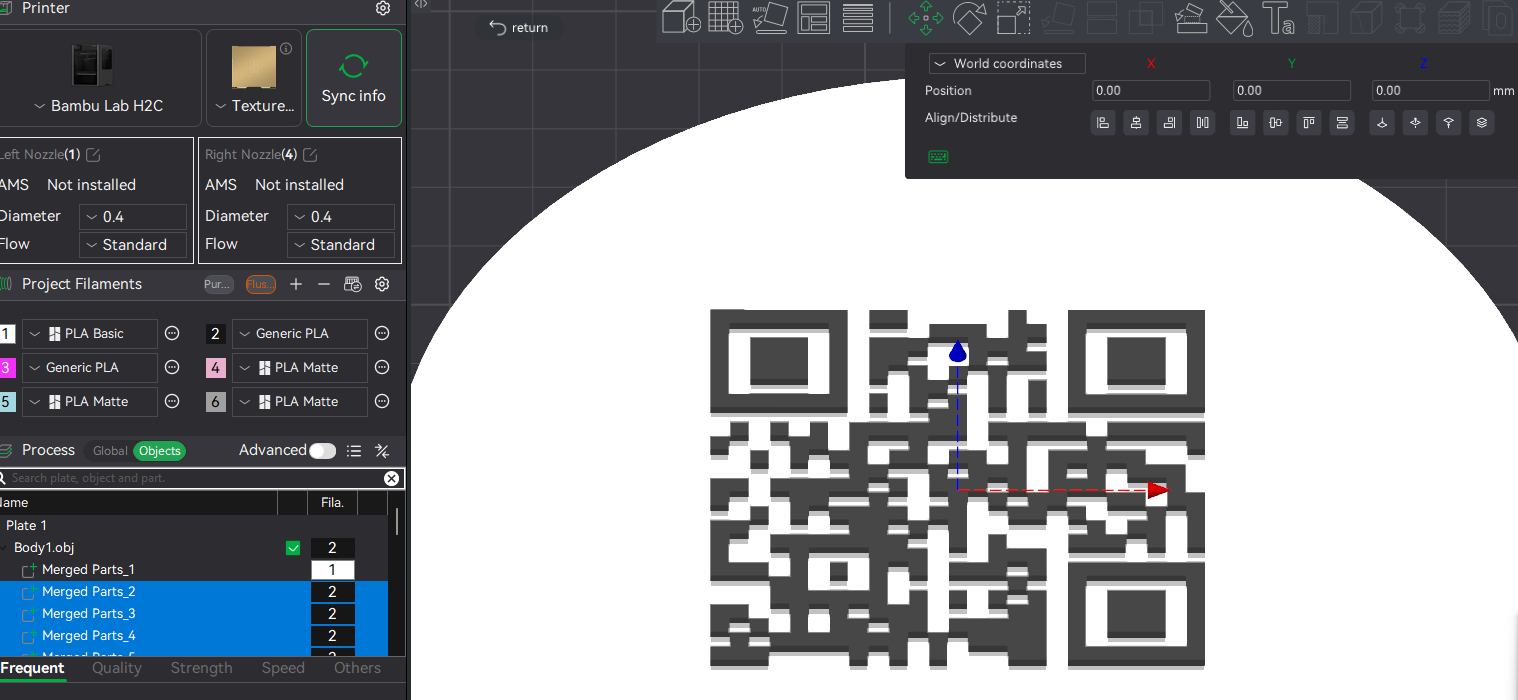
R-click the “Body1.obj” line in object tree and Split → to parts. Select all the individual parts of the QR code (“Merged Parts_2” - 26), r-click and Merge into Single Part.

Now the whole QR code is named “Merged Parts” and is on top of the list, with “Merged Parts_1” being the base plate. Feel free to rename these parts to make them more apparent.

Drag “Merged Parts” so it is below the other part (“Merged Parts_1”), but still part of “Body1.obj”. This is especially important if you’re embedding the QR code, but in any case the order of parts can make a big difference.

Now you can assign filaments as needed. Changing filament of “Body1.obj” will make all the parts use that filament. Changing filaments on individual parts will then use that specific filament.

Attached is what I came up with following the steps I described above.

If you want the QR embedded then you’d need to move it down flush with the surface as Jon describes. Or arrange them that way in the original model, before Studio import, if you can.

HTH,
-Max

PS. When importing an OBJ file, if you get the color assignment dialog popup, hitting “Cancel” on that should avoid any painting being applied in the first place.

PPS. Oh, the QR code parts are thicker than the base plate part. So it’s already as “embedded” as it can get.

QR Code Problems-max.bs25.3mf (55.5 KB)

Thanks, I will try this out, I see you got the file to do exactly what I want it to do. Thanks!