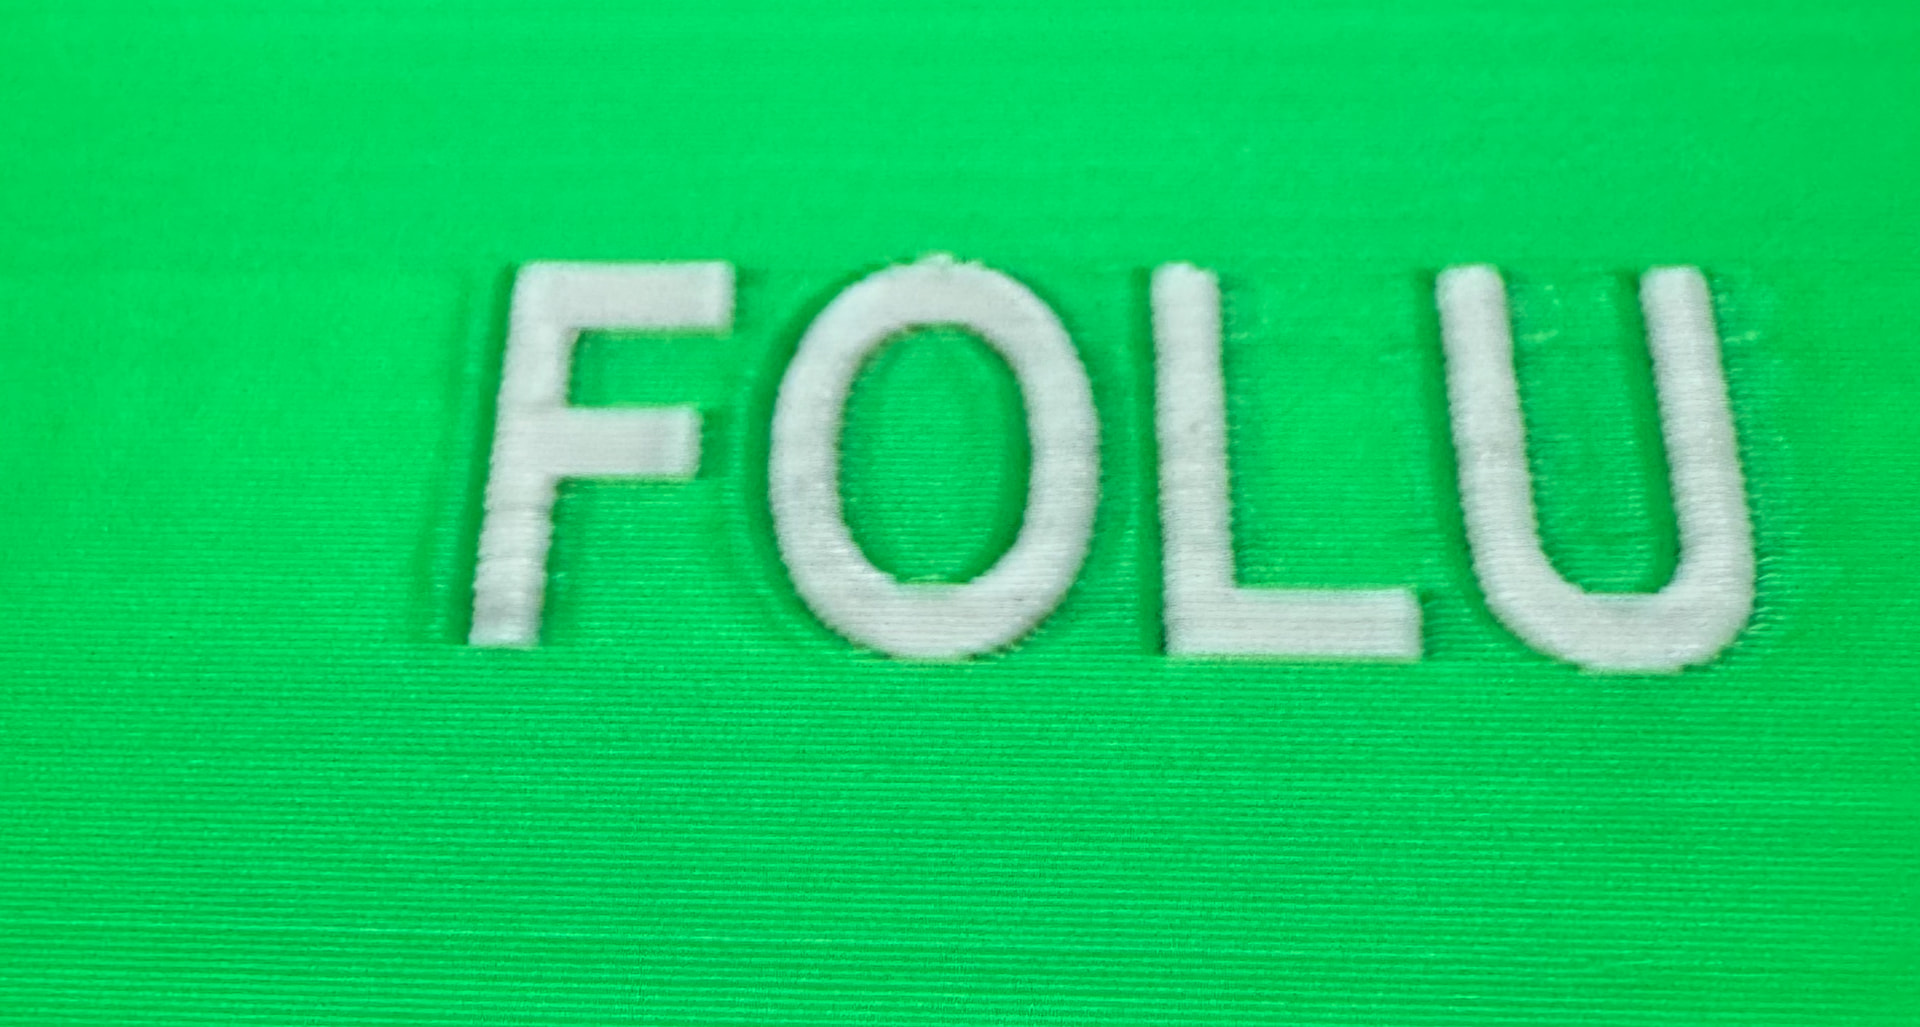
Does anyone have recommendations on how to fix the above shadow-like artifact?
The print was made using the following:
0.4 mm nozzles → 0.2 mm standard layer → adaptive layer height
Bambu Basic PLA
The wall being printed is 1.6 mm thick(4 walls), so where there is text, it is 2 white walls in front of 2 green walls, with 4 green walls everywhere else.
The width of the white is about 1.5mm
Flow Dynamic Calibration was set to Auto, and at the time there were no calibrations saved.
Green is the left extruder and white is the right.
I think that the direction of print was left to right for the green.
Beyond that, everything else is the base profiles.
My inclination was to call this a pressure advance ¶ issue and have not yet retried the print with a calibrated PA value mainly because I haven’t convinced myself that is the issue yet.
When I run the automatic Flow Dynamic Calculation, Bambu Studio returns a K value of 0.017. When I try a manual calibration, I still see over-extrusion at those values, and I don’t see any real defects on the pattern and line test until a PA of 0.027. That said, the lack of clear variation in those tests is surprising given the documentation.
Not to say it couldn’t be improved, but honestly that doesn’t look too bad. Text or embedded details on walls is challenging. The slicer has to create separations between the colors, and sharp corners aren’t a 3D-printing strong suit.
I’d start by carefully examining the sliced result using different color coding options, especially speed, and see what those edges look like. The slicer preview is very much WYSIWYG. In fact if you can attach your project here, that would be most helpful for specific advice.
In general on my H2C I’ve found slowing down the printing speeds translates directly to better quality, especially in difficult areas like this. The “standard” process presets set some very ambitious speeds, and often it is up to the filament profile flow rate limit to reign them in. Wall speeds especially. I also prefer lower acceleration numbers than most of the defaults in those profiles (again, especially for walls). The accelerations matter because they also dictate the speed transitions to a certain extent. One quick way to reduce the speeds is to select a “high quality” profile to start with, possibly with a lower layer height than actually desired, then tweak from there (the default speeds and accel. settings get significantly lower by default).
And speaking of speed transitions, I really like to lower the Quality → Advanced → Smooth Coefficient setting to a fraction, like 0.25.