I asked about submerged logo’s earlier and that turned into a way more complicated issue than I anticipated. Also, from my perspective this is also getting into real some guru type stuff. This evolved after I asked the original question. Also, Studio is a slicer while Fusion is a full-blown CAD package.
To really overhaul a model (imo) requires an external CAD/Graphics Editing type software package with Blender, FreeCAD, Fusion and some others being popular.
I chose Fusion which maybe I could have chosen something else, but Fusion is what I have now. I am early in learning Fusion. ————————————————————————————————————
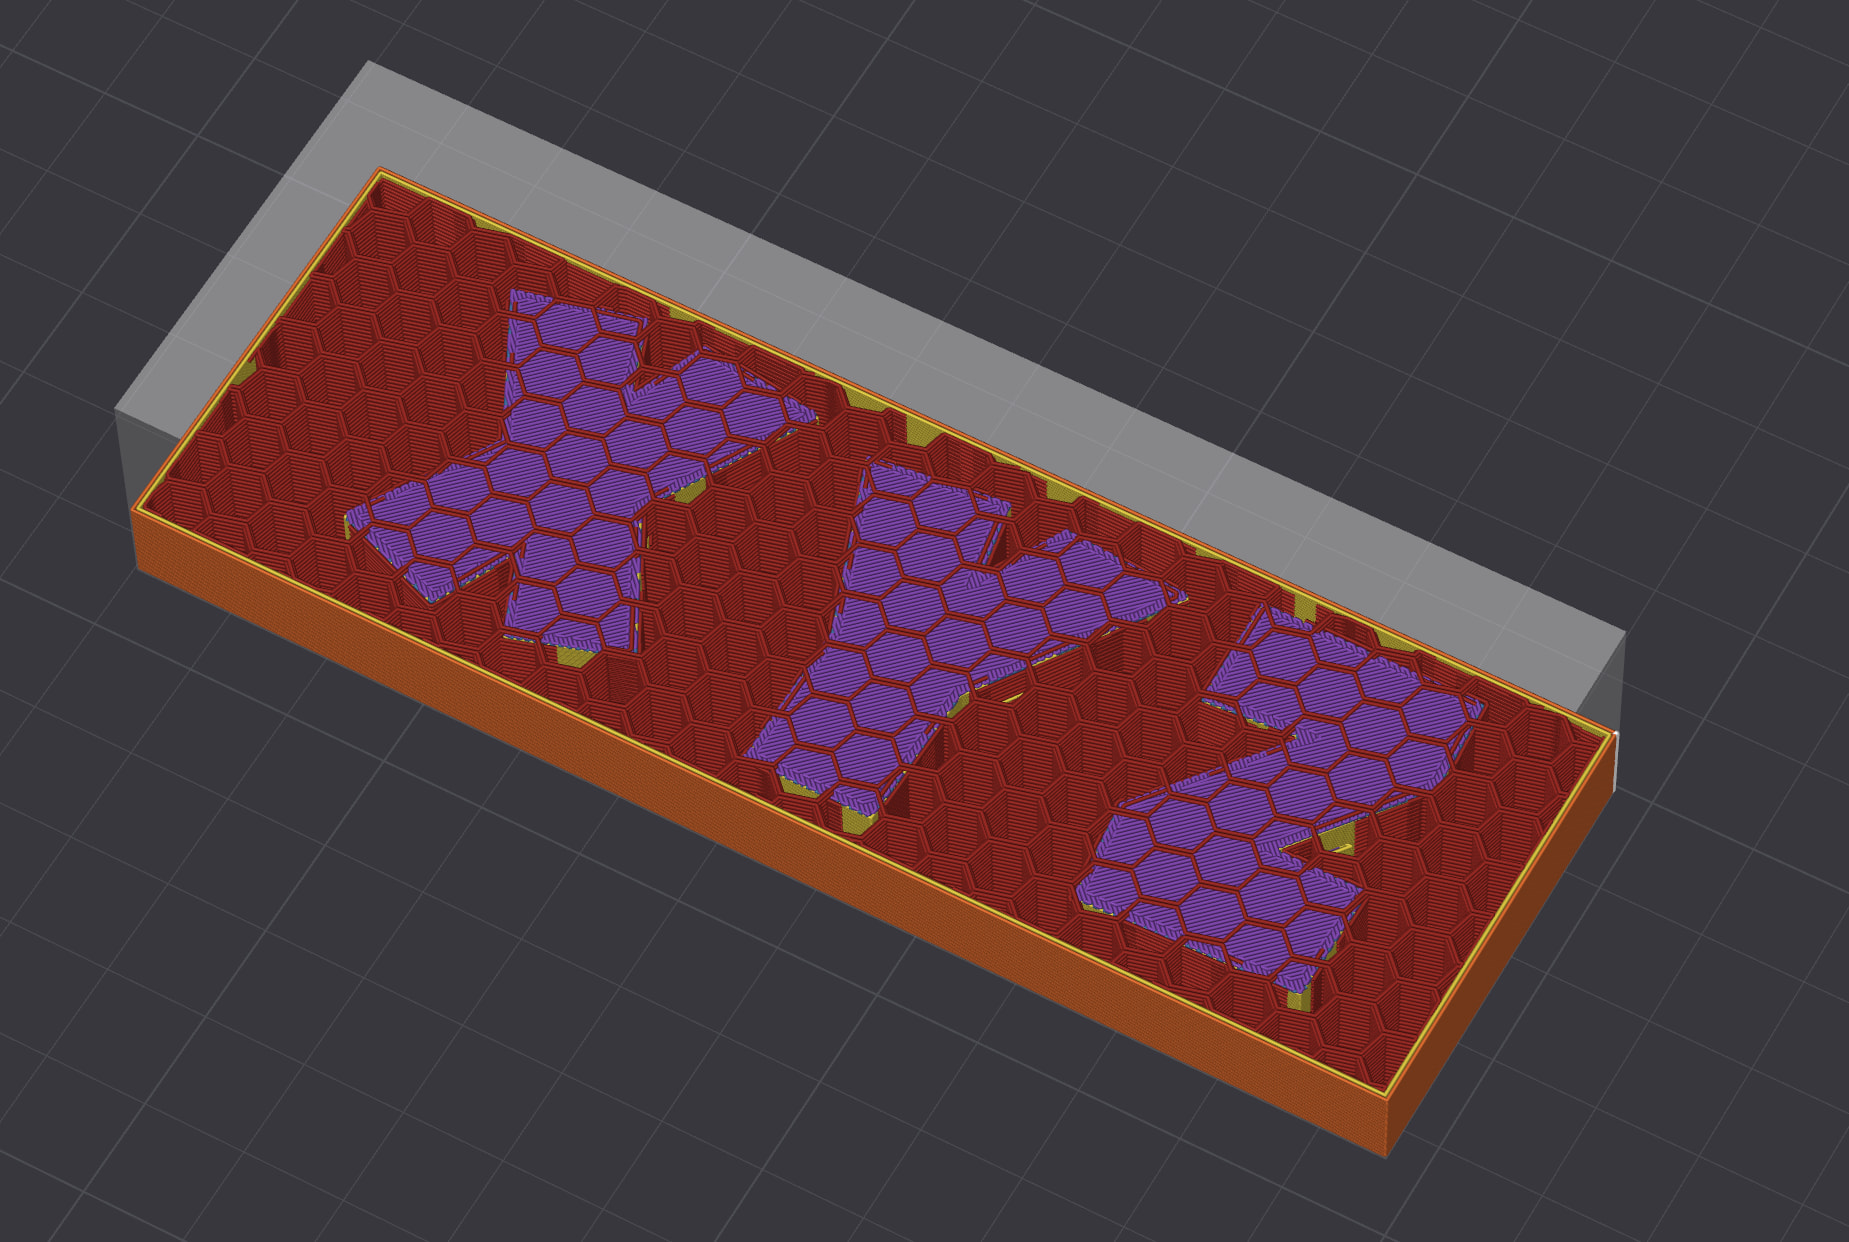
The model I was working on has what I will refer to as a submerged Logo inside the model. Also, the model in all instances is in STL format. If you import the model directly into Studio this logo is not immediately obvious but when you hit the Slice Plate button you will see it momentarily when it is slicing the model.
When you use the slider bar and go through the model layer by layer it does not render. Here is where it gets maybe into guru stuff.
I need to modify that STL model to accommodate a motor so I imported the model into Fusion. Same exact STL file. In fusion you can choose to look at models in different ways. As a solid object (Same as Studio) or as a wireframe. The submerged logo is in the model in Fusion, same as Studio but is more viewable than the momentary view you get in Studio.
I brought the model into Fusion, did a minor edit entirely unrelated to the submerged logo, saved it with the same name and exported it to a different location to avoid the “File already exists” flag.
When I imported the file into Studio and sliced it, the submerged logo does render. Subsequently I imported the original model into fusion and turned around and exported it right back out of Fusion into Studio with the same result.
How is that being done. It seems deliberate to me. That if you import it into a program capable of editing the model it “enables” the the logo.
It sounds like it was added to the design. So whatever software you use it will be there since it’s part of the STL.
The only reason I would think a designer would do this is to know if their files are circulating in places they didn’t put them. It’s not visible in the end result so you’d never know in a physical print.
If you want to delete it in fusion click the bottom surface of the logo and hit delete. It should automatically fill it in.
I’d do this in blender IMO, especially if that submerged logo has no faces peaking out to the exterior.
Change Object mode → Vertex mode. Turn on X ray vision. Select a vertex from the interior logo. Press keyboard up arrow until you have the entire thing selected. [best case scenario. worst case scenario, youll need to mouse select a whole lot of thingies ] Delete all the vertices. Save
I think meshmixer can do this too in some sort of “fill in all internal holes” macro.
That is easier said than done. The logo “floats” above the bottom layer so there is no clicking on it. I was able to delete it but it was a major chore.
It was definitely added to the design because the person who added it was not the creator of the original. The person who put the logo in is not the originator of the model
Like I have mentioned in the past, I am very new to Fusion so things like deleting something up in the model can be quite challenging. First thing invariably involves a Google AND YouTube search “How do I do X in Fusion” when I’m not necessarily familiar with the terminology that Fusion programmers use for a given process evolution.
My first experience with a submerged logo appeared to be where someone laid down an SVG type graphic file so had almost no Z dimension at all.
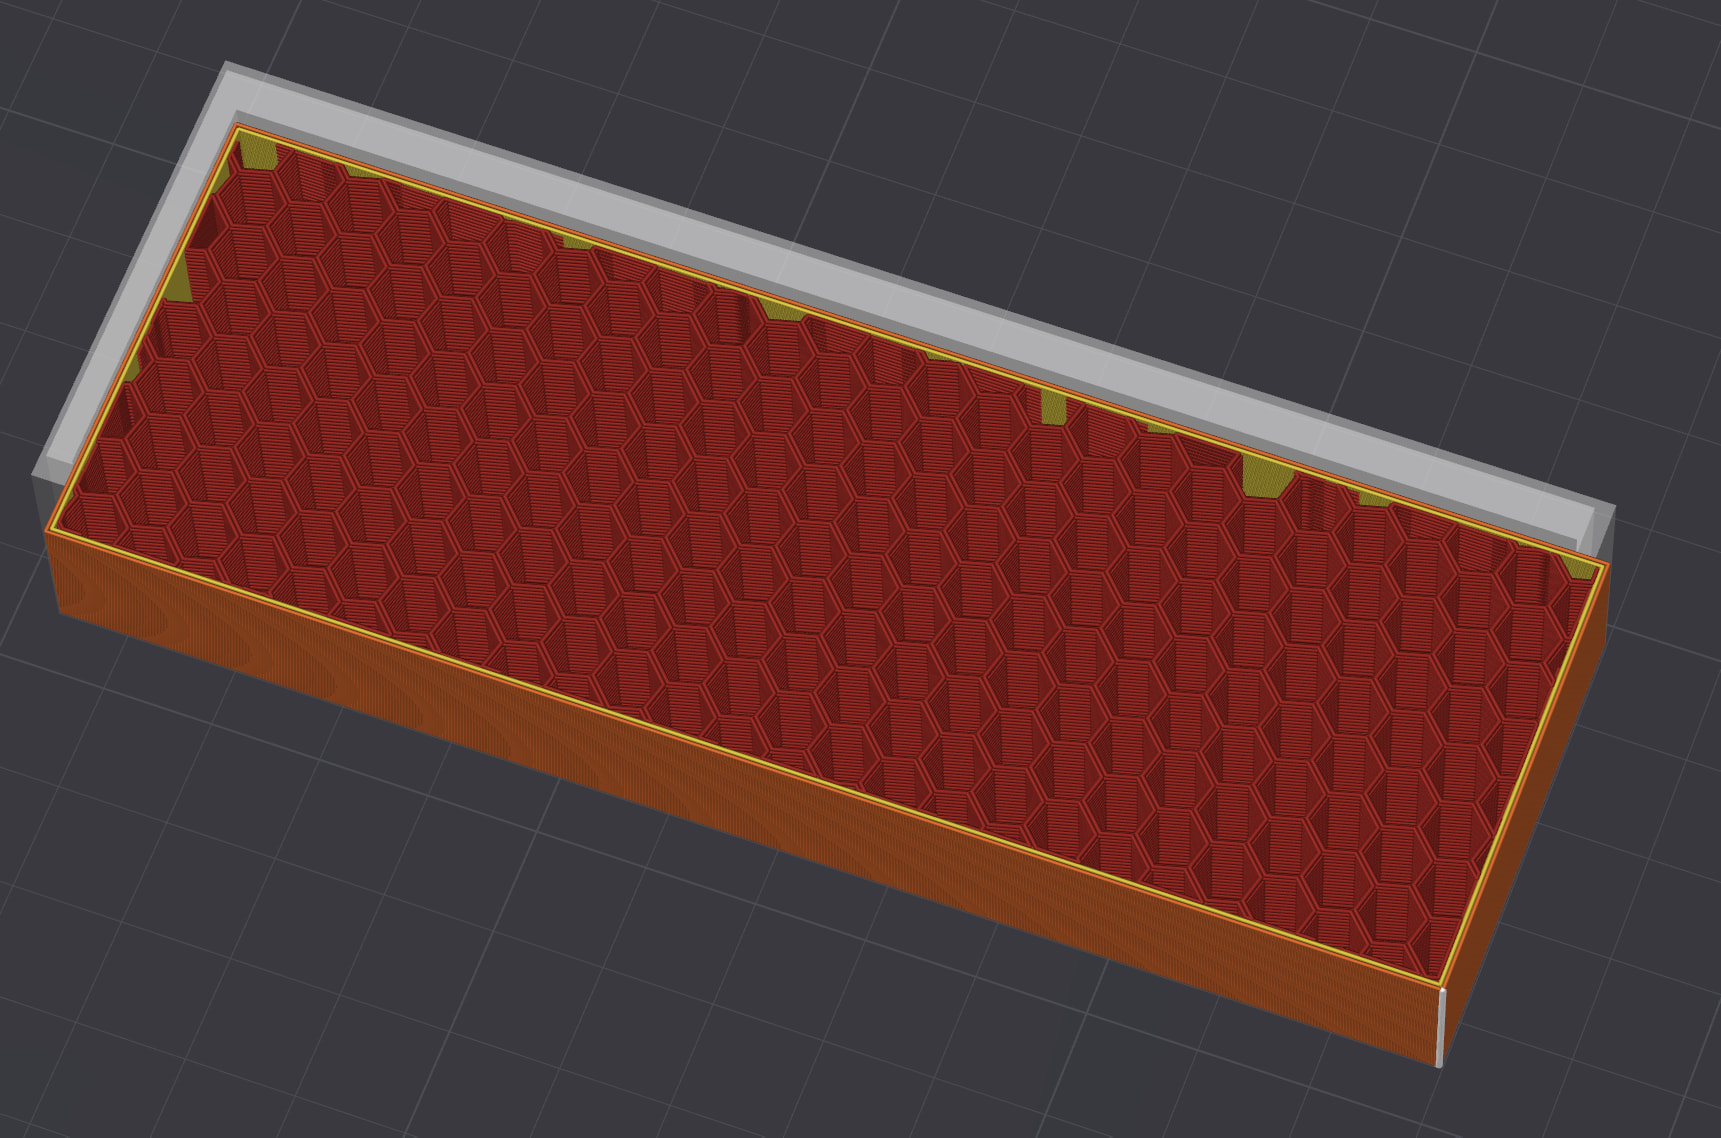
The entire baseplate model is 40 layers thick. The logo starts at Layer 4 (so .8mm above bottom surface) and stops at layer 19 at which time it resumes normal infill pattern. The logo is not flat either. For lack of better terminology it has a baseplate of 5 layers (or 1mm thick) and then text of 10 layers (or 2mm thick).
Digging that out took me the best part of the day yesterday. Much of that was in first “How do I remove this” via Google and Fusions help system and then refining the technique. So logo #1 took substantially longer to remove than logo #3
What constitutes “Flagging”? That is kind of where I landed but that would only be accessible if the model was subsequently posted to Printables for example right?
I’ve been where you are I started learning fusion about 1.5 years ago and believe me the Googling never stops, it just gets lesser, but for more complex thoughts. I have no CAD background, just an interest in technology. Stick with it, you’ll get there!
What I mean with click the bottom layer of the logo would mean make the object more opaque so you can see the internal surface or create a section view just above where the logo starts so you can easily see it. You can make a section view as an offset of the xy plane.
Can you post the original STL here, or a link?
(The forum doesn’t allow .stl or .f3d attachments, but a “.3mf” file, which is allowed, is just a zip archive, so one could zip up any file(s), rename archive to .3mf extension and post it here, noting the actual file format.)
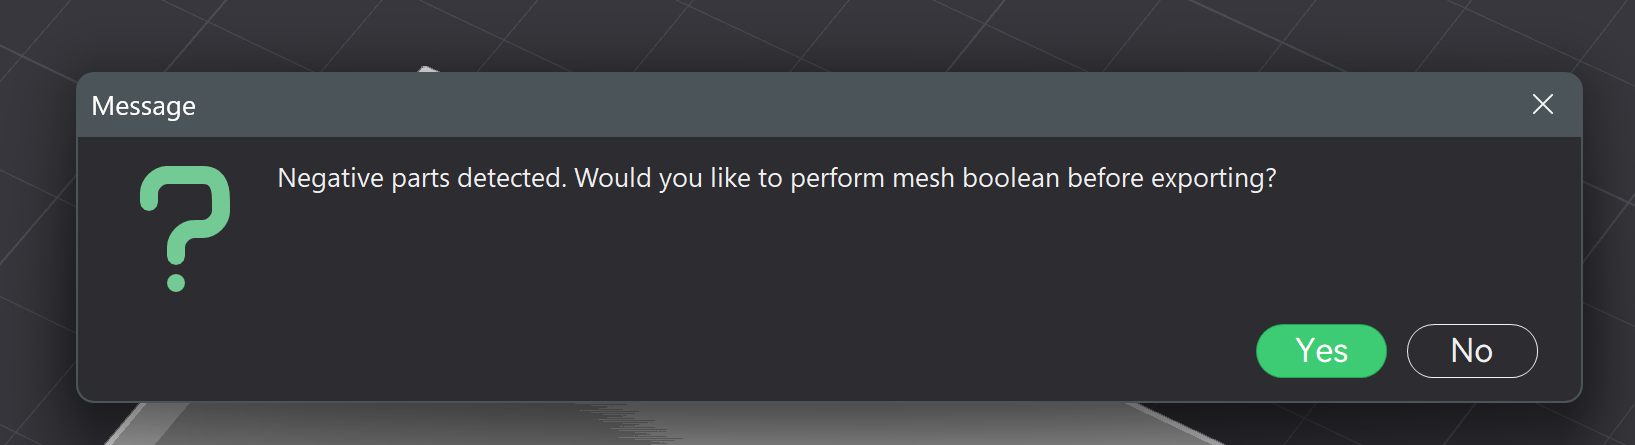
Typically a body in a mesh format won’t be able to represent any geometry complete inside of it (like a void or other “hidden” shape), because they’re essentially hollow (this is one reason we have “negative” modifiers, eg. to hollow out a ball). However mesh format files (STL/3MF) may contain multiple bodies, which could overlap entirely. So I’m wondering what exactly is in the original STL.
There’s no magic in Fusion which makes objects suddenly appear or be enabled. Not doubting your experience, but there must be something else going on.
And if the logo or whatever doesn’t show up in the layer-by-layer sliced preview, that means the slicer ignored it for whatever reason. The preview is WYSIWYG.
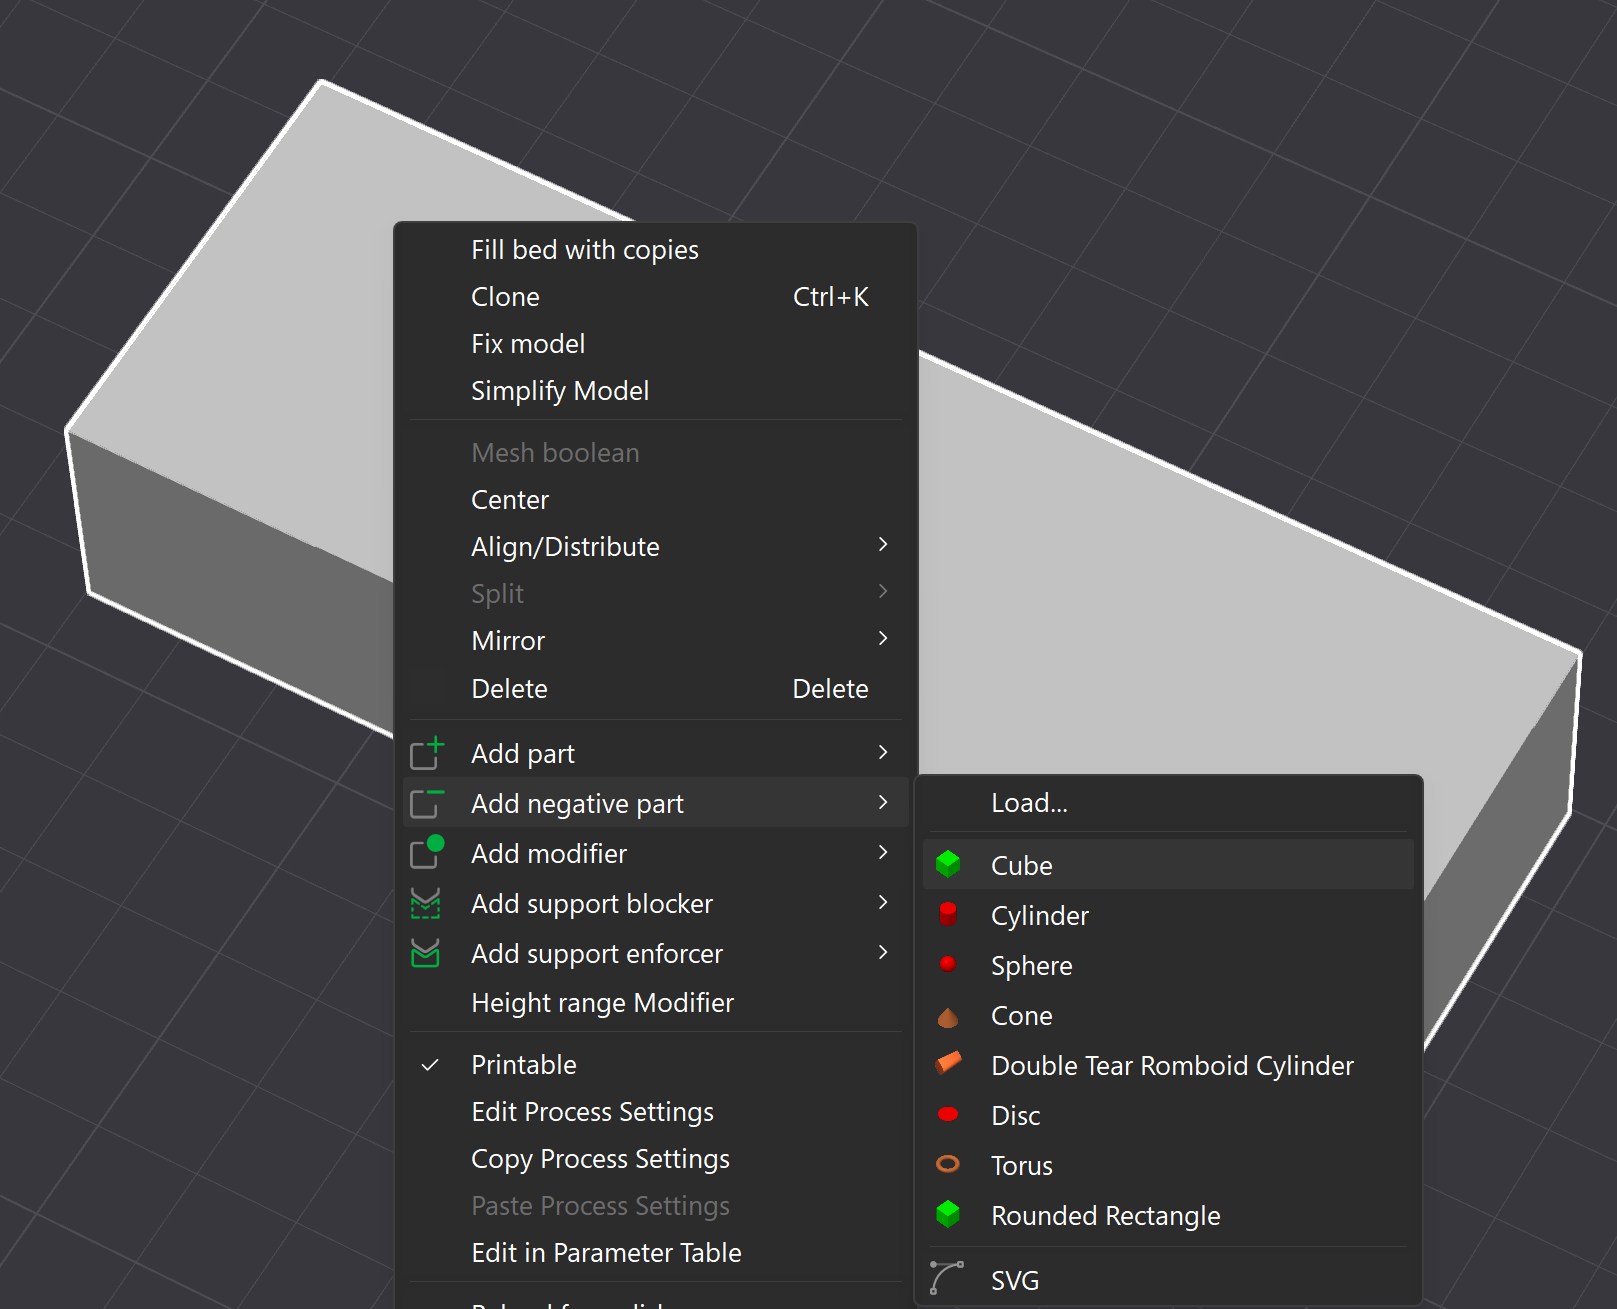
Add negative cube to the group: Don’t worry - push the negative cube partially under the plate, too - and make a really nice hole. Important: Make sure to pull the negative cube all the way through the plate - it’s better to pull it too far than not far enough, otherwise you might get error messages. It’s also better to set it too high.
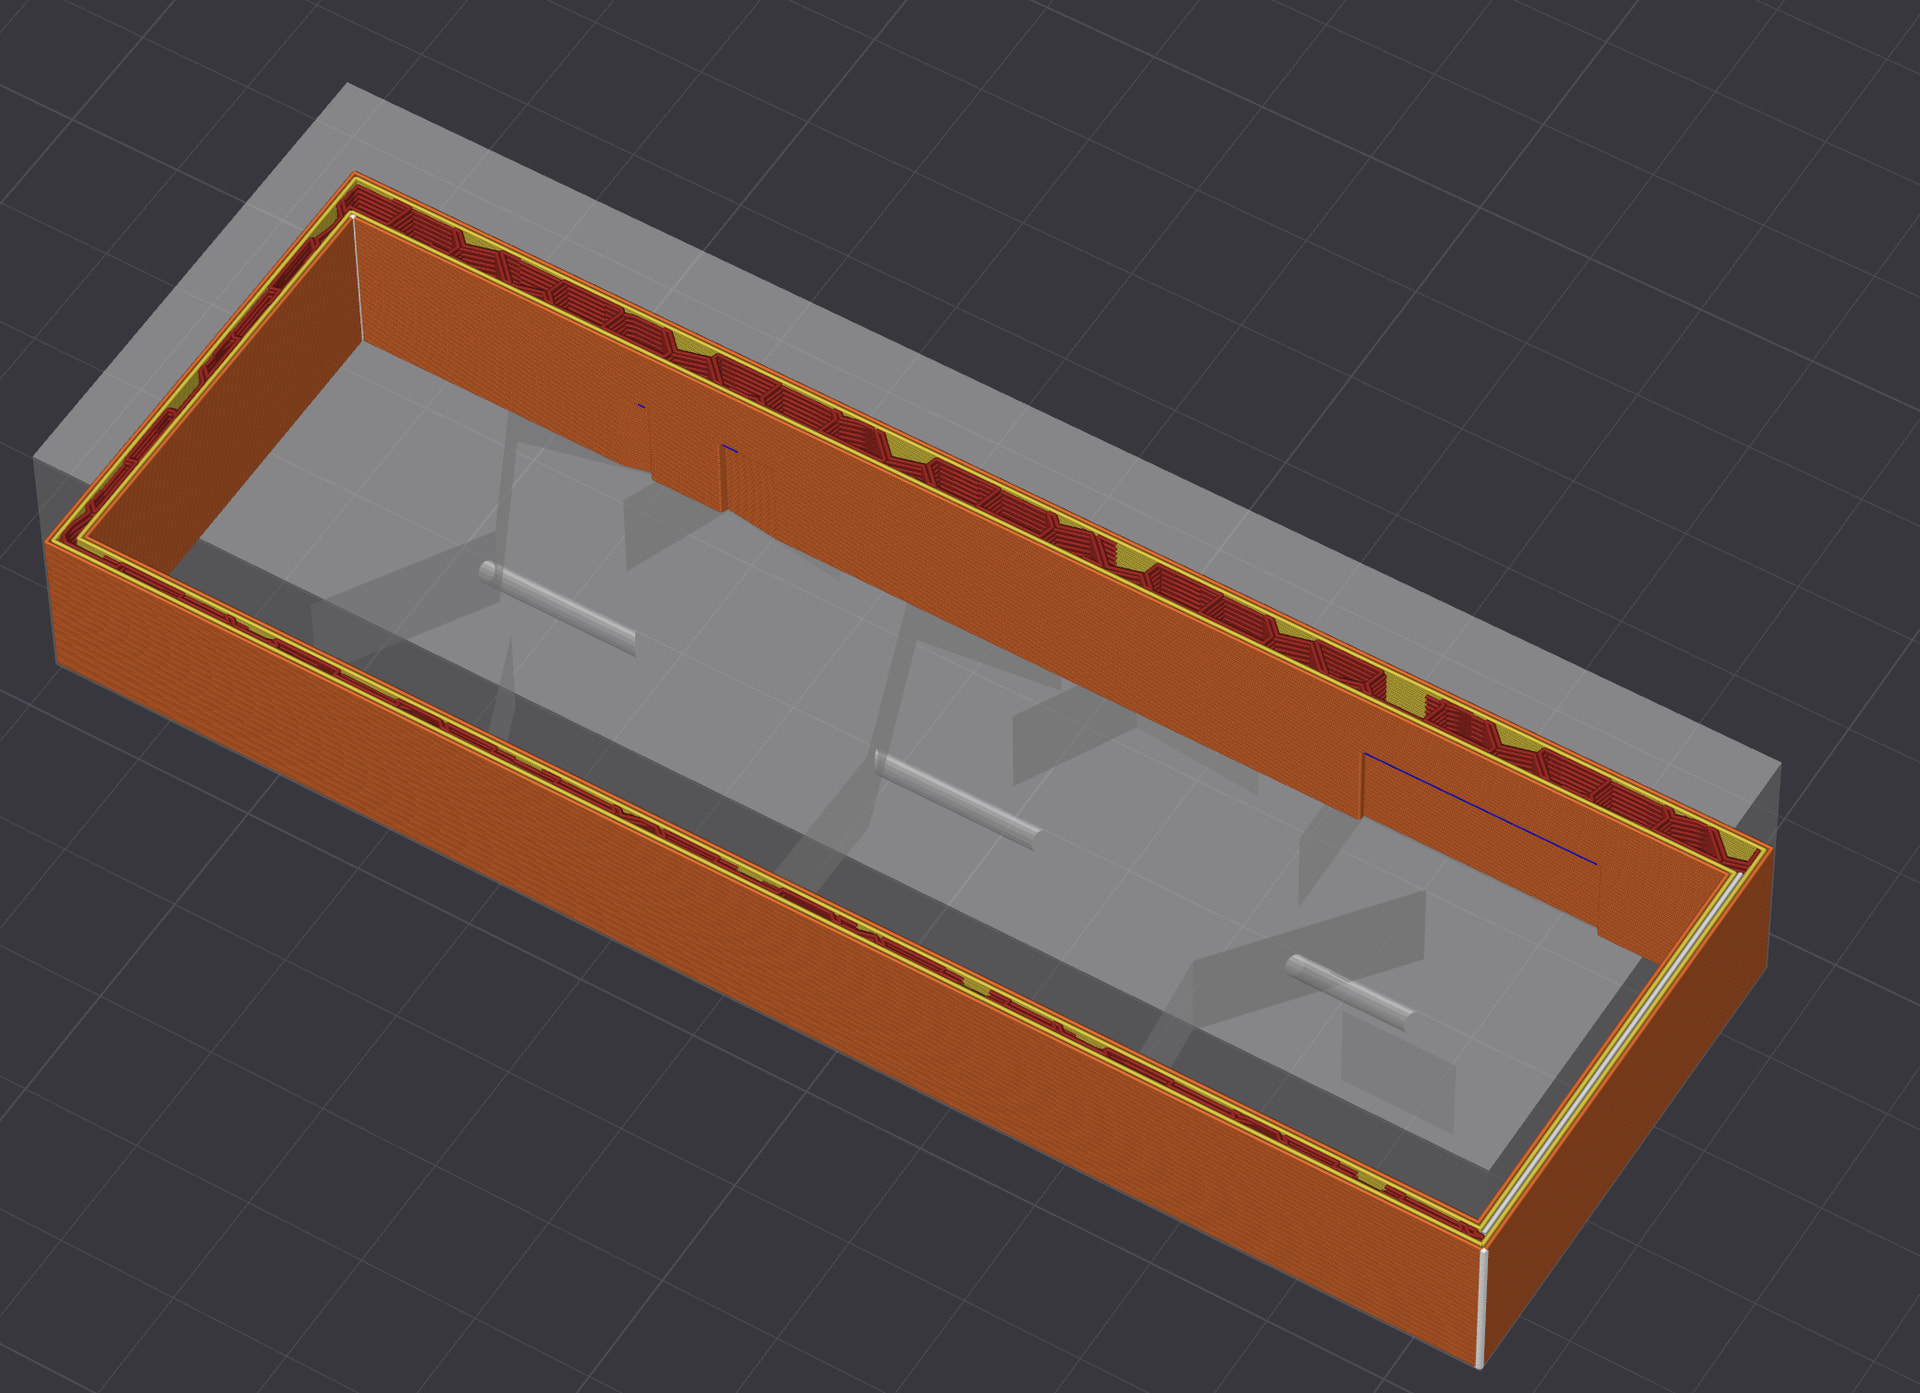
Now you’re going to say, “Wait a minute, now I have a hole!” - Yeah, exactly, and now you do the same thing with a positive / solid cube. Slide it over and inside the hole. Check in the slicer to see if it looks like this:
Problem solved - quick and dirty. However, it doesn’t always work. Bambu isn’t designed for that. Still, it sometimes works for quick removal.
Nevertheless, I also recommend Blender, since that’s the right way to remove something like that that’s embedded inside an mesh object. Unfortunately, most CAD software isn’t designed for mesh operation, and Bambu Studio certainly isn’t.
I ended up doing the section view. Do not remember if it was Autodesk Help or Google but I got there reasonably quickly. The problem was that I could not get the object as a single entity. Well within the realm of possibility that I did not know how to make that happen but I ended up having to delete various triangle and then at some point an entire letter would disappear. As I mentioned in an earlier post I became better at doing that but there has to be a better way.
I felt like whoever it was who put that logo in there 1) knew what they were doing and 2) were adept enough to make it hard to delete even if you were able to get at it. I’m curious how just passing the file through Fusion but literally downloaded the file to a folder on my PC, imported into a New Project in Studio, sliced file and the logo was in the file but it did not render the logo when sliced.
Bringing it into Fusion doing convert mesh exporting it back out created the file but allowed the logo to render
Flagging = displaying in a different color so as to stand out. There are several programs that make the comparisons and comes in handy when reverse engineering. Seems to me that SolidWorks has a built-in function for this. They are also used when disputing the origins of certain 3D models.
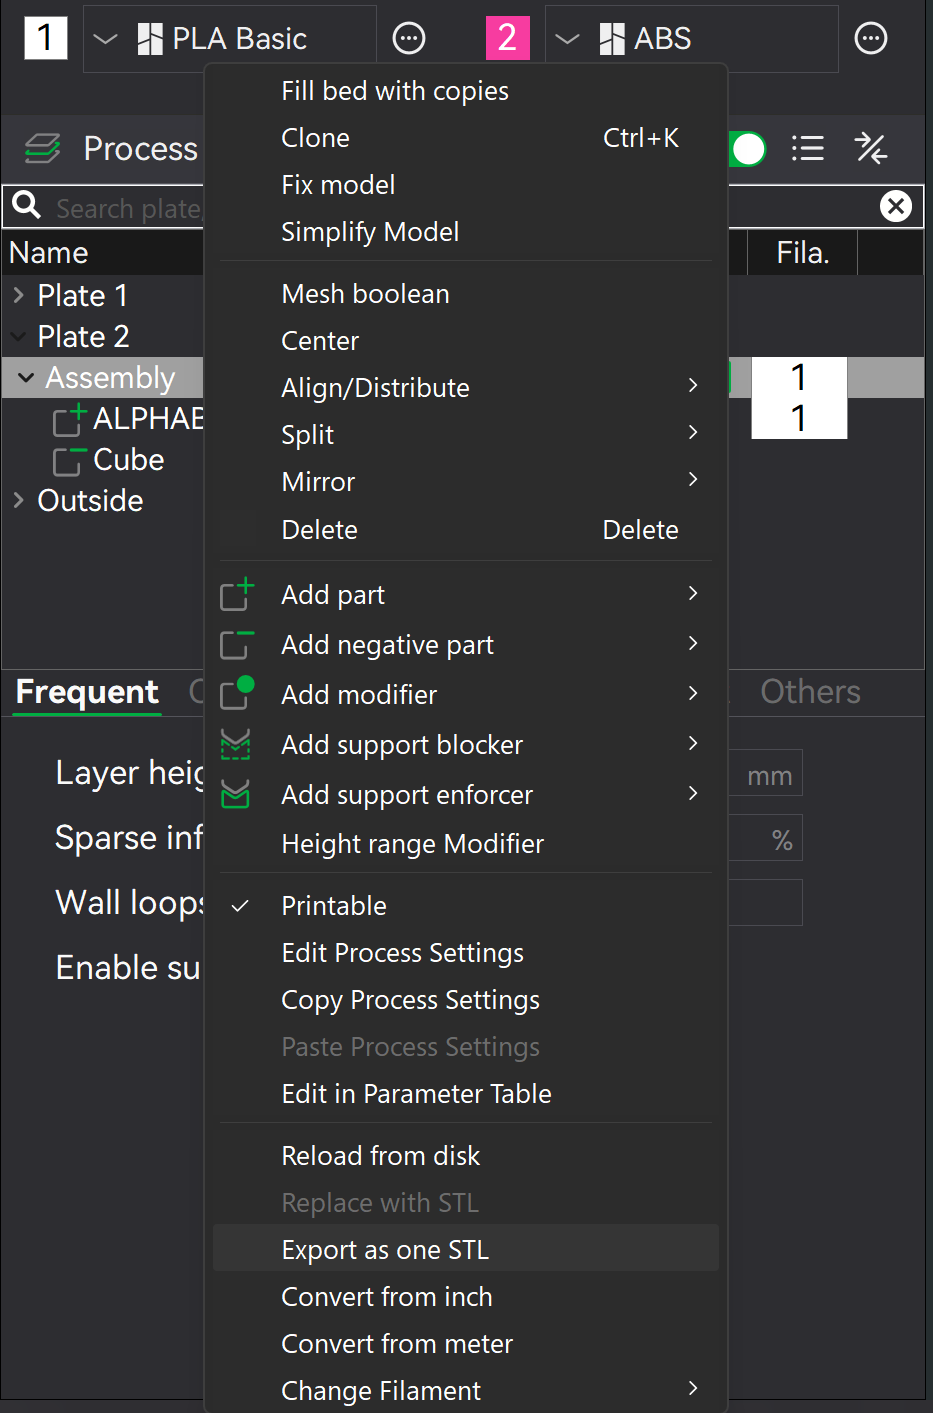
I did a variation on that that also worked. Added a cube primitive with dimensions that covered the logo in its entirety merged the primitive with the baseplate. Once the two parts are merged I used the Mesh Boolean tool and logo was gone. Nice clean slice with no logo.
 ] Delete all the vertices. Save
 I started learning fusion about 1.5 years ago and believe me the Googling never stops, it just gets lesser, but for more complex thoughts. I have no CAD background, just an interest in technology. Stick with it, you’ll get there!