Rear Z Axis Lead Screw Access Panel


Example of dirt which is missed without an access panel

3 downloads
Z Axis Servicing with Standard Aftermarket Lead Screws and Nuts from the Top of Printer
While this design has worked perfectly for me, writing the instructions pointed out how many steps were involved in this design. So the simpler approach is to just have people follow Bambu’s leadscrew instructions, but use the “Adapter for aftermarket nuts” being offered in post 12.
Great modification, the rear z axis is difficult to access
H2D and H2C Extruder Cooling Fan “Quick and Easy Fan Changes”.
Side loading, slide in, slide out hotend fan, tested working.
https://cults3d.com/en/3d-model/gadget/bambu-h2d-and-h2c-quick-easy-hotend-fan-change-upgrade
30 downloads
The both look fairly similar to me.
Certainly not a big difference…
Added some pictures to second post.
Looking for people interested in my hotend fan mod, see 4th post
I believe there may be a method to determine the health of your H2 hotend fan.
Measuring the fan RPM and amperes, I have 5 fans and the oldest fan is drawing
0.43a at 9,460 rpm, the other fans are drawing
0.33a at 8,700 rpm
The fan’s rated speed is 8,500 rpm
Hi, just wanted to pop in and say: I congratulate you on the successful mods and I’m really happy to see someone spending the time and effort to make improvements to the H2 series. Of course it’s up to the individual whether the mods are useful to them, but everything contributes to our knowledge and helps move the hobby forward. Thank you!
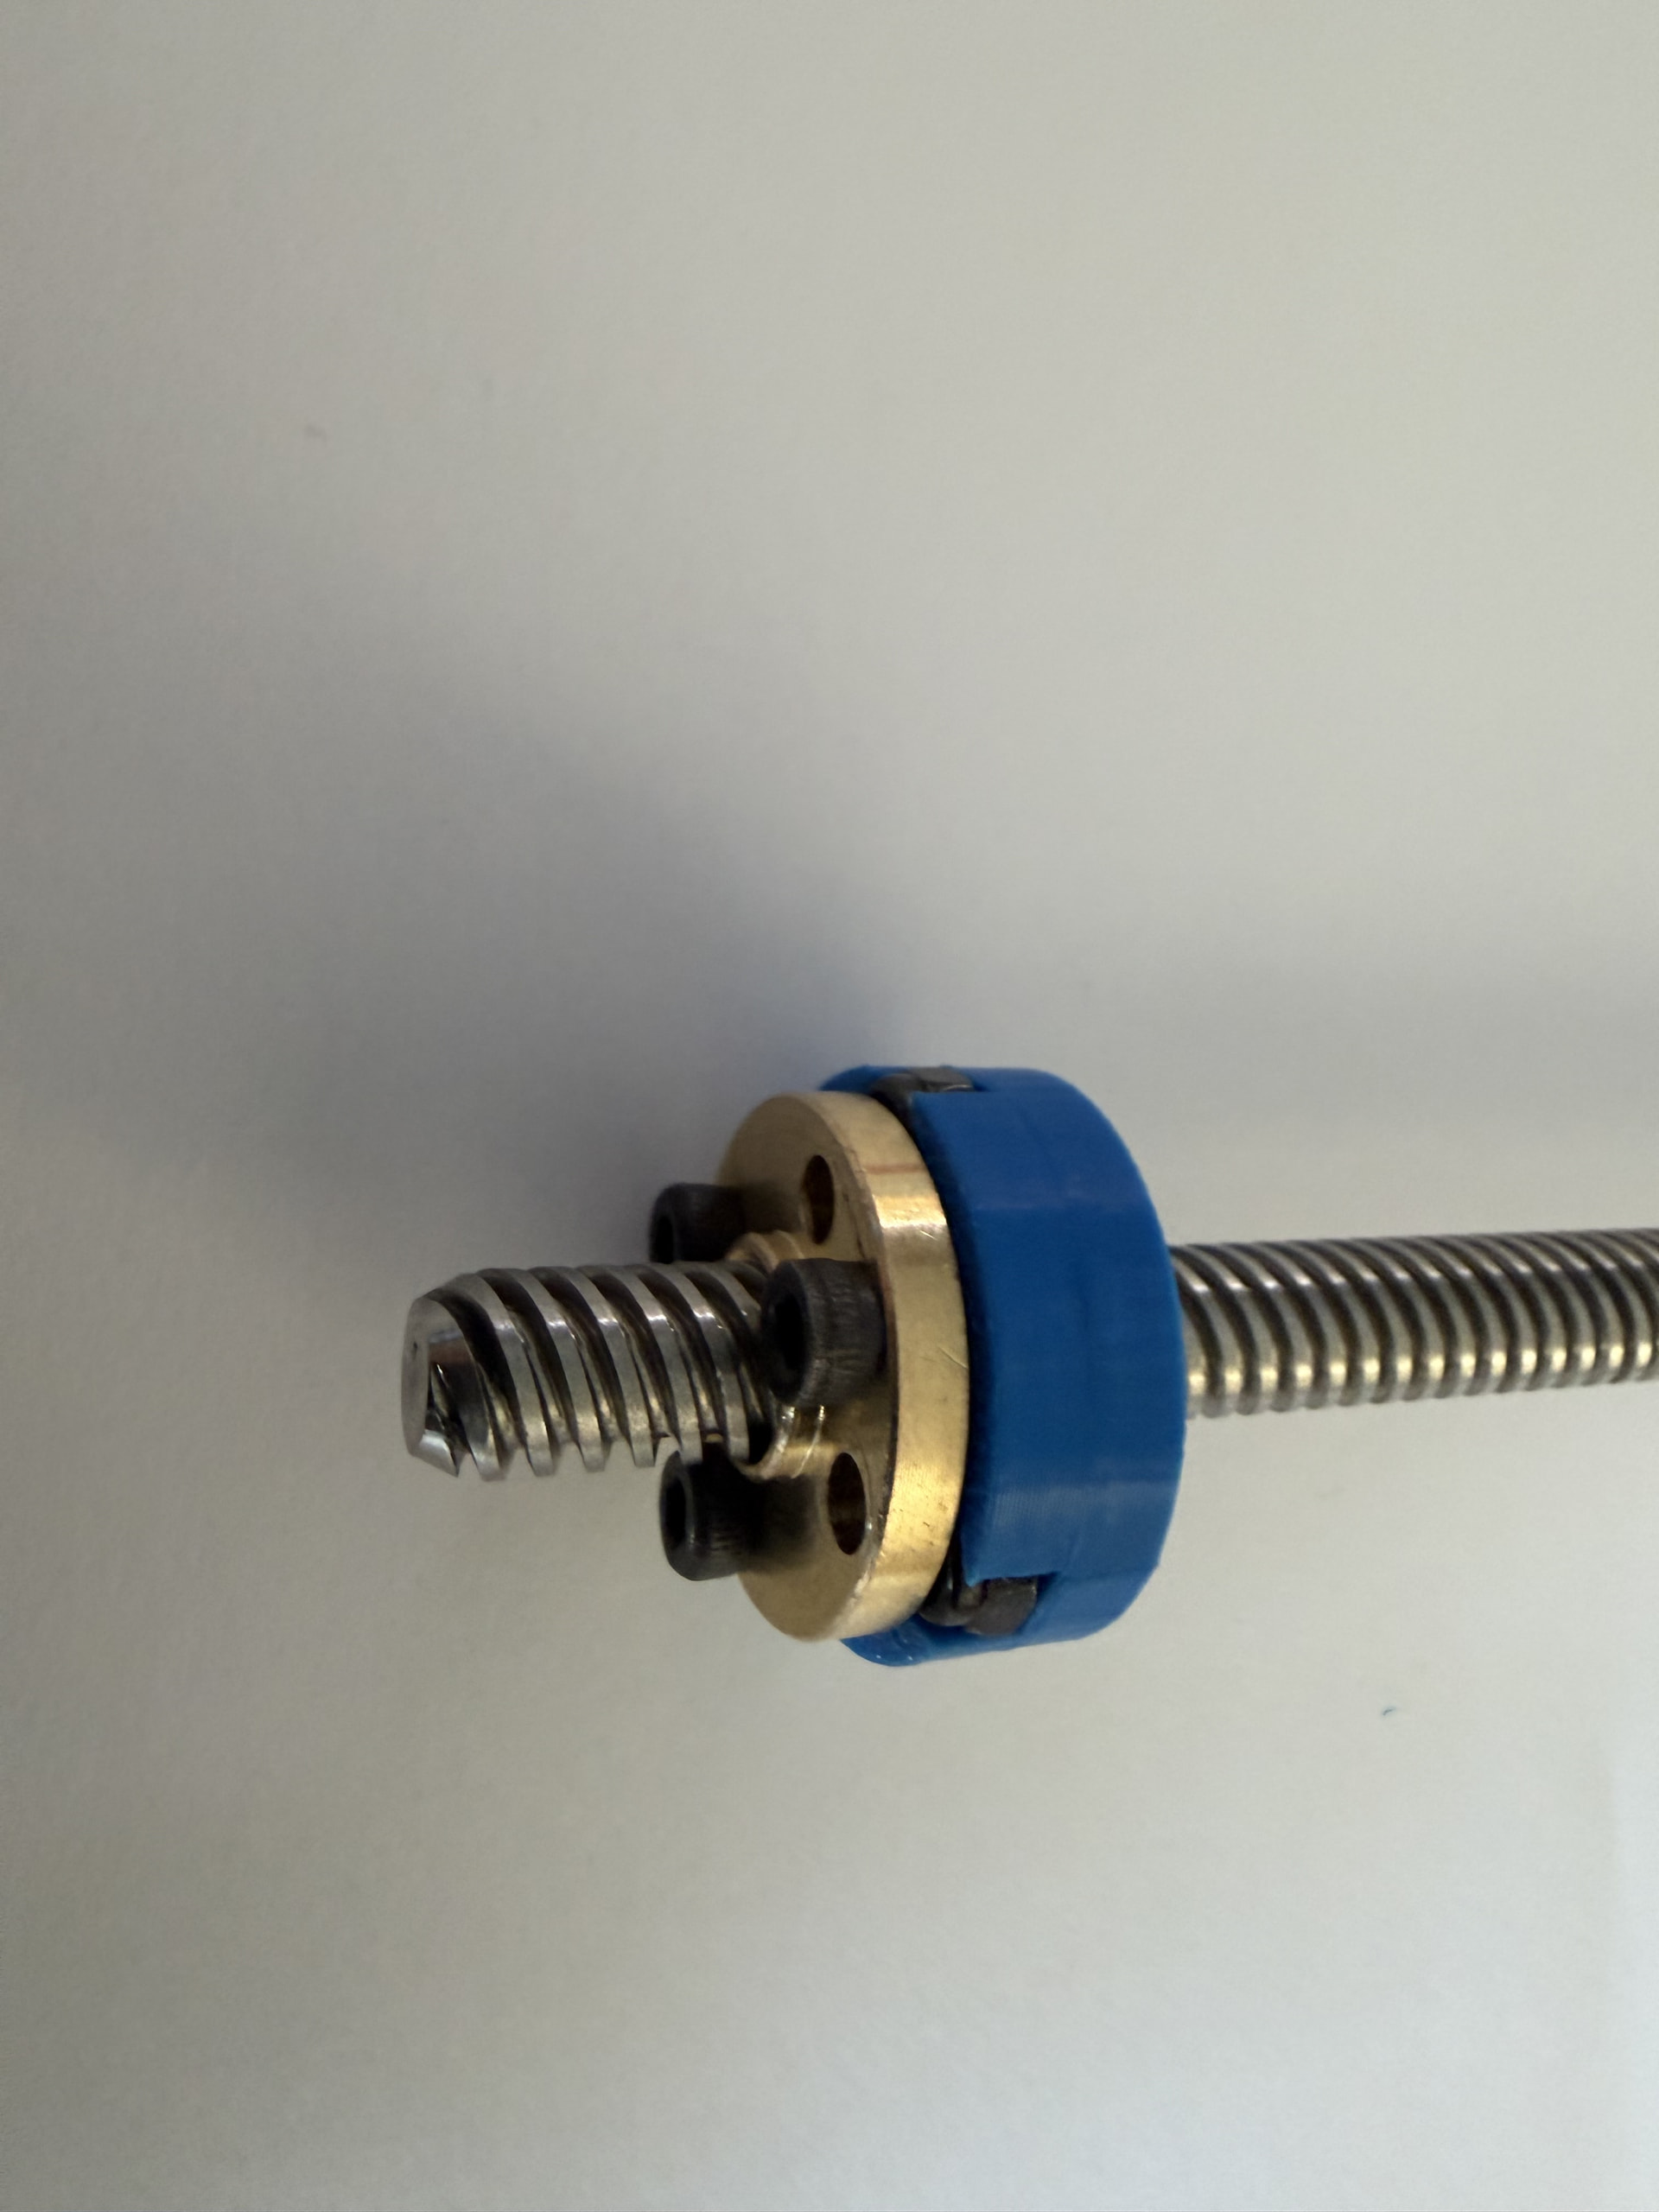
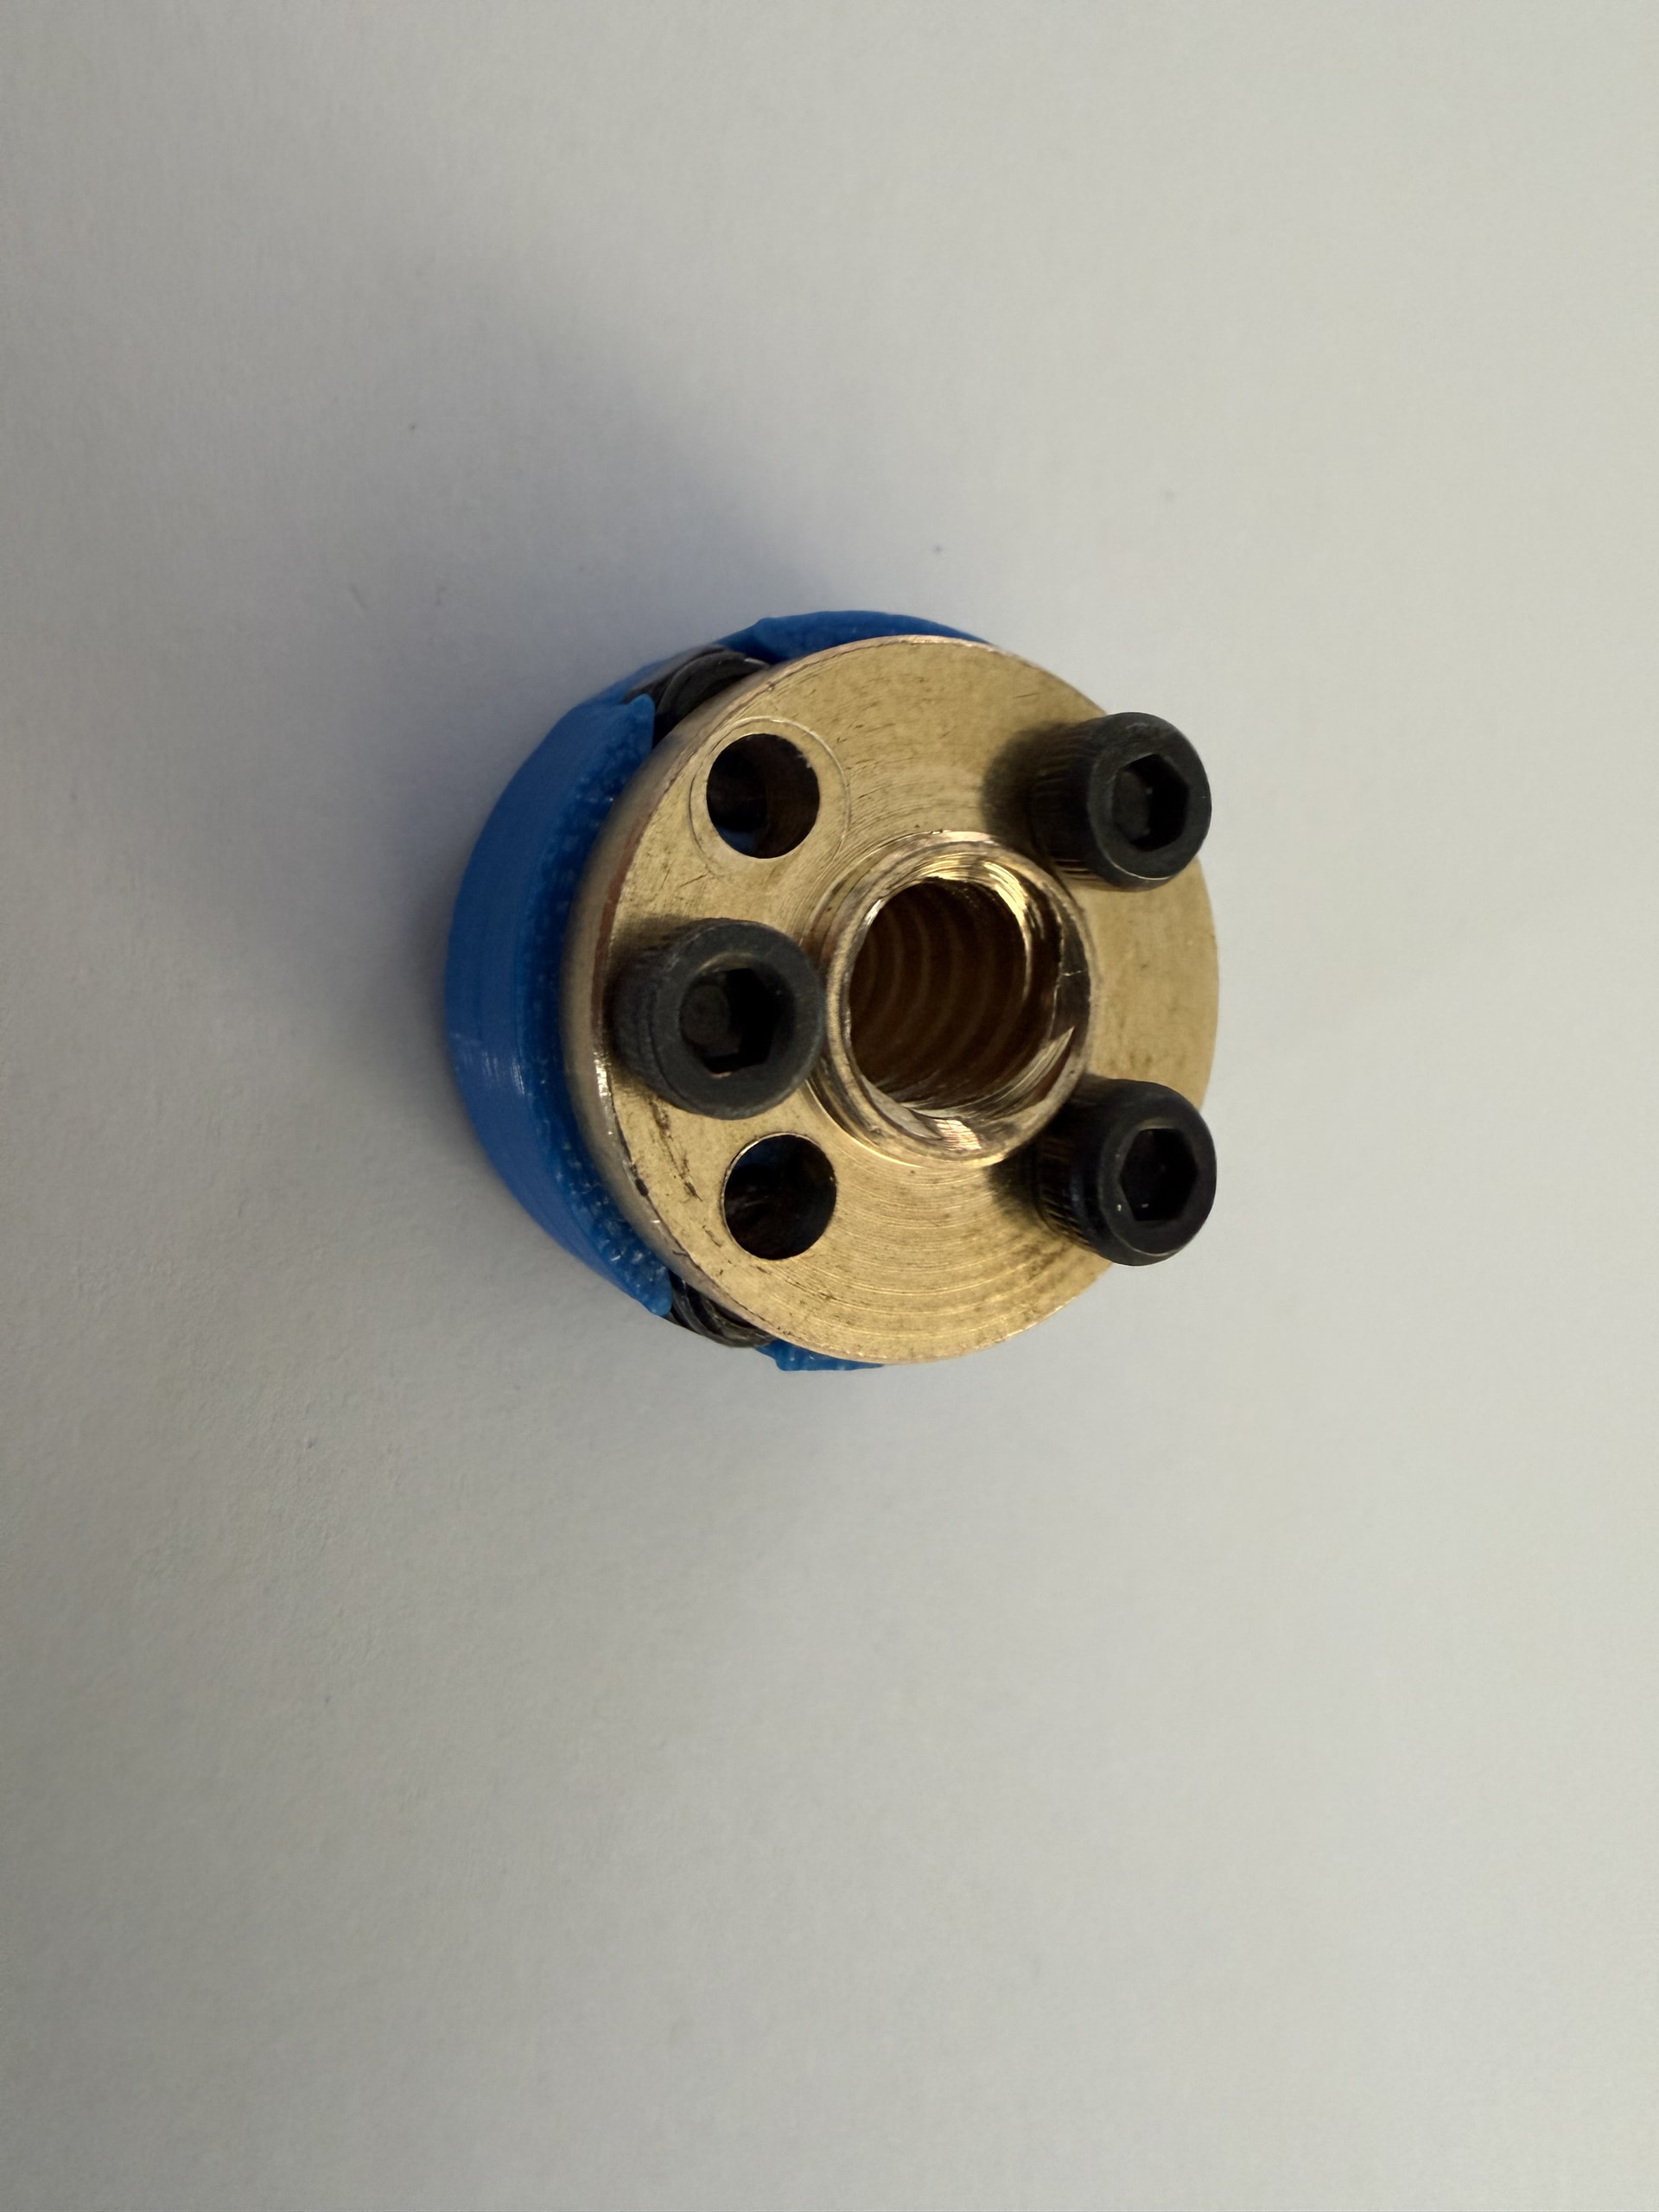
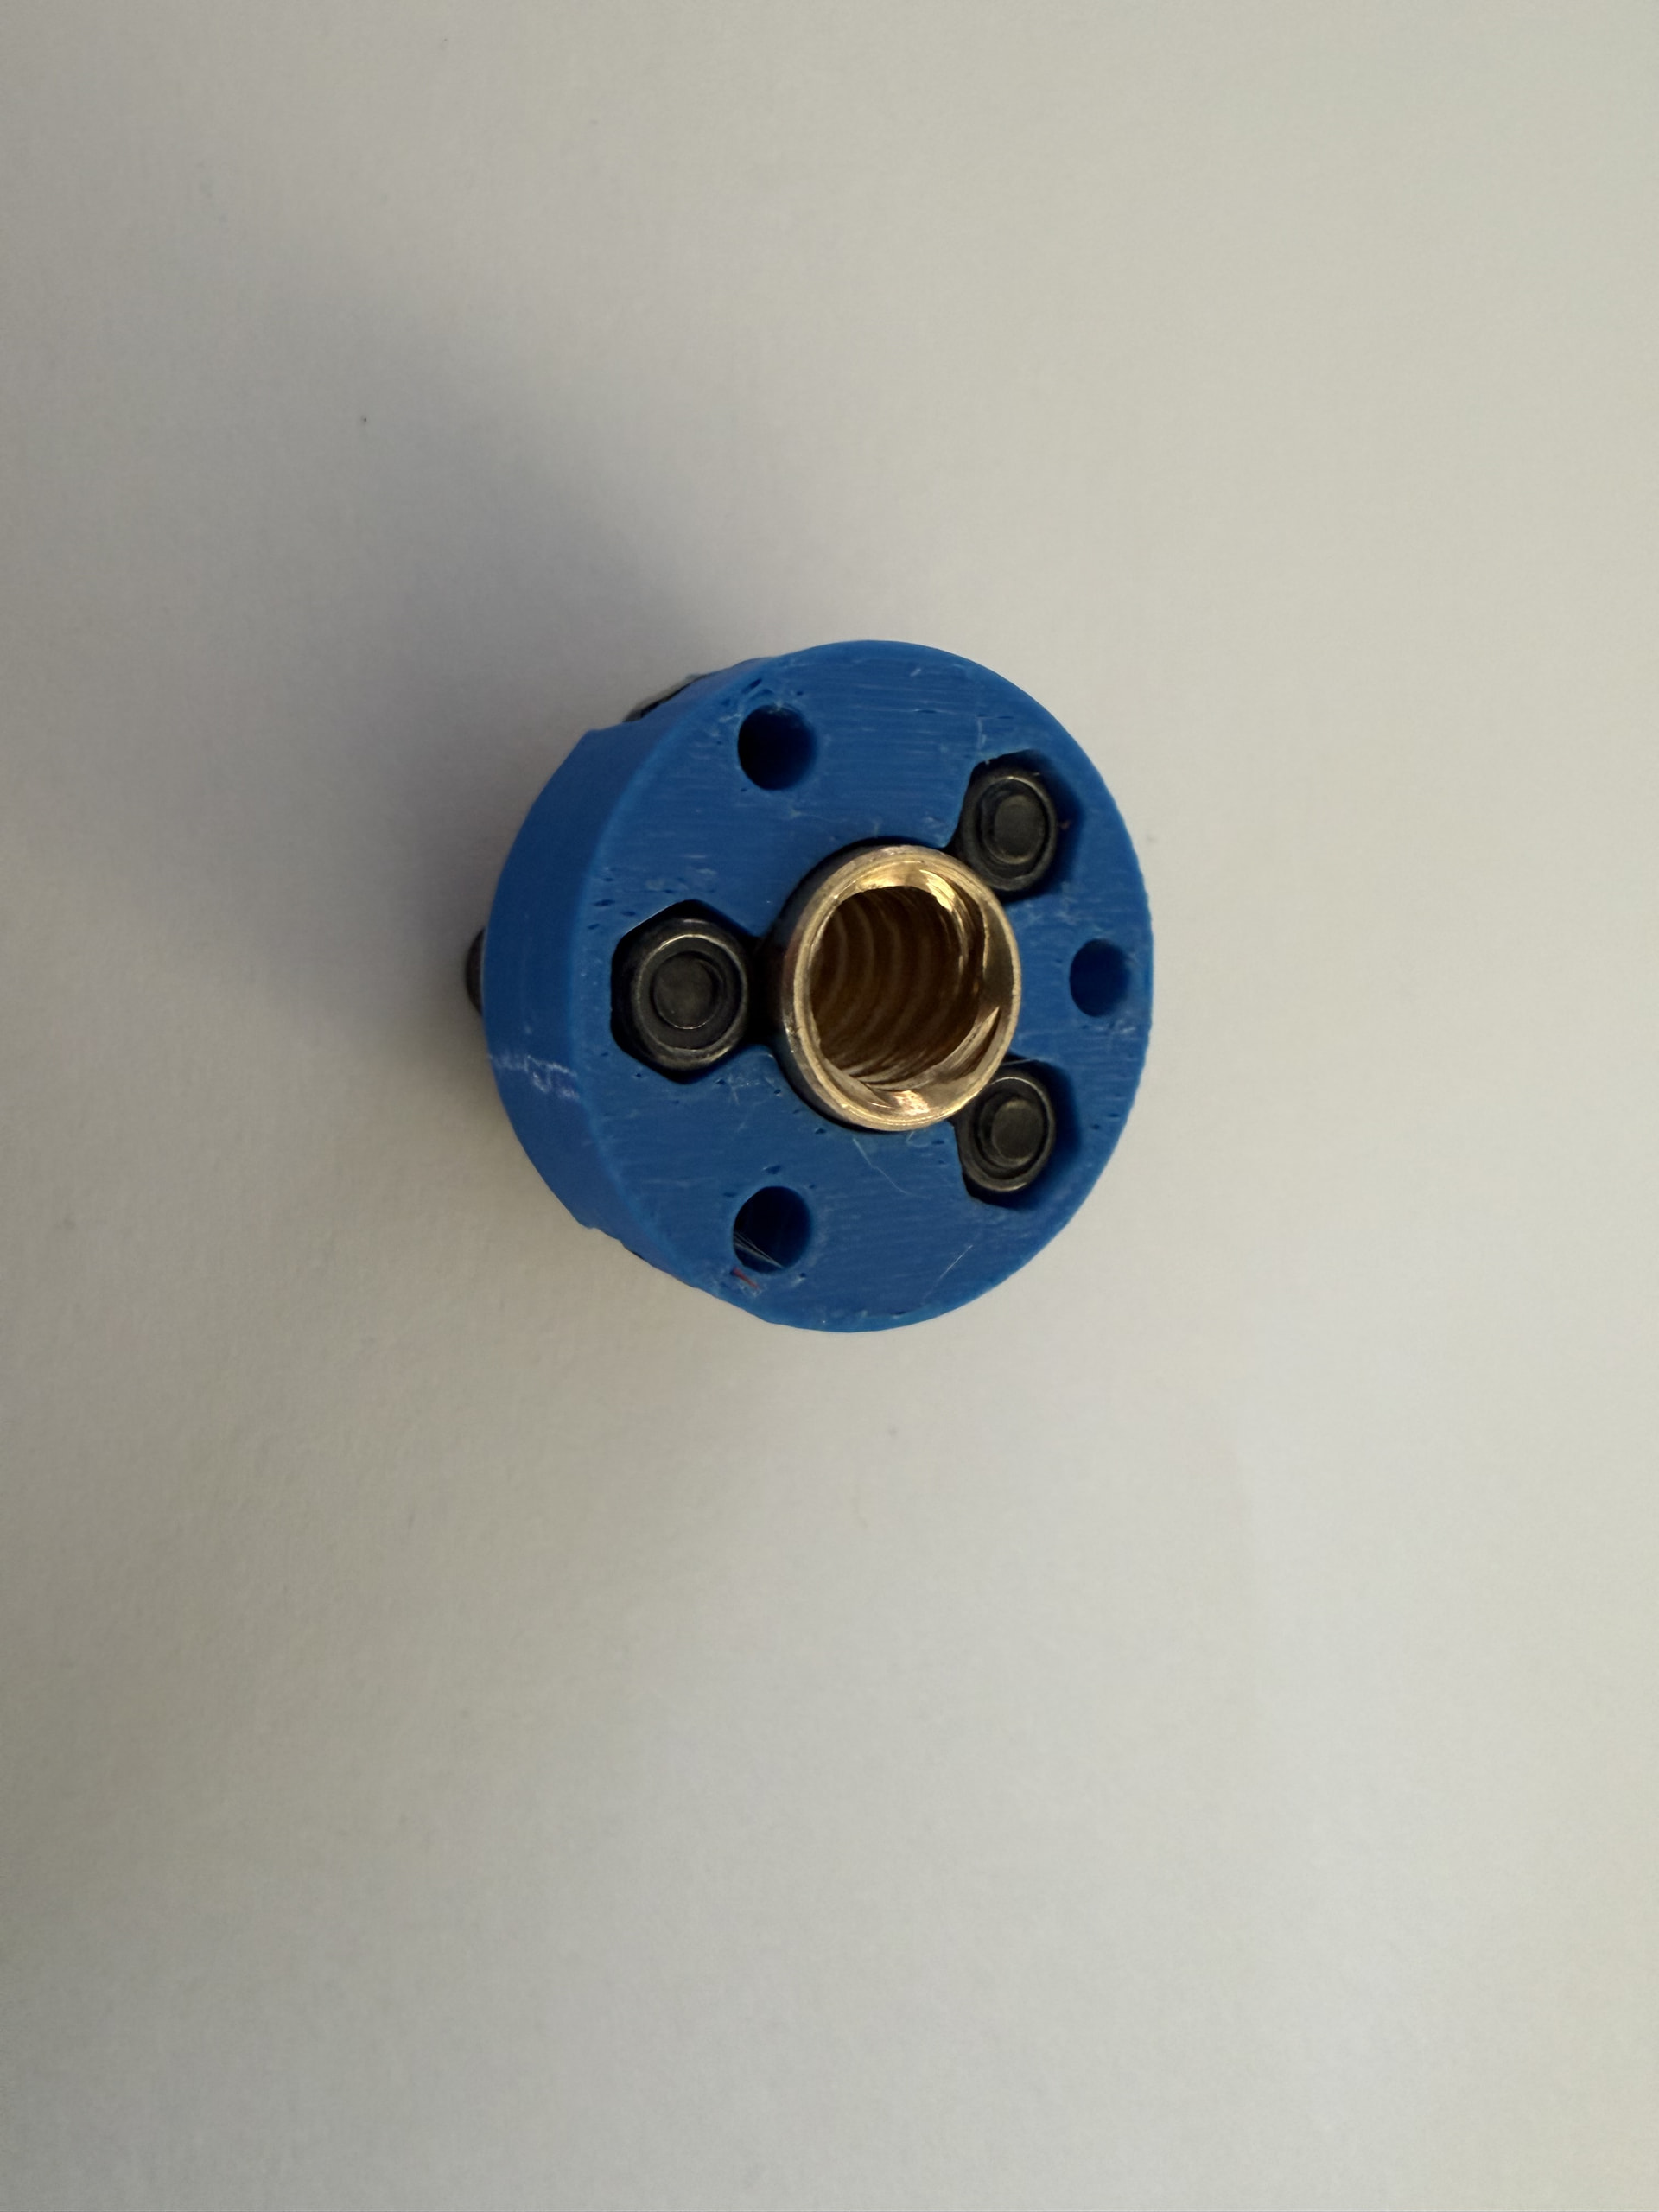
ADAPTER FOR AFTERMARKET NUTS
This adapter installs exactly per Bambu Wiki for the leadscrew kit.
Uses 6 fiberlock M3 nuts, adapts standard aftermarket Brass or POM leadscrew nuts to the H2 3 screw pattern.
Aftermarket nut faces down when installed.
Link to dowload
https://cults3d.com/en/3d-model/gadget/aftermarket-leadscrew-nut-adapter-for-bambu-h2-printers
Bambu PTFE connector upgrade
https://cults3d.com/en/3d-model/gadget/bambu-ptfe-connector-upgrade
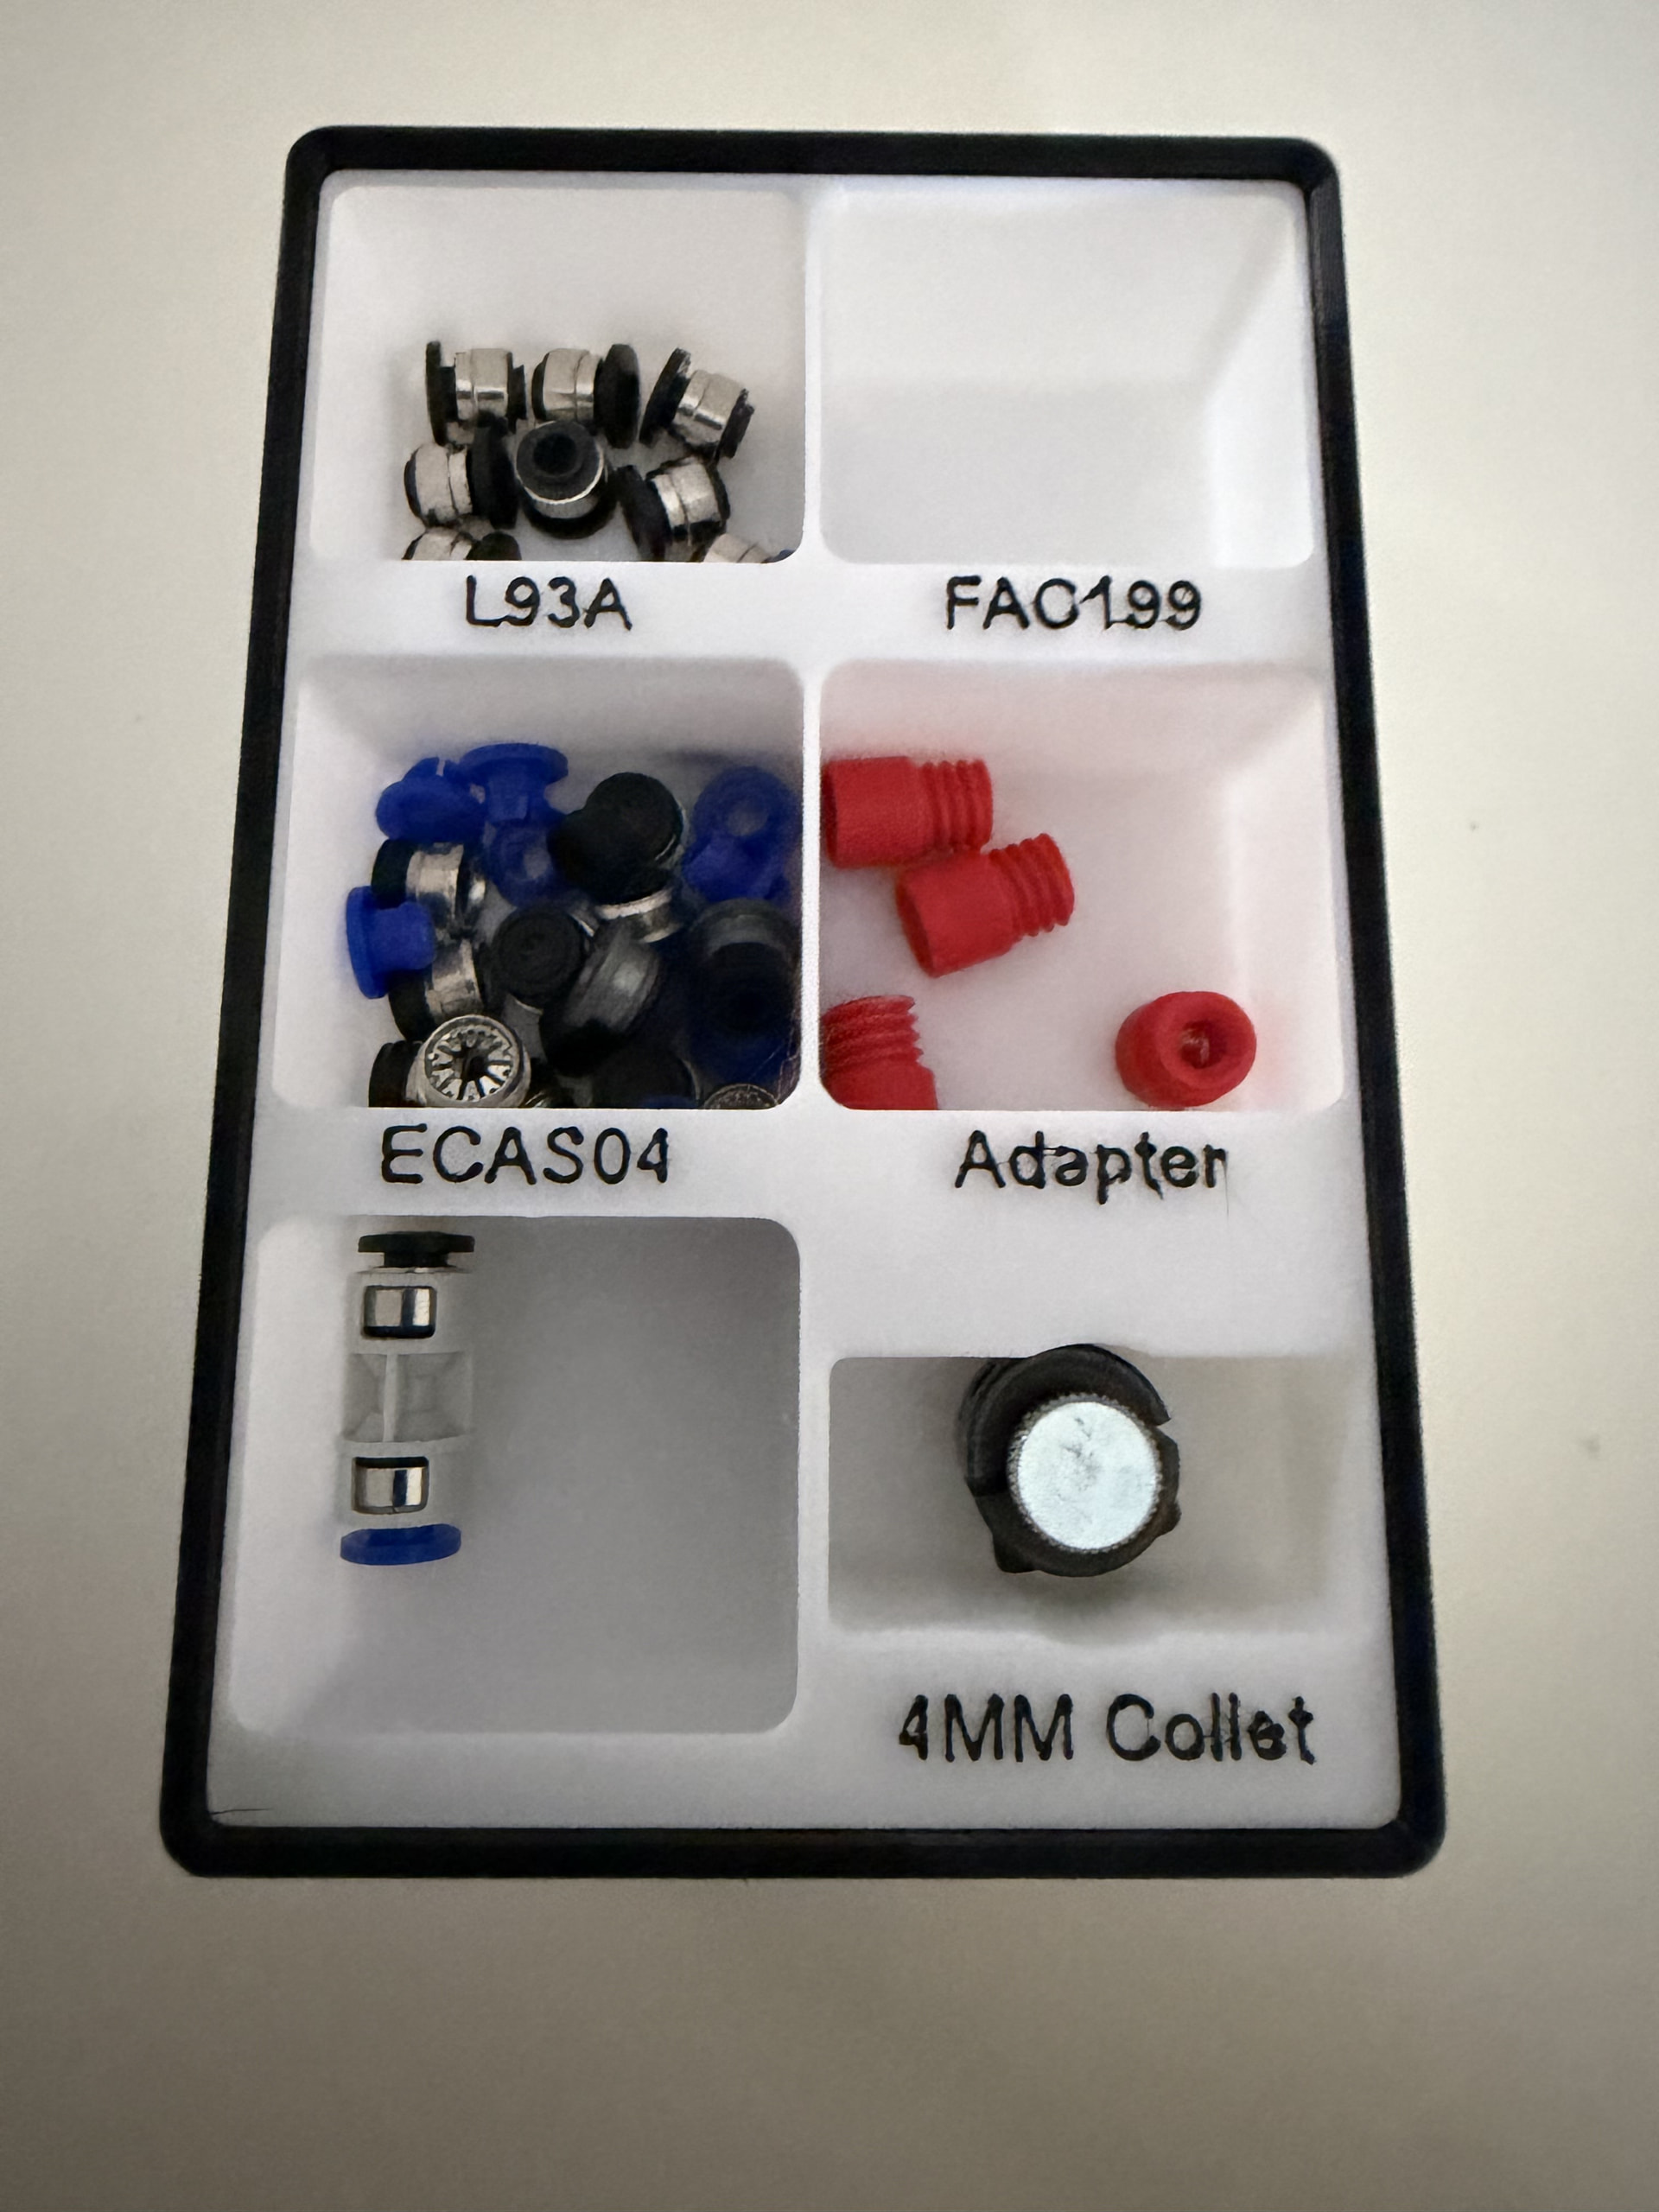
I had a L93A PTFE connector fail where the filament exits the H2D buffer. The Bambu Wiki instructions were to disassemble the printer and replace the buffer. No buffers in stock with Bambu. However; in a different Bambu Wiki it shows how to replace the L93A connector, by gaining access to both sides and prying the connector out. Bambu does not appear to sell the L93A, but Aliexpress and Amazon do.
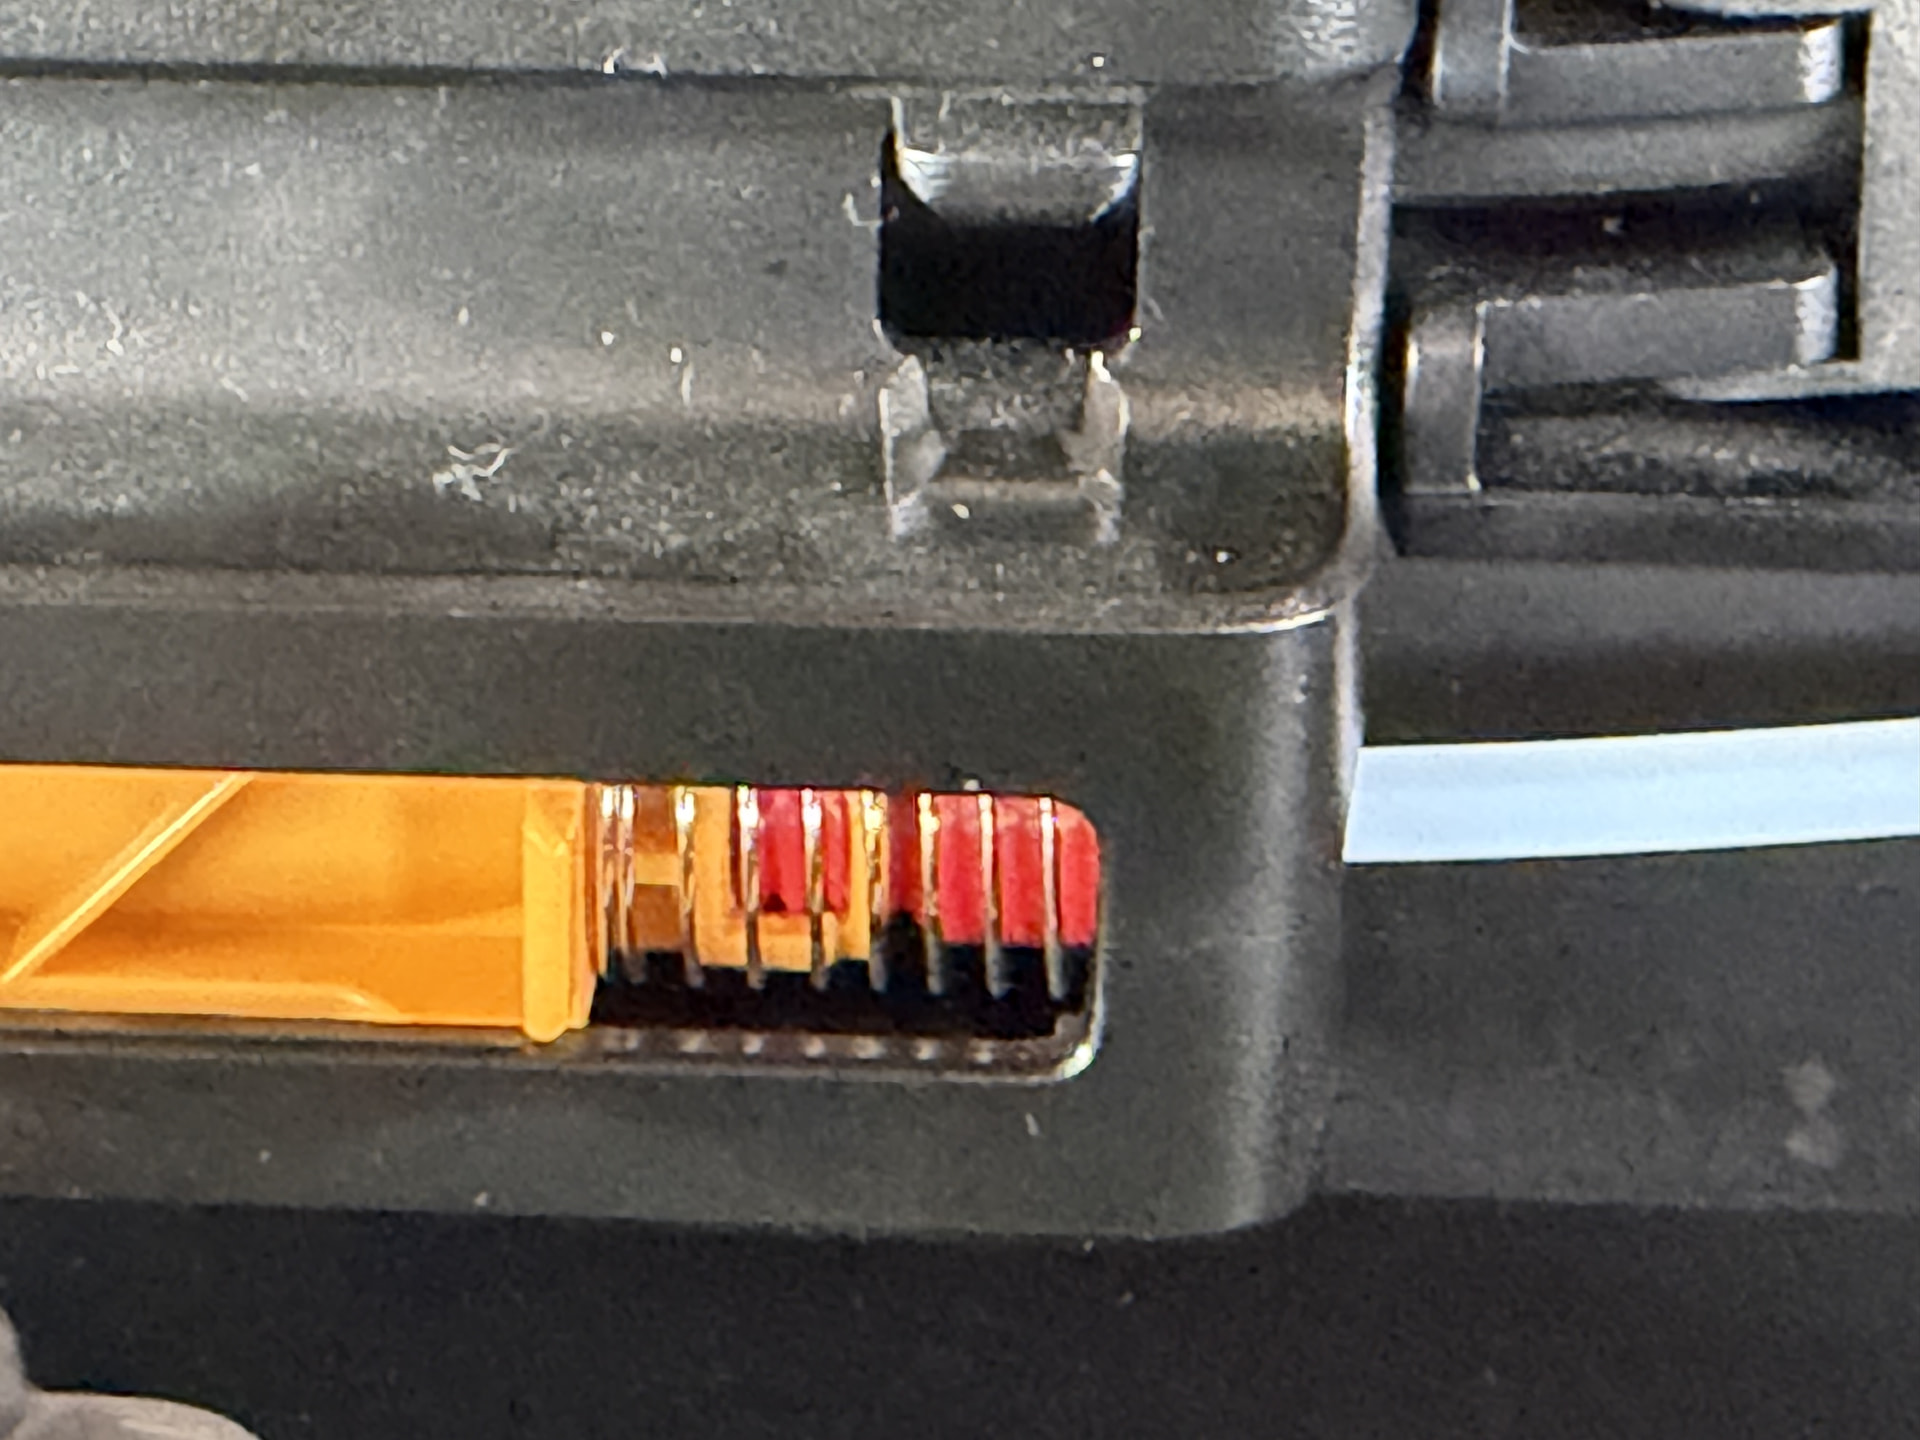
Therefore, on the buffer I pried the one side I had access to:
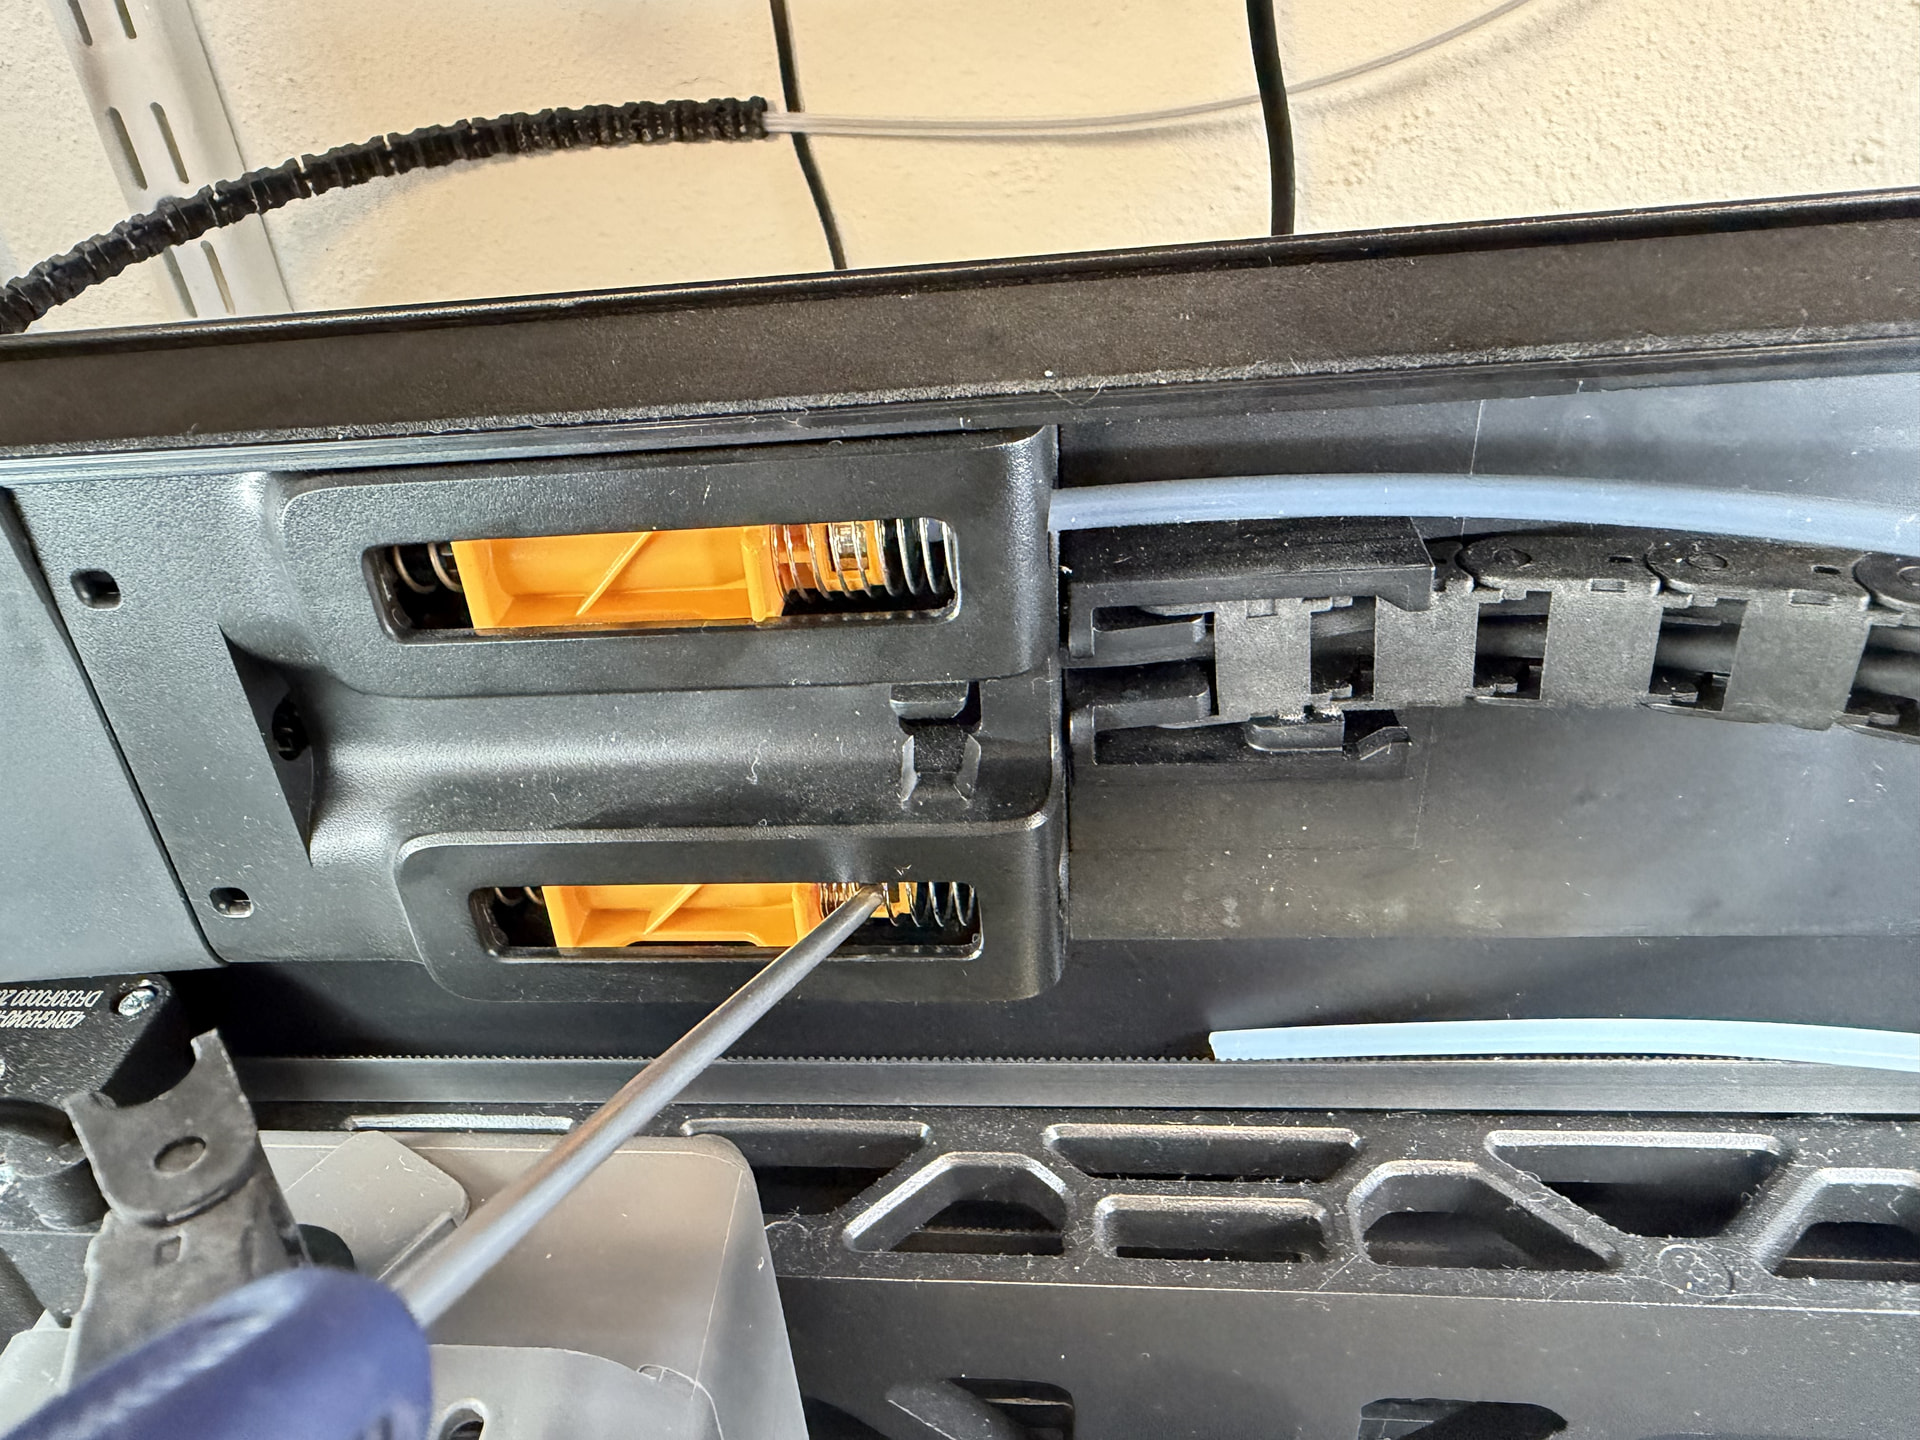
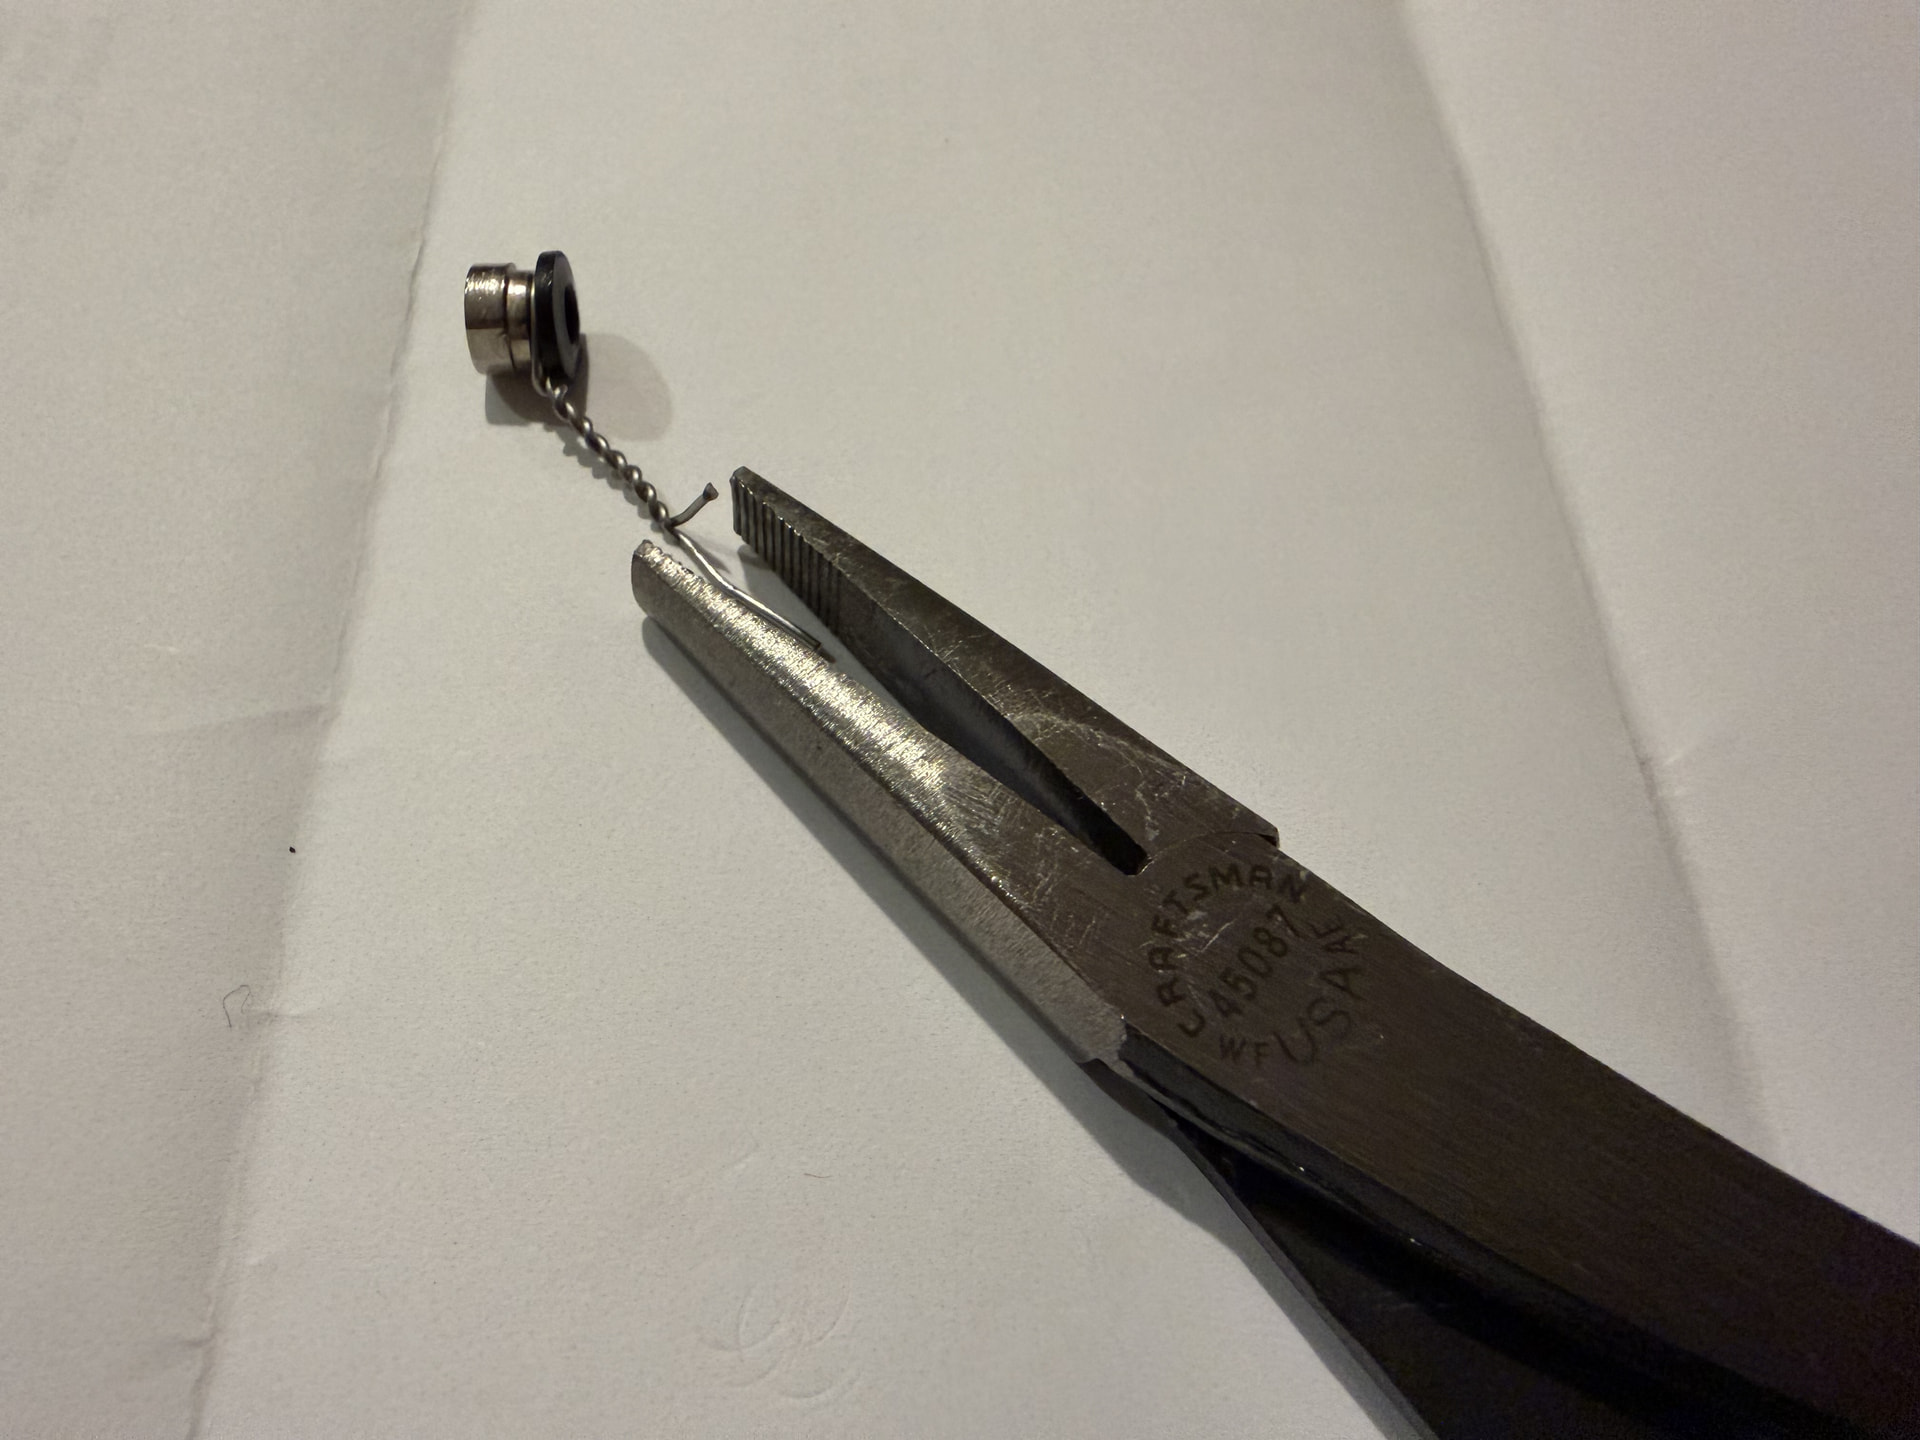
Then I wrapped safety wire under the release button of the old L93A and pulled out the broken PTFE connector, without prying from the back.
The L93A has two flats that need to align with the bore before you can press in a new one. I did not have any L93A’s on hand and aligning the two flats would be very hard with the buffer mounted in the printer.
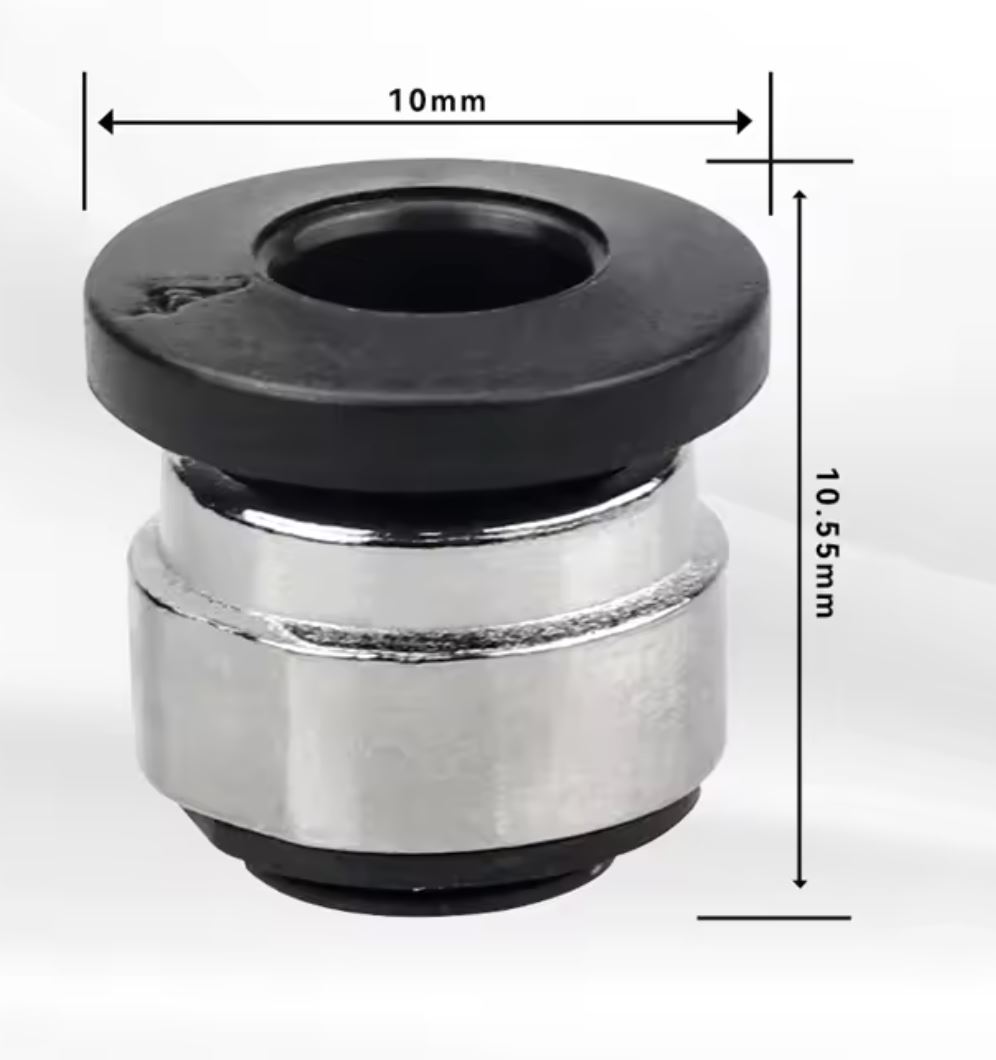
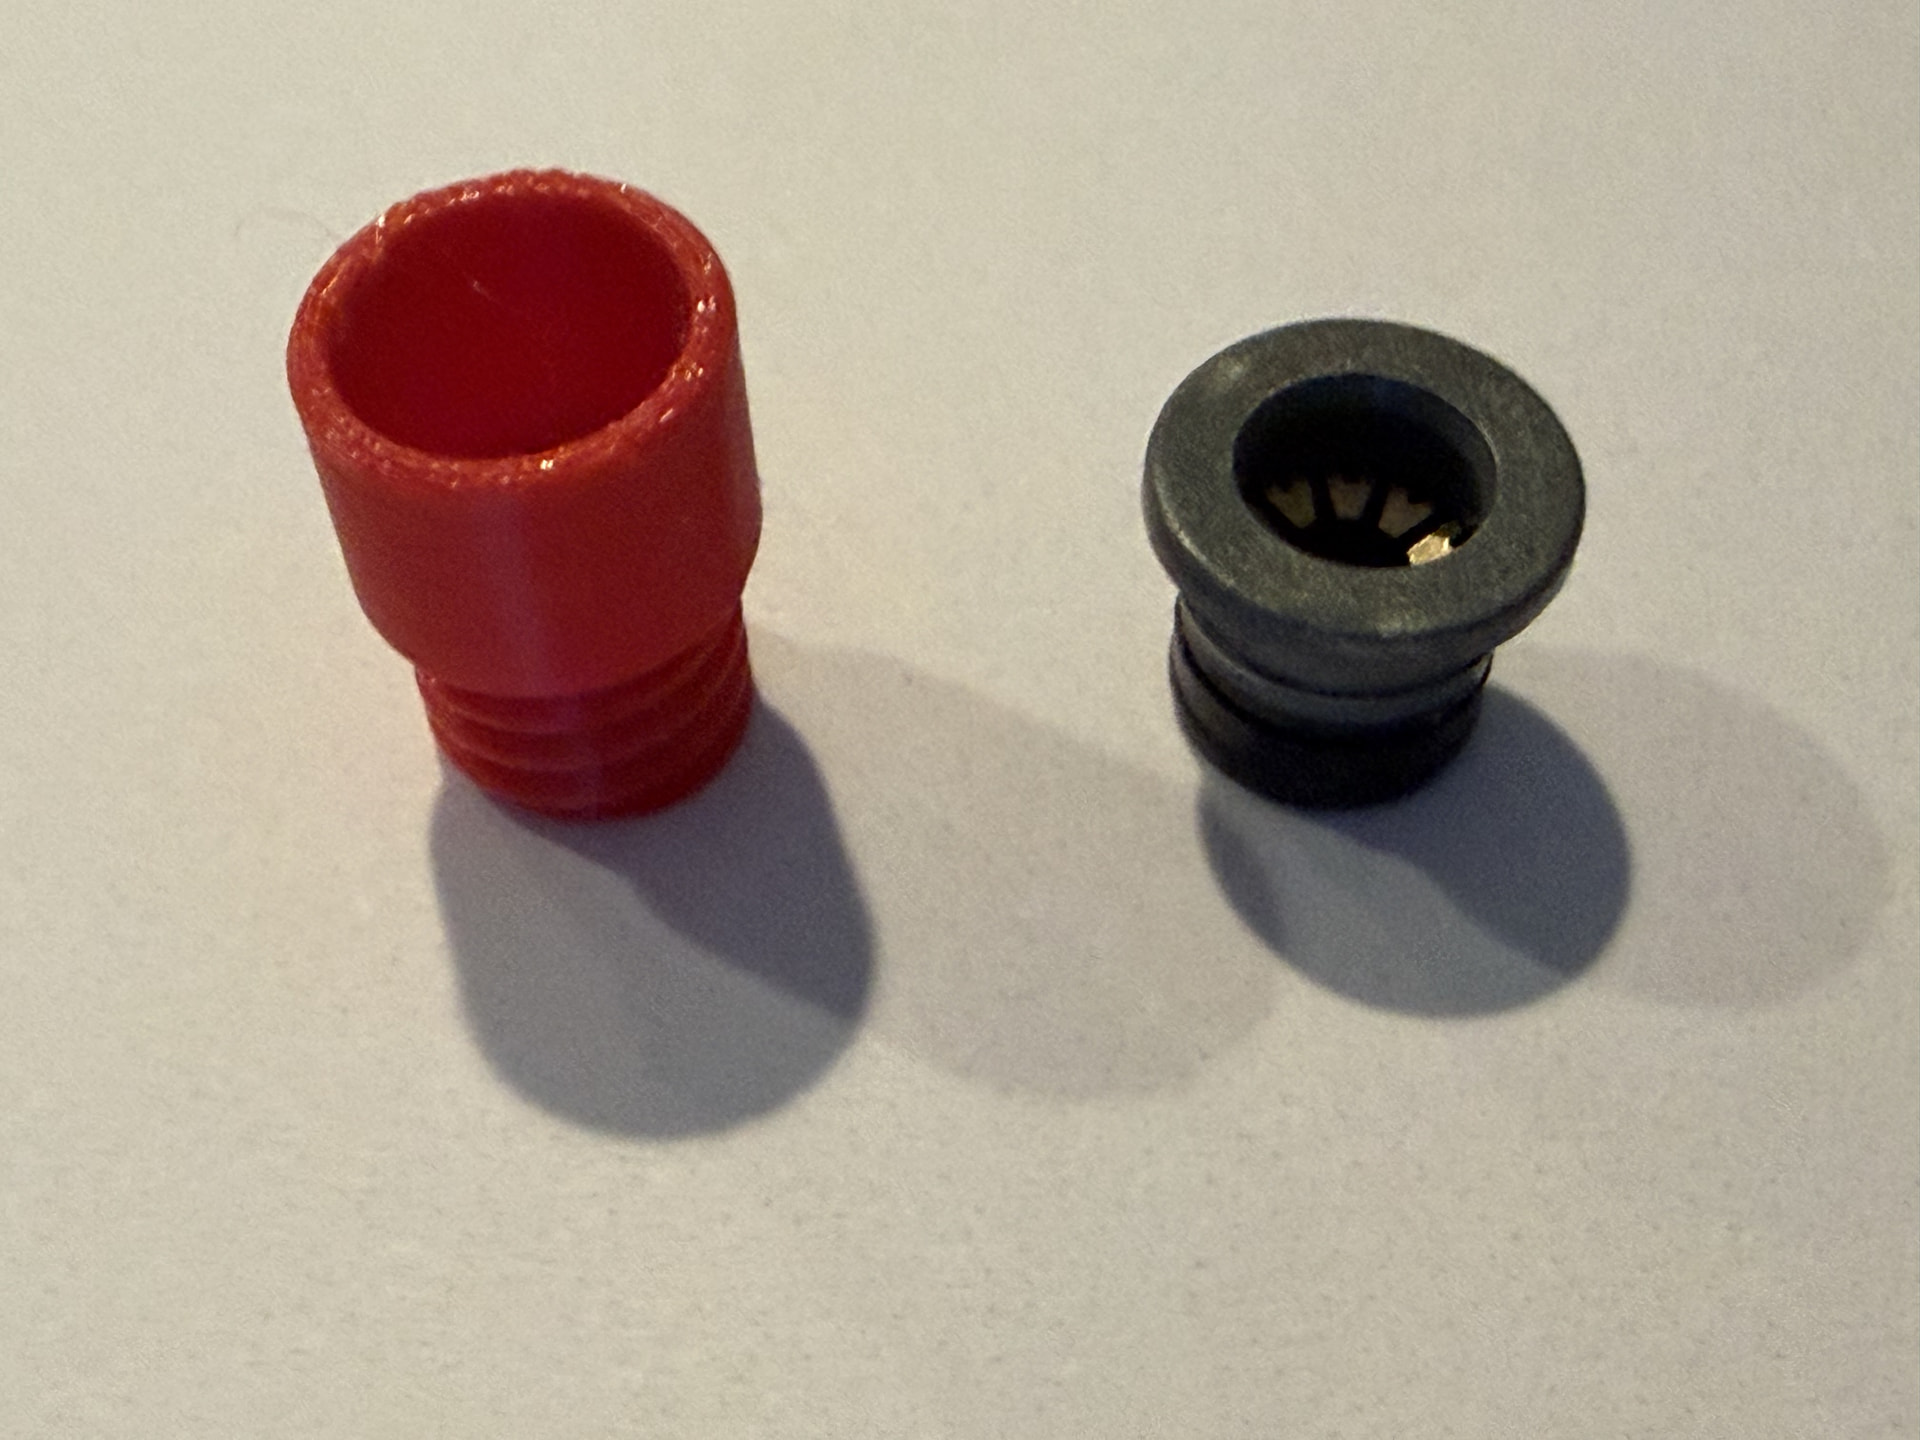
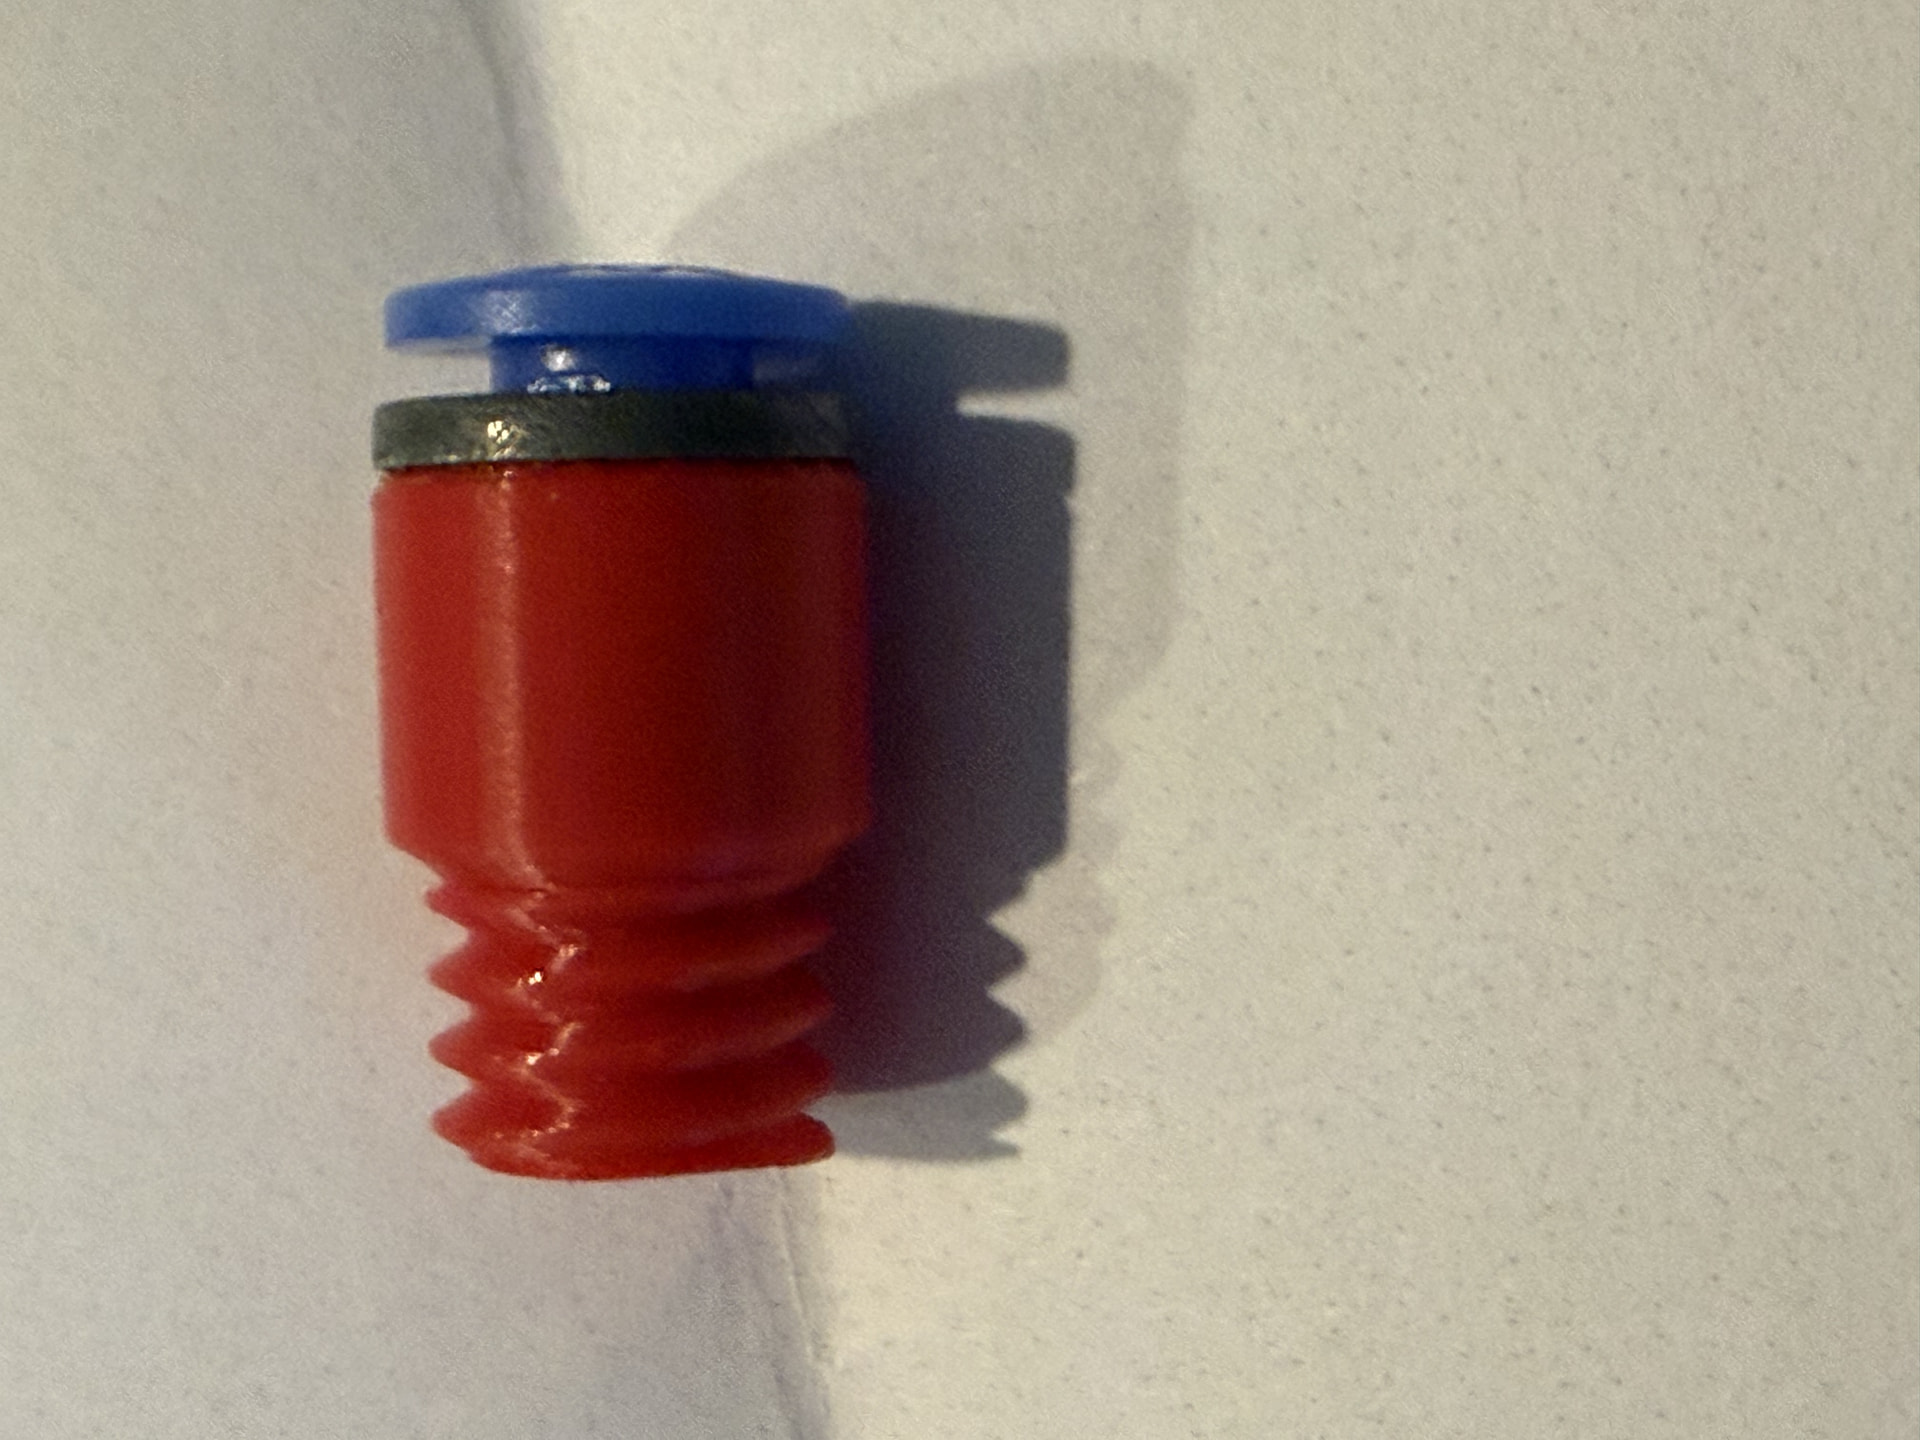
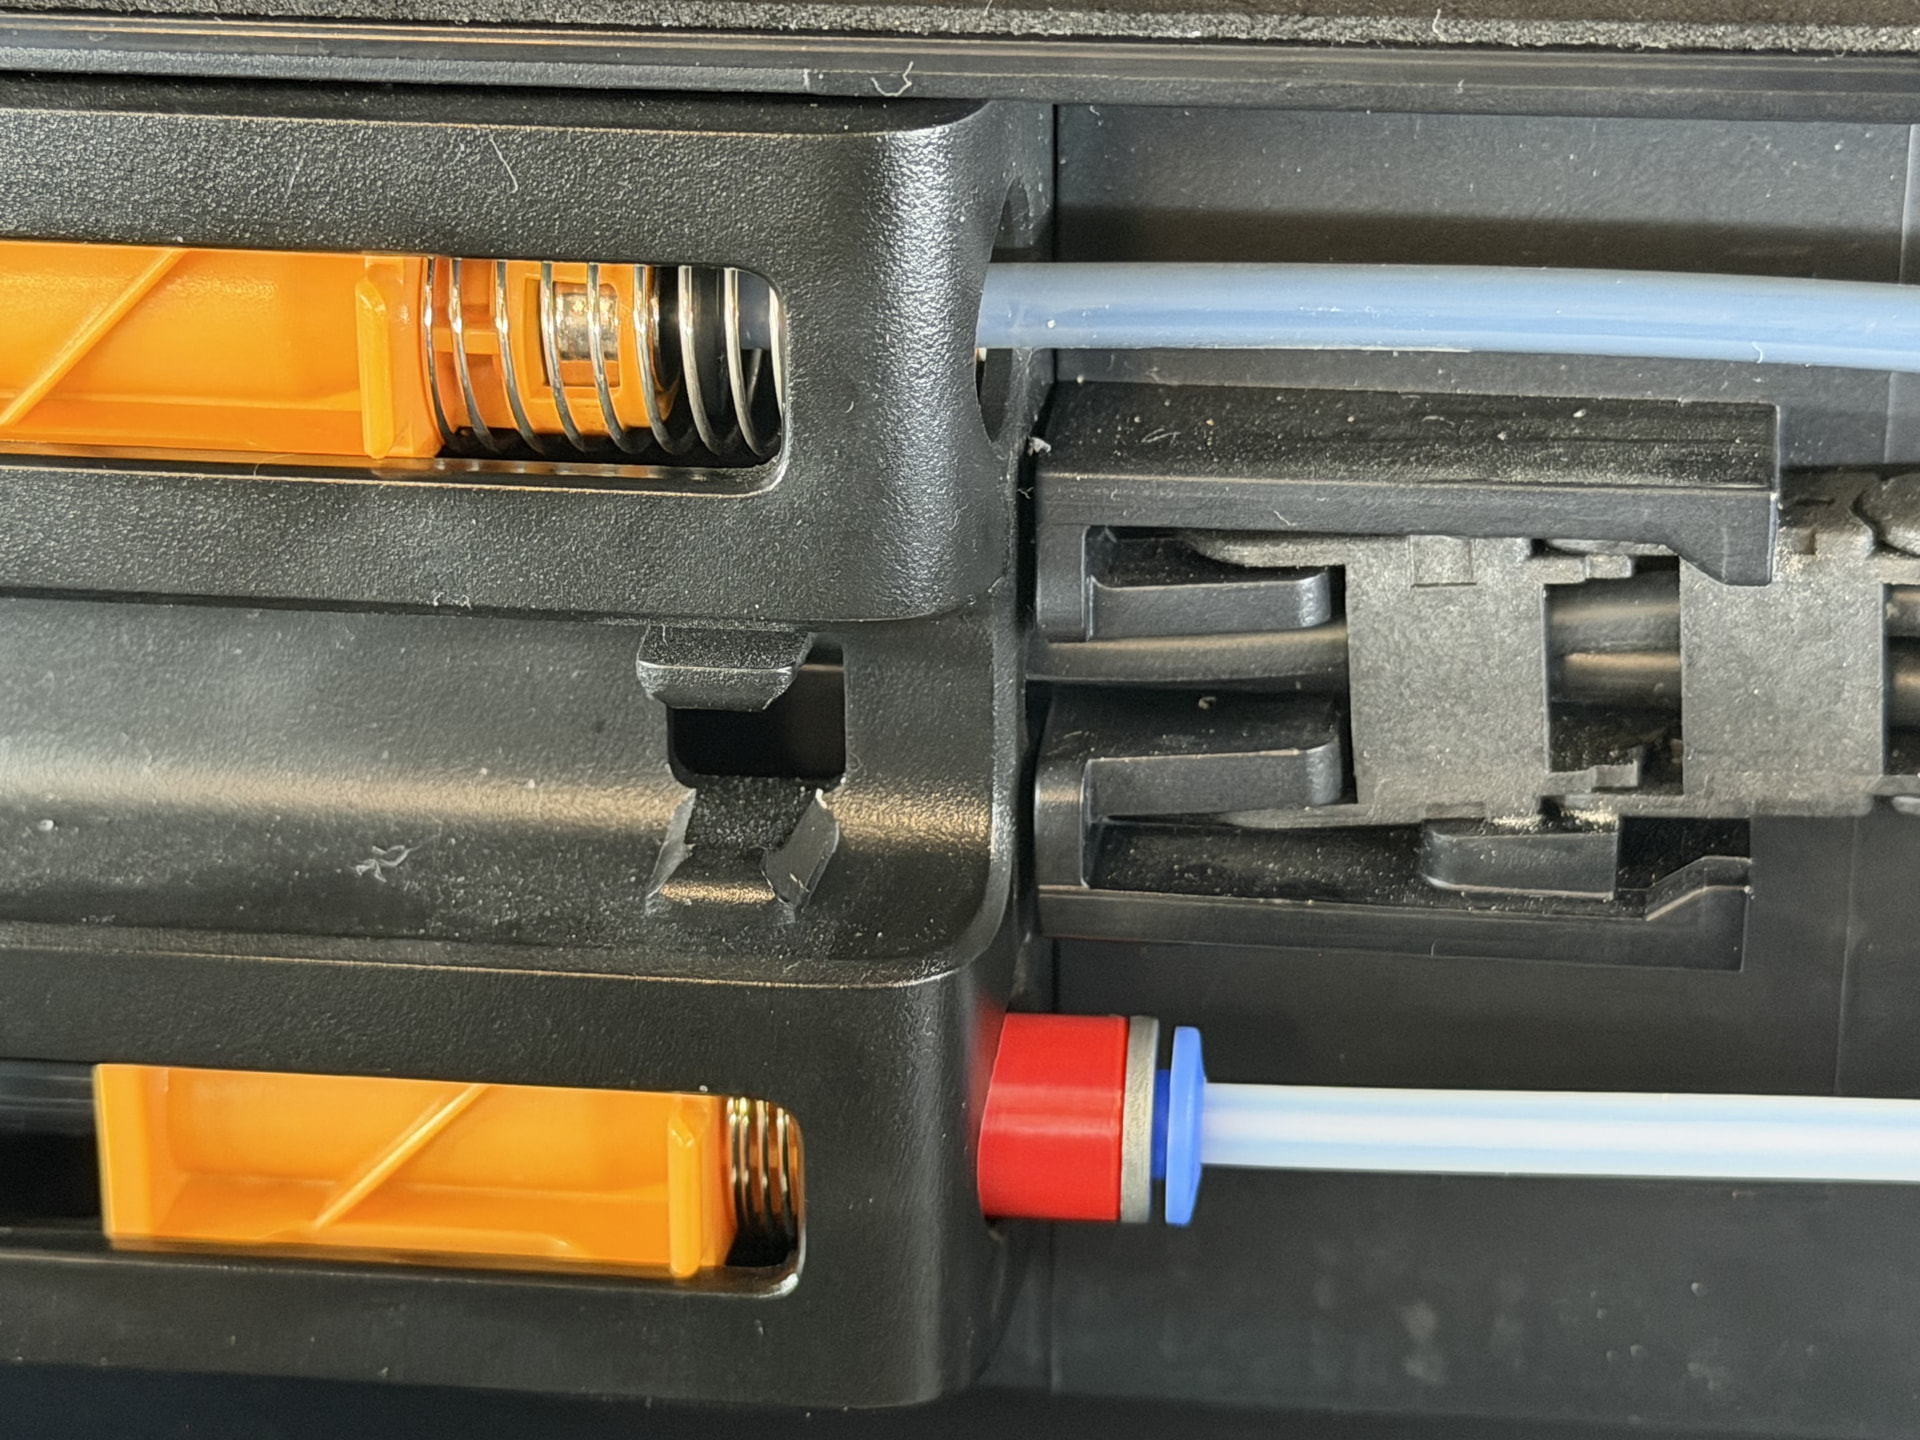
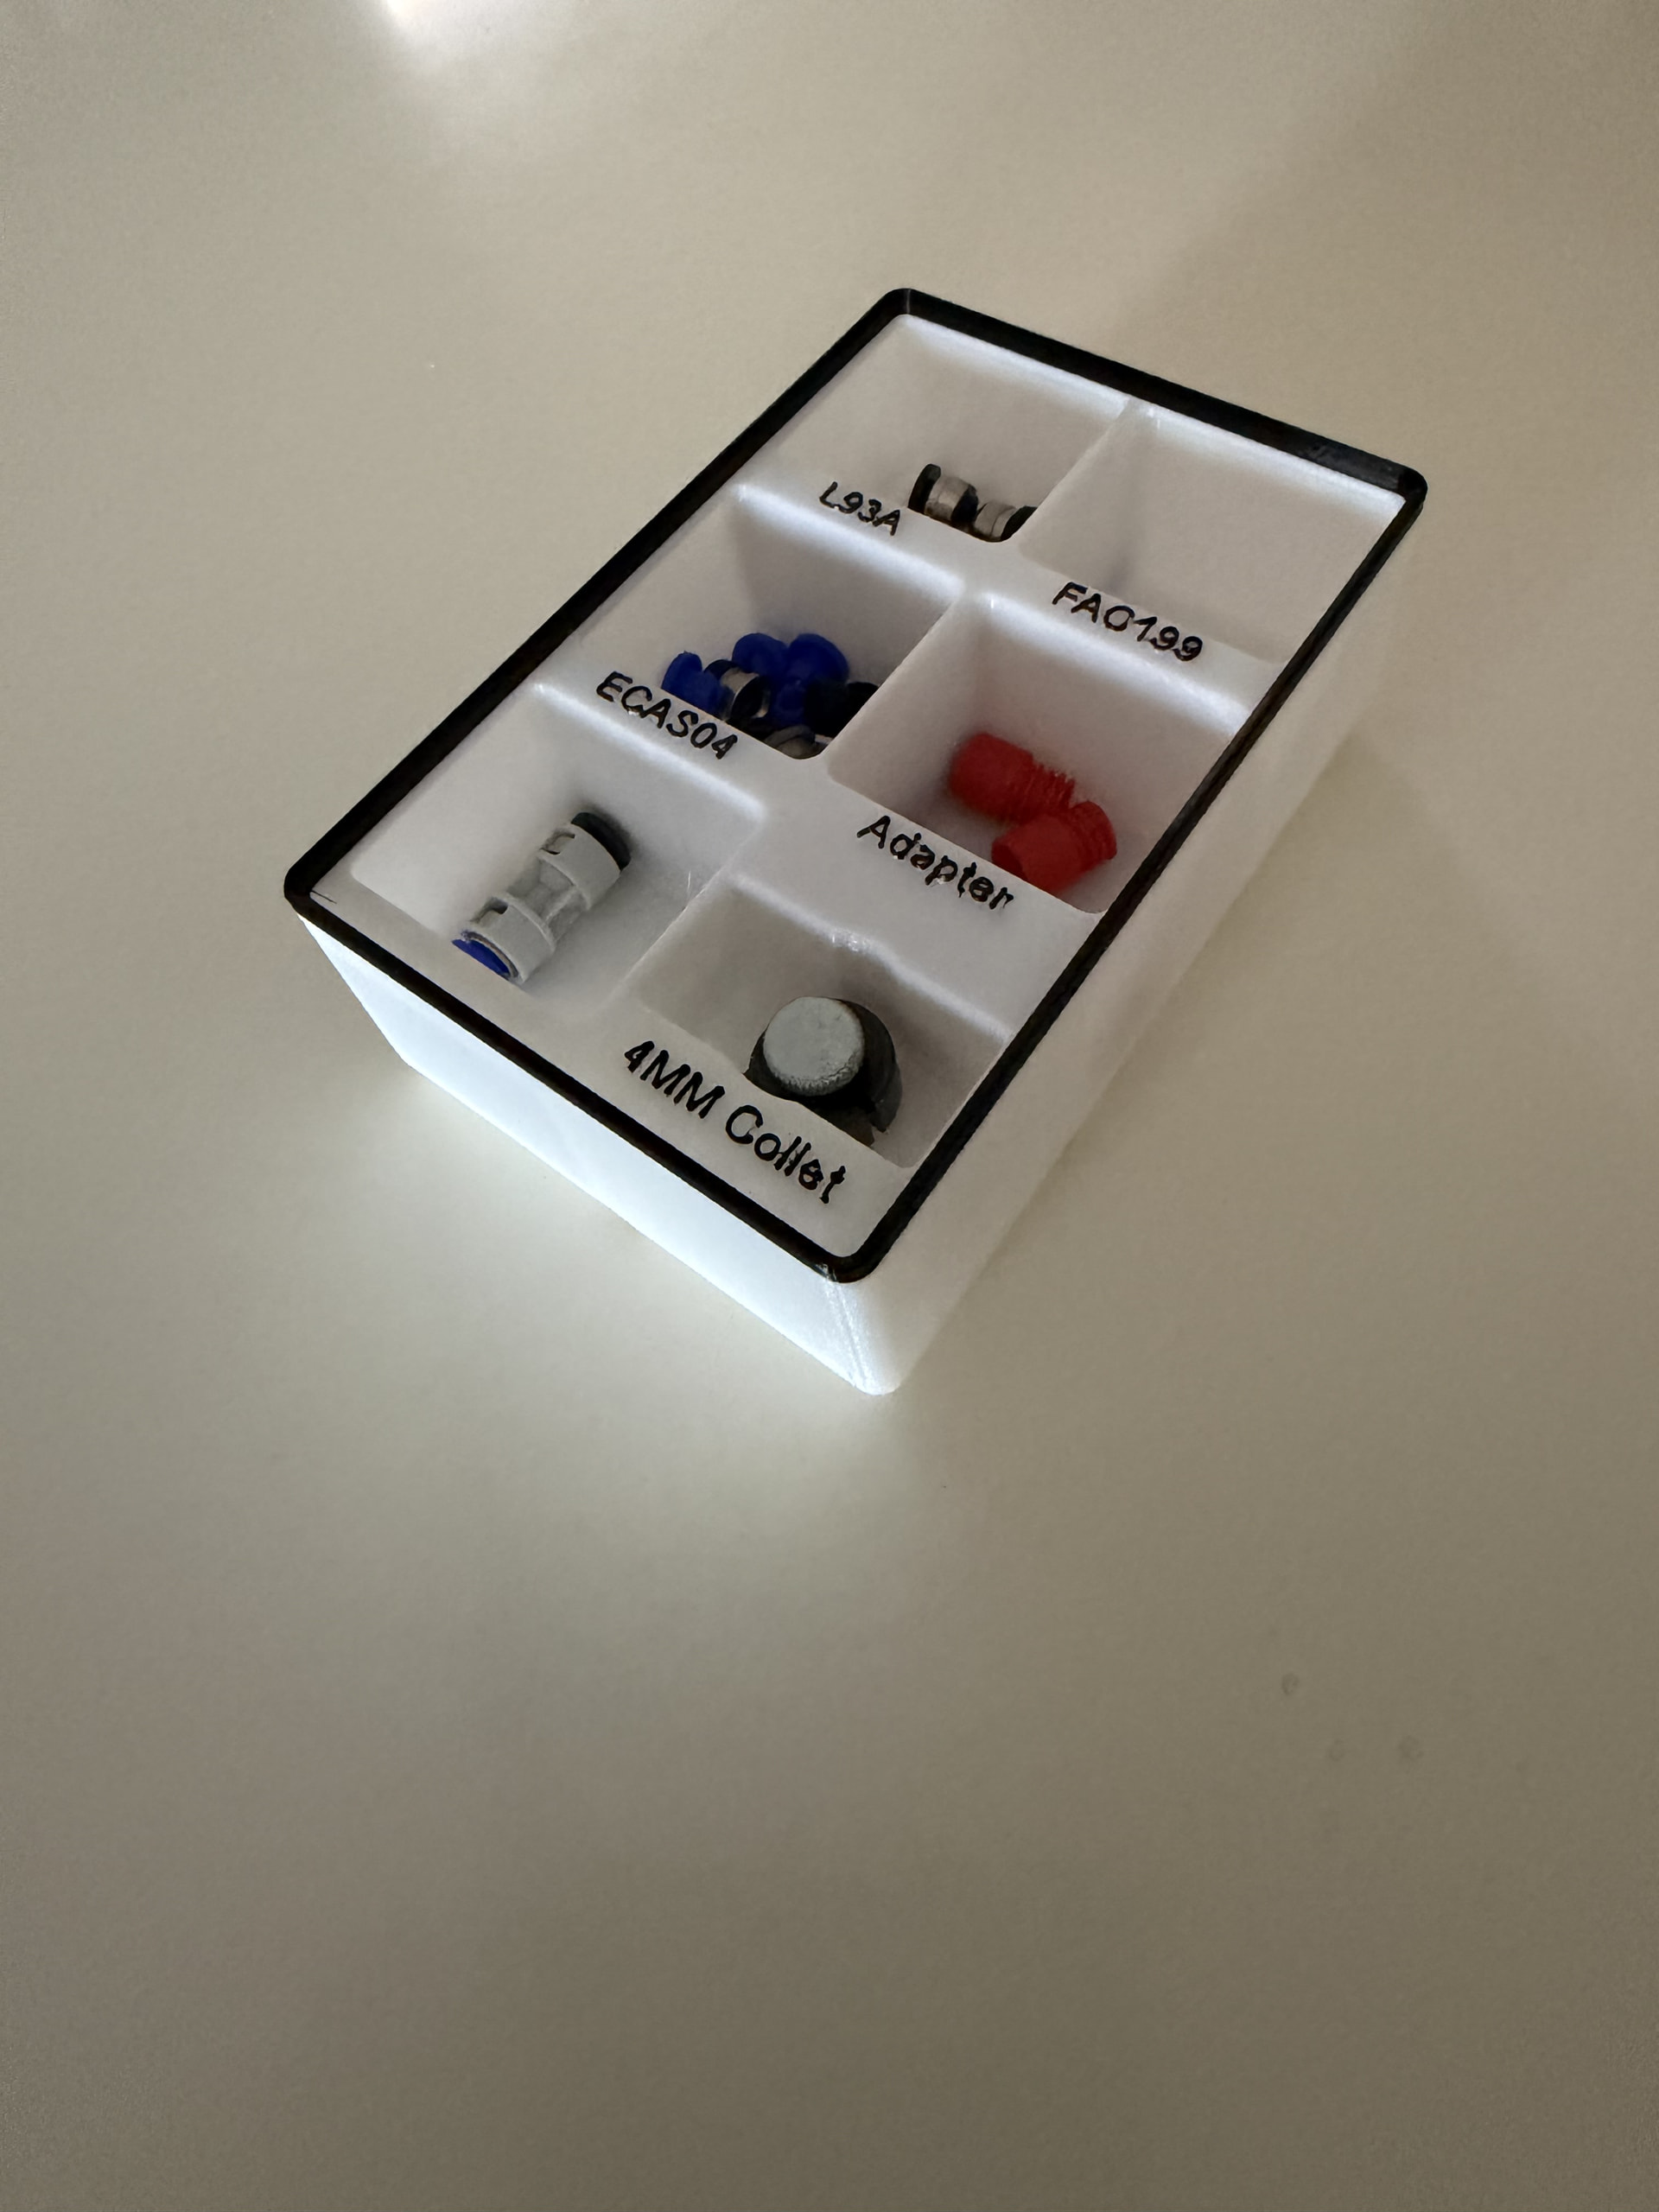
Anyway I prefer Serviceability, so I created a screw in adapter, which uses a ECAS-04 PTFE connector.
I consider this ECAS-04 screw in adapter an upgrade, because you do not need to disassemble anything to replace a bad connector after installing these adapters. Simply unscrew the adapter and screw in another !!!
Link to download my adapter is at the top of this post.
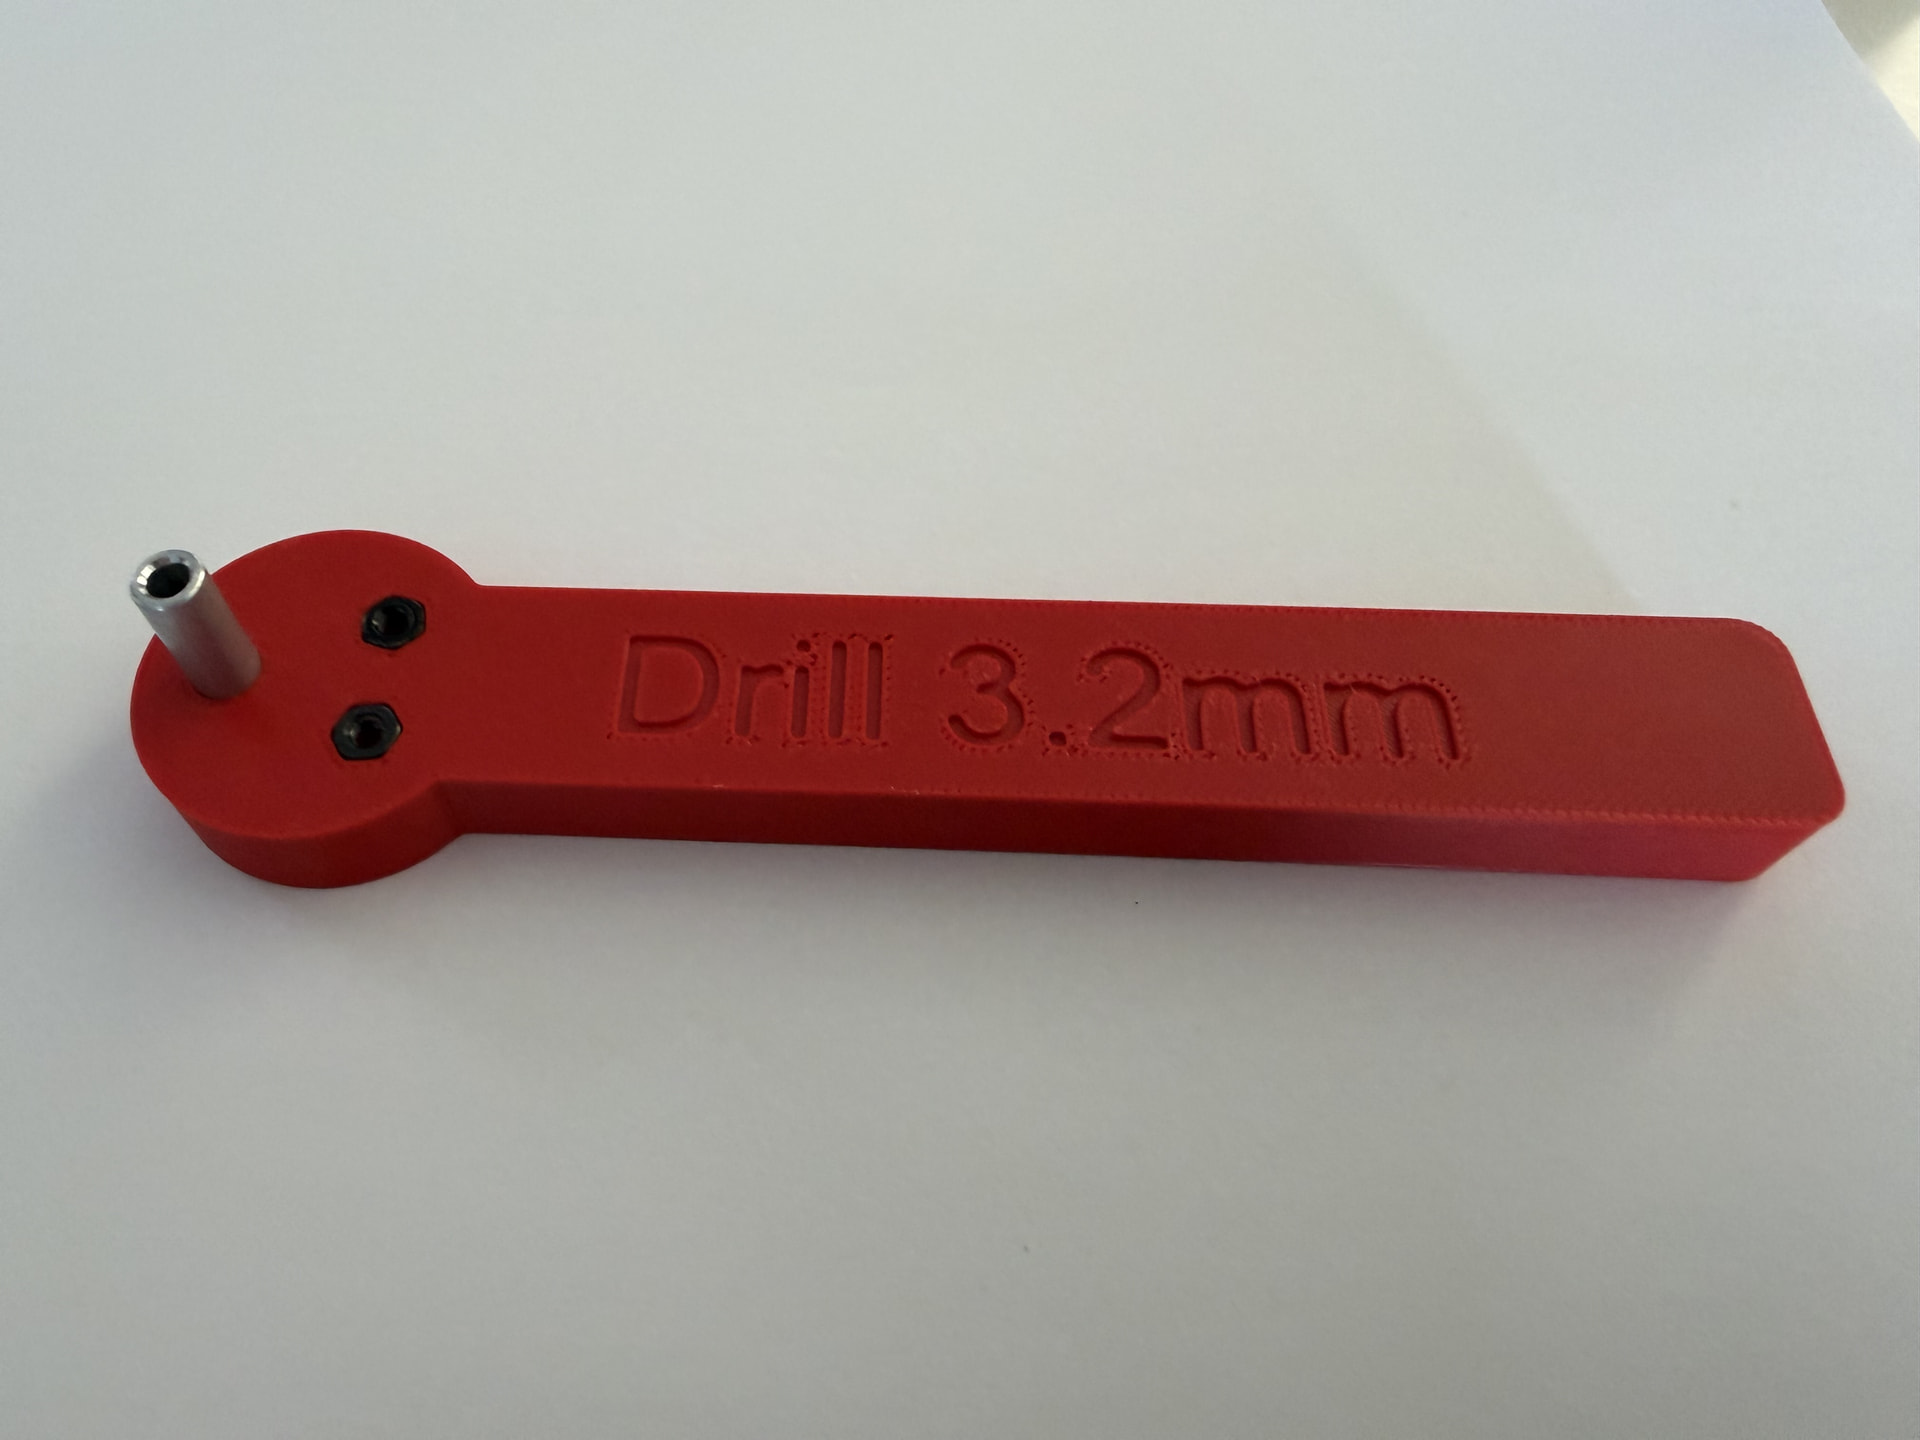
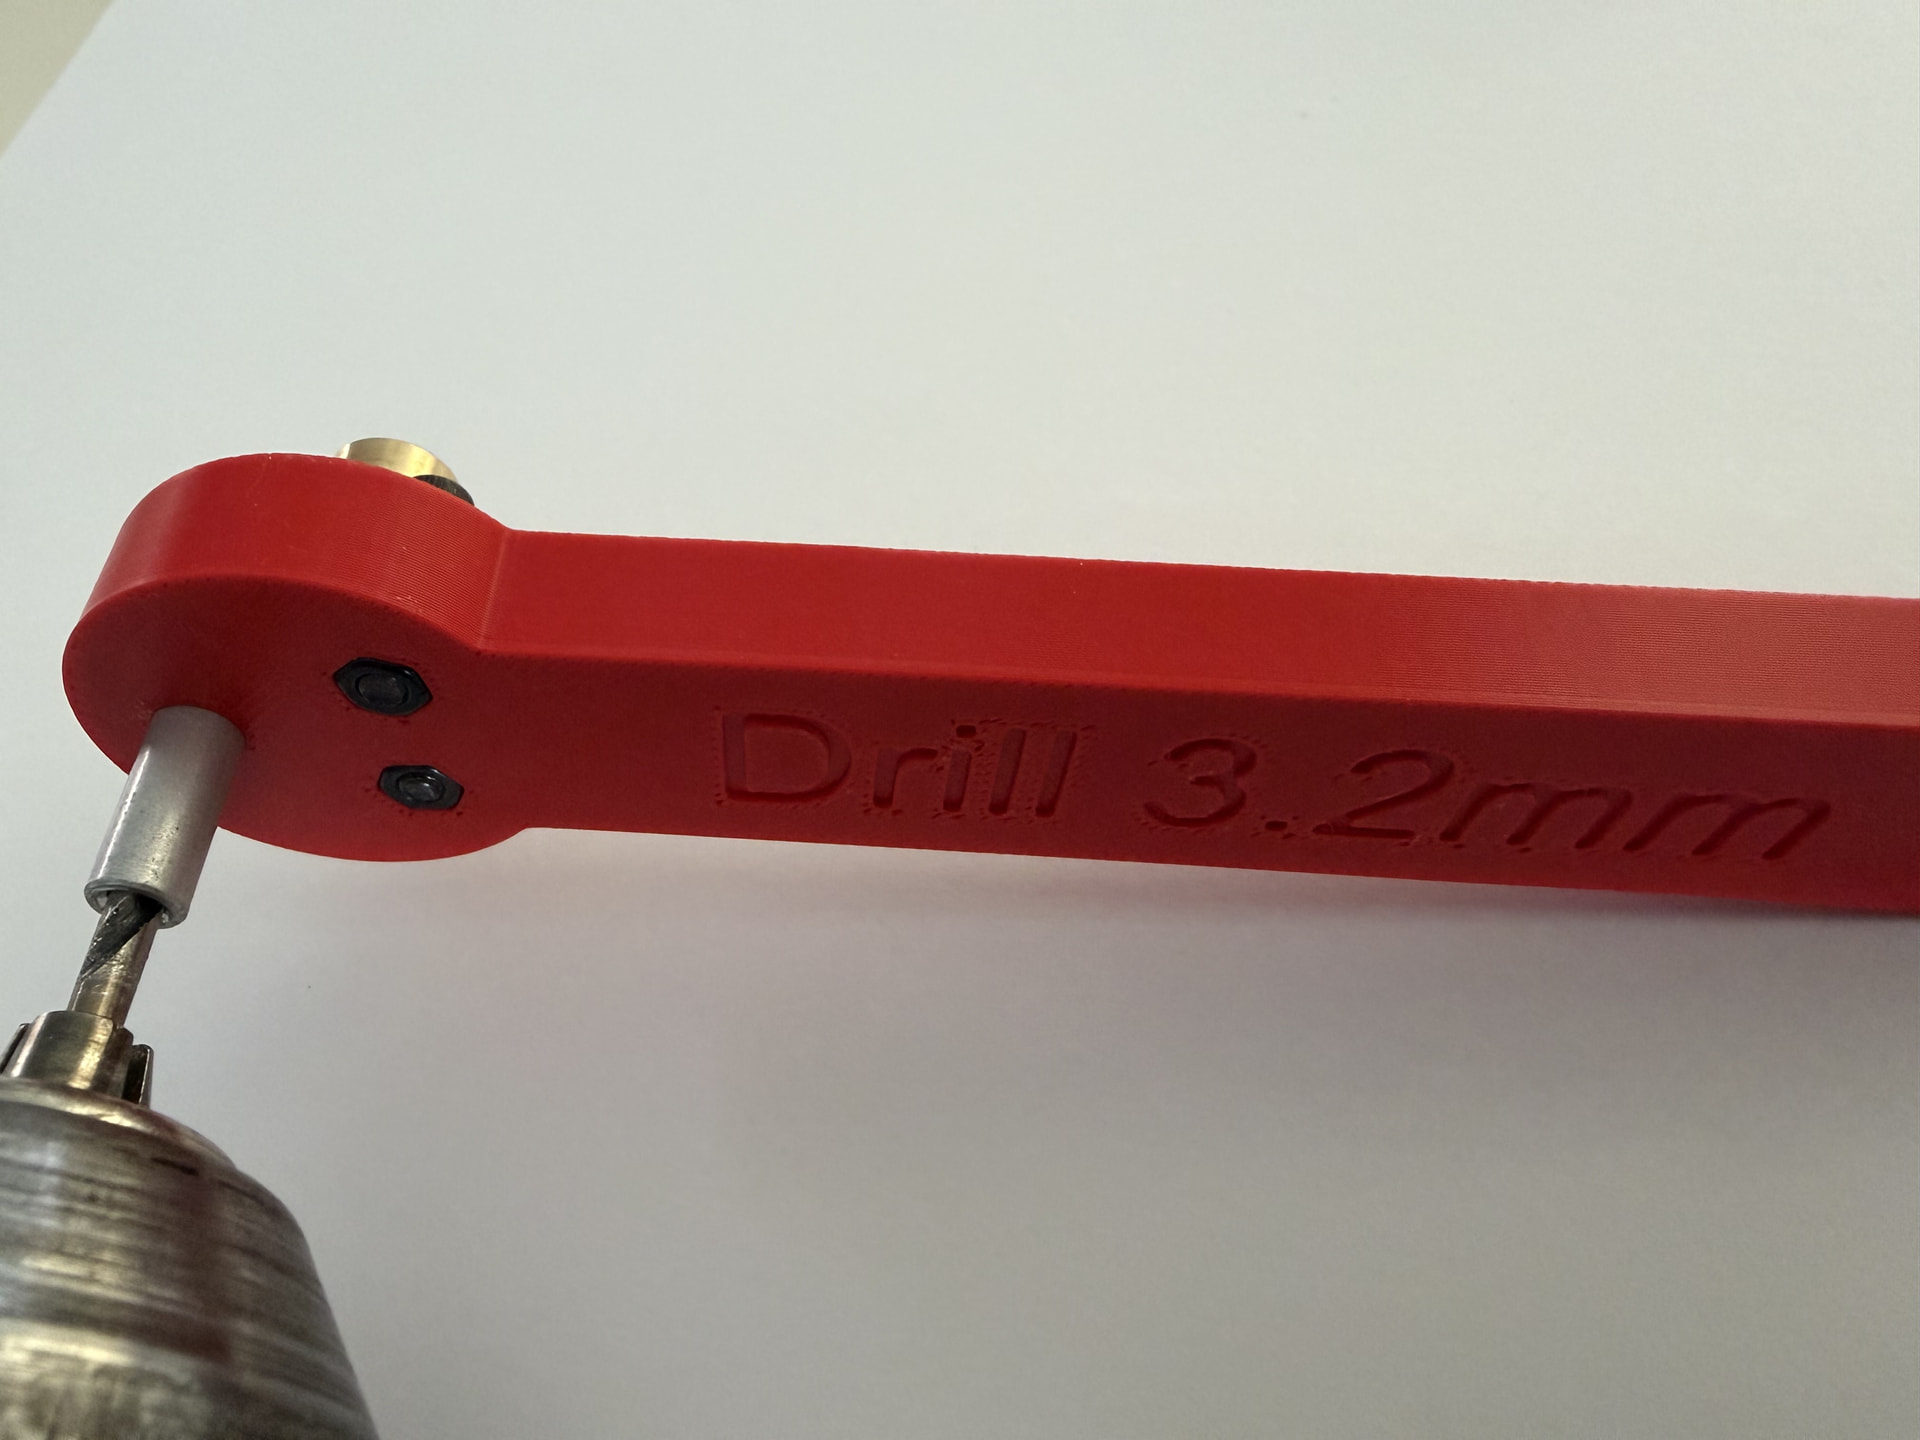
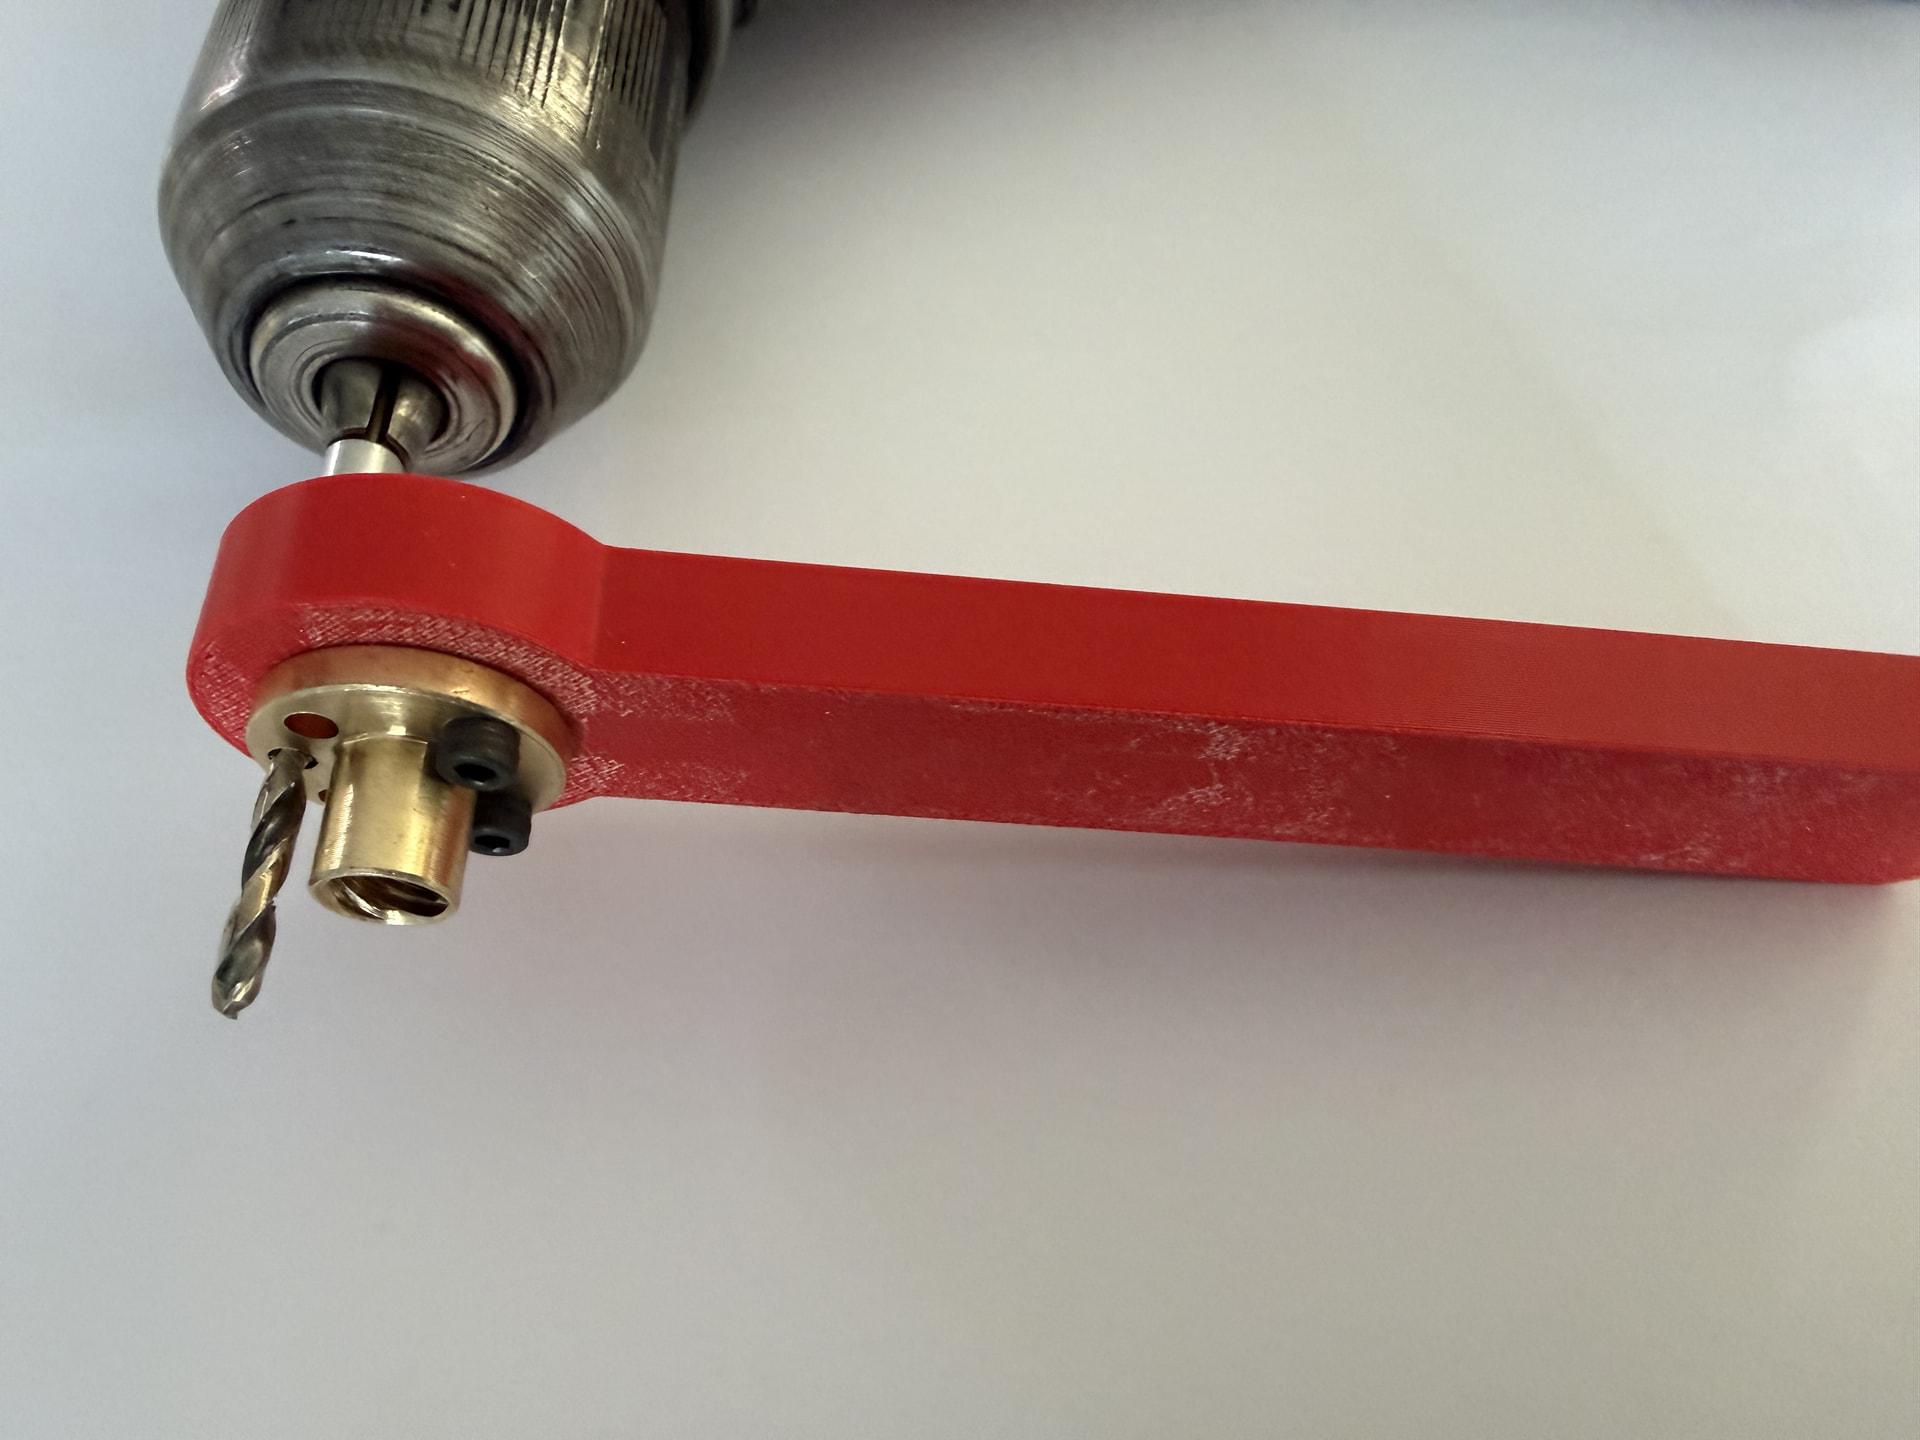
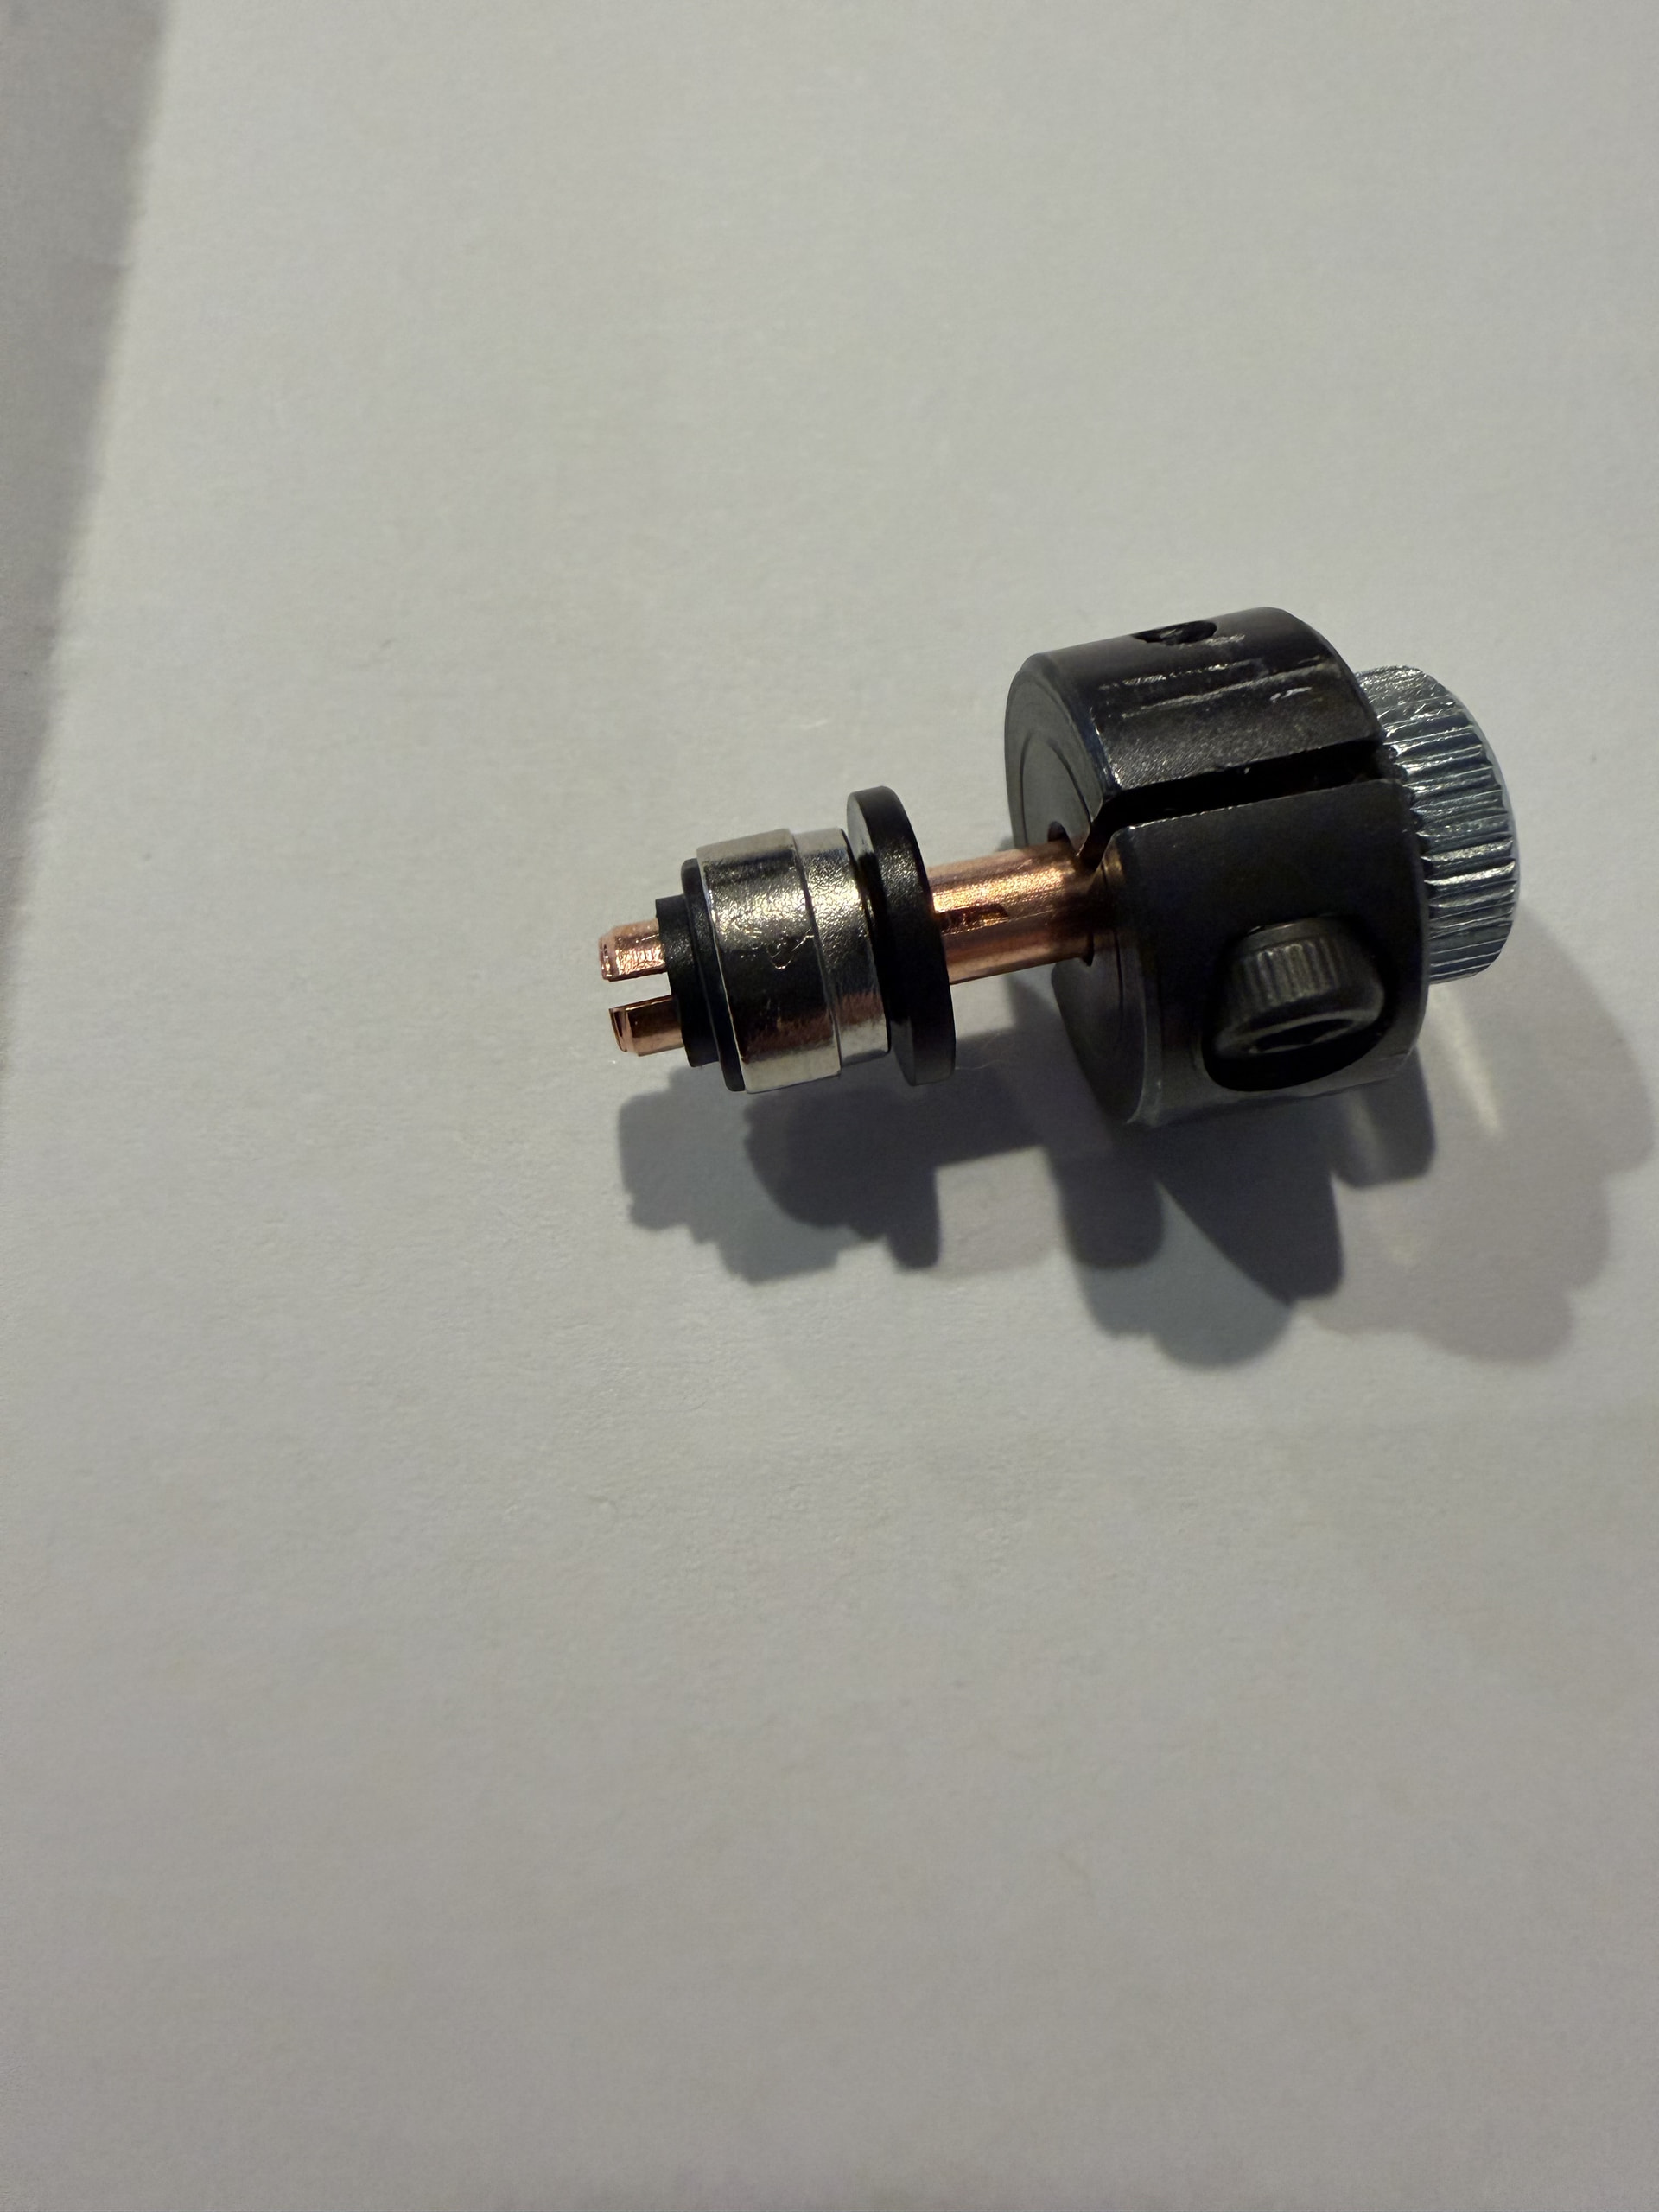
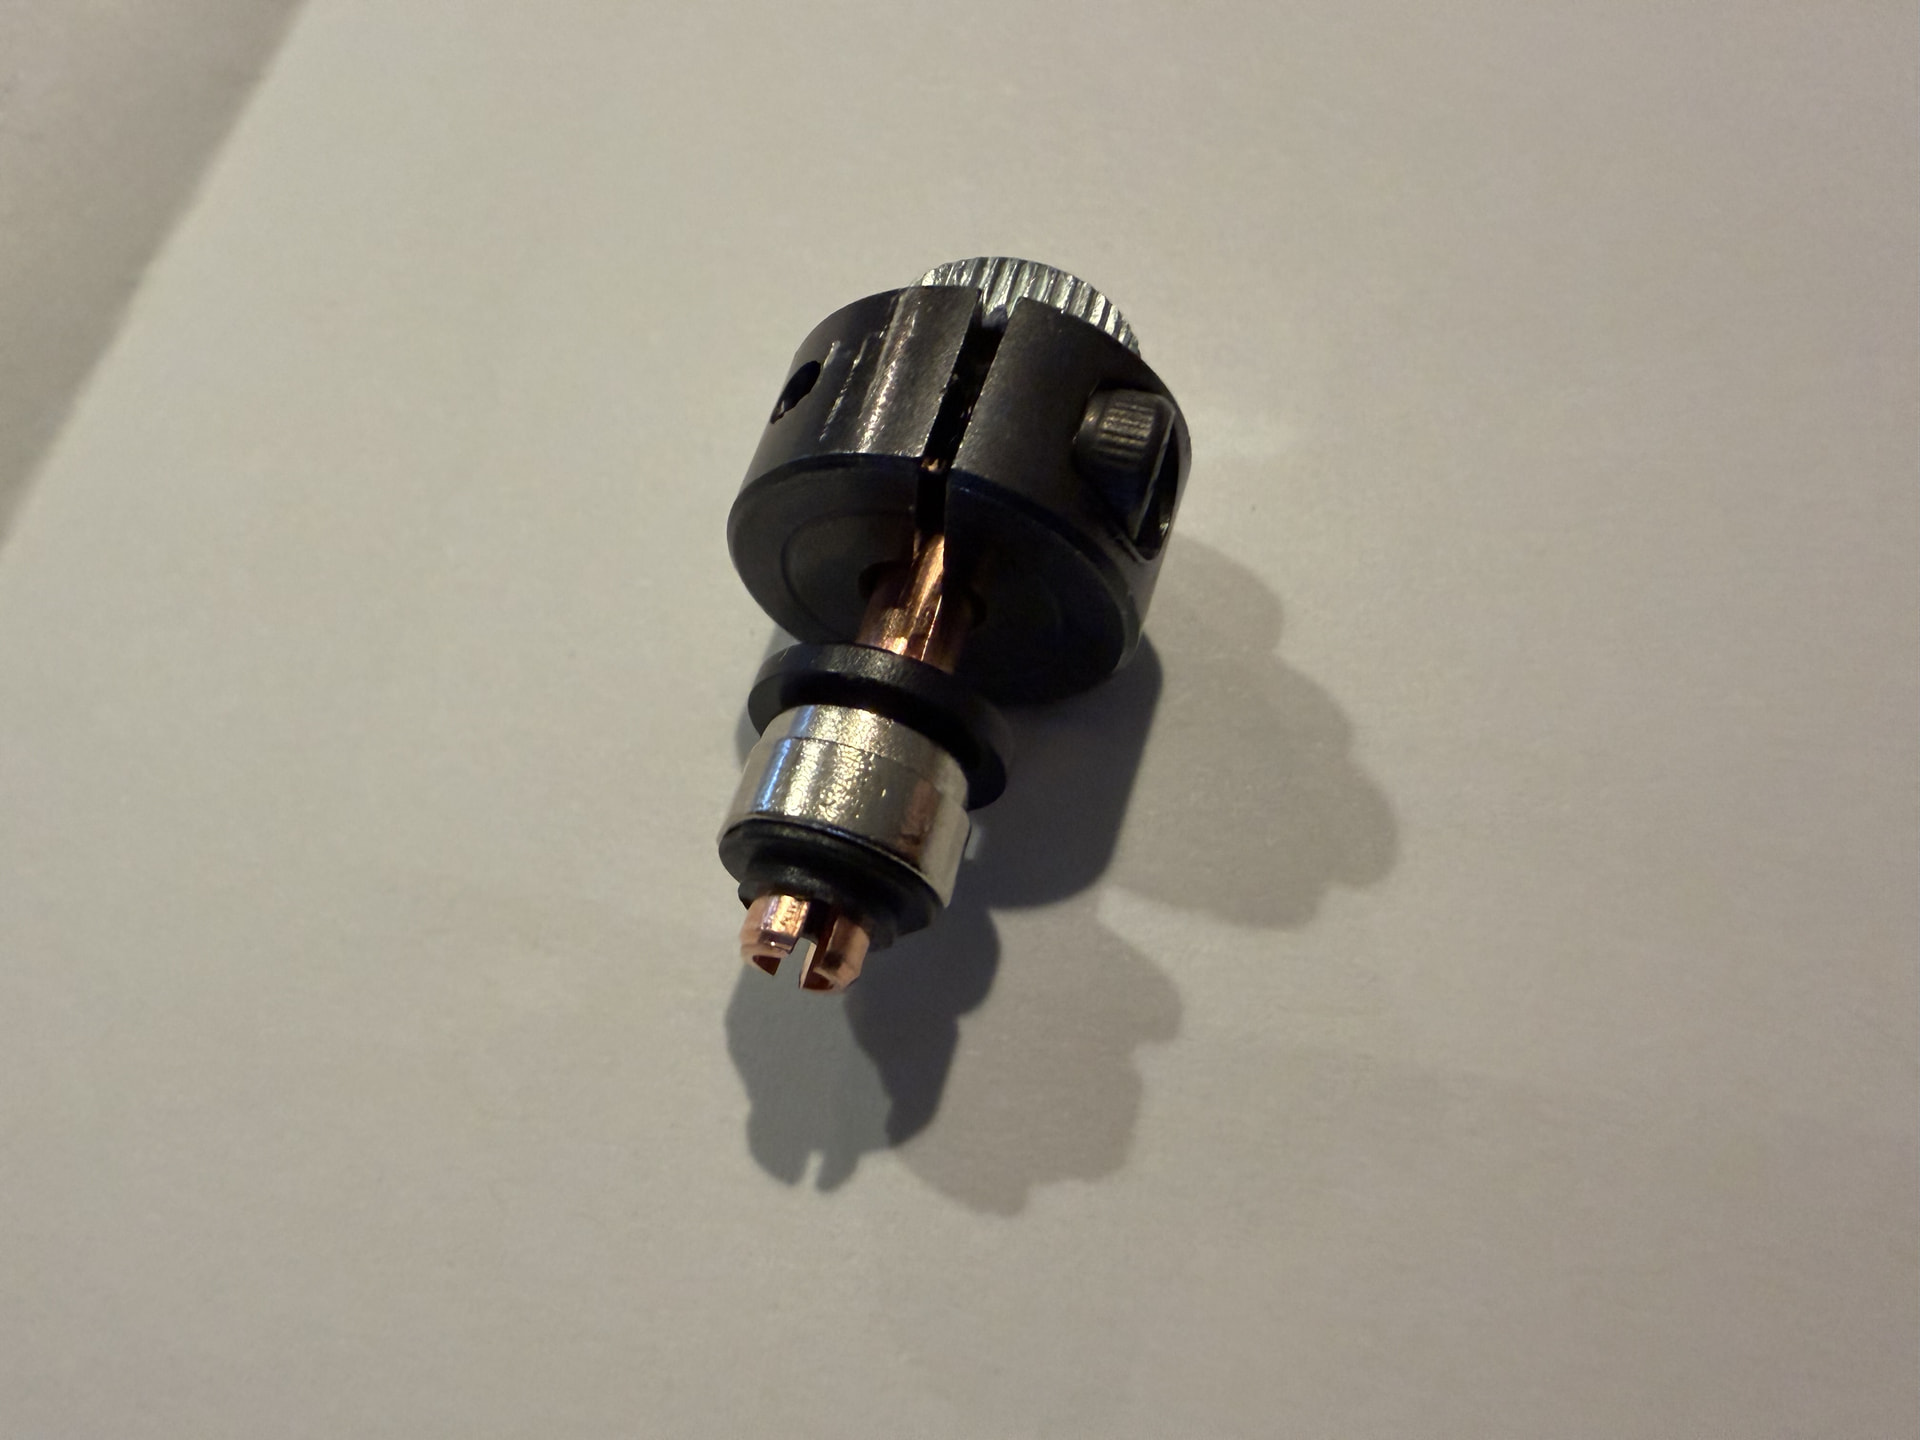
I was able to assemble a simple 4mm expanding collet for PTFE L93A connector removal, when only one side is accessible.
Link to download
https://cults3d.com/en/3d-model/gadget/ptfe-connector-removal-tool
H2D and H2C hotend fan health monitor mod for tool heads with the 98 second fan change mod.
Coming soon