That first one is likely what will happen lol.
I’d love to just throw a second KYZ aux fan filter in on the opposite side. As long as the power draw setup is reliable. I already have one of these Amazon.com: Wathai 120mm x 32mm Blower Centrifugal Fan 110V 220V AC Powered Fan with Speed Controller 4V to 12V, DC Dual Ball High Airflow for Receiver DVR Xbox Modem AV Cabinet Cooling : Electronics so if I could just print another one and set this in there, and run the wire I’d do that over anything else.
@KYZ_Design any interest in making a mounting solution for your aux fan mod so it can sit on the right side? The fan I linked looks exactly like the oem fan. I’m going to print another aux fan filter mod and see if it fits. If it does all I would need is a decent mounting solution.
Would need to grab the dimensions of the current aux fan and mounting hole distance.
If it’s just a mount for the filter, it would be more or less trivial to create a base that screws into the bottom like in the dual aux print.
For waning to be able to switch to a second aux, I was thinking of using a slide attachment of sorts (would still screw in for stabilities sake) which would allow the base/frame to be double sided taped to the window at the same time.
Would use heated inserts for repeat changes between aux and filter
1 Like
Side note: the xtool ap2 moves too much air. Even on the low setting. Would be great for pla and maybe PETG prints where warping isn’t a concern. I guess I could put an air gap between the machine air outlet and the suction to lessen the pull from the chamber. As of right now I’ve decided to move this over to my x1-c cabinet so it can filter that air. I just need to figure out how to design a low profile connection so it can sit where I want it to. I have about 2 inches between the inlet/outlet and the wall. On a positive note, it only uses 30w on low. About 80w on high. So not much power draw for those of us on 15A circuits lol. I would imagine this might increase as the filters clog up.
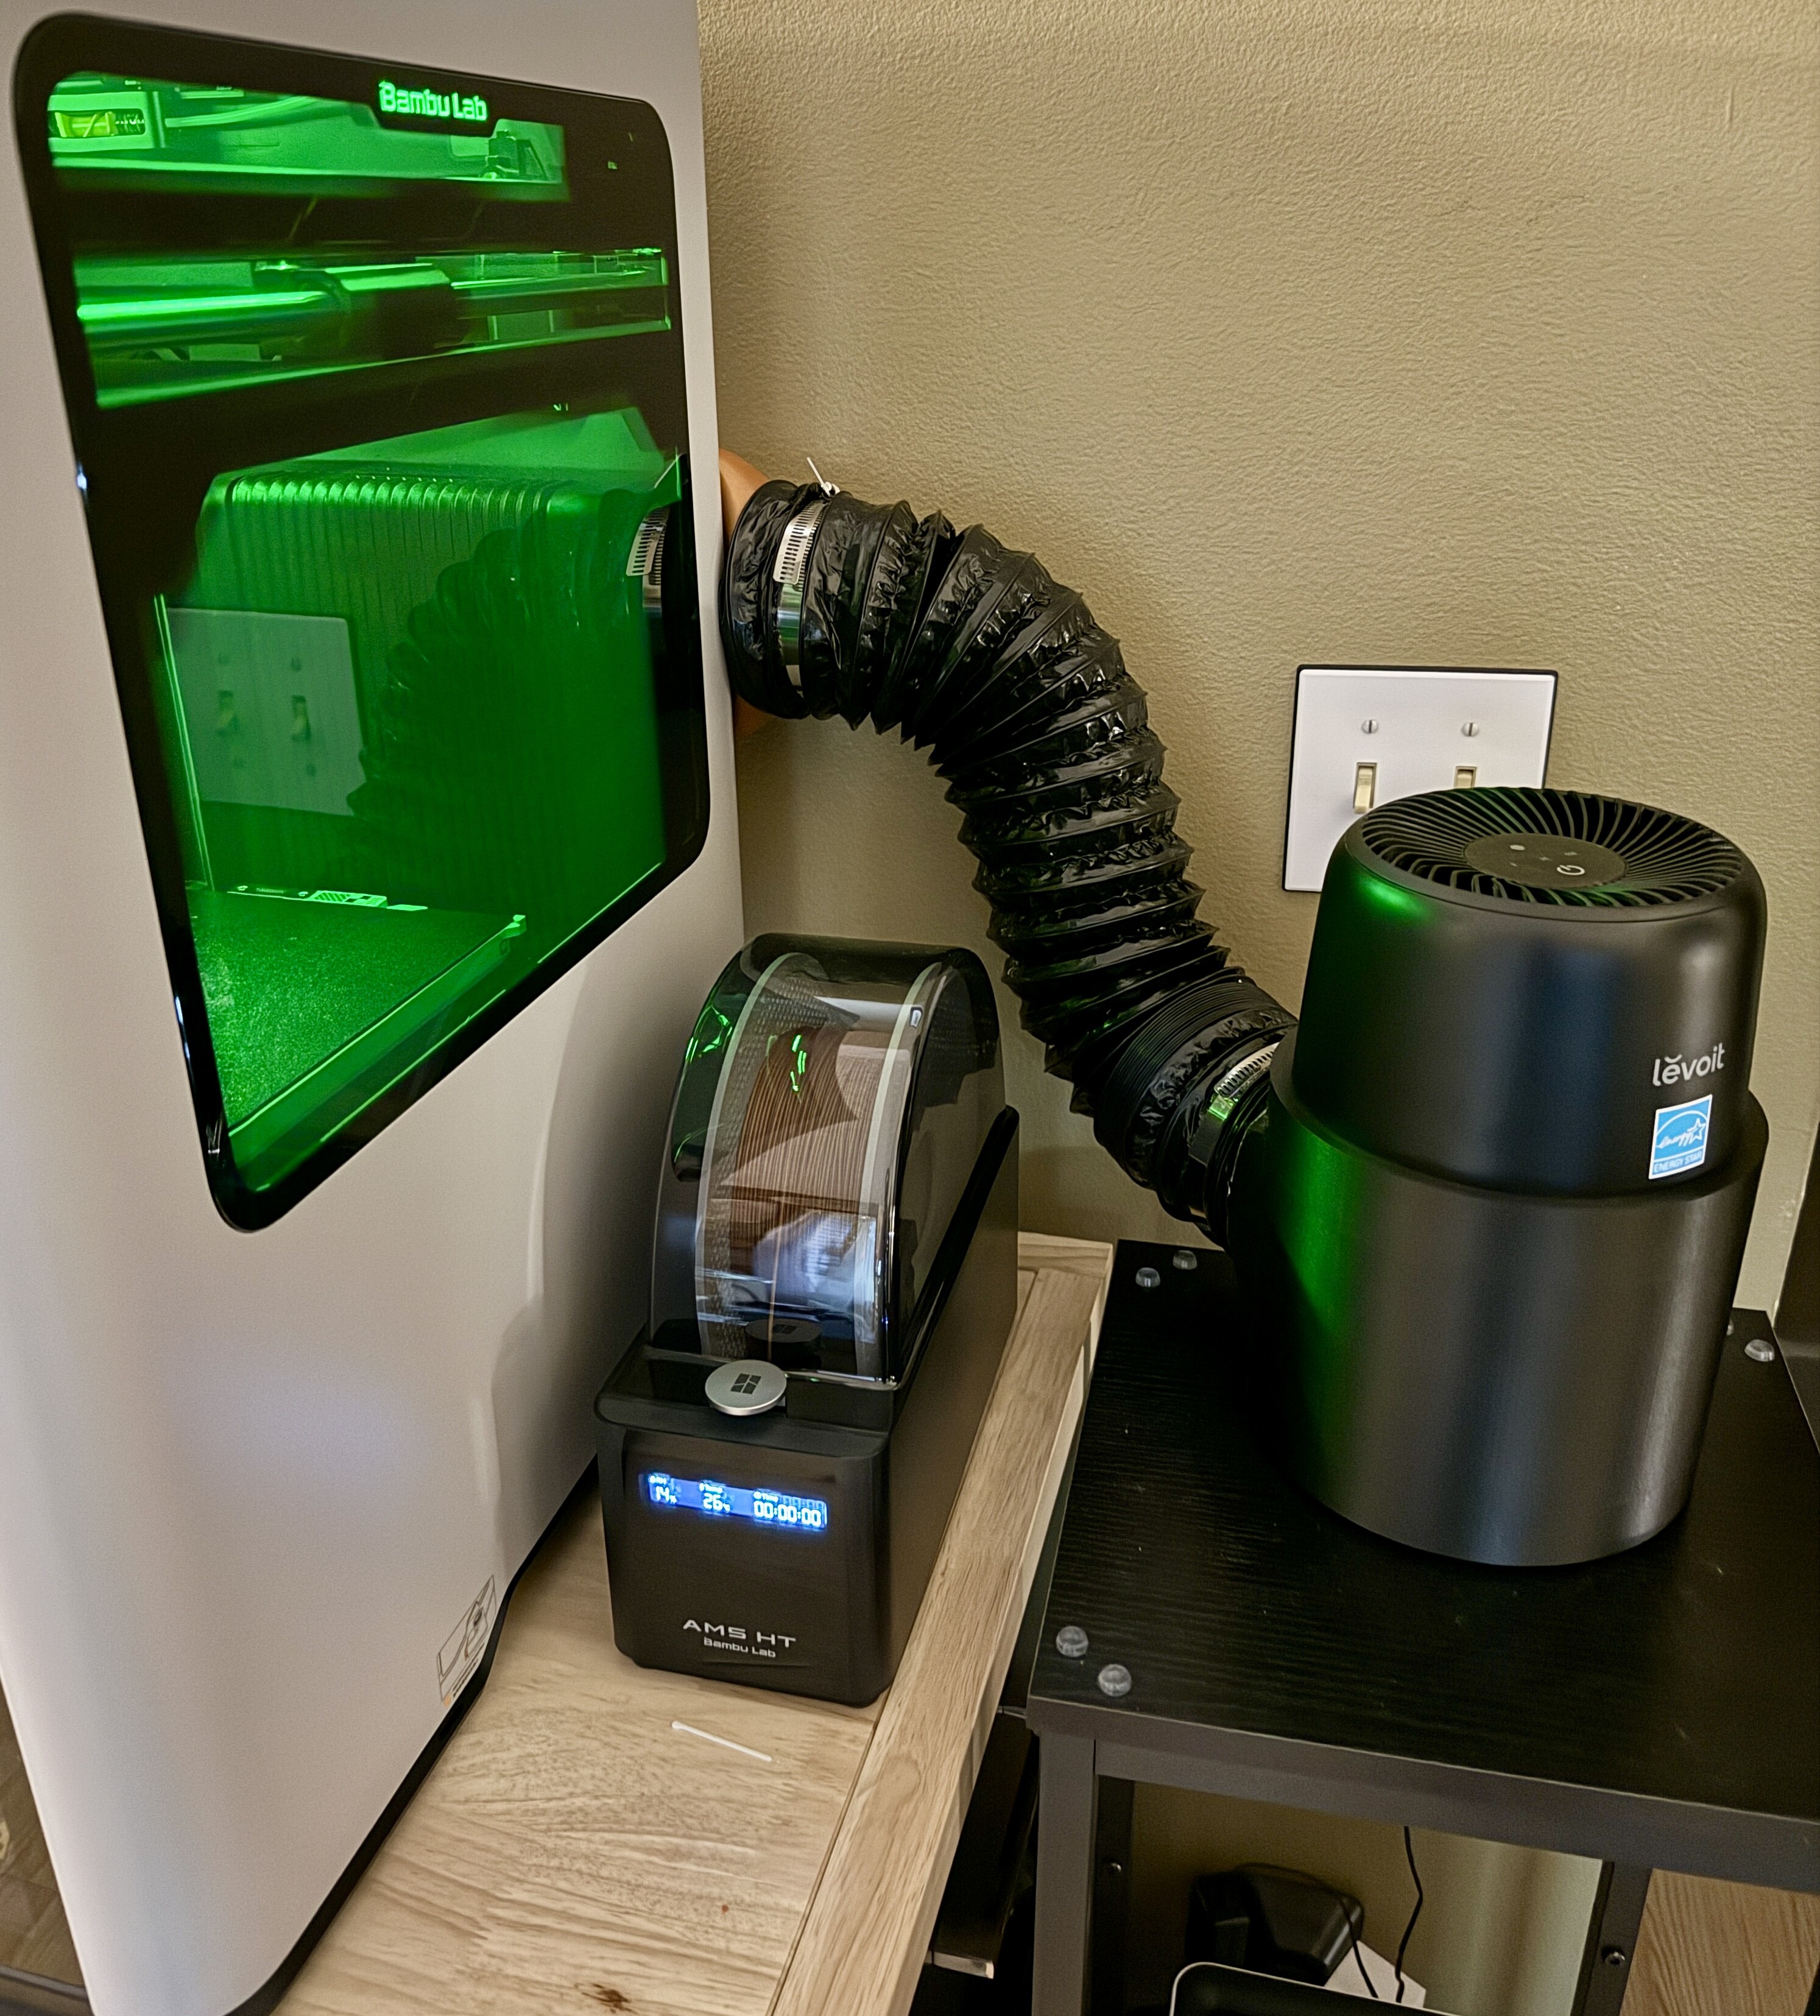
The levoit air purifier mod I posted earlier seems to be a better choice if you still want to extract and filter air but at a slower pace so chamber temps can remain decent for anti warping purposes. The levoit core mini on low setting with the H2D setting at 10%, with the inlet carbon filter mod 1/2 full, it pulls just the right amount of air to keep PETG chamber temps around 40. The high setting would facilitate a good chamber temp for pla (low 30’s). I might wind up keeping this setup.
I also have a laserpecker air purifier on the way that I will test out. Hopefully the air movement on the low setting isn’t too much like the xtool. It is much smaller, so fingers crossed. This might be a much better option than the Bambu smoke purifier for normal printing purposes. It’s cheaper (350), looks better, and filter packs are cheaper too. Wouldn’t be too hard to design a DIY filter pack though. Maybe one that uses like 3 or 4 Bambu filters.
Anyway, sorry for the X1-c content. Just wanted to let y’all know the xtool might not be the best option for printing fumes and keeping the chamber warm enough to mitigate warping prints. It might be way better than the Bambu one for laser stuff though. I don’t plan on lasering so I can’t test that one out lol.
I was also looking at having dual 75x30 or something of that size! I think a single 120mm blower is probably better in terms of flowrate (I haven’t actually checked) but the housing can be quite a bit slimmer and cooler looking if it was dual 75x30.
The top piece should be mirrored btw, to give ample clearances all around. The heat bed assembly, at the back left and right, there are the protrusions.
The bottom piece could just mount it with some VHB tape (the same tape used on the X1/P1). I’m not sure how well it holds with a heated chamber so I’d try to make it touch the bottom of the enclosure too - with either another part or extending the bottom part. I could send you a STP file if you want to have a go at making a quick adaptation - send me a message on MW - it’s a bit lower on my projects list currently so I won’t be touching it for some time.
2 Likes
Dual 75x30’s would probably move plenty of air.
I’m not the best at creating designs with attributes like yours, so I wouldn’t even know where to begin. I’m more of an organic model designer. I use nomad sculpt a lot. I can make things like yours, but they’ll be very crude haha.
Of course! So first off, I opted for axial fans because I’m prioritizing higher airflow over static pressure. I specifically want to minimize airspeed, and axial fans are better suited for that.
But the difference is not that big…
E.g., in my setup w 4x 4028, I’ll have a very similar CFM when compared to your 2x centrifugal ones (the ones you all posted above). However, that with a 160x40 footprint, while two of the ones above would be ~150x75 (naturally, you can play with how you dispose these). But these centrifugal tend to run louder, and with potential to generating more warping air flows
Second, the fans need to be strong for two reasons:
a) With cold prints, weaker fans can result in a significant amount of air bypassing the system (going direct to the exhaust).
b) To minimize the effect of the bypass, I included a fairly thick carbon layer, which in turn adds resistance. So I needed fans with enough strength to handle that load.
Given the tight space (even narrower than what the P1S offers), I looked into small coaxial fans, and the 4028s seemed like the best fit. The specific ones I chose have nice static pressure vs. airflow curve. As for the 24v, since I’m using an external power source, I wasn’t limited by what the printer can supply.
Anyway, I’ve already got the carbon and zeolite, finalized and printed the design, and now I’m just waiting on the fans. I plan to run VOC and PM2.5 tests before sharing it publicly.
Not convinced those folks who are vape-ists need to be concerned about printer emissions… ![]()
Taped up the poop chute port the other day (single colour print) made no difference to my AQM near/next to the poop chute in terms of VOCs although I didn’t pick up the poop - it may be the poop pile off-gases for a period of time after printing.
Had a blocked nozzle the other day and the clearance process did produce notable levels of both VOCs and PM.
I’m fairly content with the current data pool that in my use case shows the following for the H2D with regards to air quality:
- PM levels are not an issue in normal use, consider wearing a mask when clearing a blocked nozzle and when cleaning the inside of the machine. Even then I’ve only seen levels peak at UK 2040 required levels of 10ug/m3 long term limit.
- Use of Scorch and @maximit internal filter has a limited reduction on VOCs.
- External extraction has a reduction on VOC levels.
- An enclosed space will see a build up of VOCs even with external extraction. (also applicable to CO2 levels).
- Type of VOC emitted (bar formaldehyde) is completely unknown with safe exposure levels varying widely depending on VOC.
- VOCs can build quickly but take longer to clear.
- Best solution is good through venting (air replacement) in the room to clear VOC build up, (same applies to CO2).
- Never use smell as a way to assess hazards, just because you can’t smell anything doesn’t mean there isn’t something nasty in the air.
- Understand what your normal levels of air quality are and how that can be impacted - cities in warmer climates versus rural, costal for example.
- Many day to day activities produce other harmful emissions, often at far higher levels, domestic cleaning products, cooking using a gas burner, glues, soldering etc.
I’m considering a printer enclosure option using the external extraction setup, not too much effort to build, it’ll reduce the fan noise as a bonus.
1 Like
Enclosing the printer and venting to atmosphere from that enclosure is genuinely the simplest and most effective method.
The H2D isn’t some hermetically sealed box. It’s going to leech contaminants regardless of the internal or external “filtering” going on. Yes, you could create enough negative pressure within it using an duct attached directly to the printer, but that obviously has it’s downsides (especially with the filament that causes the most VOCs) with air movement over the print.
I realize this isn’t possible for many people, nor convenient.
The internal filers, in my mind, are more for just reducing maintenance schedules and residue buildup inside the machine than anything else.
2 Likes
Tried that one, but this one worked better for me(only using on the P1S as no need on the H2D). I have external “escape” with a 10" inline controllable fan and ducting. It’s so funny that people are finally walking up on the fdm side. I posted in a reddit group a year ago, and they called me a nut! There were a couple of people that did the same as me, but the majority were using those little bento boxes, and saying they did the exact same thing as venting.
I’m a vape person(ex smoker), and I’m still concerned about getting emissions out of my house… Two completely different things: one is an addiction, and the other is an option…
Printed it in ABS, added a little glue tape on the sides, more for the “tact” and works awesome!
For what it’s worth, and if you’d like to keep a chute, KYZ’s banana chute does a good job of sealing the chute. Before I had it and would print bambu’s PETG-hf my meter and air purifier would go nuts during the purge process. Now with the banana chute I get nothing.
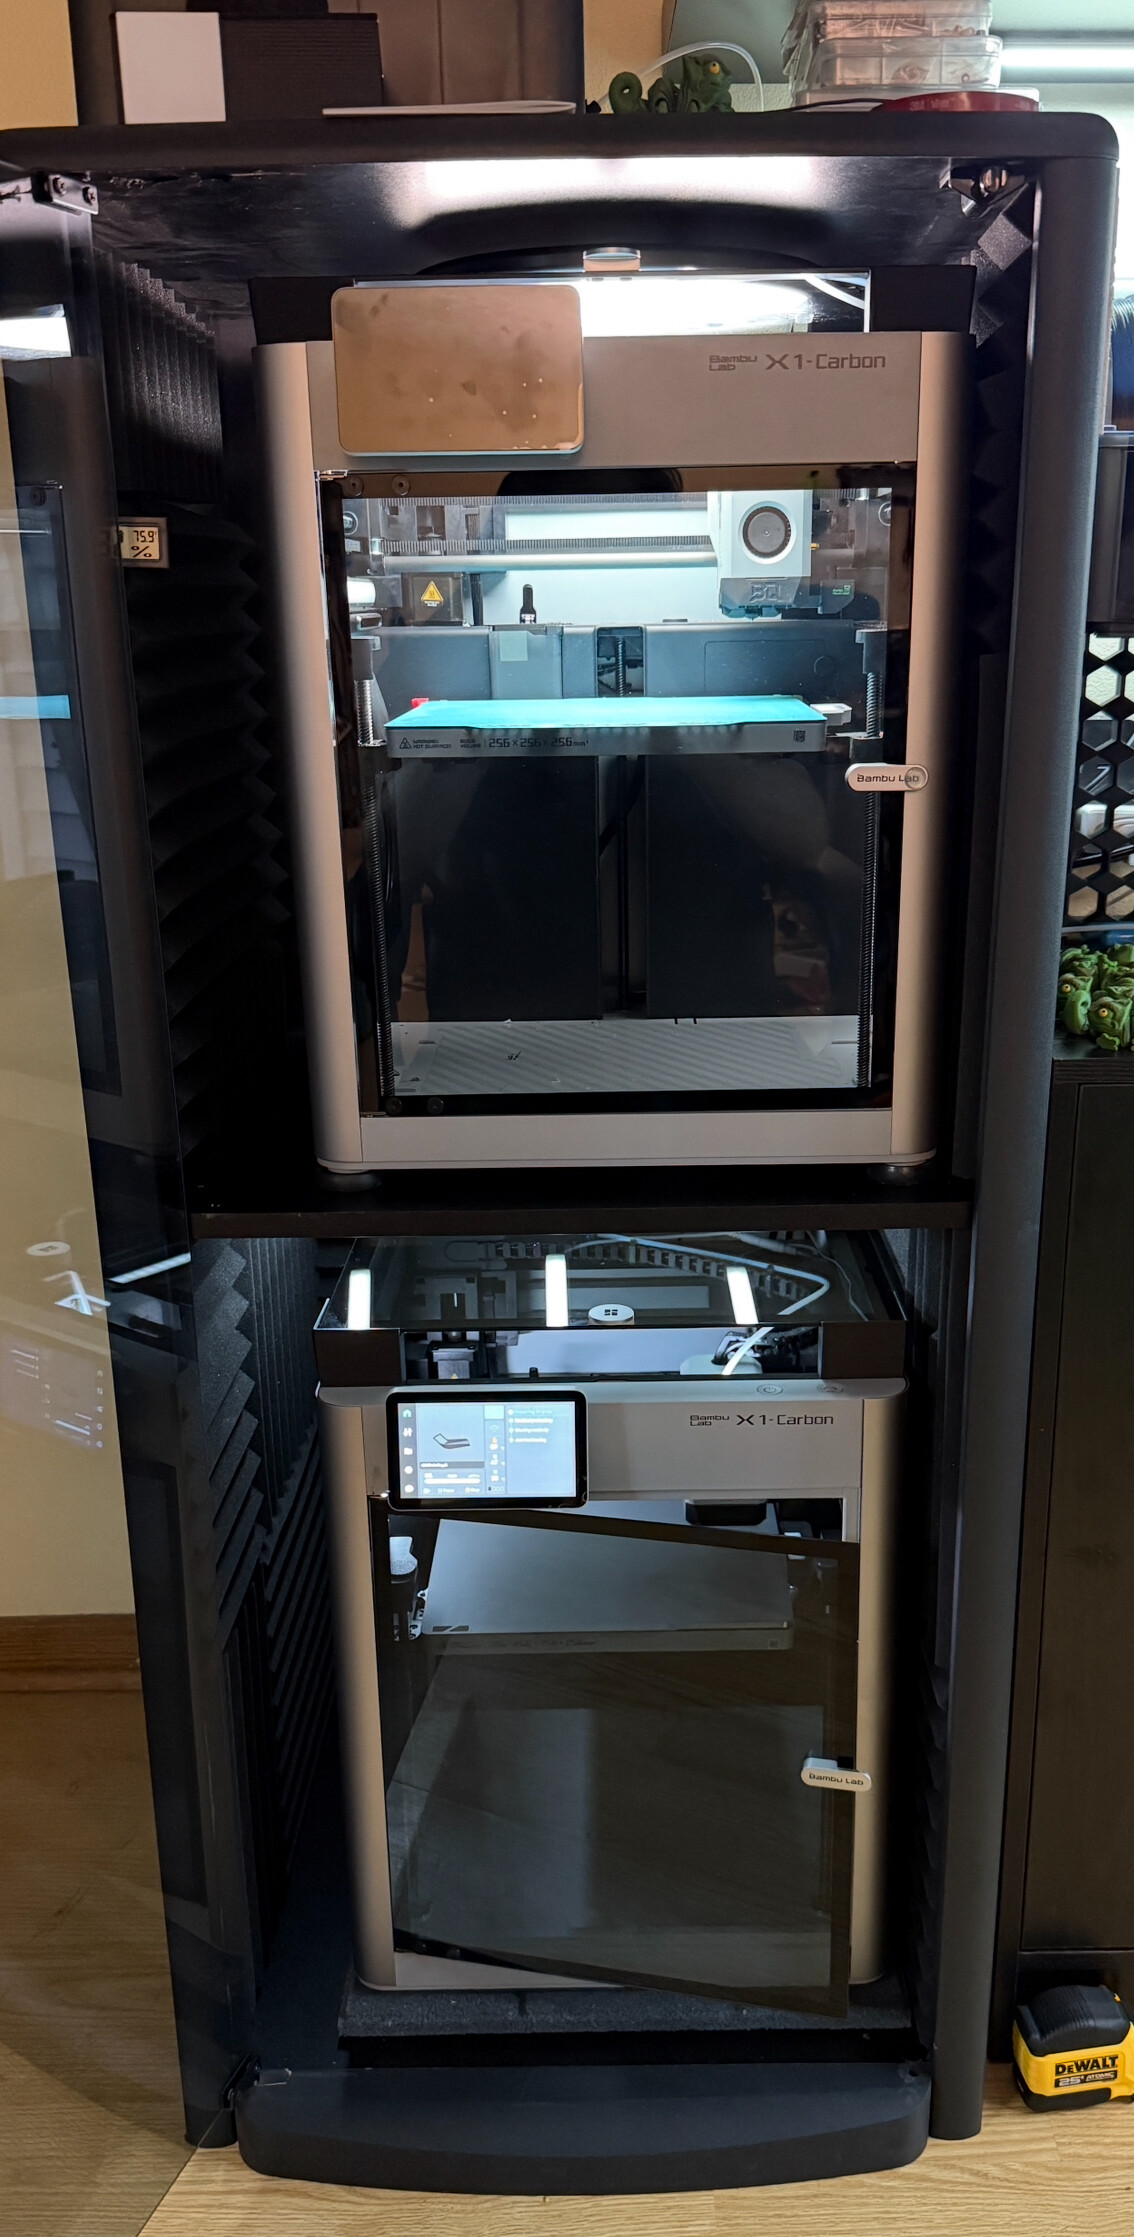
Once I find a more permanent spot for the H2D I’ll likely be buying the clearview plastics enclosure for it, or build my own, and will vent the enclosure air to the outdoors. Putting the box in a box is really the only sure fire way to go to maintain zero exposure.
Just had a look at the Clearview setup - interesting but gets pretty expensive quickly and that’s before I factor shipping and taxes. A lot of doors which is great for access but no great unless you run it as a negative pressure case as I can’t see any seals in the photos. Can’t see the re-circ setup being that effective as it must leak a fair amount of gas.
Won’t be able to fit the laser emergency stop on the small version either as its too tight if you also want to keep the external spool holders.
Be interested to see how heat soak impacts the prints that need the top vent open on the smaller case as its a tight fit in that one.
Will end up printing the banana chute as well, might just end up being a small benefit but like all of these mods, cumulative effect comes into play.
A framed grow tent is honestly the best and cheapest option. You will always have negative pressure with any sort of inline fan going on the for the extraction out.
Bonus is that these tents allow easy access to opening and closing.
The only reason anyone goes with the plexiglass is for looks.
As chamber temps for PLA and such, if you decide to keep the inline fan on, it won’t matter as fresh air will be brought in anyway because of the negative pressure. Else, you just unzip it open.
Amazon.com as an example.
You don’t want the enclosure to be completely air locked, that will just create air flow issues and a vacuum lol.
Edit: I just looked at Clearview prices. What a joke for cut plexiglass. The filter prices are also insane lol.
A grow tent setup for the inline fan, filter (if you want one) and tent is under $250, on the high end
1 Like
Ive imploded a grow tent, once upon a time. You are 100% correct about the vacuum lol
Creating a negative pressure in these kinds of enclosures is sort of the point. You’re not really supposed to just leave it stagnant. It would get way too hot for the electronics in there without any air flow.
You hook up a vent hose from the enclosure to the nearest exit with an inline fan in between. The printer gets the fresh air it needs, the chamber temp is unaffected for high temp prints, the chamber cooling gets the cool air it needs, and you get zero exposure. It’s a win all around.
It does get very expensive, I agree. I’m not too worried about the laser stuff. I don’t plan on using it. I’m sure they’ll make one for the laser edition sooner or later.
It’s unreasonably expensive unless you need that aesthetic for whatever desire in your heart. As posted above, just use a grow tent. Seriously, it’s easy, cheap and widely available. No reason to reinvent the wheel.
Being able to hang the inline fan inside the tent (with inline filter, if you want) is also a huge plus.
I would gladly pay the premium to have a better aesthetic than a grow tent lol.
I actually have a grow tent setup for a printer in my garage, but I don’t have to look at it much so the aesthetics don’t bother me. Now for the H2D and where it sits in my home, I want it to look nice.
Anyway, I don’t think $650 is all that bad considering the $2,400+ we all spent on the machine itself. Can it be done cheaper? Yes.
2 Likes
Get the negative pressure side but wasn’t clear in my original post, Clearview advertise it with a recirc filter/fan which without door seals isn’t idea and would then suffer from the overheating issues you’ve identified. Spent the last 27 years as a mechanical aerospace engineer so more than happy with pressurisation ![]()
You could get the laser into the XXL unit or run it in the smaller one just have to loose the external reel option.
Looked at grow tents as they are designed to do exactly the job we want them to, ie some airflow but contain vapour with temperature regulation (even more suited to the resin folks) but I’ve got some very specific size requirements and limits and they just don’t fit. Also need to get to 3 machines, H2D, Fuji auto-watch cleaner and when it arrives, an Athena 2 resin printer into the space.
Clearview is a nice looking box and with external extraction will do exactly what you want it to but I’ve spent the money in the flash sale instead ![]()
The picture has the filters on them, but they’re not standard. They’re an additional charge if you want them. The only filter needed would be the lower inlet filter to make sure it’s not sucking in dust.
I agree though, those filters make no sense in terms of even having the enclosure. May as well just put filters on the printer itself.
No malicious intent here so don’t get mad lol. I can’t help but chuckle though. If I had a nickel for every time an engineer announced their job title without being asked, I’d be rich lol.
2 Likes
I got the upgraded H13 chamber filter from ali. Construction looks good, but will have to dissect it after use to know for sure.
1 Like