Hey everyone, I just got my H2D about a week ago, however I am currently getting poor print quality with this printer.
My first print was a poop chute using a generic PETG and the print quality was exceptional.
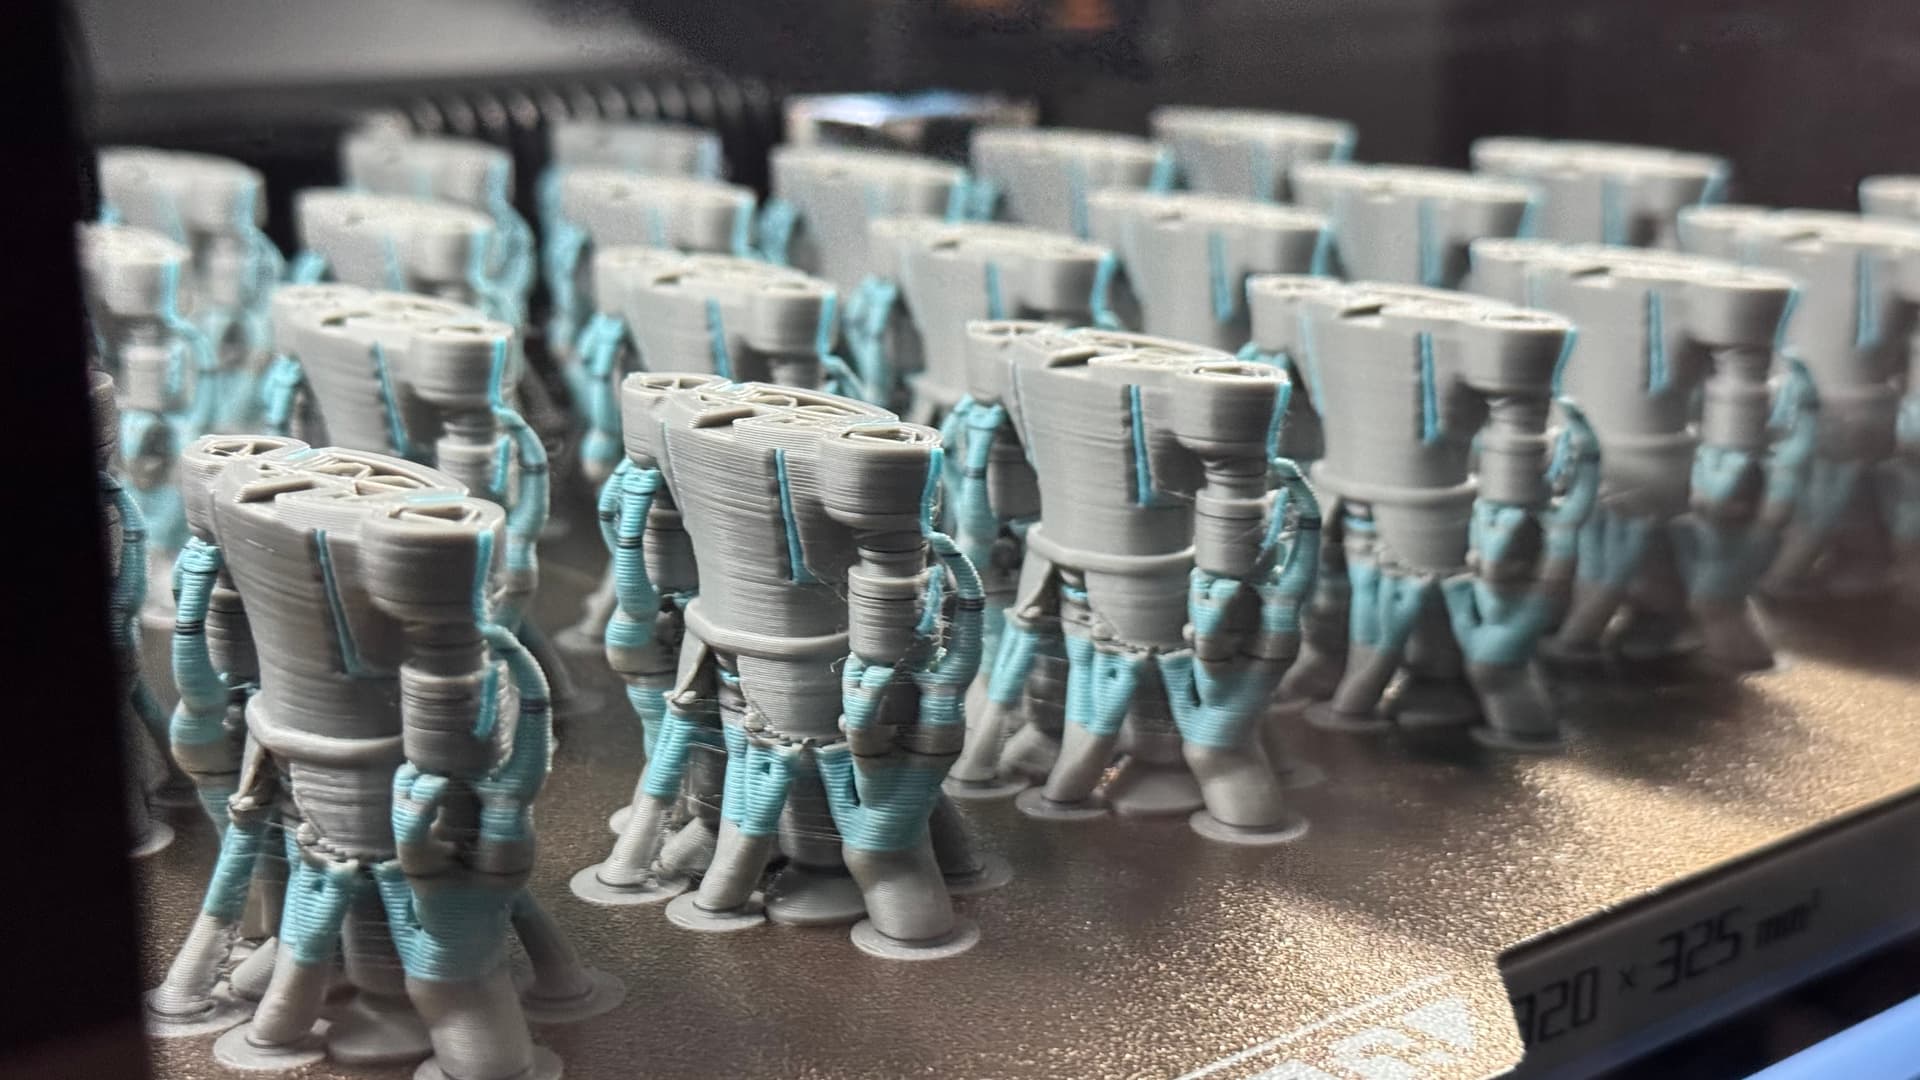
After that I started printing what I really wanted this printer for and that is the dual nozzle multicolor printing and overall big size. I am printing some figures and at first the print quality was okay, it wasn’t AMAZING but it wasn’t bad, not as bad as it is now.
The photo shows exactly how my prints are coming out now, it is HORRIBLE. The surface quality is terrible and there is very noticeable errors. It seems like the prints on the edge of the bed are worse than the ones in the middle, but the ones in the middle are still bad.
I do not know if anyone has any experience with this and any way to fix it? I am unsure if it is user error or machine error. I ask because the prints get worse and worse
I checked the nozzles to see if any of the screws were loose and they were not. However I noticed the left nozzle has some vertical play to it, I do not know whether this movement is normal or not, it just seems really easy to move with my finger.
I can’t directly post a video so I hope this gif shows the movement well.
I don’t have an answer on how to improve your print quality but I agree they don’t look good.
I have printed ~400 hours on mine and so far, everything has been amazing. I have not filled the bed like you have, but I have printed 30-40 hour 4-color prints (a snake that wrapped around the bed) and it looked great.
Yeah your print quality is amazing, mine has just progressively gotten worse, at first the surface quality was okay, once again not amazing but now its just horrible.
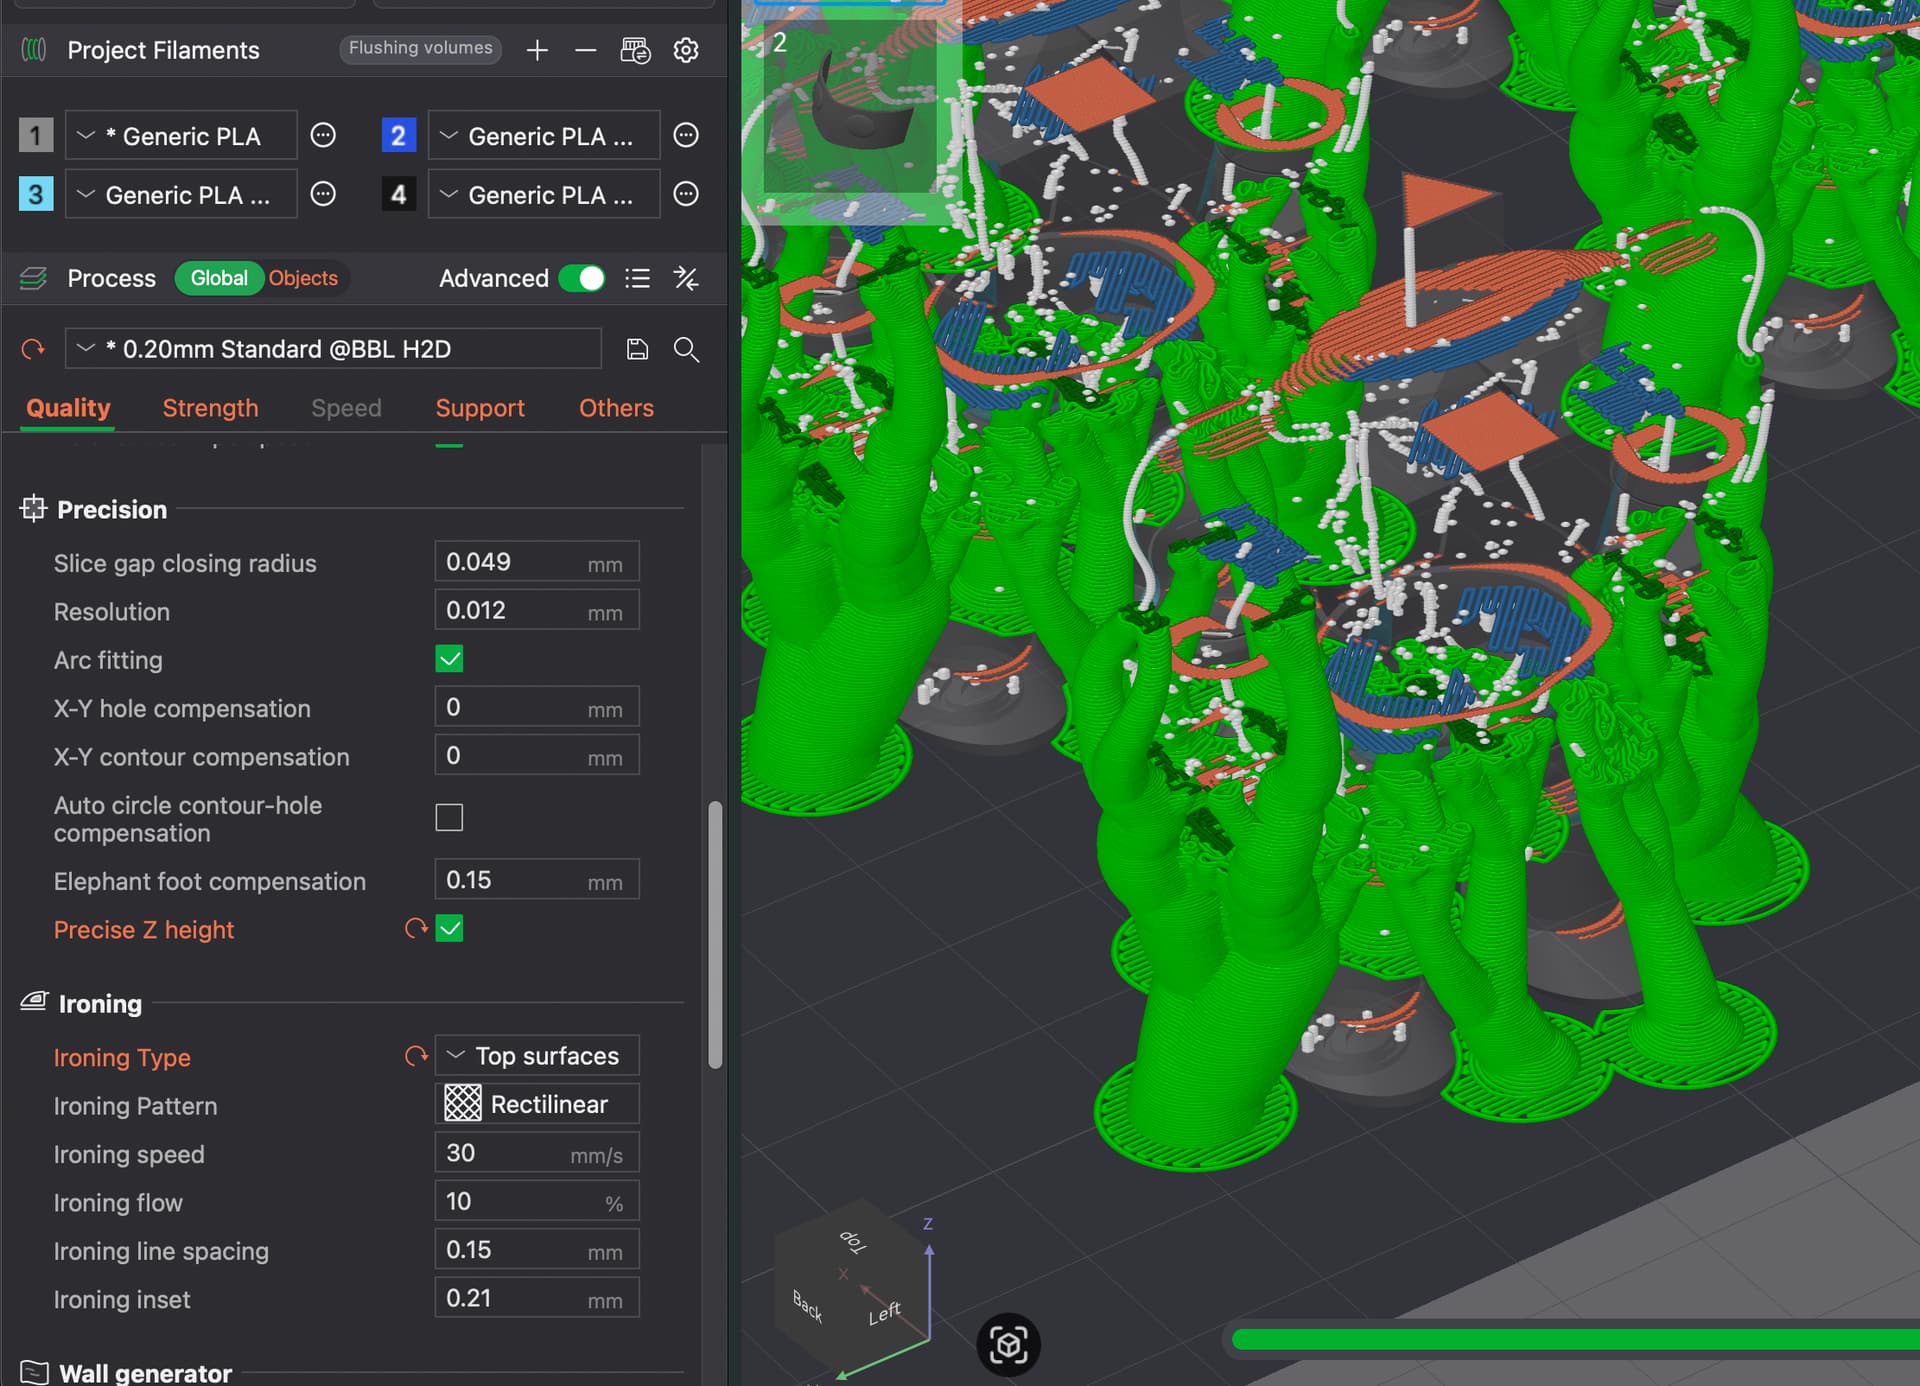
why iron organic part? it doesn’t work well (if not at all) and more likely than not to reduce the print quality with curved surfaces, you’re adding print time for no reason…
Why change minimum sparse infill area to 1mm^2 and why increase infill overlap to 30%? You have 4 walls that’s sufficient enough. Adding more infill overlap = absolutely worse wall quality because it measn to increase the adhesion between walls and infills with the cost of extrusion uniformity.
I’m not sure if you’re new to 3D printing, if so it’s very understandable to try out everything in the slicer, but not everything that looks promising comes free, sadly often the tutorials or wikis skip the part where it educates people the negative effects of some setttings.
Hey thank you so much for looking into my settings I really appreciate it a lot. I am not new to 3D printing, however I am by no means an expert and ofc make mistakes.
The ironing you are absolutely right about, no idea why I left that on its like you said its only increasing my printing time.
The infill overlap I have never messed with so I have no idea why that is at a higher value than normal, so thank you for catching that.
The sparse infill area I had messed with and misunderstood what it did so i decreased it but that was a mistake
Apart from that do you see anything else that could be improved with my settings? I appreciate your feedback a lot!
I didn’t see other things suspicious, I was thinking that those settings might be some left overs from trial and errors
For an organic part like this, better start from one copy first to see if the settings work well. Infill pattern can be changed to other less warp prone infills (but your model doesn’t have a large flat surface so this infill pattern of triangles wouldn’t matter for this model)