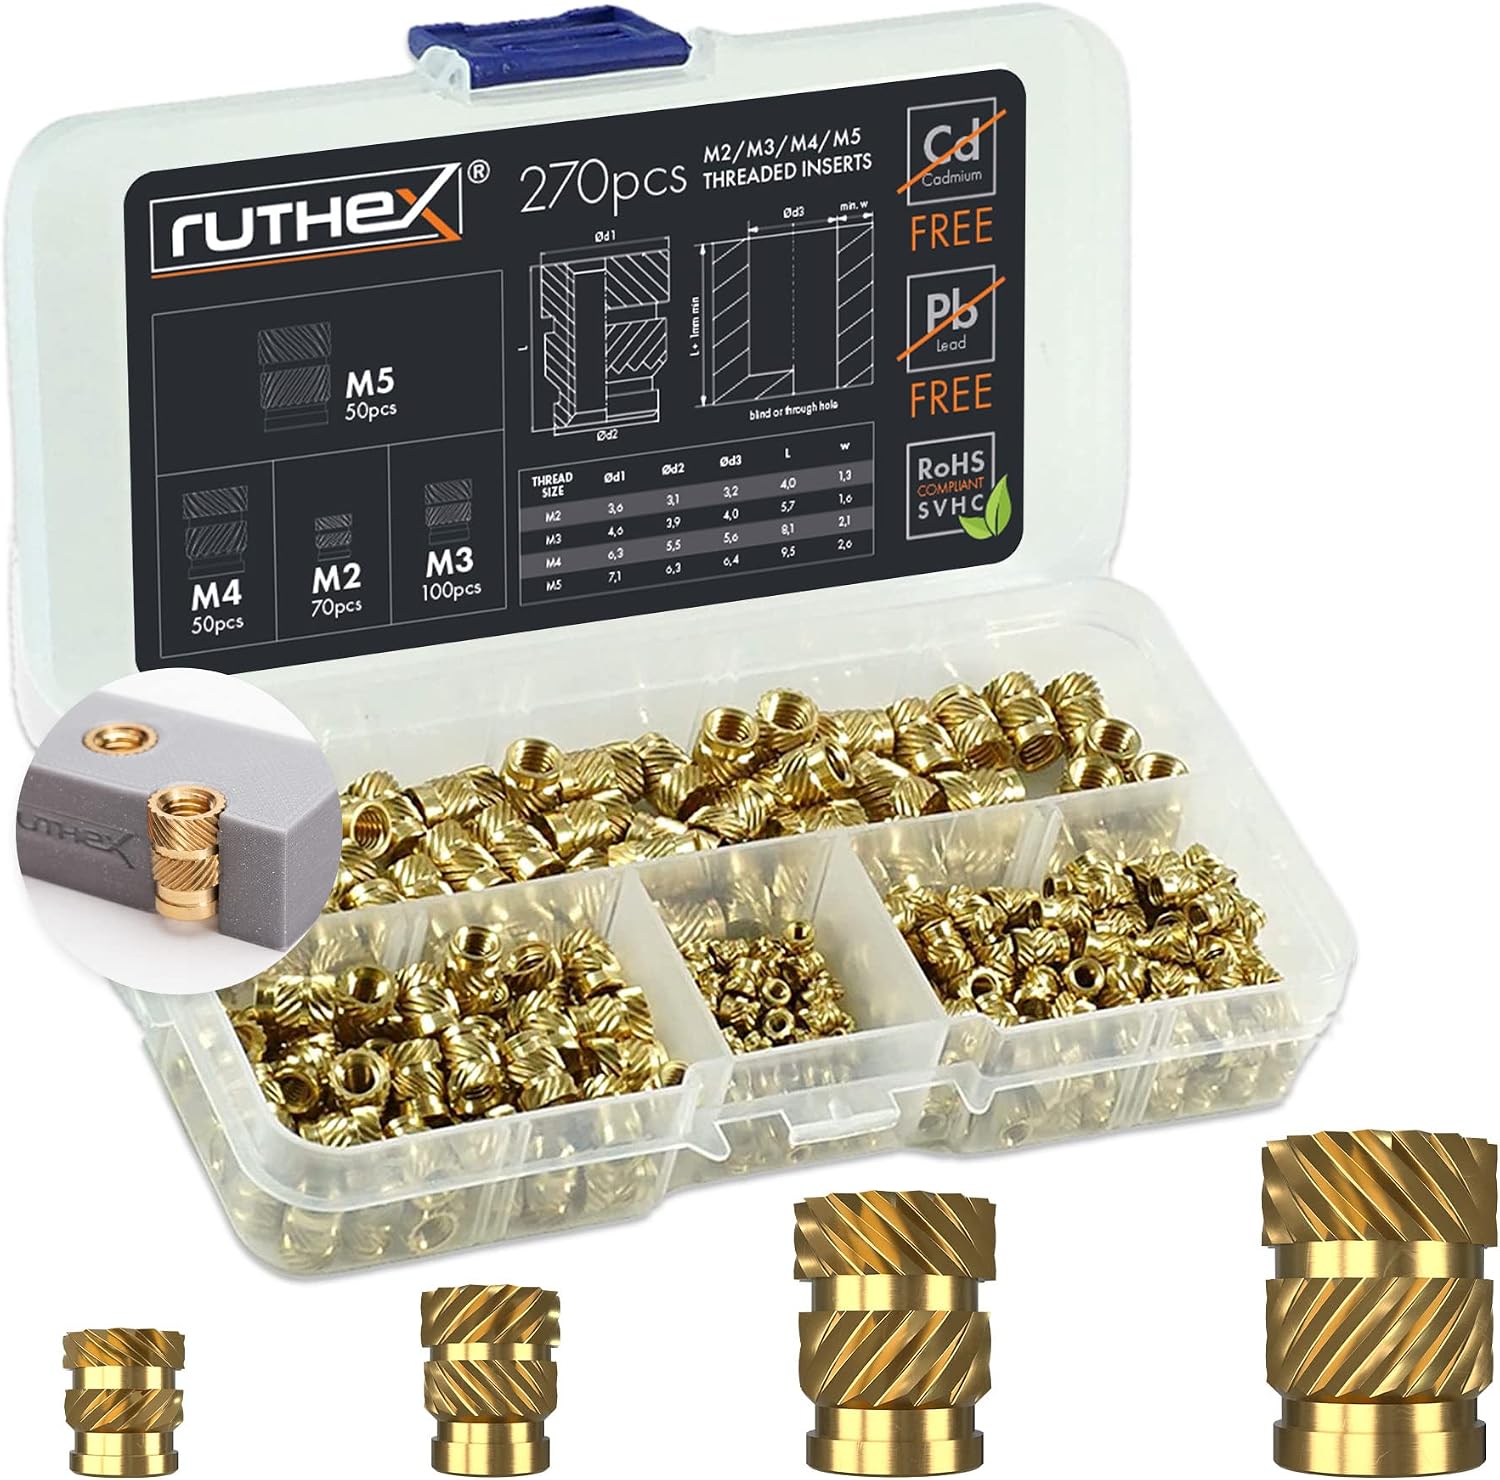
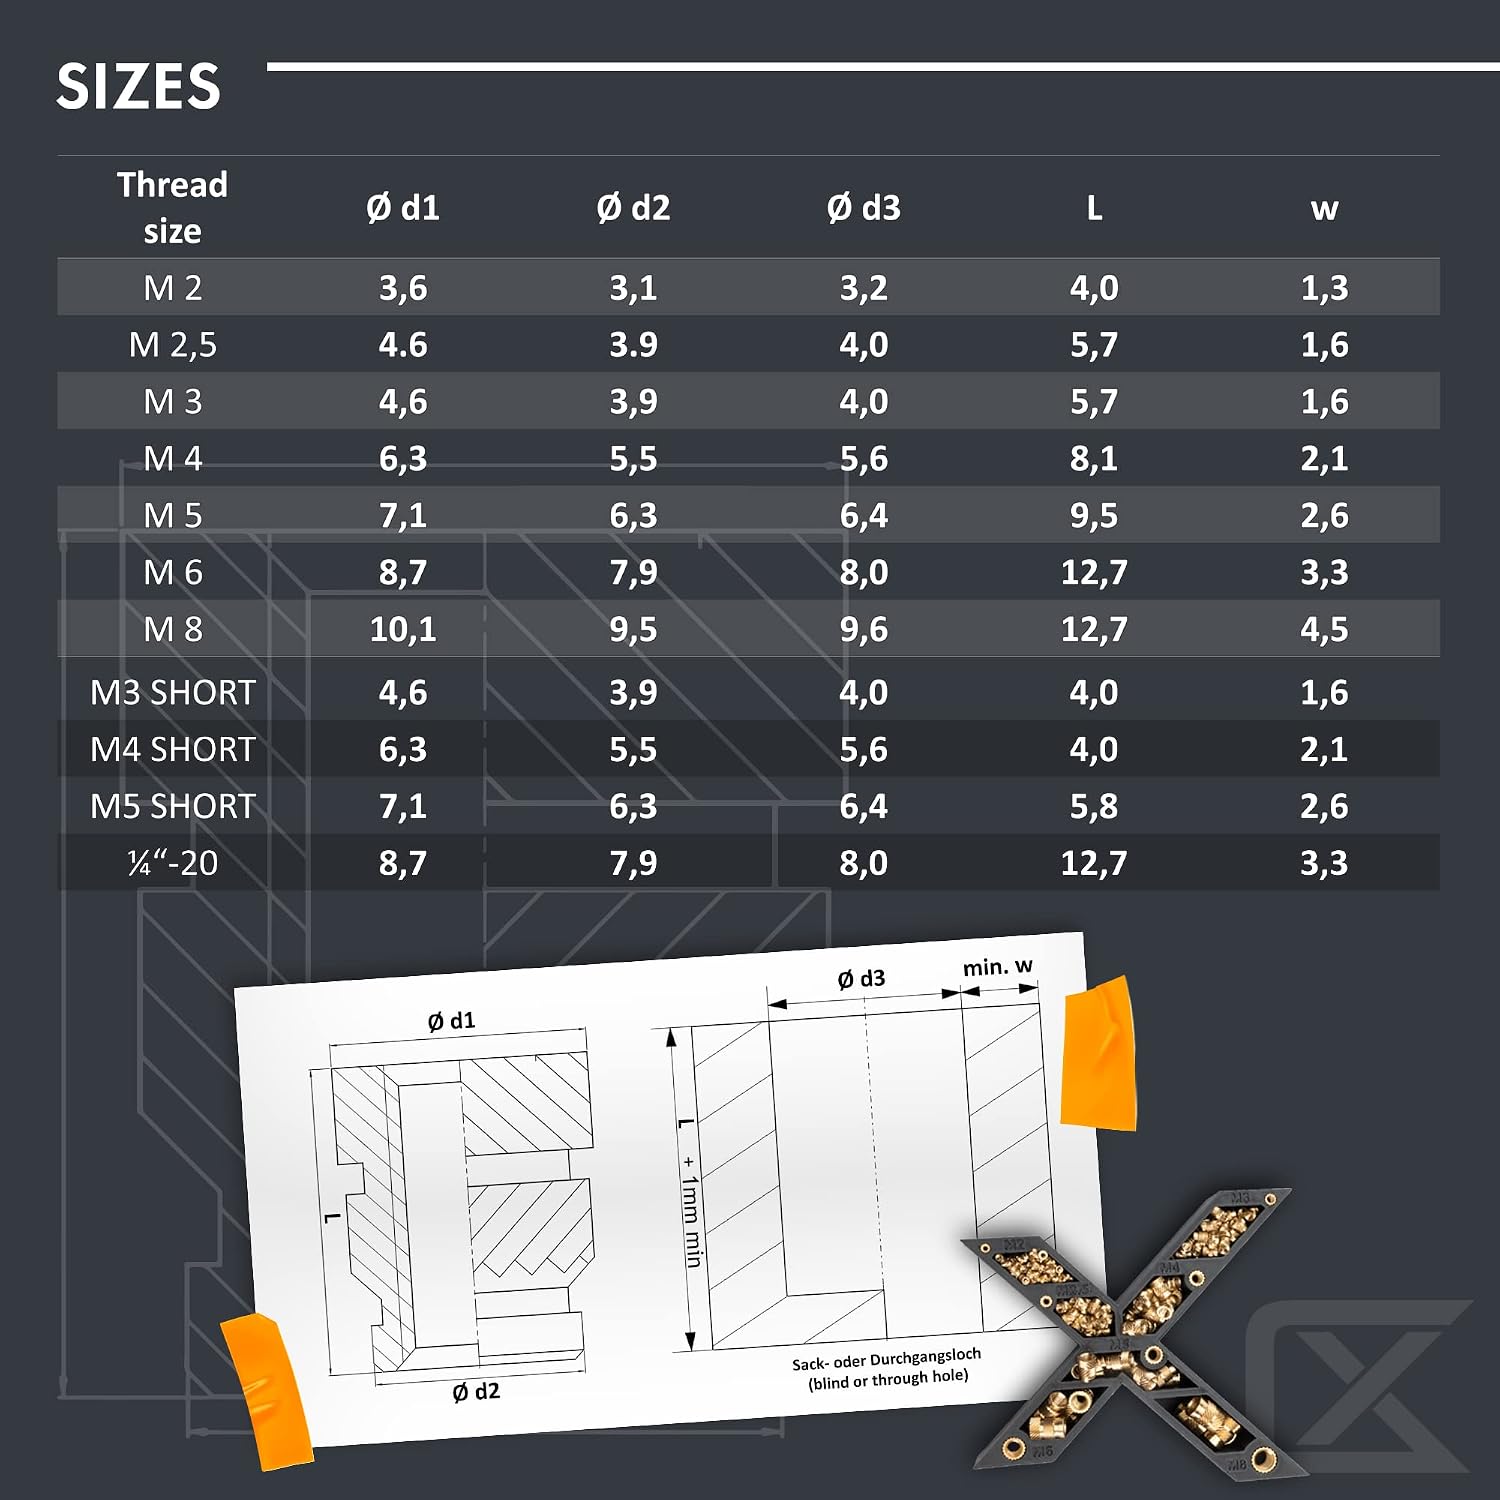
I have been trying to use the attached heat set inserts. When I print the holes (d3 in the diagram) with the specified diameter, the inserts are too loose and they start spinning when I try to tighten my bolts. But when I reduce the diameter, I get melted plastic coming up into the threads when I insert them and the bolt won’t screw in when it cools.
The one thing I haven’t tried yet is using a tap to clean them out after the melted plastic cools. Seems like it shouldnt be needed…
Youtube videos imply these things are fantastic. For me so far they seem really weak, basically useless, and thats on a good day when you can actually screw a bolt into them.
I have started printing my holes with 6 walls to ensure there’s enough material to grab, but it doesn’t solve the ‘too loose’ vs ‘plastic in threads’ problem.
Any idea what I might be doing wrong? How much effort is expected to get the hole diameter right for these? Are they just lightweight connectors not suited to actually tightening down bolts?
As well as getting the hole diameter correct as previous poster said - that is the actual hole being printed, not the hole your CAD file says is to be printed - you can also make the hole deeper to help with finding a space to push plastic into. If you cannot calibrate the printer, one tip is to print the hole small and use a drill bit to widen it to the required diameter.
Heat the insert before insertion (place it in the plastic, apply the heat for 5 seconds with very little pressure) then go straight down, about 1, no longer than 2, seconds to reach full flush with surface. Then withdraw the heat and quickly press down hard on the top of the insert with something flat and non heat conductive that won’t melt (try wood).
It took me some practice.
When you design the model make the holes parametric with a parameter for clearance. So you can just adjust that 1 number and all the insert holes are re-computed.
EDIT also be at printing temperature +10 or so, with the heat to make the plastic flow to fill the gaps in the top when you push down with the wood.
One thing I’ll add to these comments - I will sometimes intentionally undersize the hole to ensure there’s plenty of meat for the insert to grip, and yes, some plastic will get into the thread area from the back.
But if it’s a through hole, there’s no need to use a tap!
Instead, do a cleanout drilling operation from the back (not the side you inserted it into) with a drill that’s smaller than the hole in the plastic, but bigger than the hole in the insert, a quick touch should be all that’s needed.
Most people put inserts in the wrong side. Tightening the screw should pull the insert into the plastic not strip it out. However I understand how it’s often difficult to get at the reverse side of the material.
You can also make a square hole in the top and drop in a square nut, if you can’t get a nut on the back.
I usually print the material in full (no holes), and when completed, I simply place the inserts in the appropriate places using a heat press. Never had any issues with my inserts to date. If the final product is made of multiple parts, each part (or most of them) containing inserts, place the inserts on each, prior to assembly. That’s what I do, and it never failed.