Hello everyone,
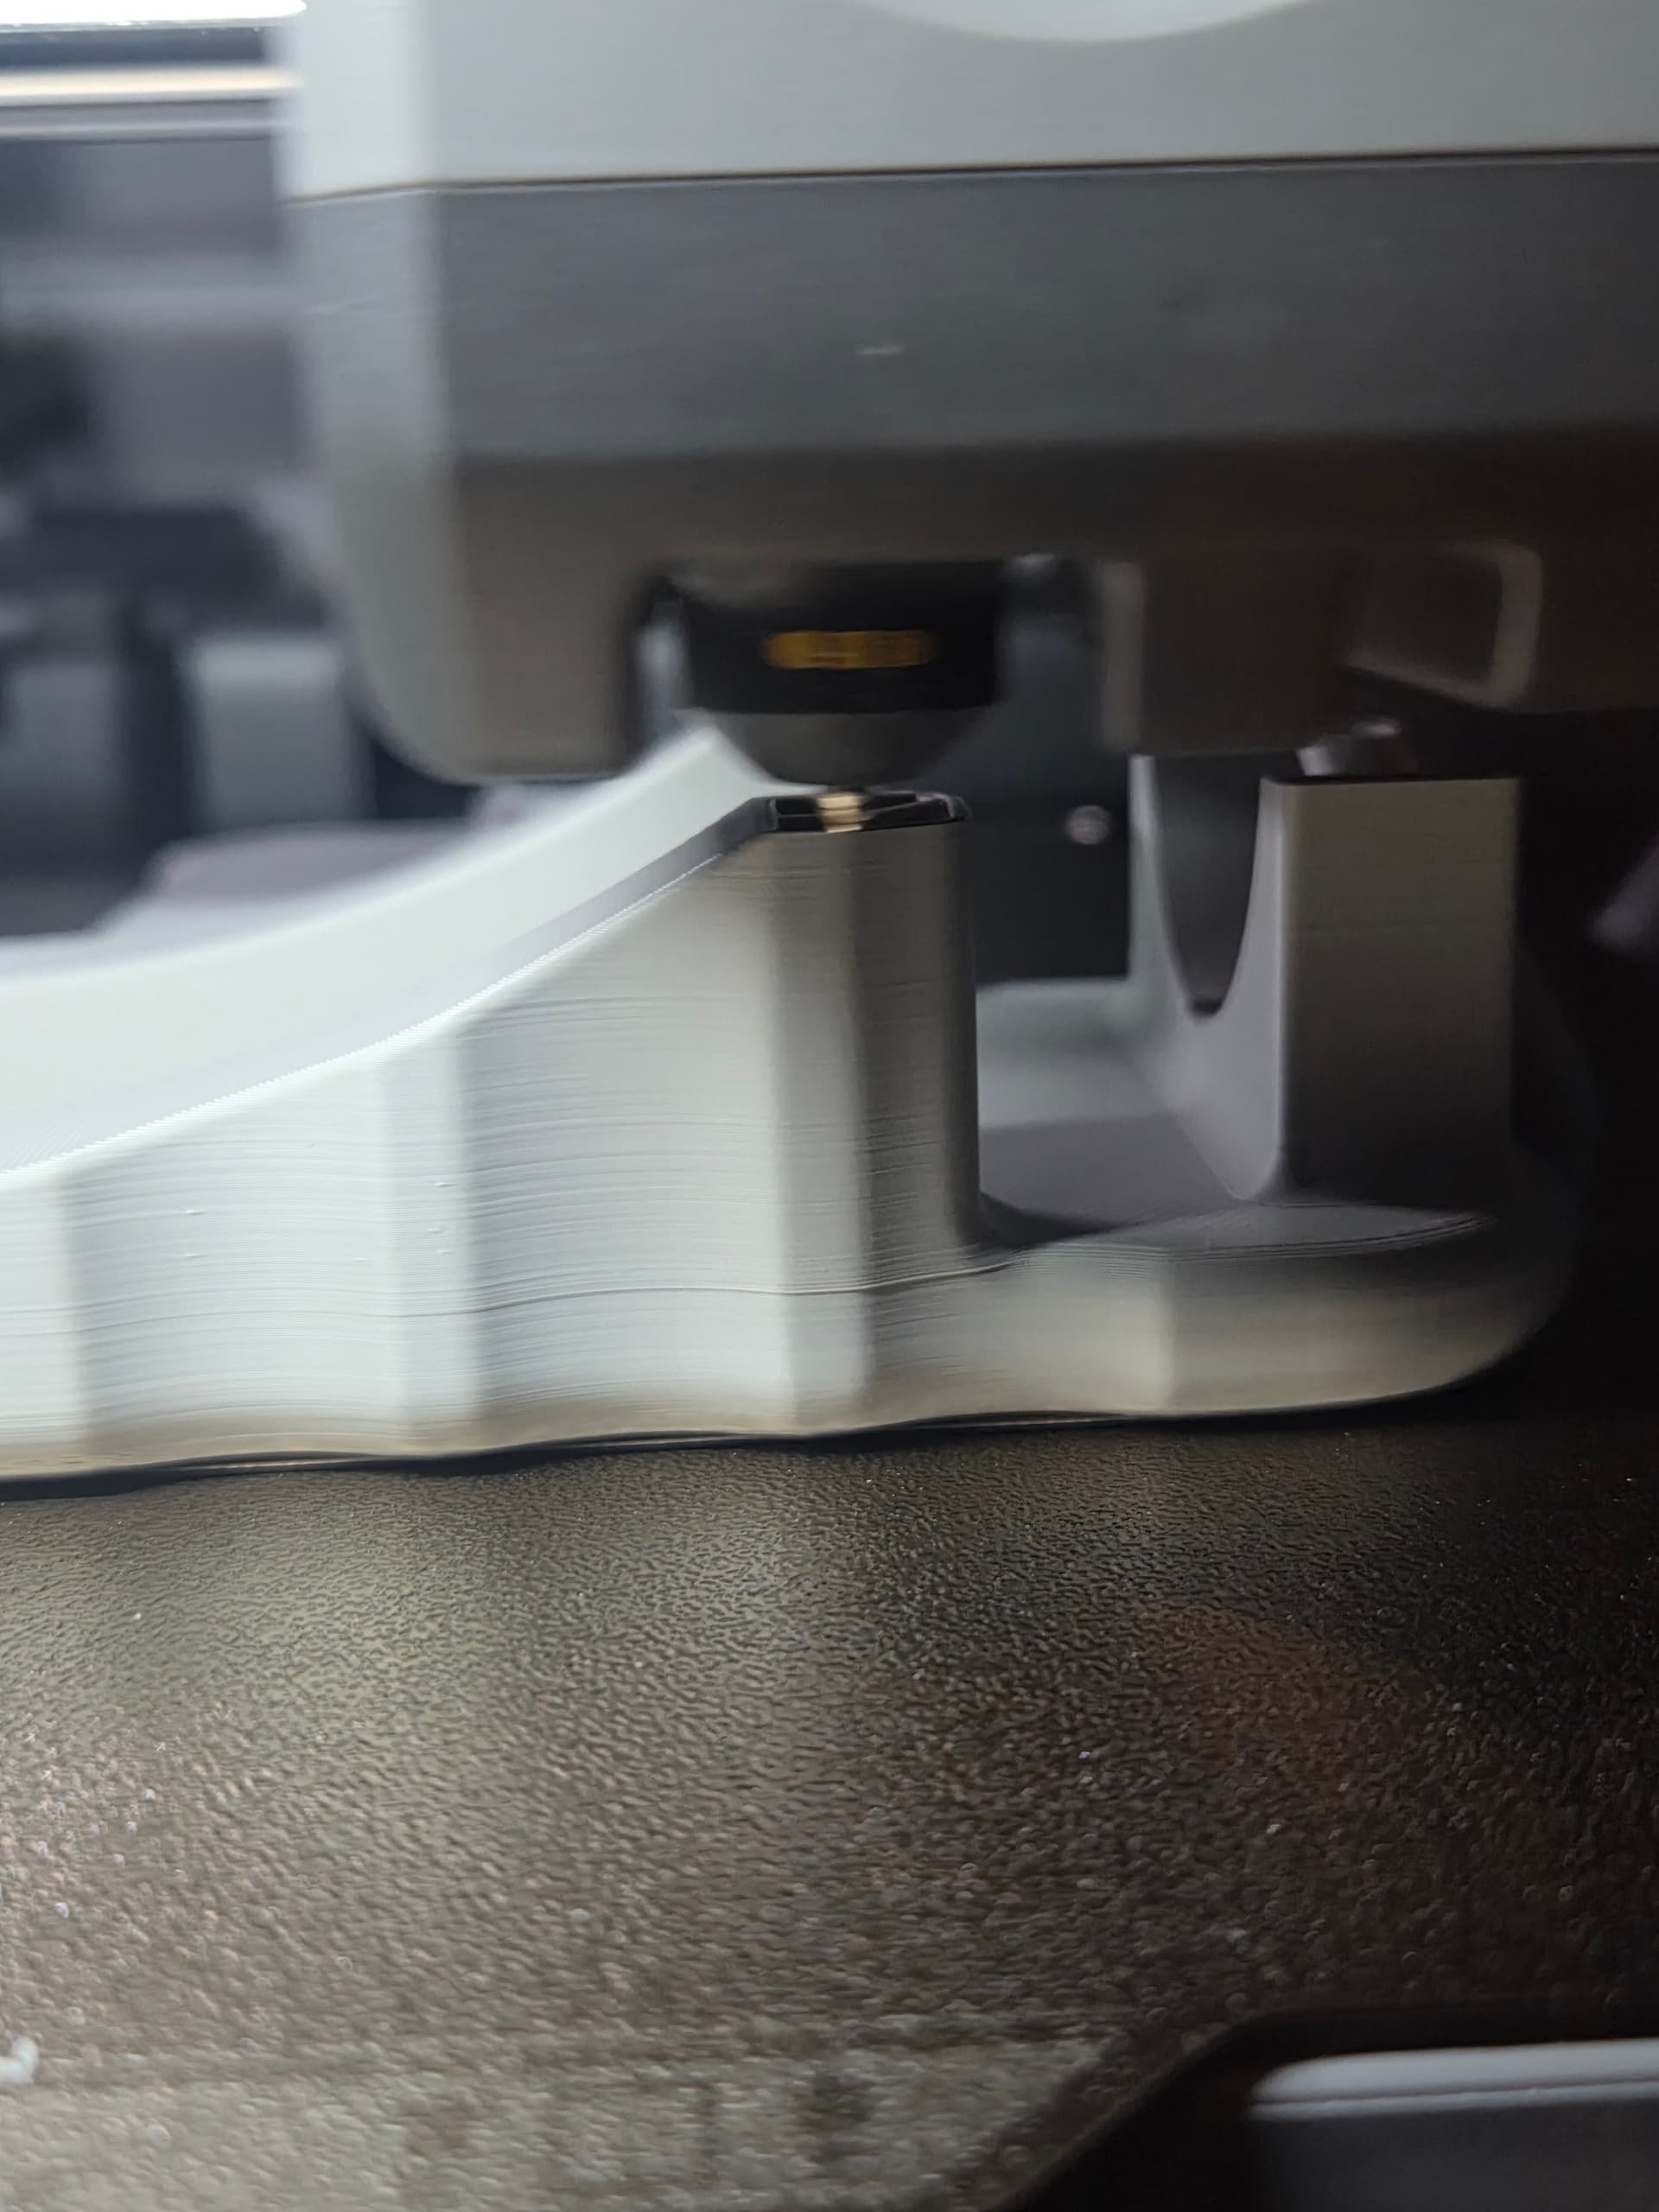
I’d like to understand what went wrong with these two images of printed objects and what I can do to improve them.
Image 1 is PLA Matte blue, dried, and with flow dynamics calibrated.
0.2 mm, High Quality.
This type of issue is a pretty common on the forum. It’s often known as the “Benchy Hull” line. Below is probably the best description of the issue and its causes.
It’s way too model dependant to give general advice on resolving. The one you showed in grey looks like its downstream from the “bottom-most stacked layer of your top layers” if that makes sense. If you inspect the preview of your slice, that layer probably is full of internal bridge which is often printed on top of infill, and compared to other layers there’s a lot more plastic being deposited AND its [by default] slower to print. Bridges in general are trouble for extruders because you lose nozzle pressure when airprinting, so pressure advance [bambu k factor] is also important to be tightly tuned.
The most surefire way to resolve it is in design with small cavities, designs, or patterns purposely placed to break it up.
You need to minimize the temperature delta between what’s been extruded and what’s being extruded, slow down how fast the already extruded plastic is cooling off; highest possible build plate temp, heated enclosed chamber, lowest possible extrusion temp.
There is a trick you can use in the design of the model, putting a narrow “moat” (a thin groove) around the infilled region so it’s disconnected from the outer walls when the top layer is printed (only attached at the bottom surface layers). The print still shrinks, but the forces acting on the outer wall are reduced significantly. But not all models can accommodate this geometry change.
Alternately, if it’s not a humongous print, use a high % for infill so the layer time isn’t significantly different between the layer where the top surface will be printed and the layers printed immediately prior to that point. 100% infill should mostly eliminate it.