Hi! I recently received my first cobo kit, and start aking my first project…
super simple question, how to charge the lipo batteries?
I know that there’s a charger, but when is inside the toys, is not simple to remove it to charge… can be used the usb type-c port?
To recharge, the battery will need to be removed from the model - as far as I know it is not possible to recharge via USB.
Wow, that seems like an oversight…
that’s really strange… and i think that it will broke in a few attept
There are some models you could try which aim to make these easier to remove - here’s an example:
I am going to splice a plug into the battery side of the on/off switch so i can plug in the charger without have to disconnect the batter plug , which on the model i am building is not accessable
It really seems like there should be an option for a charge port.
This just feels like an oversight or bad product decision to me. You have a rechargeable battery, but you have to disassemble and disconnect it to charge it?!?
While I understand your point, this practice is generally considered normal in the RC world. It allows safer and often more efficient charging as well as protecting the electronics from potential over voltage situations.
It depends on the model.
This one was designed to be recharged without removal due to the design and placement of a door near where the battery connects to the switch.
The same is true of my upcoming model.
If you’re designing a new Cyberbrick design that uses the 7.4V battery, then, IMO, it would be better if you use the ‘off’ side of the power switch for the battery connection.
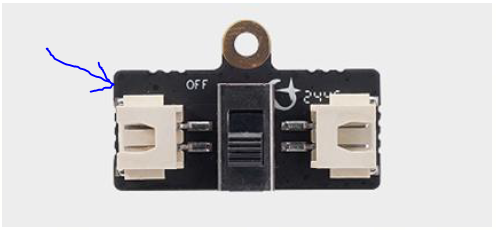
The way the slider switch is wired, the ‘off’ side connector ‘+’ pin is connected to the center pin of the slider and the other connector is wired to the switch pin opposite the mounting screw.
With the battery connected to the ‘off’ side of the switch, the switch will operate normally, connecting the battery to the core when switched on. However, when switched off, the battery is NOW connected to the used pin on the switch. If you connect your charging cable to that side of the switch, the charger will ONLY be connected to the battery when the switch is off…
I mount this type of cable inside my units:
And use this charger to charge them:
Hi,does anyone have suggestions for a more advanced charger, somthing that displays the battery voltage and may be has a storage mode? Thanks
Yes, you can charge the LiPo through the USB-C port, no need to remove it from the toy. Just make sure you use the provided cable/charger and don’t leave it plugged in longer than needed. The kit has built-in protection, so it’s safe to charge that way.
Neither the receiver shield X11 Remote Control Receiver Shield (1PCS) | Bambu Lab US Store nor the Core module A11 Multi-Function Core Board (1PCS) | Bambu Lab US Store embed a Lithium battery charger circuitry, thus you cannot use core module USB-C to charge the attached battery w/o dedicated charger, like 7.4V Lithium Battery Charger with XH2.54 Connector (1PCS) | Bambu Lab US Store
Forgive me for posting in here, it seems I’m new and I can’t find where to post a new question. So here’s mine: I have a couple of chargers included from the Kickstarter campaign. One just flashes red no matter what battery is on it. The other will stay solid red or solid green. I assume the solid lights are expected and the red flashing light signal a problem with the charger. Is that correct? The instructions on charging don’t talk about status lights at all. Also, if I have a bad charger, how would I go about getting a new one? Thanks!
I’ve never seen one flashing. All the ones I have are solid red or green.
There is a thread and a link on here
on how to open up a trouble ticket to get defective parts replaced. It’s a relatively simple process.
Hi, I wanted to share my charging solution. I design and build my own battery charger board. It has two connectors, one for the battery and another for the output to switch or the cyberbrick board. Also added a small SH connector for the Cyberbrick board to measure the battery voltage.
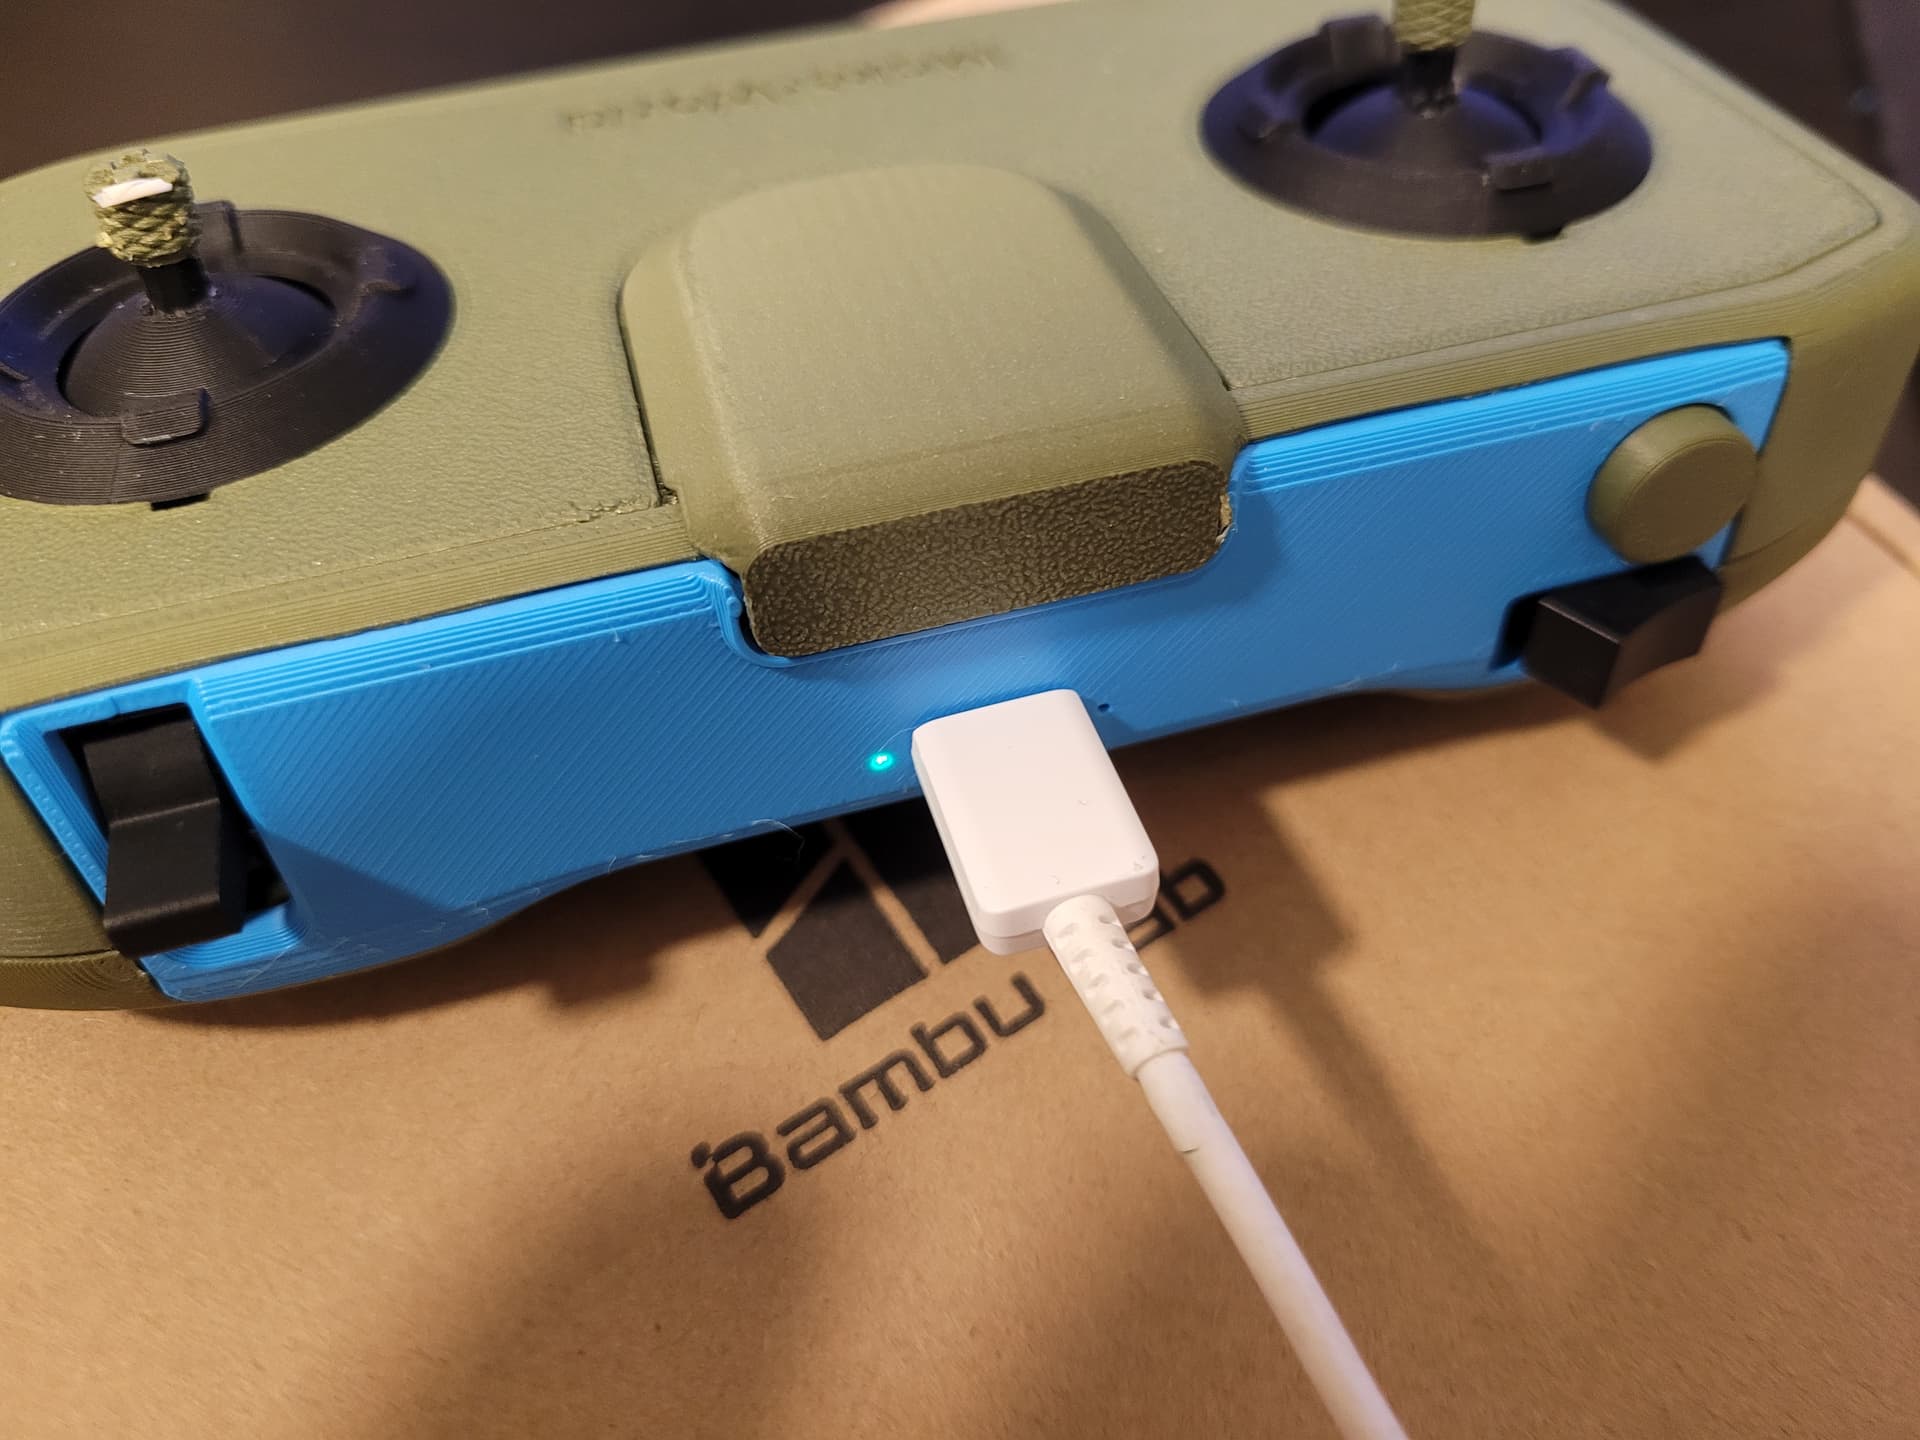

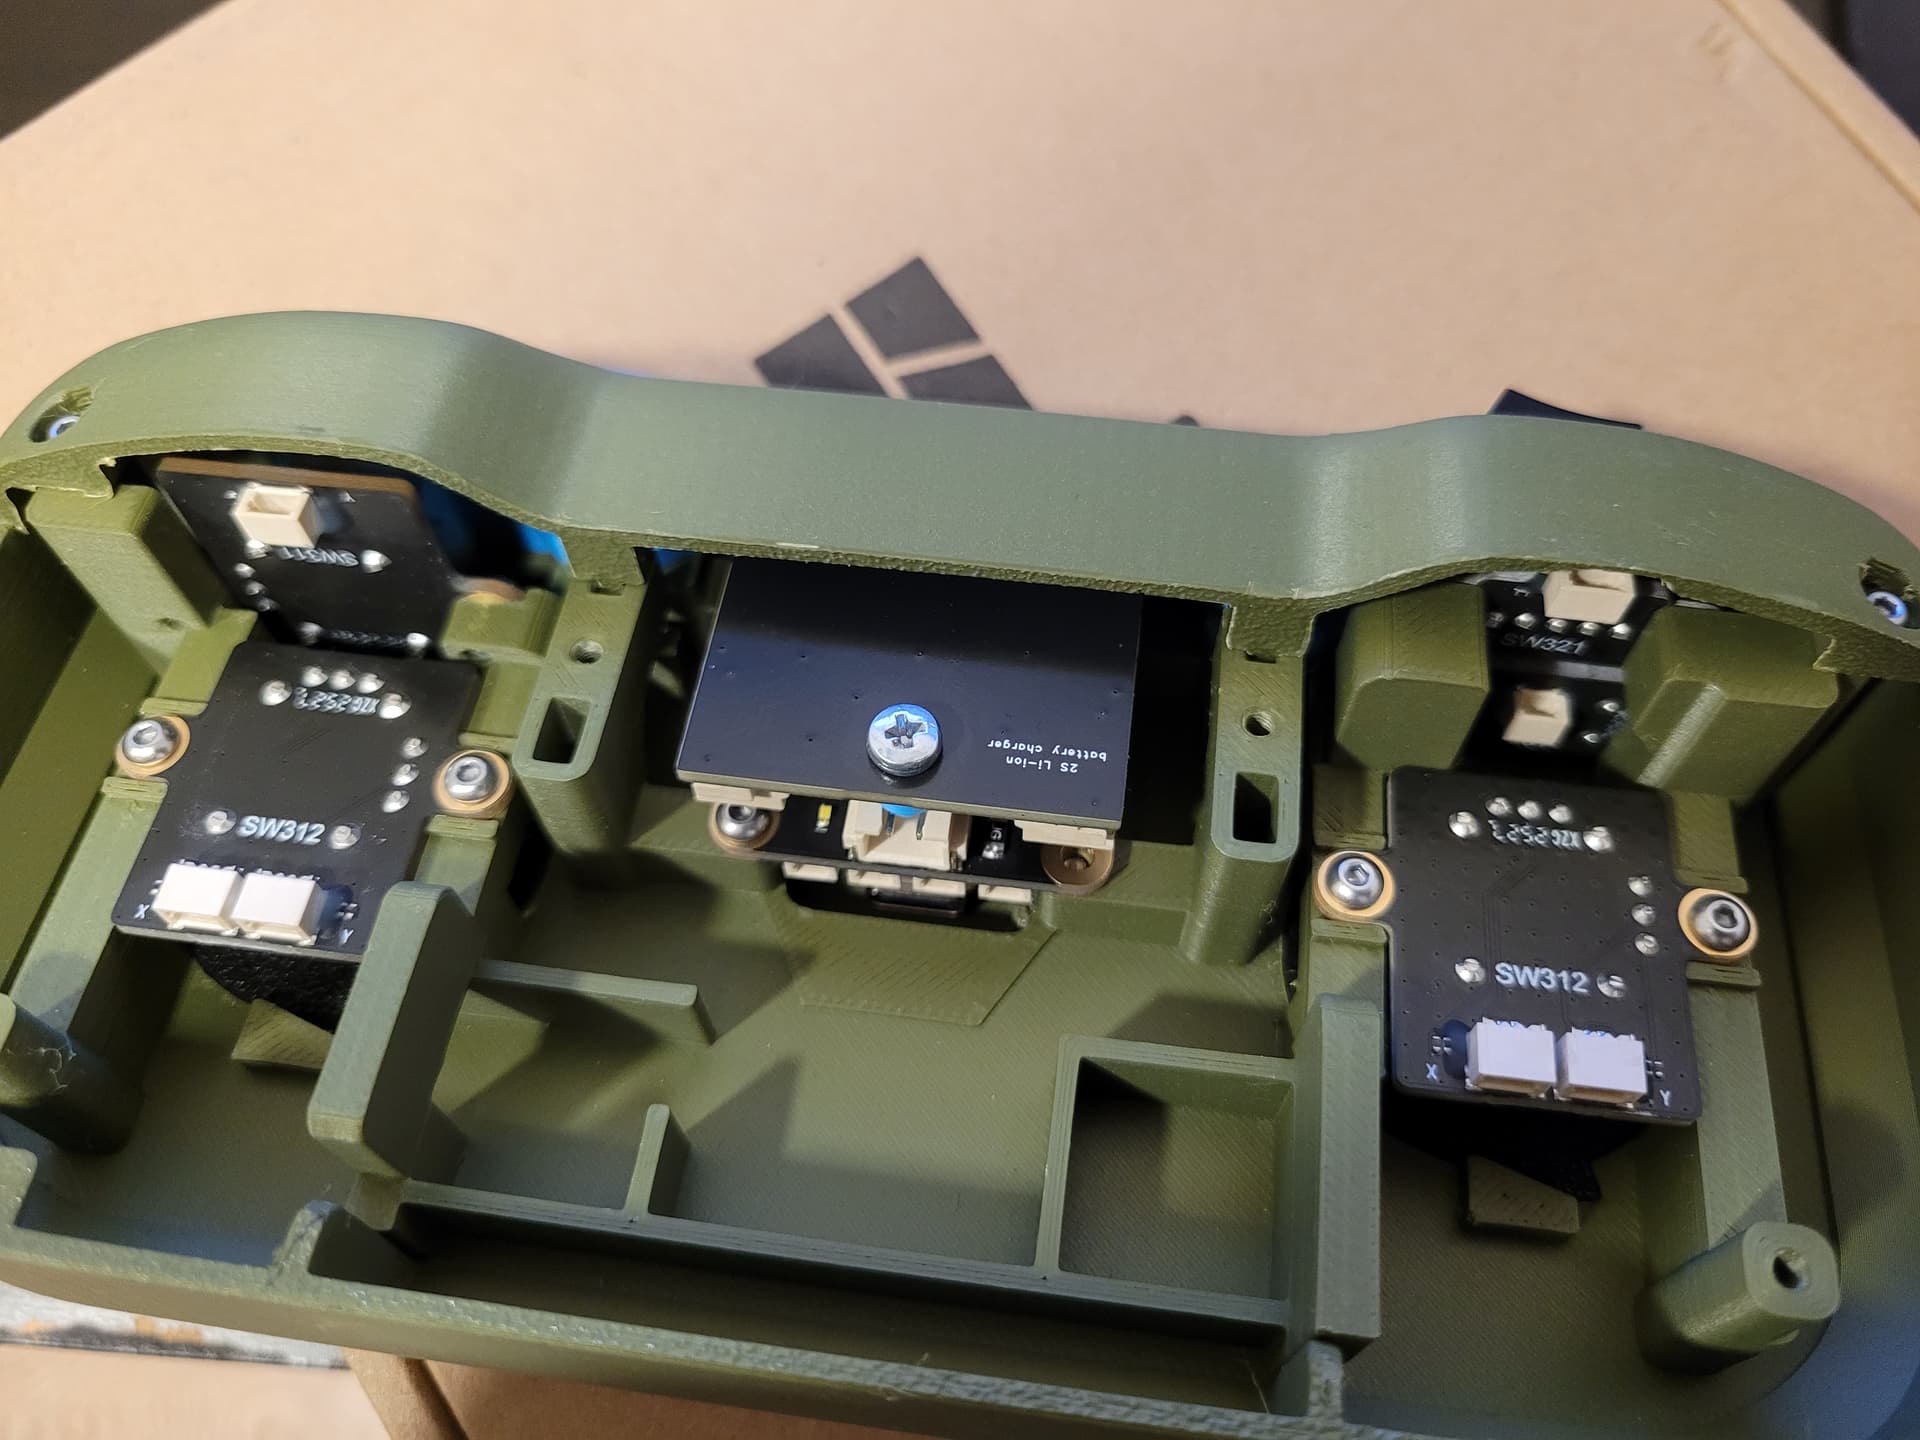
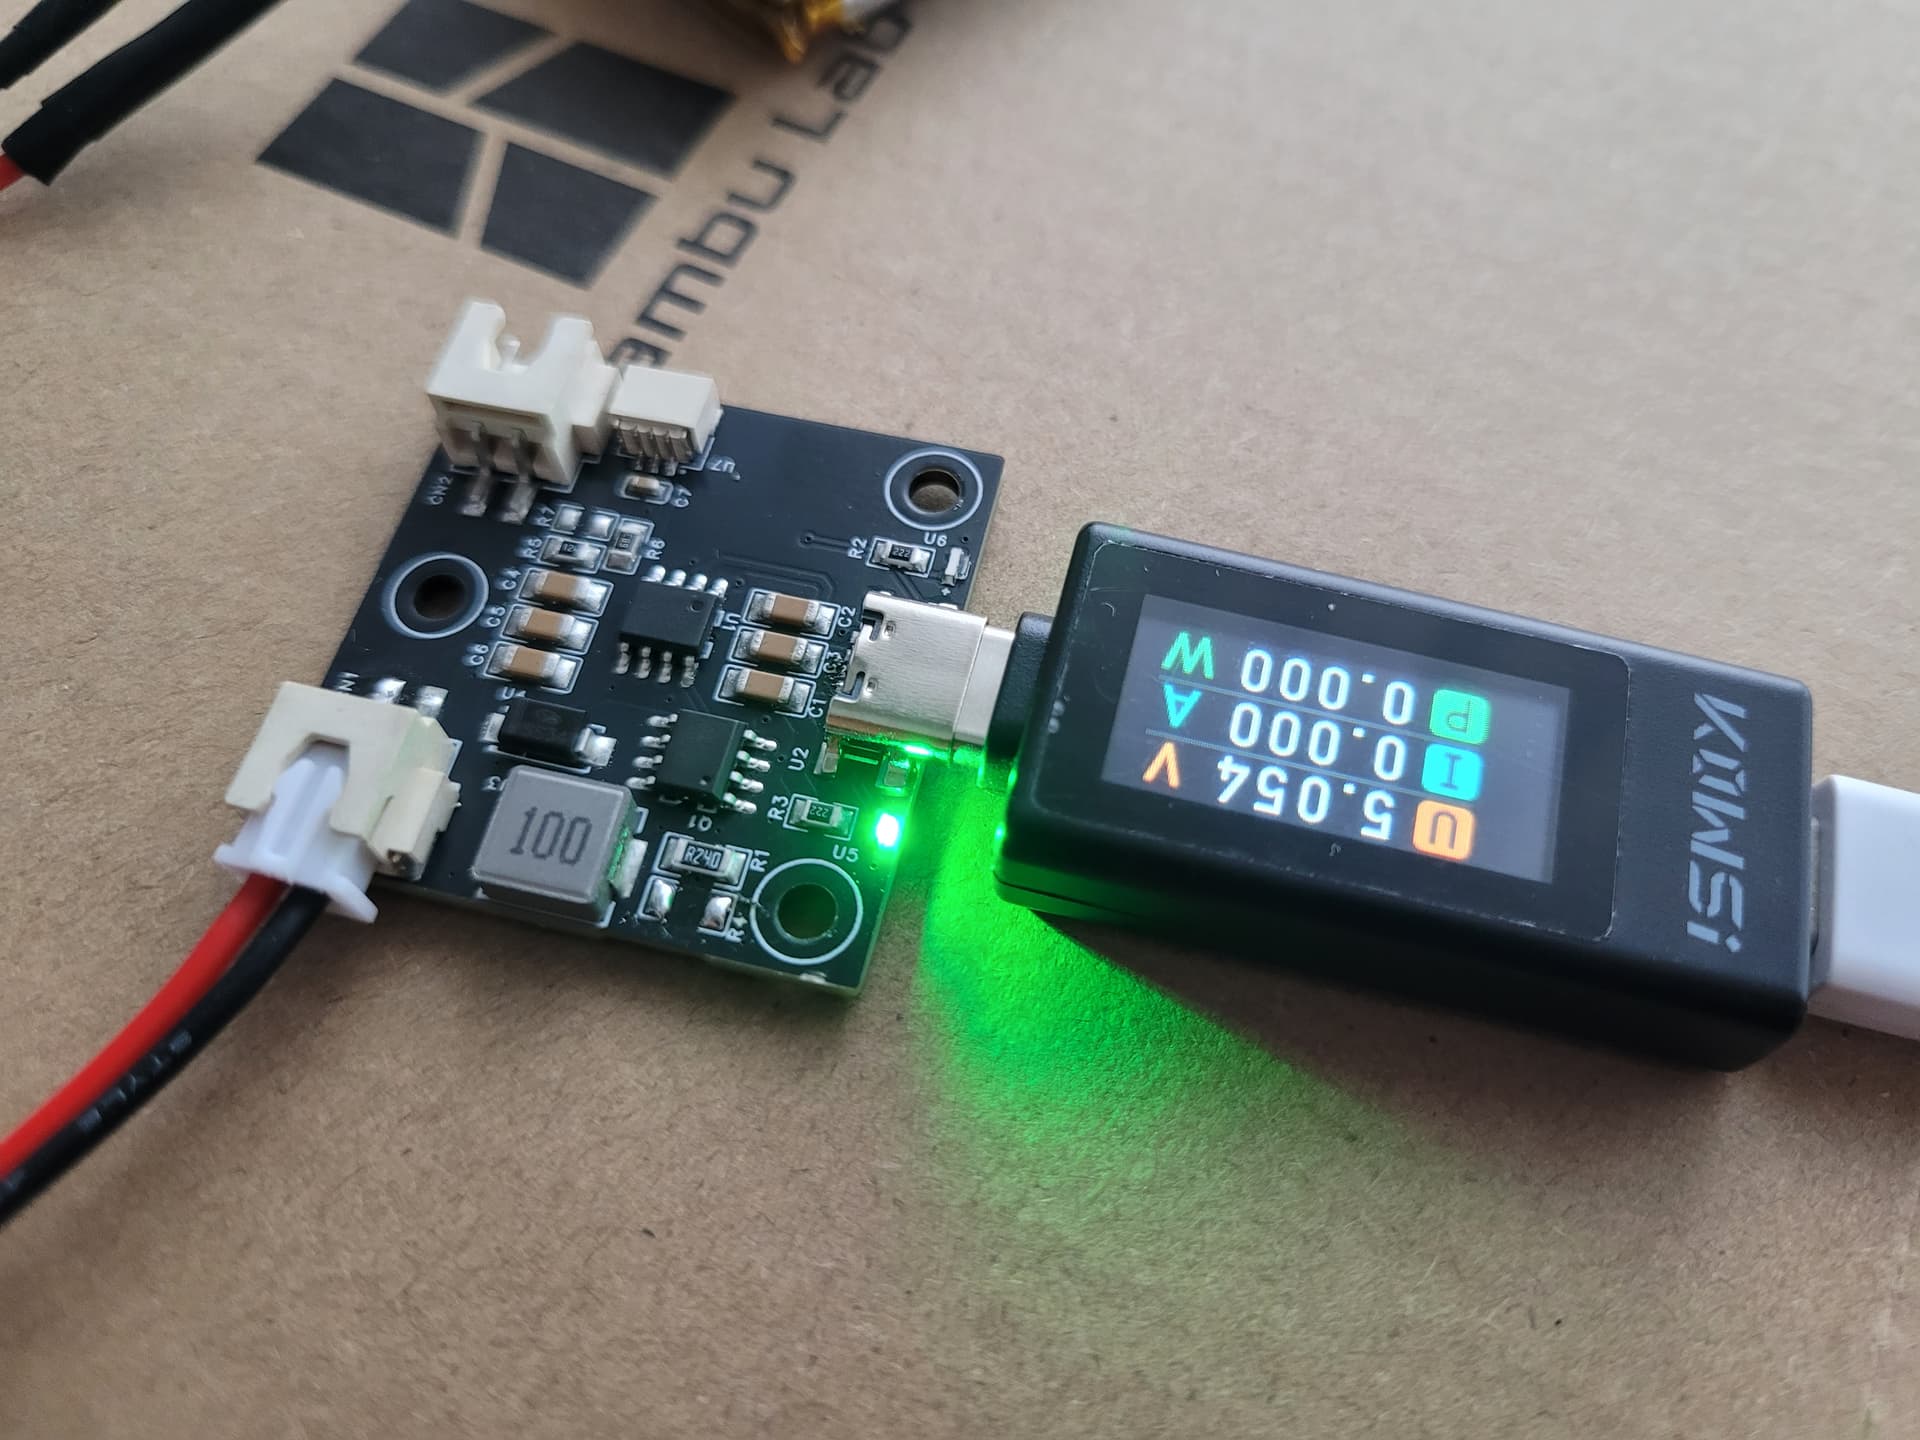
This is what needs to be available from @CyberBrick, I have been saying this for a while.
The most recent time.
Well done.
@CyberBrick this bloke made what you should have already available, speak with him.
That is very well done, I really like it. Is the design open and have you shared it somewhere?
It has been awhile, this battery has been sitting on my workbench for 2 months waiting for me to feel up to solder on the plug. For the train project I decided to splice in a XH2.53 male connector so that all I needed to do was plug in the charger that came with the kit, while the locomotive power switch is turned off. Don’t need to unplug the battery from the on/off switch, which is pretty hard to get at.

I’ve designed some convenient and universal charging solutions for your reference