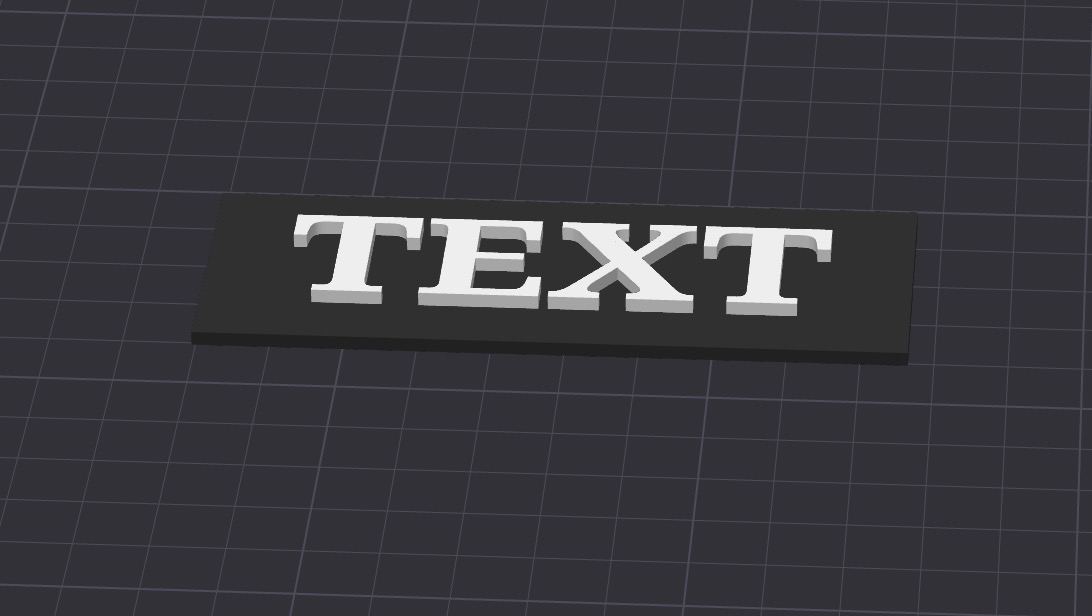
So I’m trying to create a basic keyring for my dad for Christmas, it has a black base and then white text on top. I would like the base to have an ironed finish and then the text to print directly on top of that. From my previous experience using Flashprint this was never an issue, however with Bambu Studio it seems to imprint the text into the base when slicing. I don’t know if it does this to try and increase the strength of bond between the two parts or if I’m missing a setting somewhere?
Anyone else have this issue? It prevents the base getting ironed smoothly because it has to iron around the text imprint which ends in a less than impressive finished product
EDIT: forgot to add this isn’t a numbers issue as I have all the measurements right to make sure the text height is placed mm perfect
Still doesn’t seem to do anything, what exactly does the heigh modifier range do?
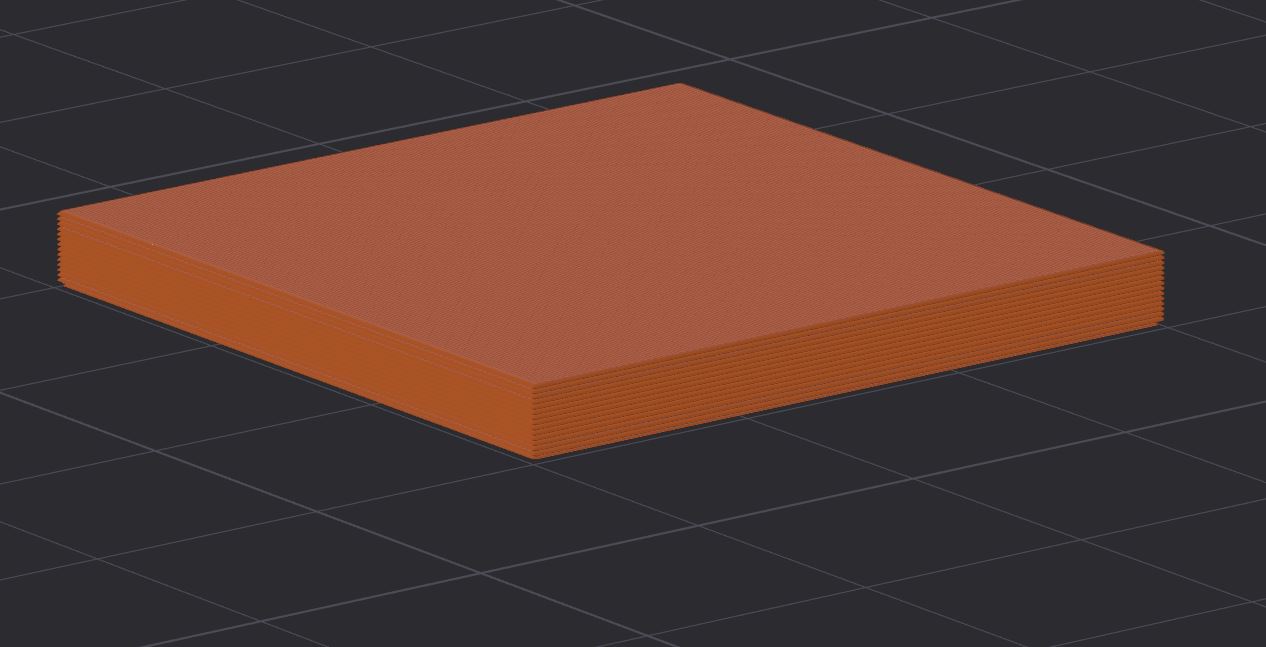
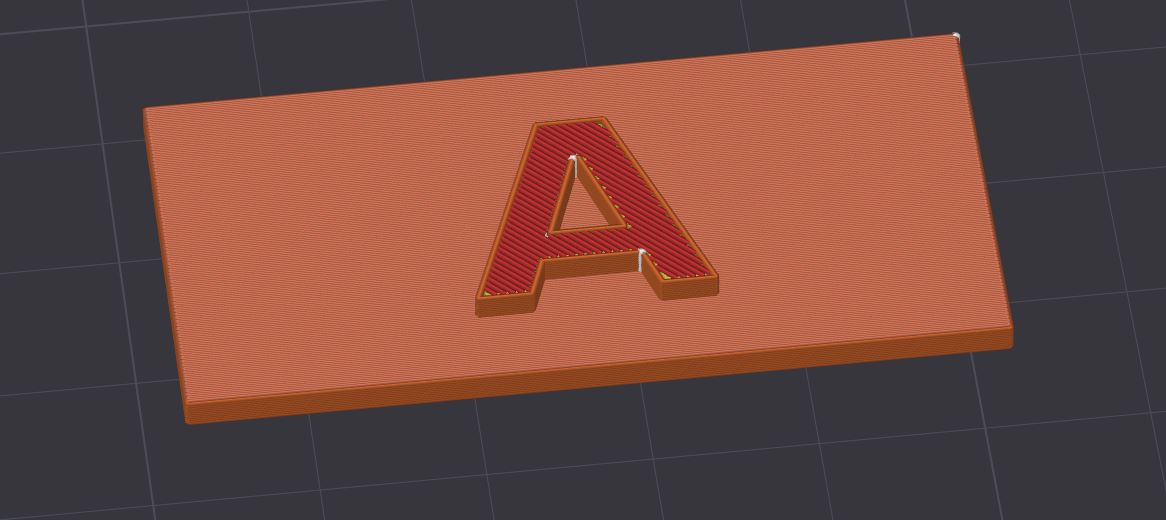
From the example you showed there, I want to iron the square base then print the text on top in a different colour, but when I do it the slicer seems to start carving the shape of the text out of the base and then does the ironing around the imprint. Then it will change colour and finish off the text
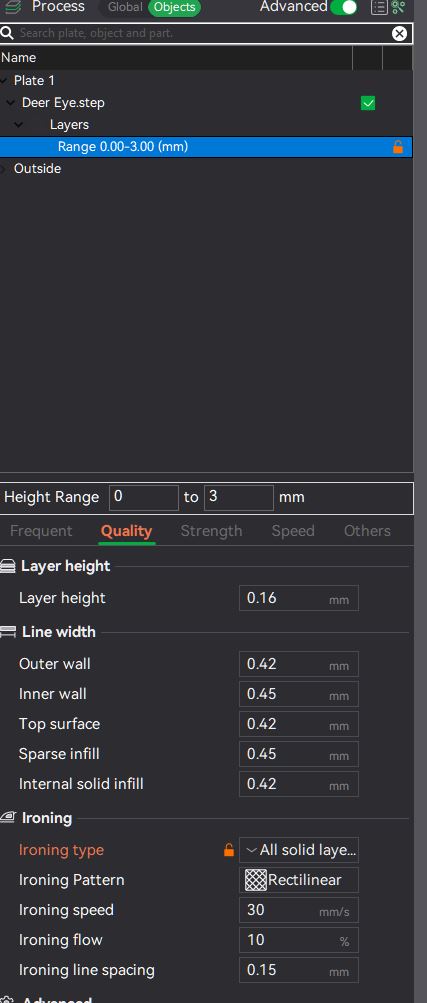
Well the issue seems to be when I right click on an individual part the Height Range option doesn’t show. I have to right click on the print as a whole
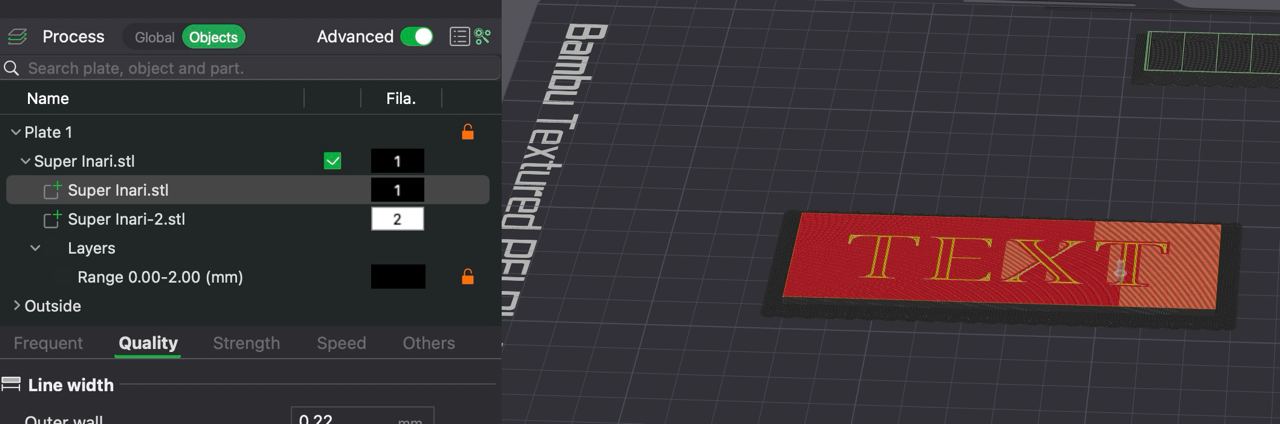
Then you can click on these and you can change your settings like I put 0 - 3 mm so it would only iron the cube surface then you pick the iron setting you want.
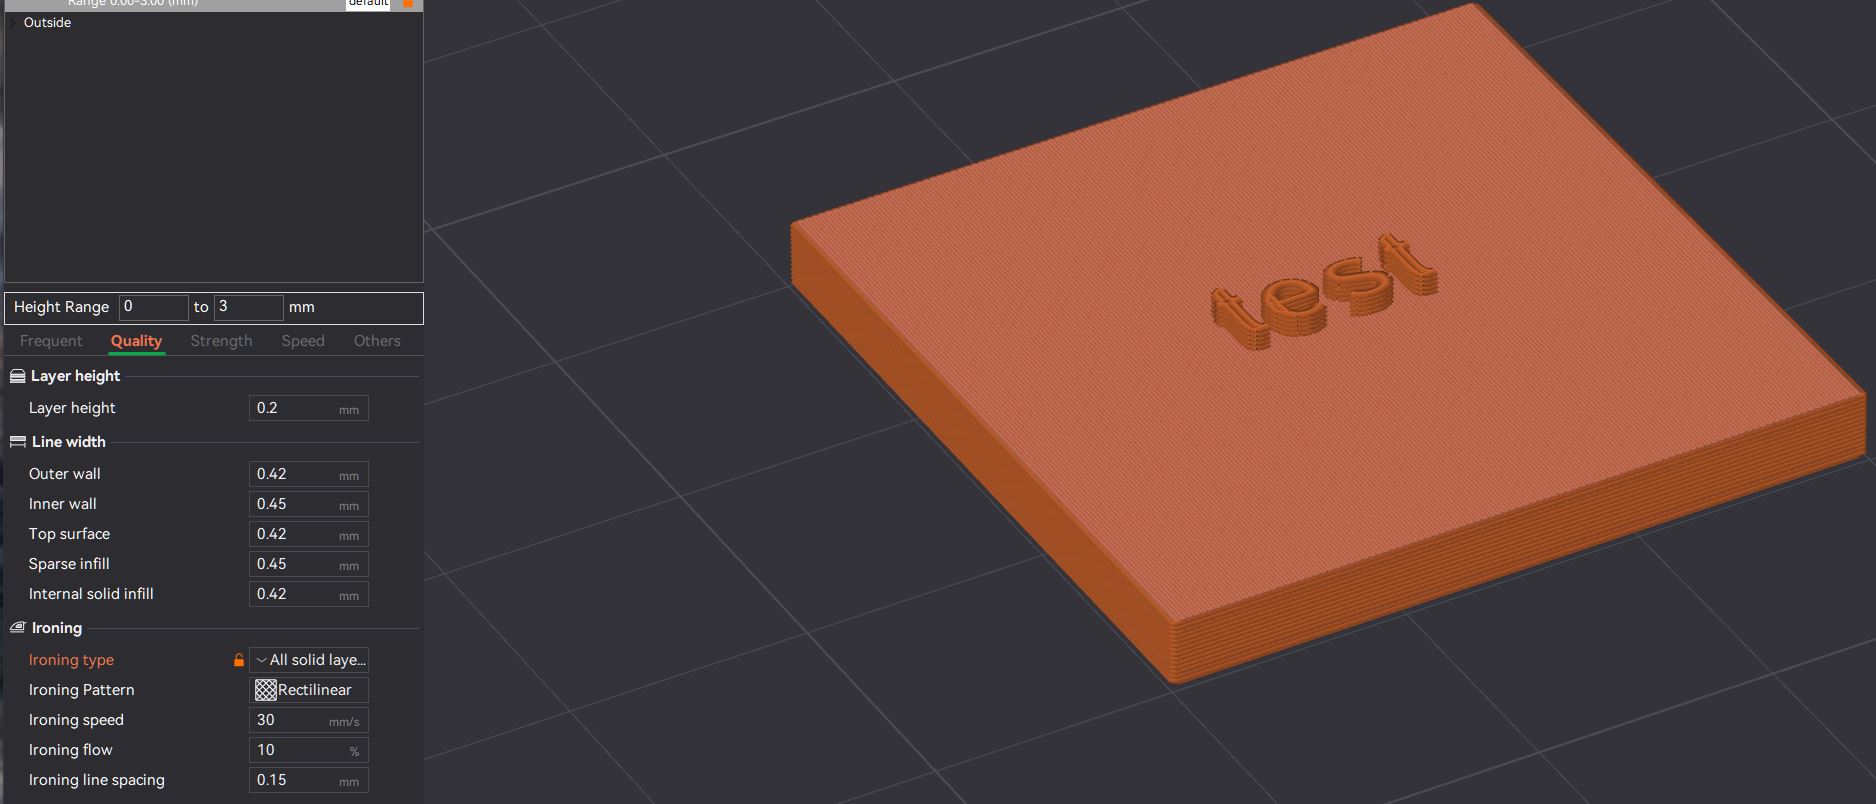
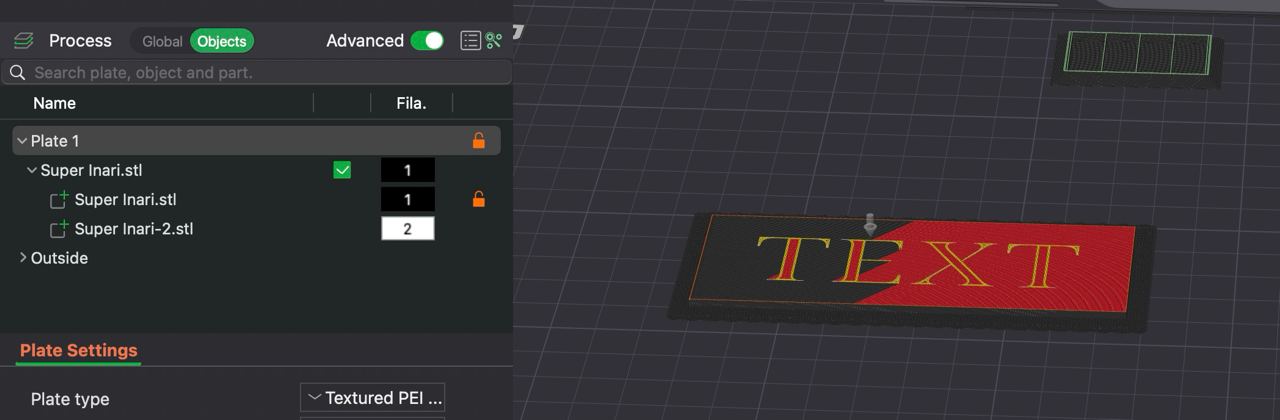
I’m not sure if this helps, but I have 2 x STLs (both 2mm height), I load the base in as a normal object, then the top as a part. I centre them both and then raise the text to 2mm z-height. Then I choose the base object and turn on ironing (all top layers). Now when I go to slice it shows an imprint of the text in the base which means the ironing happens around it as shown in this screenshot. It’s really frustrating me as I’ve never had this issue with my old Flashforge printer
If it is a logo text then you will have to get all your parts sized and z adjusted of how you want them then right click and select assemble then do the height iron modifier you must set the height range @ 0 to 2mm for your part sample.