Hi!
Printer:
X1 Carbon
Filament:
Bambu PLA Matte (dried 8 hours, desiccant loaded in AMS, humidity sensor reads 1 out of 5, aftermarket hygrometer reads 10)
Room Temp
~60f/15.55c
Ok first I just want to show off this print. I’m new to 3D printing and I think it came out fantastic!:

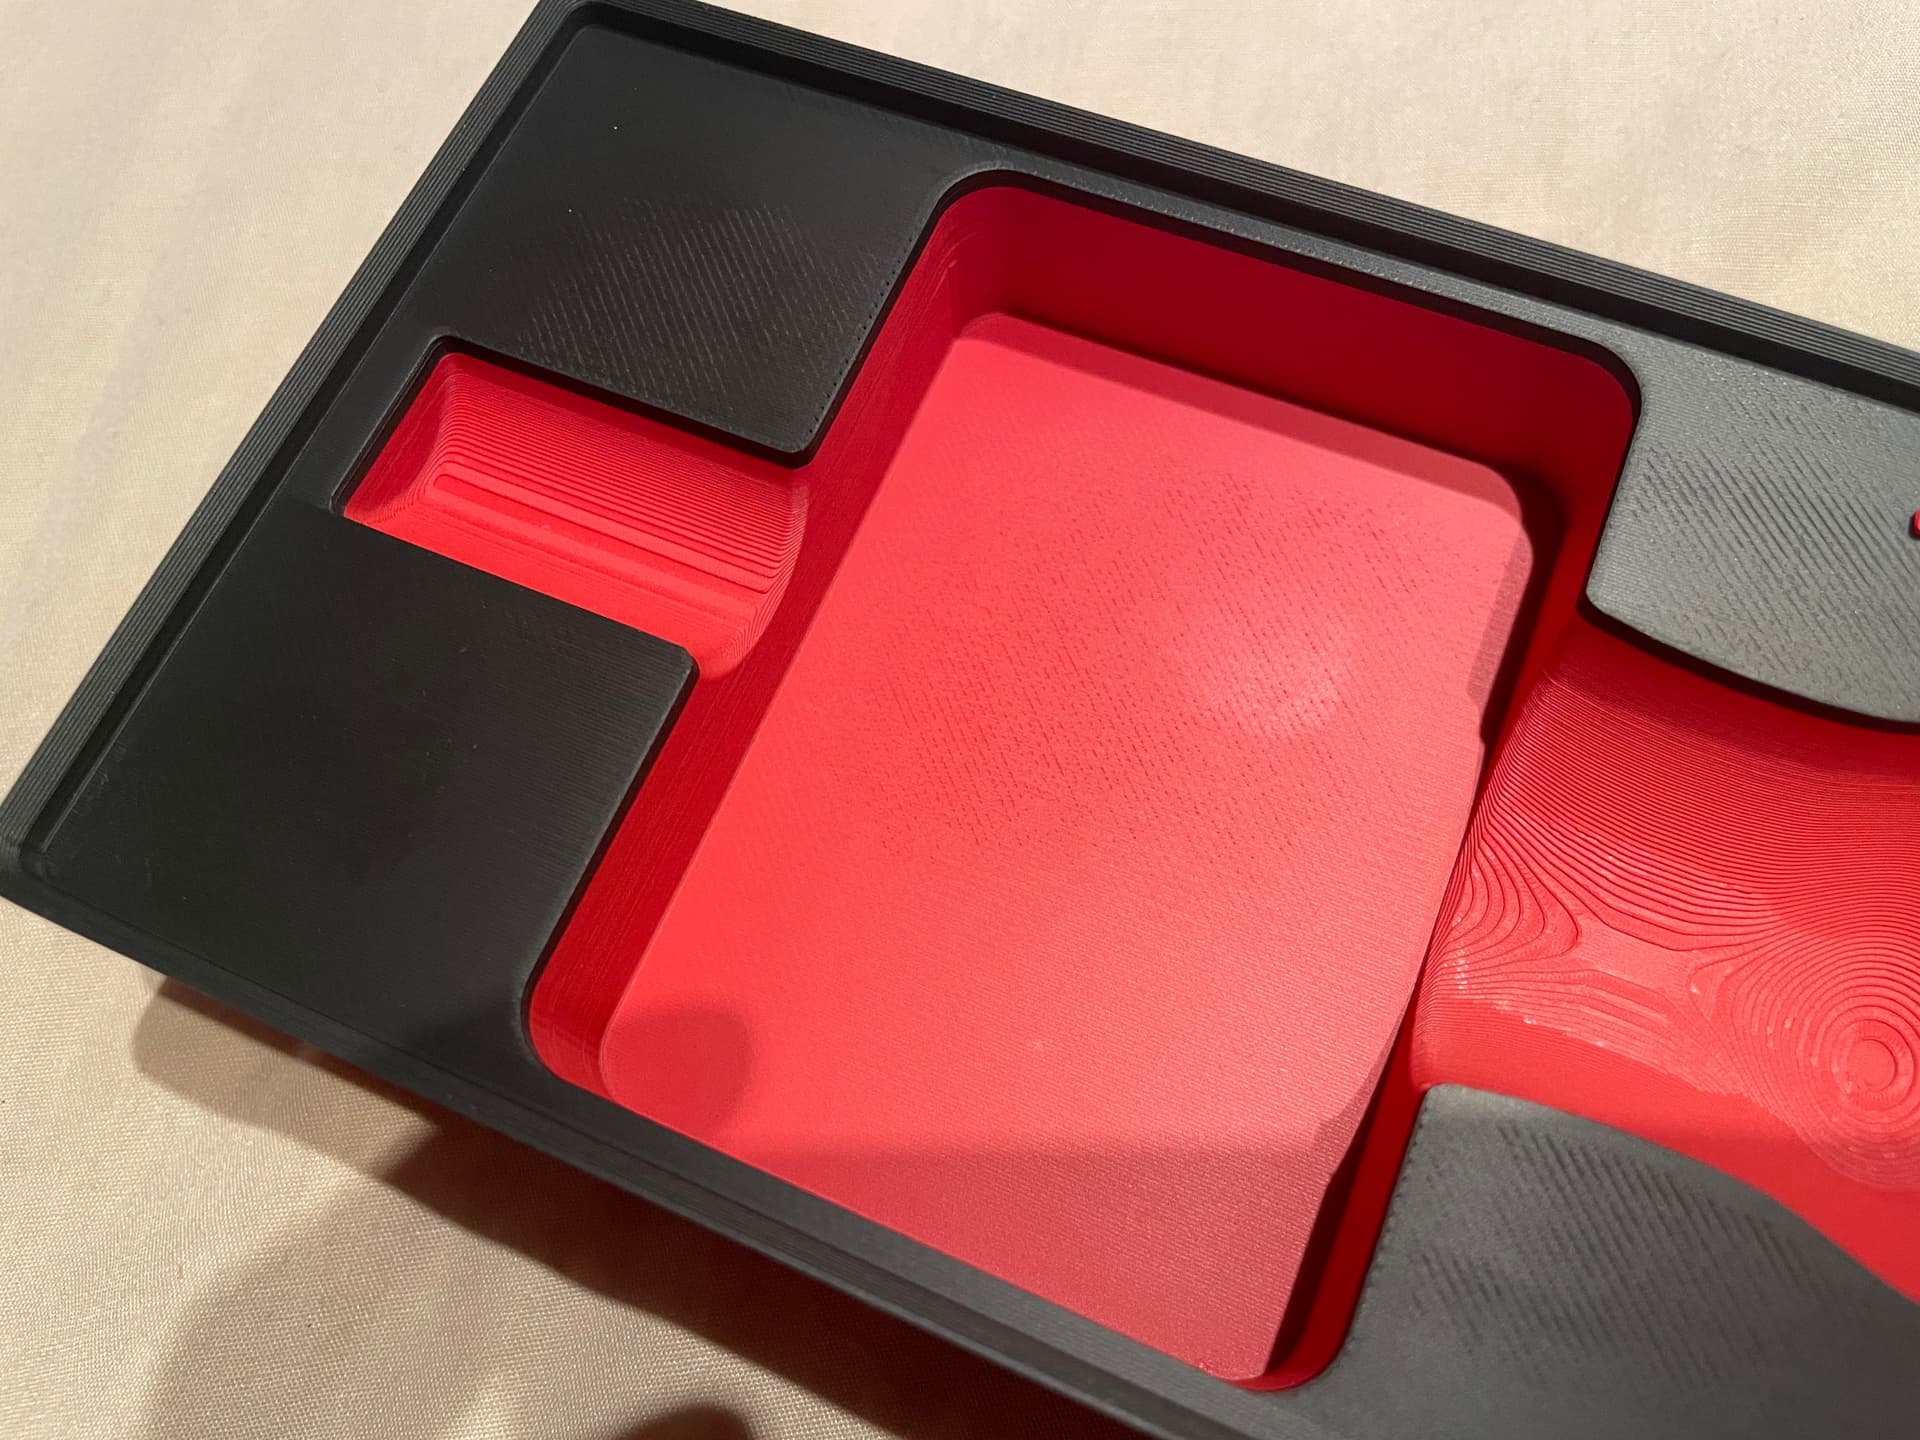
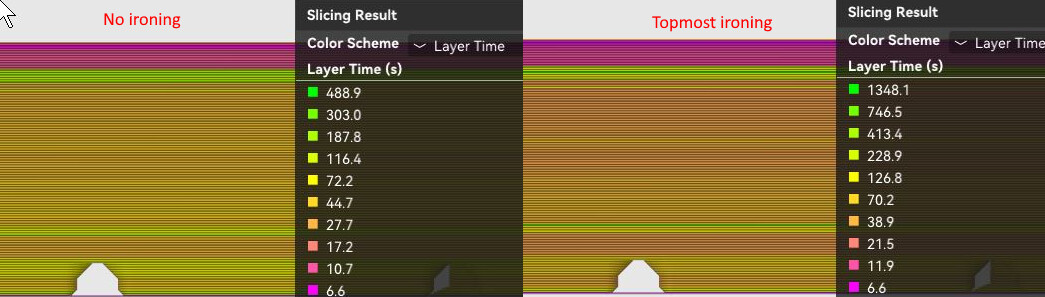
But it’s not perfect. My text wasn’t coming out that great so I turned on ironing. The text is on a lower layer than the top lip of the part so I needed to turn layering on for all top layers [is there actually a way to only iron the top face of the text by selecting what I want ironed?]. So I believe when ironing is done on the layer for the blue face shown below the nozzle pushes the layer down expending it outward causing that line:

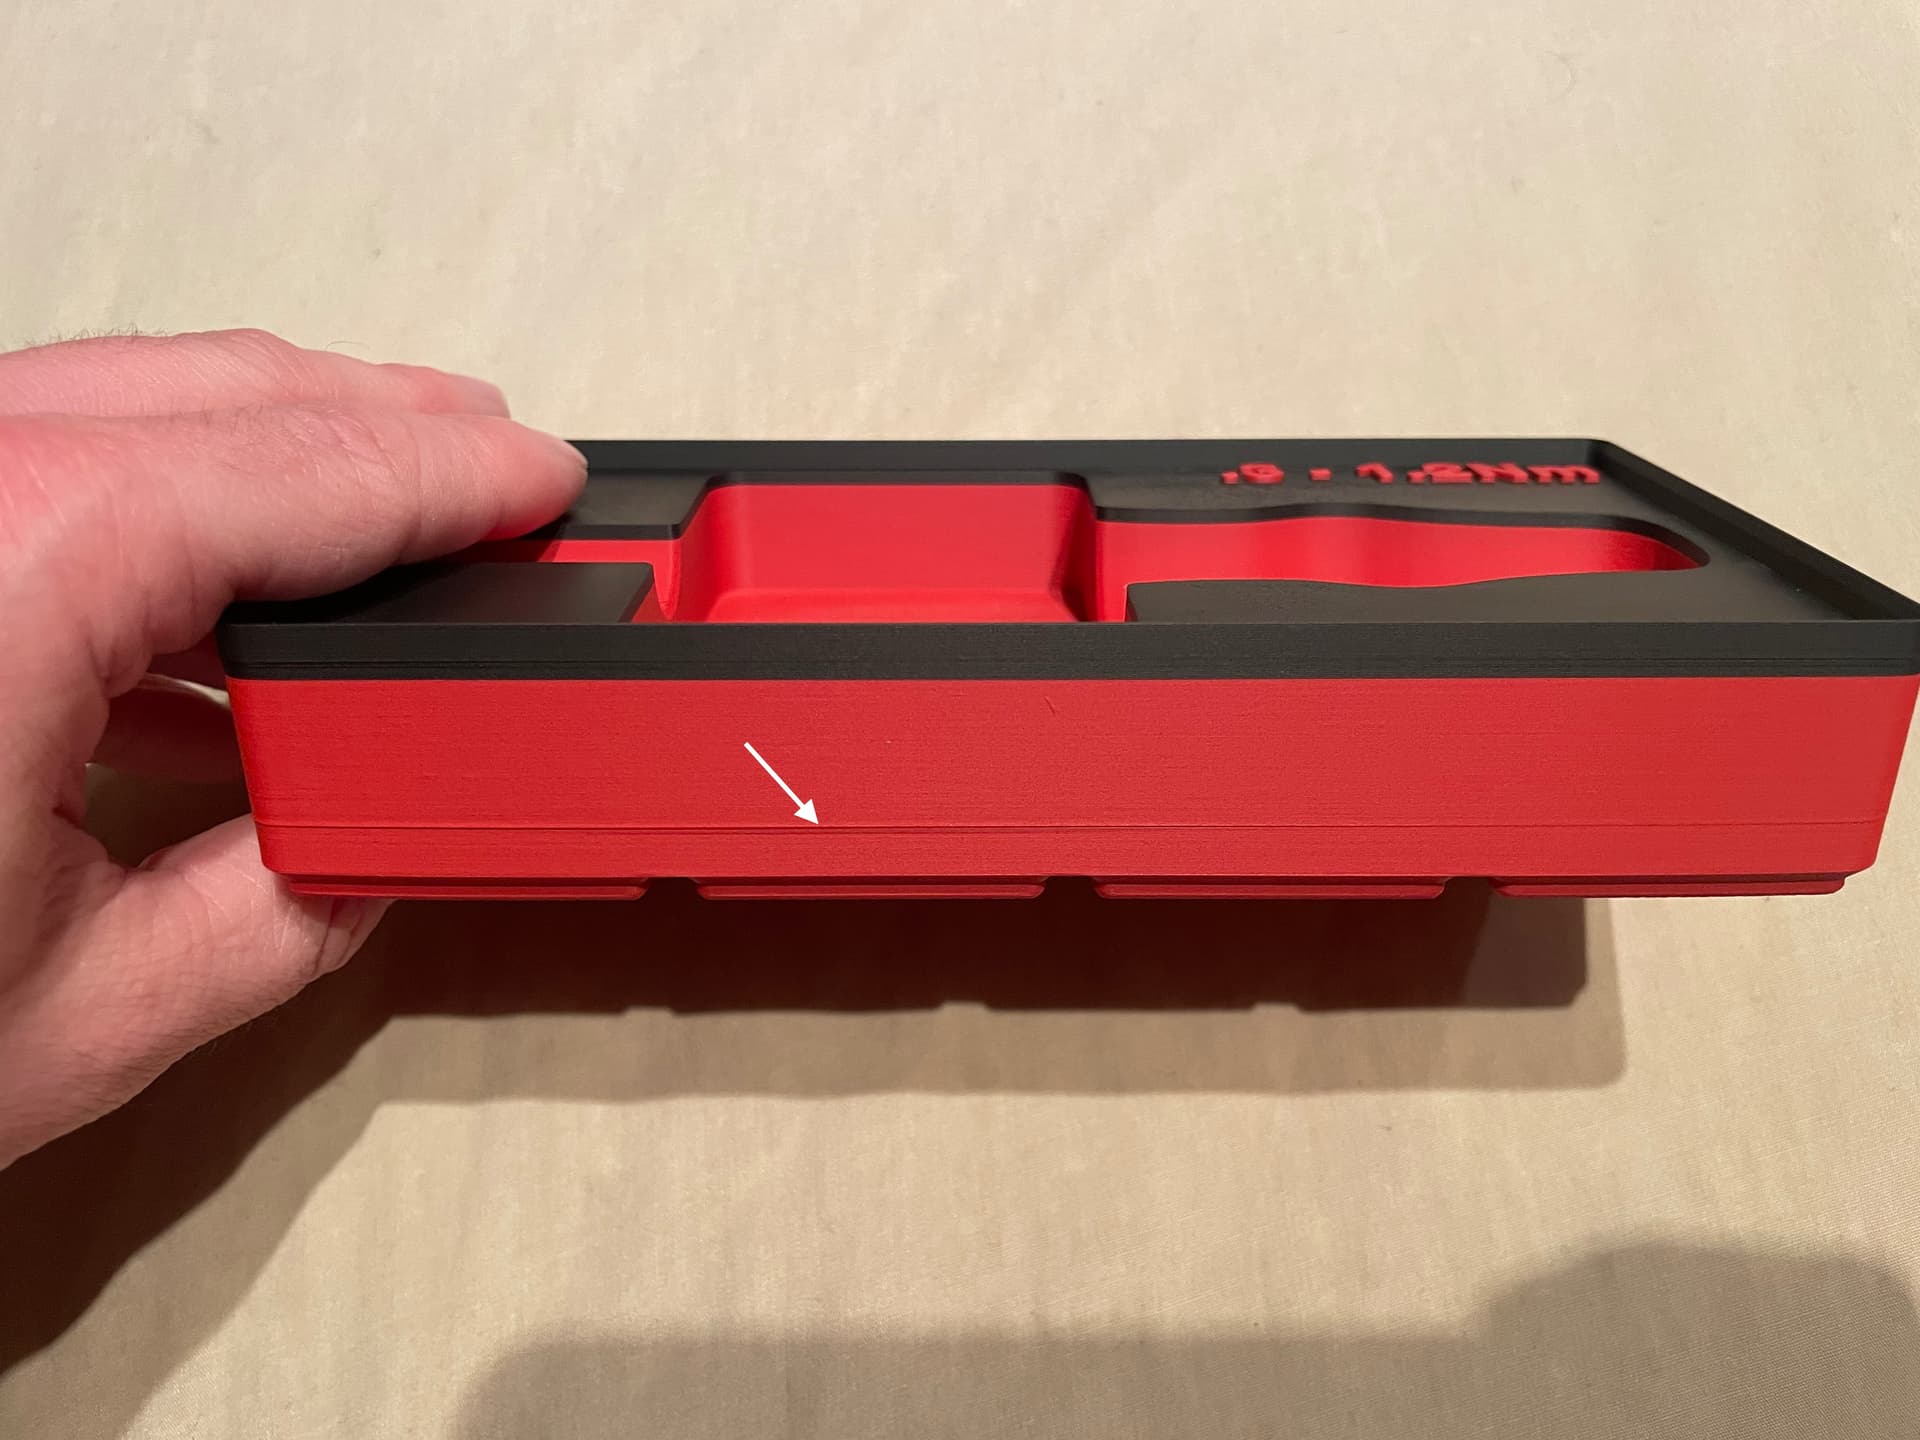
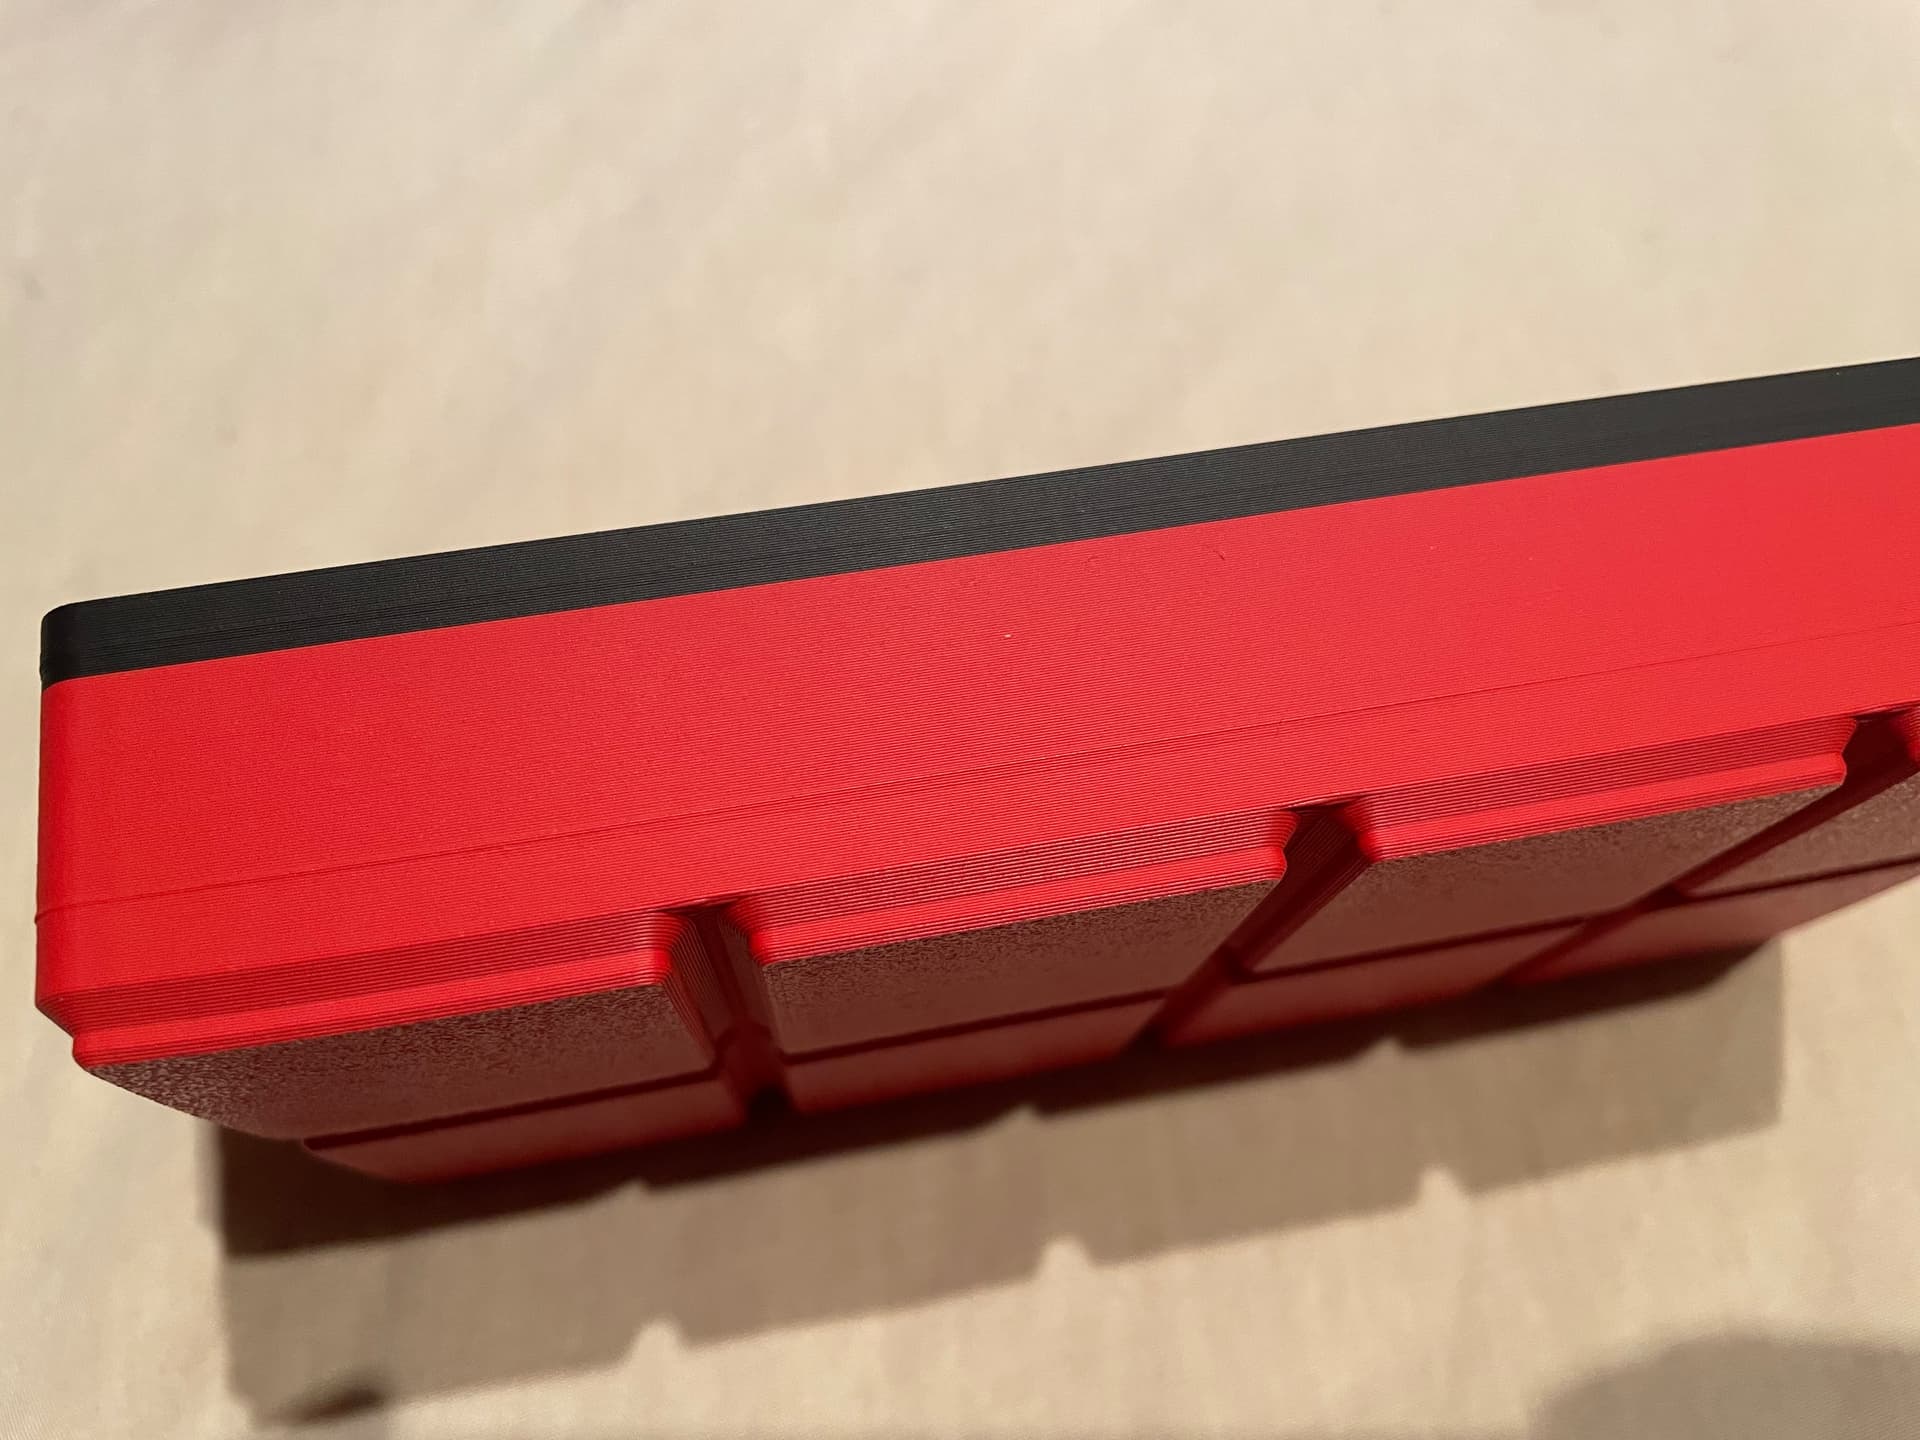
It actually looks like a few layers are effected. Feels about .005" wider than the other layers and it’s the worst around where that square pocket is.
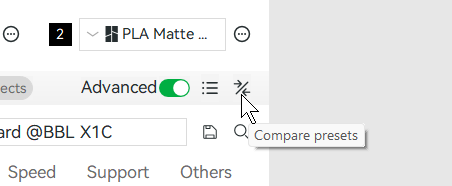
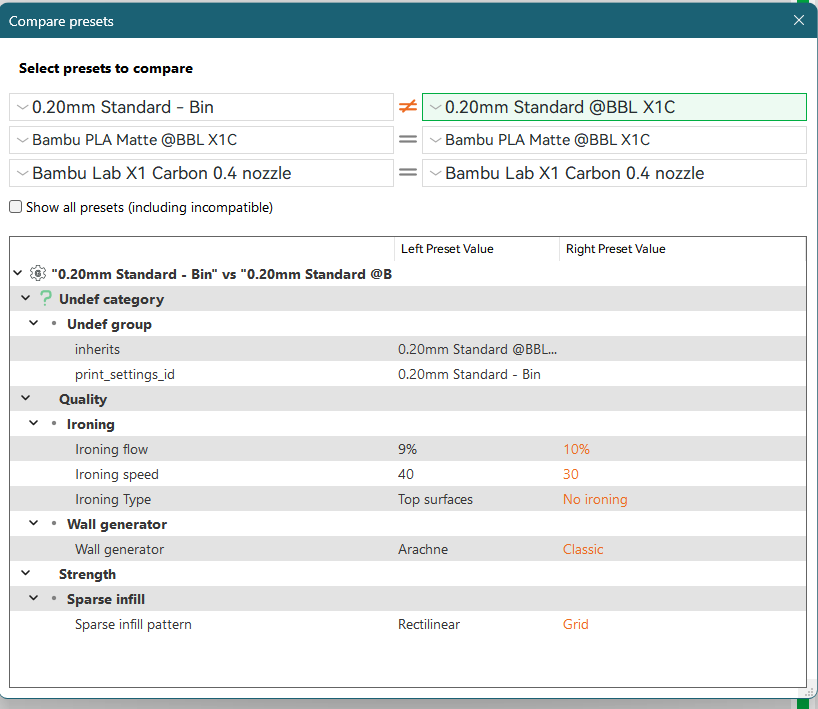
Settings:
Screenshotting my settings took 13 images lol and I’m only allowed 5. Linked below is a youtube video where I cycle through all settings. .3MF is also attached below

Troubleshooting steps:
- Sped up ironing by 10mm/s [now @ 40mm/s]
- Turned down ironing flow 1% [now @ 9%]
- Turned aux fan down from 70% to 50%
- Printed with door/top closed
- Shrunk the pockets ~.25" on each side so the pocket isn’t as close to the outer walls of the part.
- Added small radius to that square pocket
Whatever I did seemed to help just a wee little bit. Didn’t seem to do much.
Bin.3mf (1.0 MB)