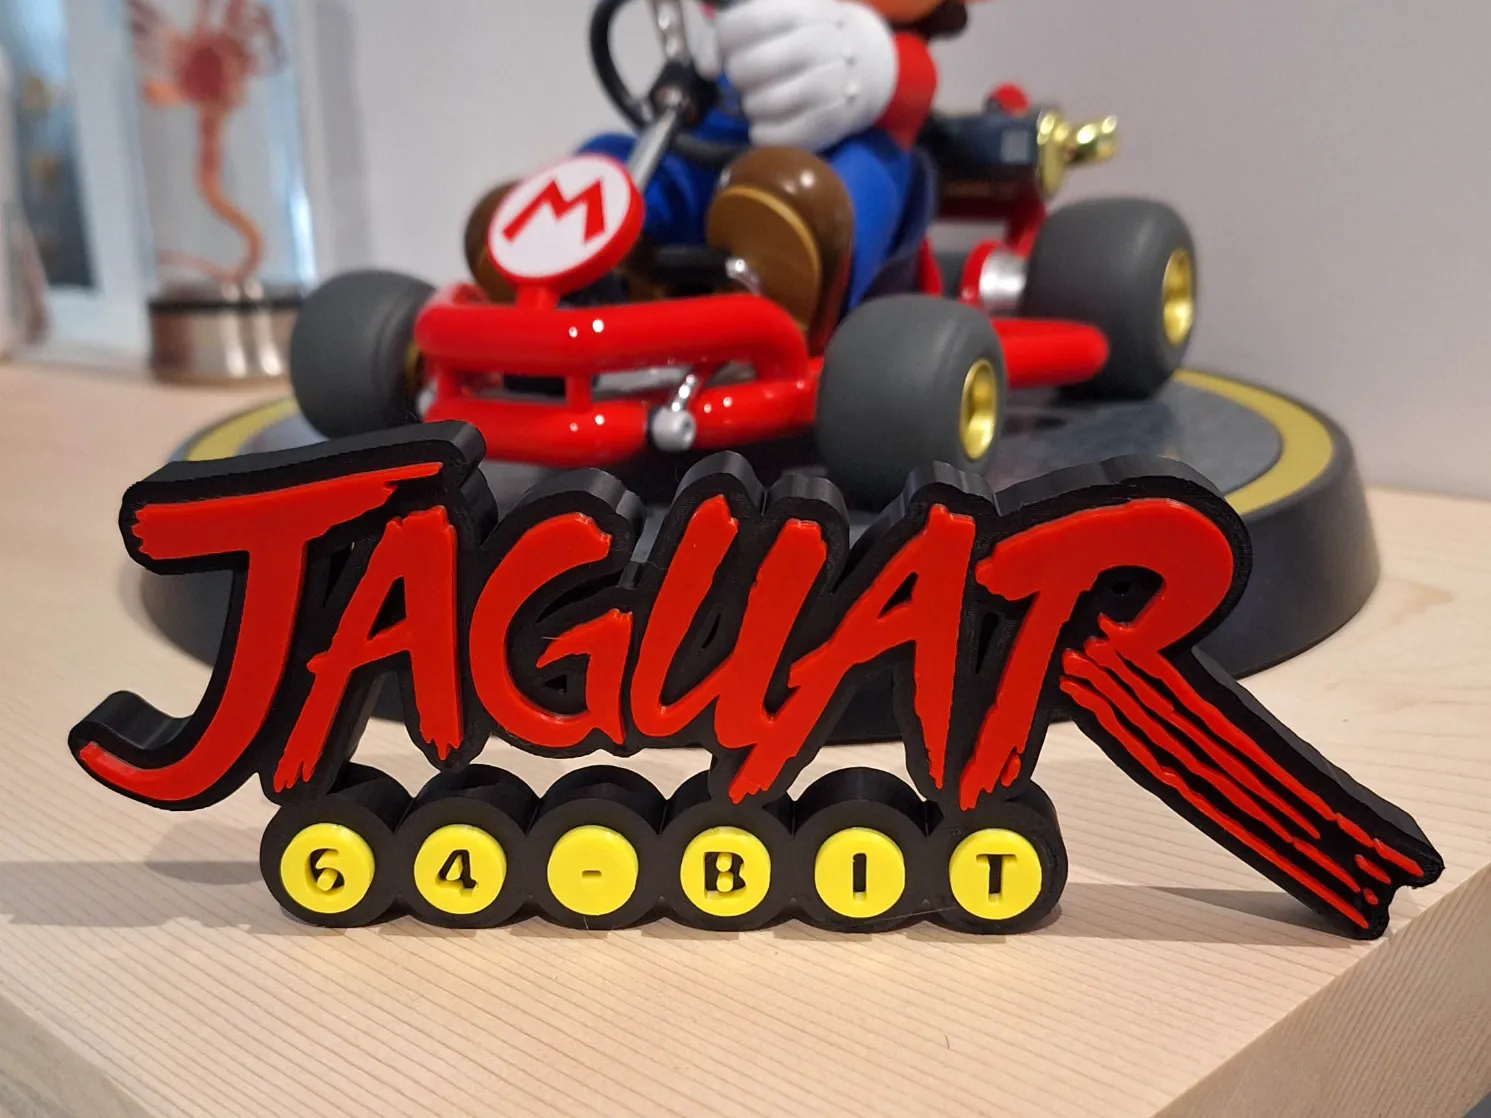
Hello everyone, I found this great model and would like to print it. Unfortunately, my A1 Mini does not have AMS.
I have already printed with multiple colors. In those cases, the colors were on different layers, and I was able to insert a pause for filament change.
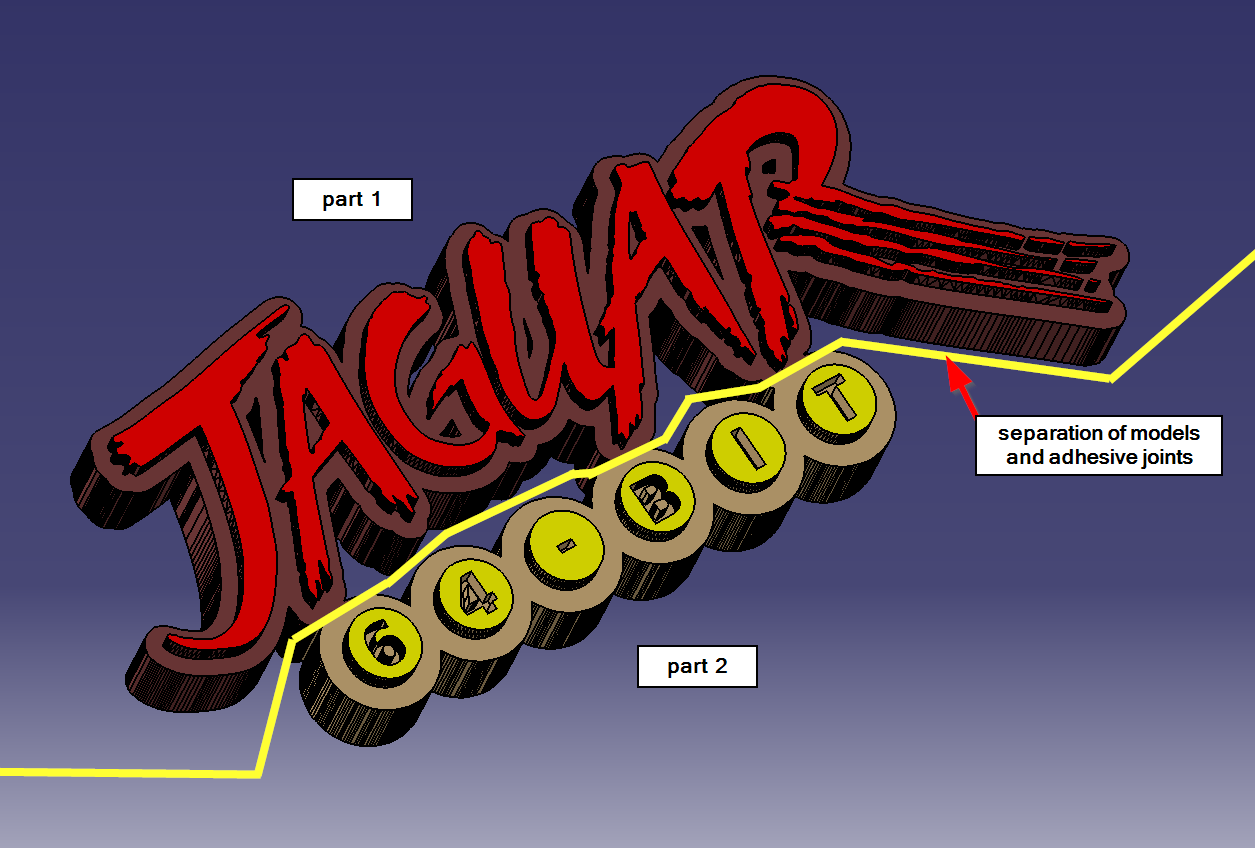
Unfortunately, with this model, the different colors are on the same layers. Is there any way I can control that
2.
Print the red or yellow text separately and stick it onto the black background. But I’m worried that it won’t look good once it’s stuck together, as the individual parts are quite small.
I was thinking you could lay the print on its back in the slicer but then I realized that red and yellow would be on the same axis. How about only black & red then glue yellow? I guess it would be a snap with an H2D.
Assuming this is not your model, you are going to make some changes to the model in Bambu Studio (BS),
Remove the red portion to deal with later
Add a new build plate, so there is at least one blank one.
Select the model, right-click and select centre.
Select the model and clone it to the new build plate.
Using the original model, select it and add “A negative part > Cube” .
Select the new cube, right click and select centre.
Select the cube and then use the scale tool from the toolbar.
Turn off “uniform scale”
Scale the shape to fully cover the red text.
Use the Move tool from the toolbar.
Change the Z-axis value so the rectangle only covers the red portion.
Once you have the scale and position correct, slicing the model will show the whole model without the top line red text.
Making the bottom black and yellow portion ready to print
Slice the model
Using the layer bar in the prepare tab (far right vertical bar), slide the bar down to the layer the yellow text would be printed, you should see the first layer of the yellow text.
Right click the plus sign on the correct layer.
Select “Add Pause”.
Print this build plate
Slice the build plate again.
Send the print to the printer.
Add black to the printer.
The print will print all the black section.
When the printer needs to print the yellow portion, the printer will pause automatically.
Swap the black for yellow.
Continue the print.
You now have a model with the black and yellow.
Print the red characters
Go to the cloned version on the new build plate from earlier.
Select the cloned version of the model.
Using the same technique from earlier, add a new negative block to cover the black section of the model, the whole area.
Use the scale and move toolbar tools.
Select the cloned version of the model again, not the negative block.
Add a new negative block to cover the yellow section of the model.
Print the red letters
Add red to the printer.
Slice the plate and print.
Finishing up
Glue the red letters to the black and yellow model.