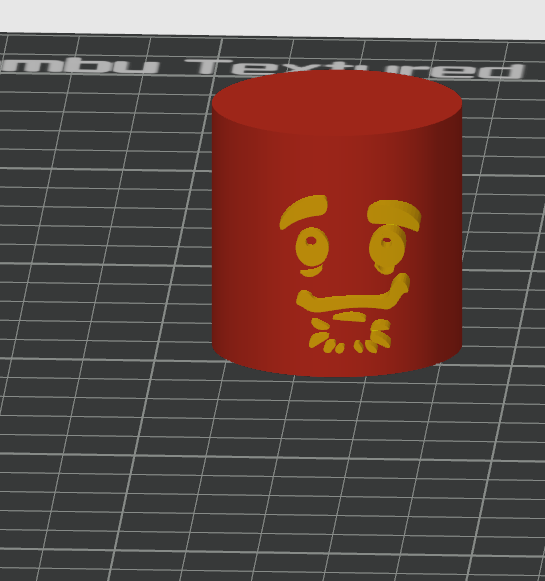
So everything looks good, but the modifier is a single color. I want parts of the modifier to be different colors. Is that possible without splitting the modifier to multiple modifiers? If not, I think that would be a cool feature to add. Either that or if you add a part, you can have a cut option to make it flush with the main object.
You can export the modifier as an stl by right clicking it, the importing it into CAD to isolate individal volumes and save them individually beforr reimporting.
Based on your description that you used a modifier to ensure the pattern was flush to the model, can I assume the source pattern isn’t designed to marry to the curve?
If the pattern was designed to be flush, you could used Height range modifiers on the pattern to choose a different colour based on height.
Given the pattern appears to have easy horizontal visual differences, you could have different colours for the mouth, nose, eyes and eyebrows for example.
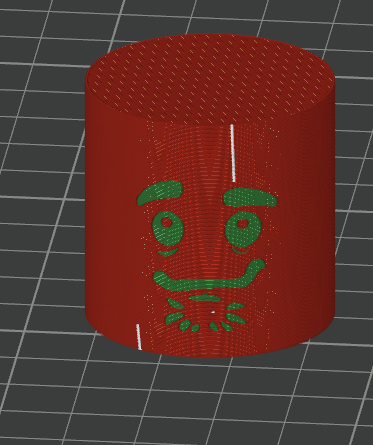
Do you have the knowledge to make the face pattern curved to be flushed without relying on the modifier to achieve this?
You are correct about it not being made for curved surface. This was just a test one. More like a concept of what I wanted to ask. I figured out how to do in all through Bambu Studio. You just have to split the file to objects then just export the different colors as different stls. That way when you import as a modifier, you can just change the color. While this method is “okay” with simple designs(as in each peice is mono color), it would be a nightmare with more complex ones. I wish Bambu studio was more of a all in one program since most printers nowadays are plug and play. You get a lot of people without design backgrounds (like blender and fusion). I think it is getting there, just not yet.
As a little fun fact: you can overlay multiple modifiers to do color printing. An example i did using the model above was adding cylinders in the eyes as a modifier to make the pupils white instead of the background color, since coloring the print does not take in account modifiers
When two entirely different tools are combined it rarely becomes better than the sum of two parts, it is usually a frankentool.
The bugs would be constant, the delays to fix would be extensive, new features would take far more time.
This not saying anything bad against the developers, it is simply fact, born out of more than 35 years as a professional software developer and 27 years owning the companies.
What desire is a CAD package that doesn’t feel daunting.
There are many, take a look at each, most have free trials and free licences for makers. Work out which fits your needs.
You have to remember that pure CAD isn’t designed for makers of the 3D printing community. It was created long before 3D printers ever existed.
You will find many of the CAD tools focus more on the maker community as time goes on as the traditional CAD world is small, the maker community is massive. There is a lot more room for profit when selling inexpensive and easy software to millions than it is to sell expensive software to thousands.
Yeah that’s true. I guess i mean more of a simple version of a cad program. Like for example microsoft standard photo app. It can do a lot of the basic stuff, but you need to use an actual editing software to get perfect editing. I think something like wraping an image on an object and be able to paint it would be simple. I do agree with you. Degining insane stuff in bambu studios is not the way to go and never will be. Just wish they have more stuff for basic things so you dont have to hop into a different program for something so small.
So I was doing some experimenting and if you set it to a negative part, you are able to combine it together. So it gets rid of the negative part item and merges it into the object. Something like that would be cool. That way you can apply the change of the modifier, then paint it afterwards.
That and the more a program is destined to do, the more resources it uses and winds up slowing the entire system down. Opening and running 3 different tools at the same time can use fewer resources than an all in one application, and uses memory more efficiently.