MakerLab Drops Mesh Graffiti Beta — Customization Just Got Way Easier

Ever thought about adding some personal touches to your models?
With MakerLab’s Mesh Graffiti, it’s never been easier!
mesh1

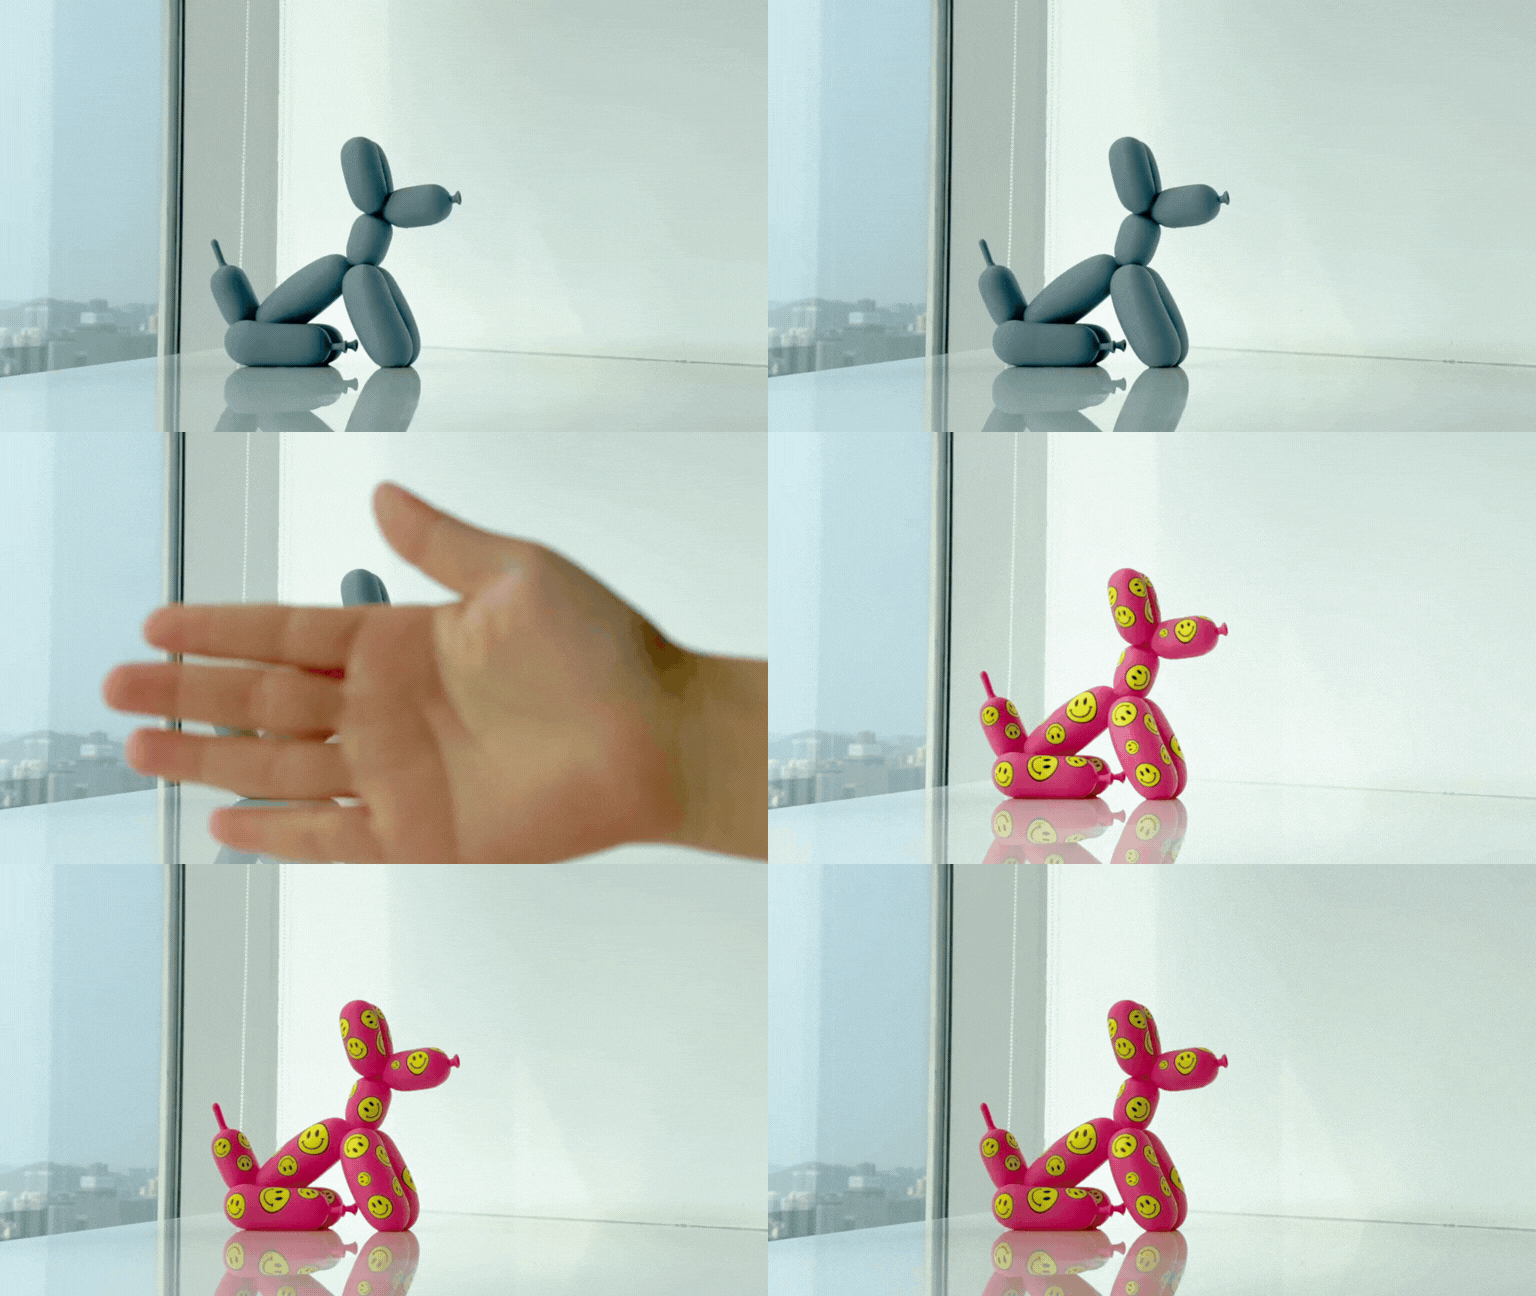
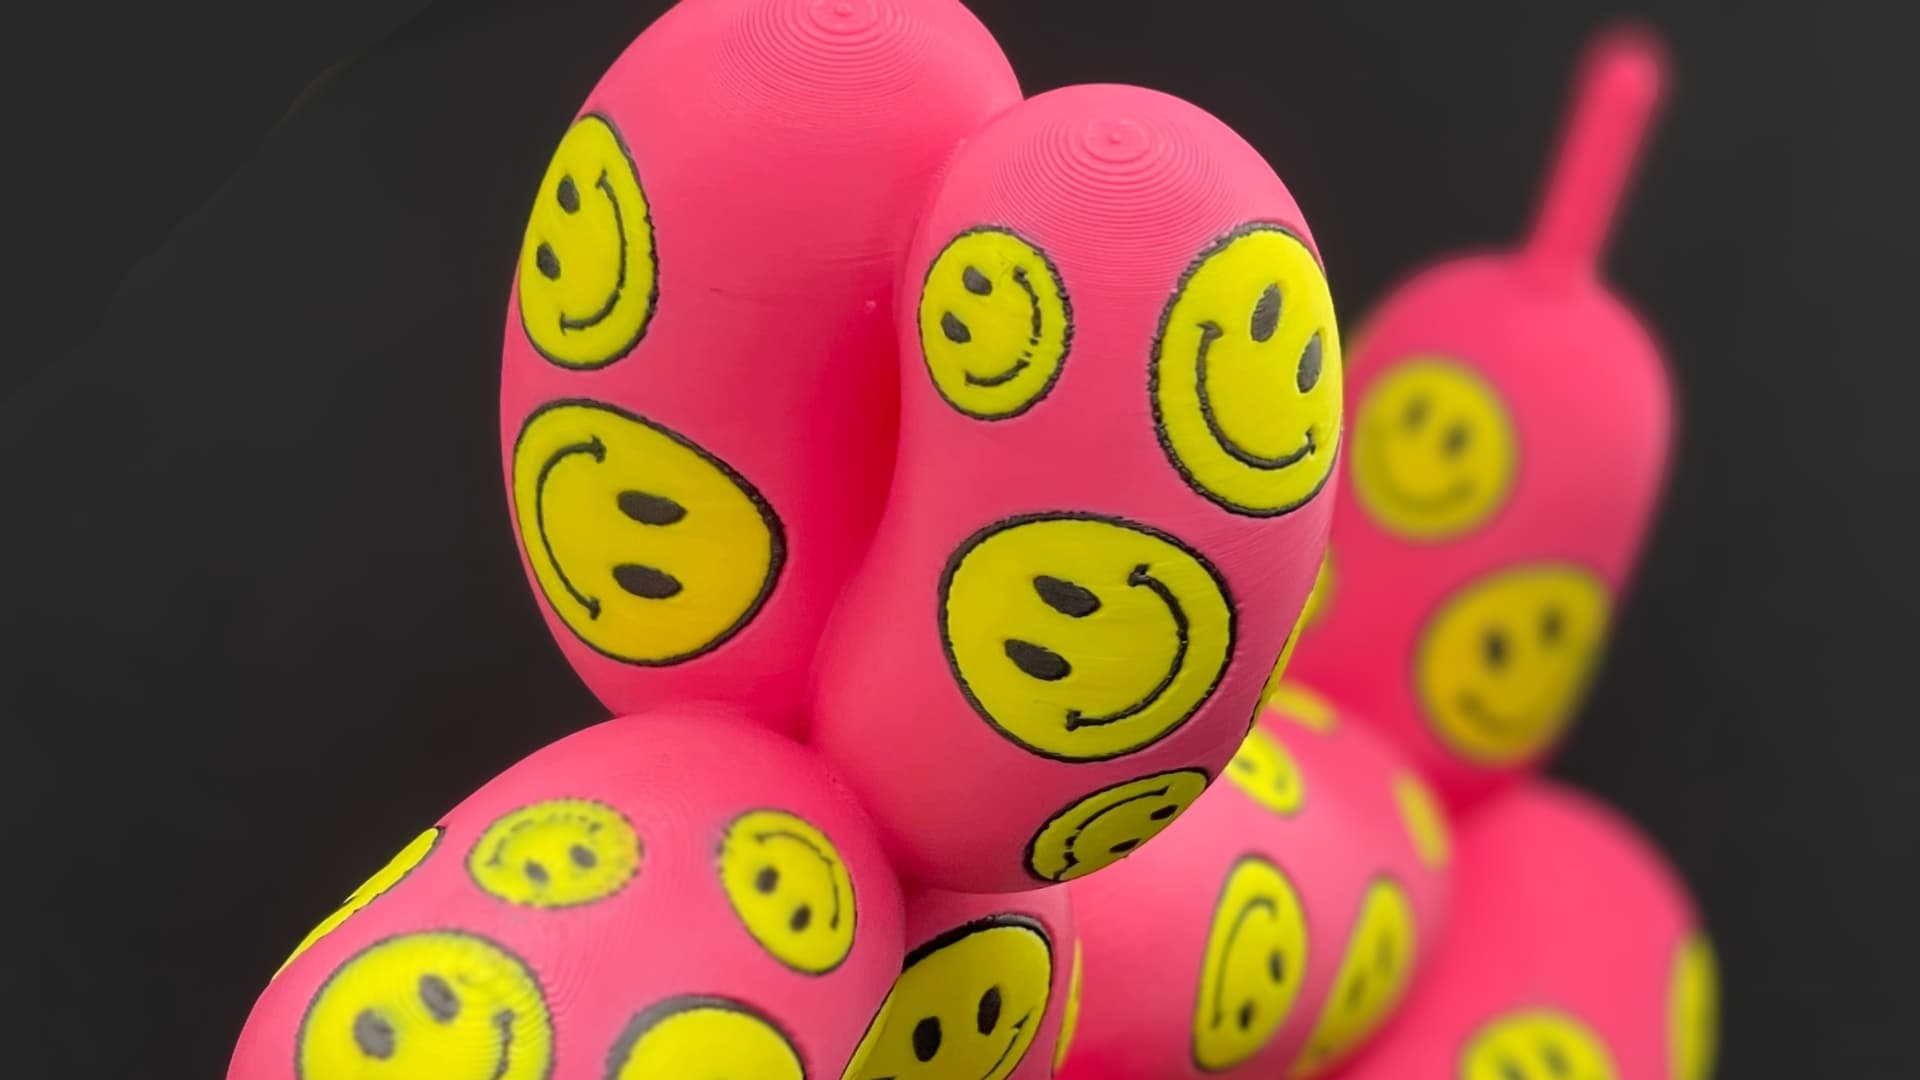
Mesh Graffiti is MakerLab’s latest web-based tool that lets you paint text and images directly onto your 3D model’s surface — without changing the geometry.

It’s simple: you could use the color brush to color or mark specific areas, with nice smooth or faceted edges.

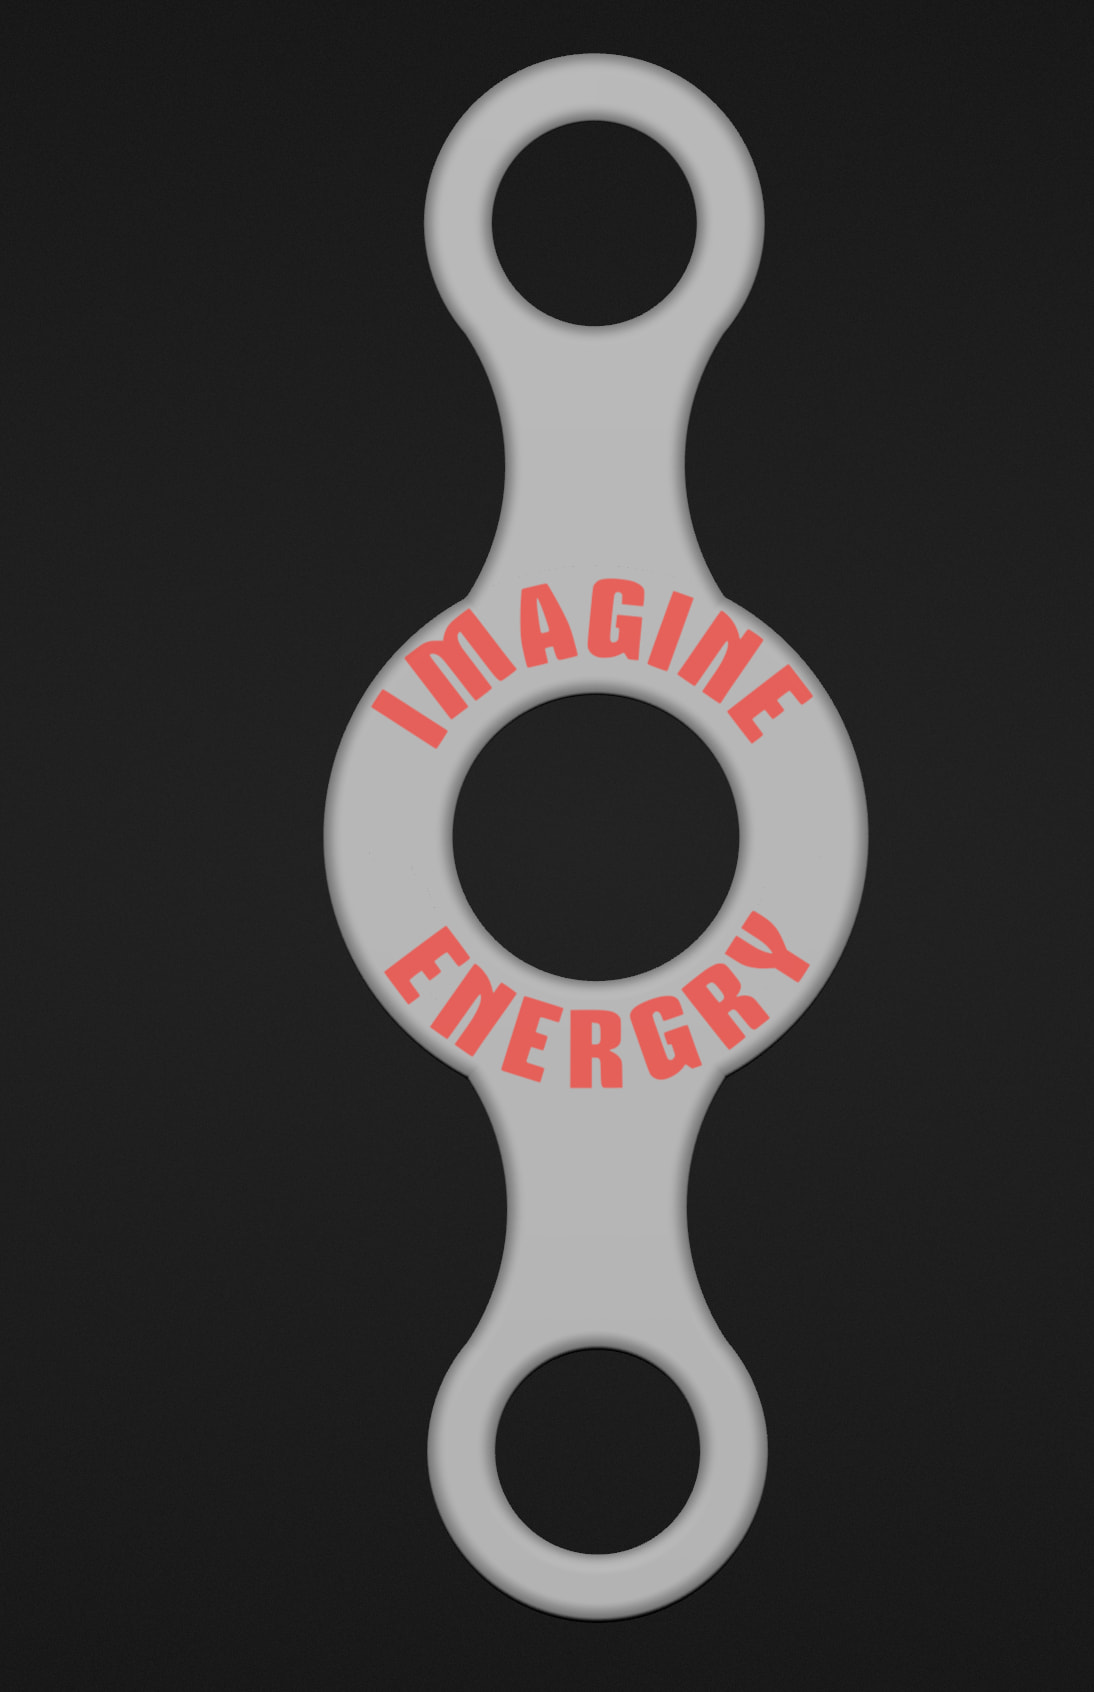
But the real highlight? It can handle curved surfaces like cylinders, spheres, whatever shape you’ve got, and seamlessly stamps images or text onto them. Whether it’s a logo, a handwritten note, or a simple graphic, just import it and stamp it on. And it’s currently the only tool out there built to handle this specific need.

mesh2

Why We Built It

While Bambu Studio has a text tool, we wanted to offer a slightly different approach—one that applies text or images purely on the surface, keeping your original geometry intact, and delivering much smoother painted edges than Studio’s brush.
Who is This For

Anyone who designs automotive parts or industrial components probably knows the pain: adding logos used to mean hours of tweaking in CAD. In fact, hearing a creator vent about this exact headache is what inspired MakerLab team to build this generator.

Now with Mesh Graffiti, just stamp it on in seconds, saving a ton of time per project, and let the printer do the rest.

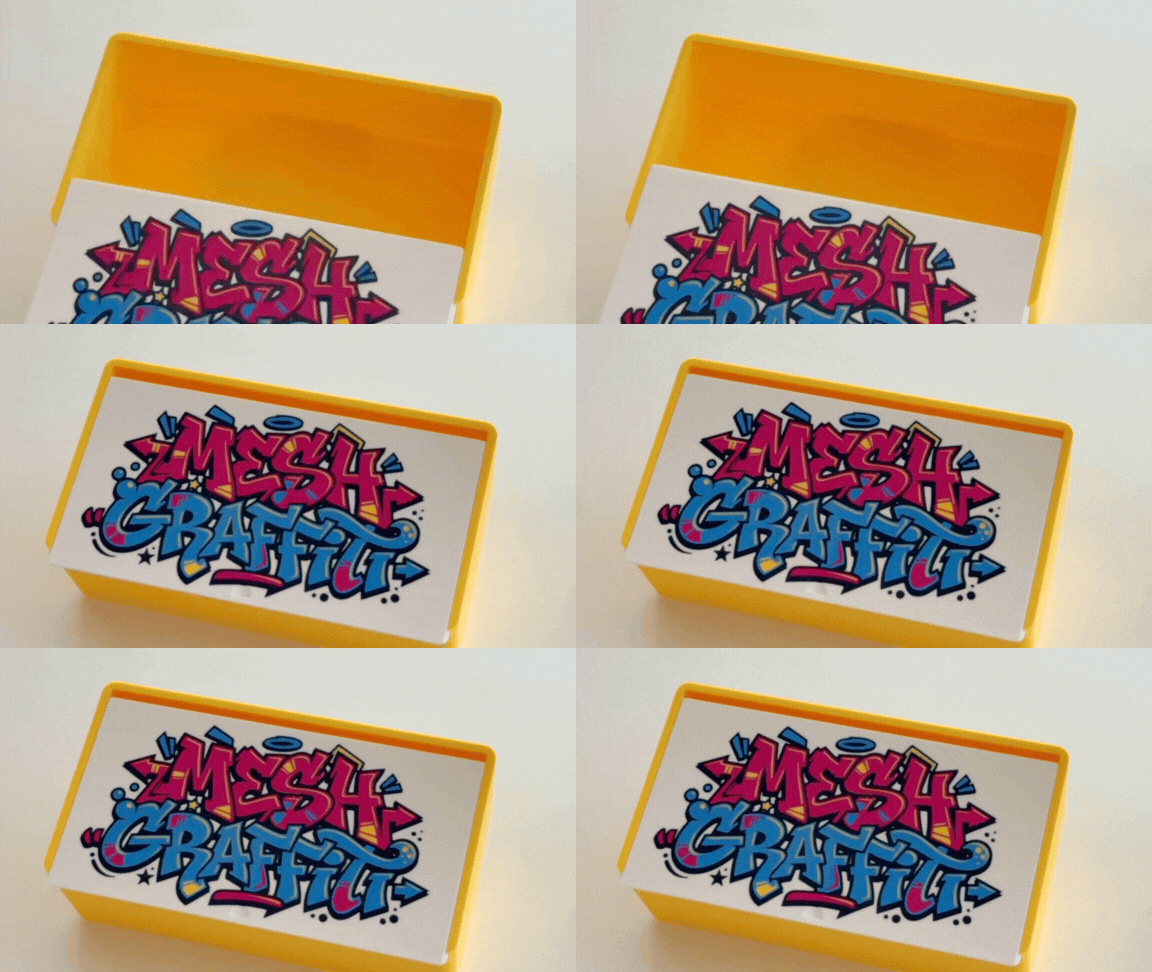
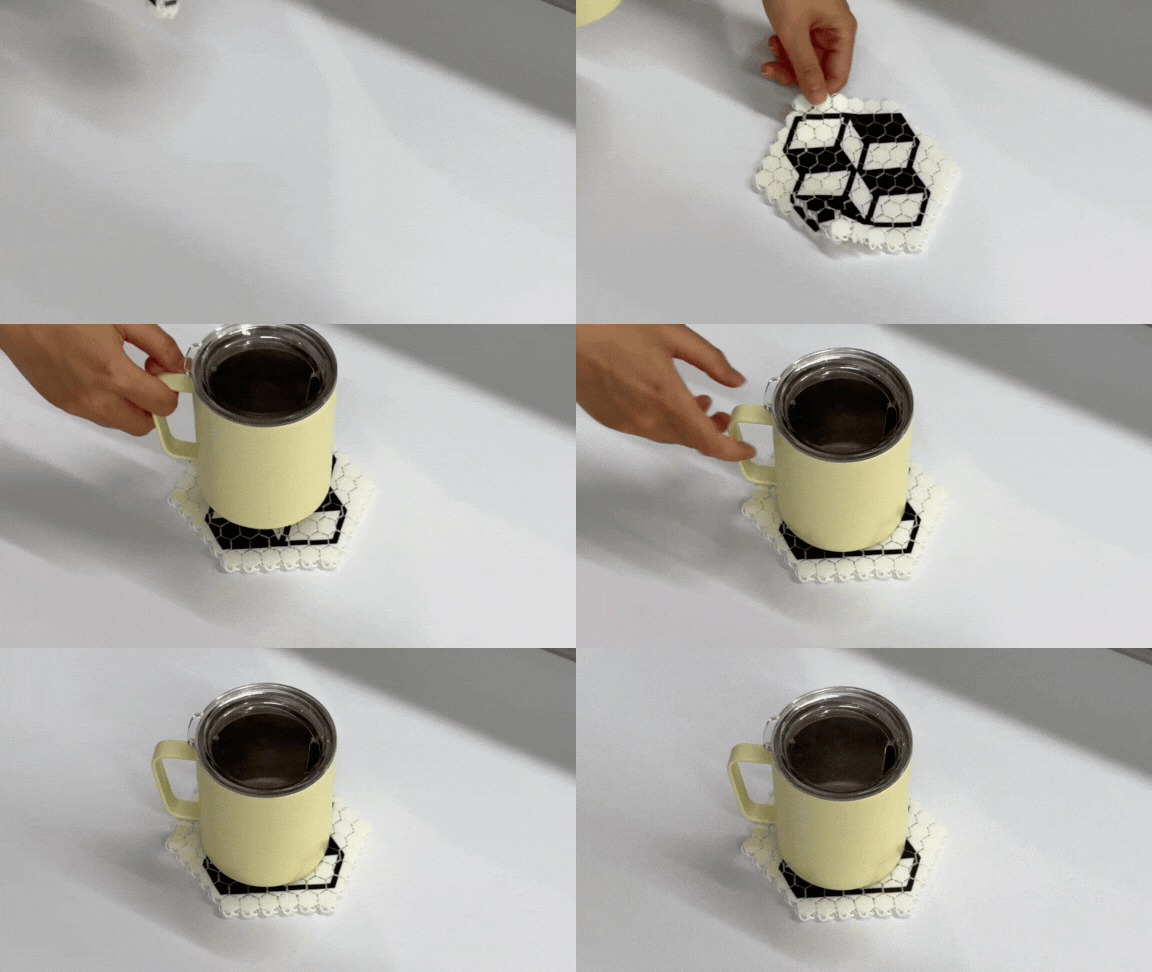
And if you’re just looking to simply personalize things, like adding your painting to a tool box, or a logo onto a gift box, now you can do that easily. No CAD skills needed.
mesh3
mesh4

How to Use It

1. Open & Import → Go to Mesh Graffiti. Drag & drop your .3MF or .STL file

mesh5

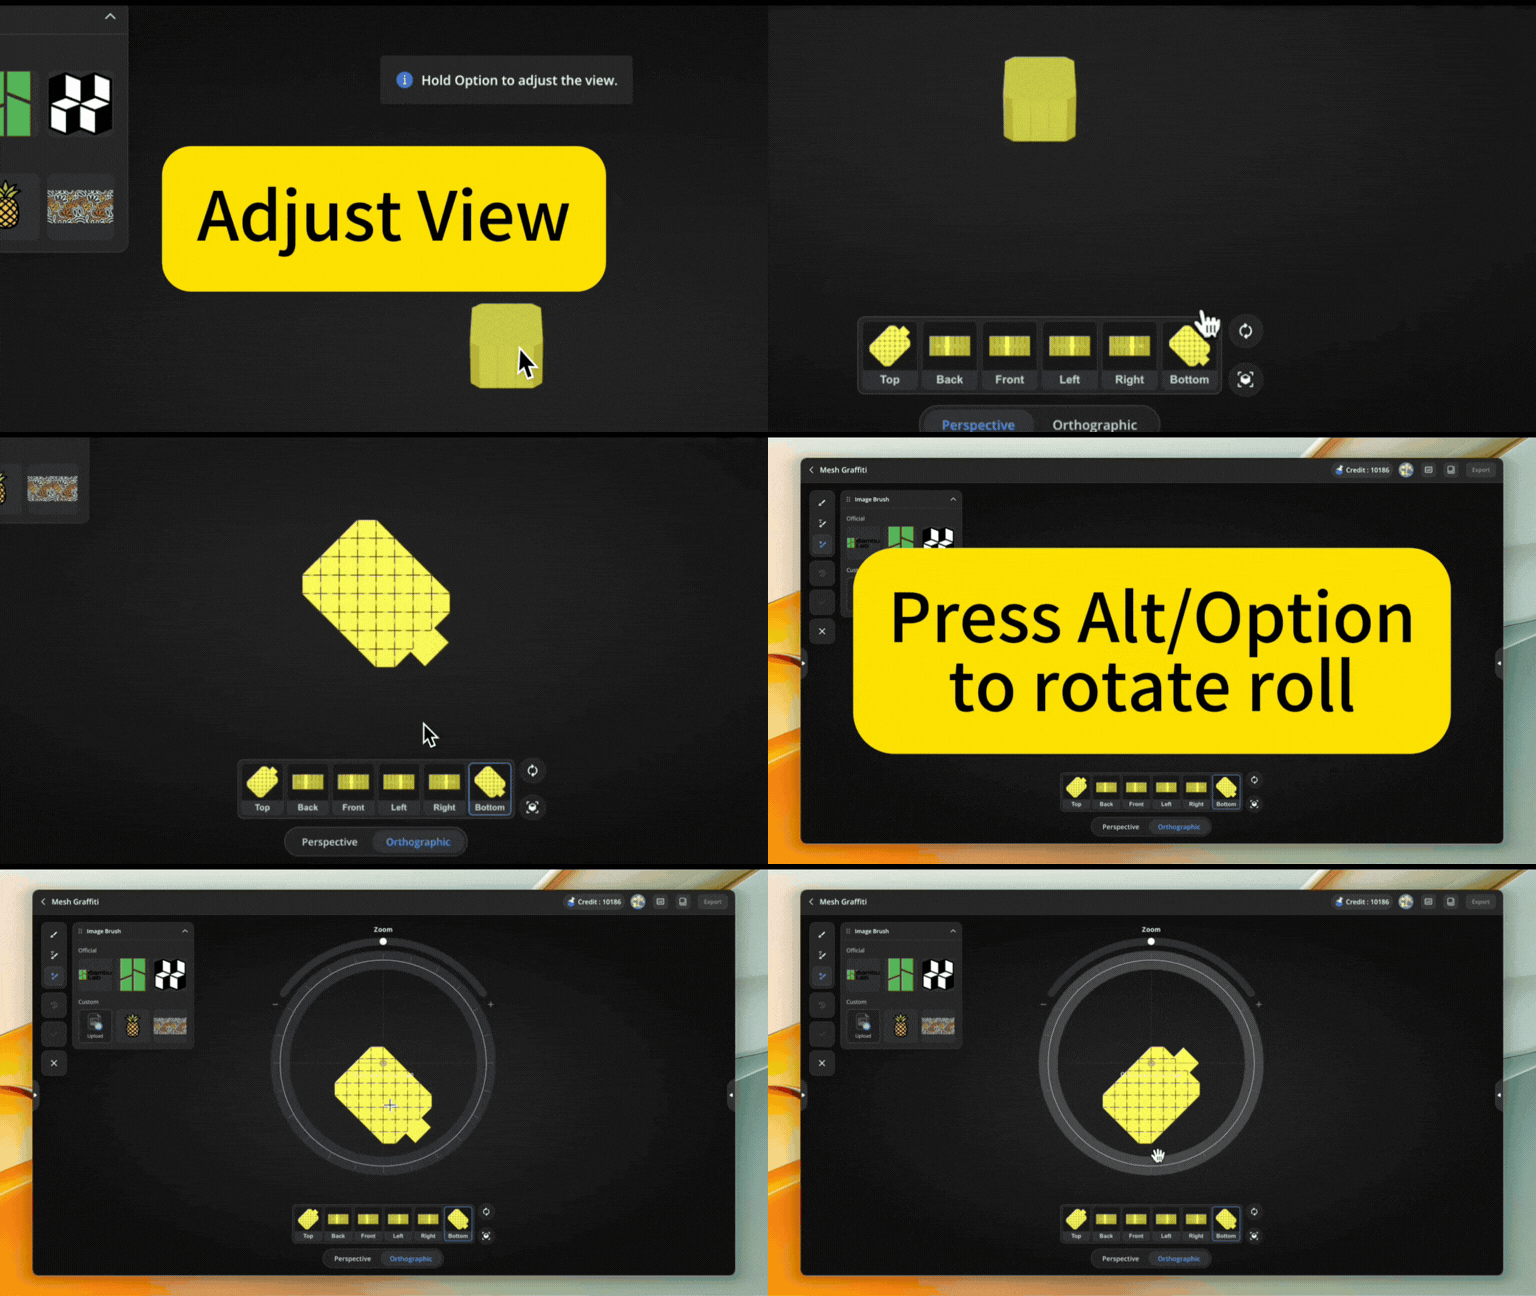
2. Adjust View → Rotate and position your model to find the perfect angle
mesh6

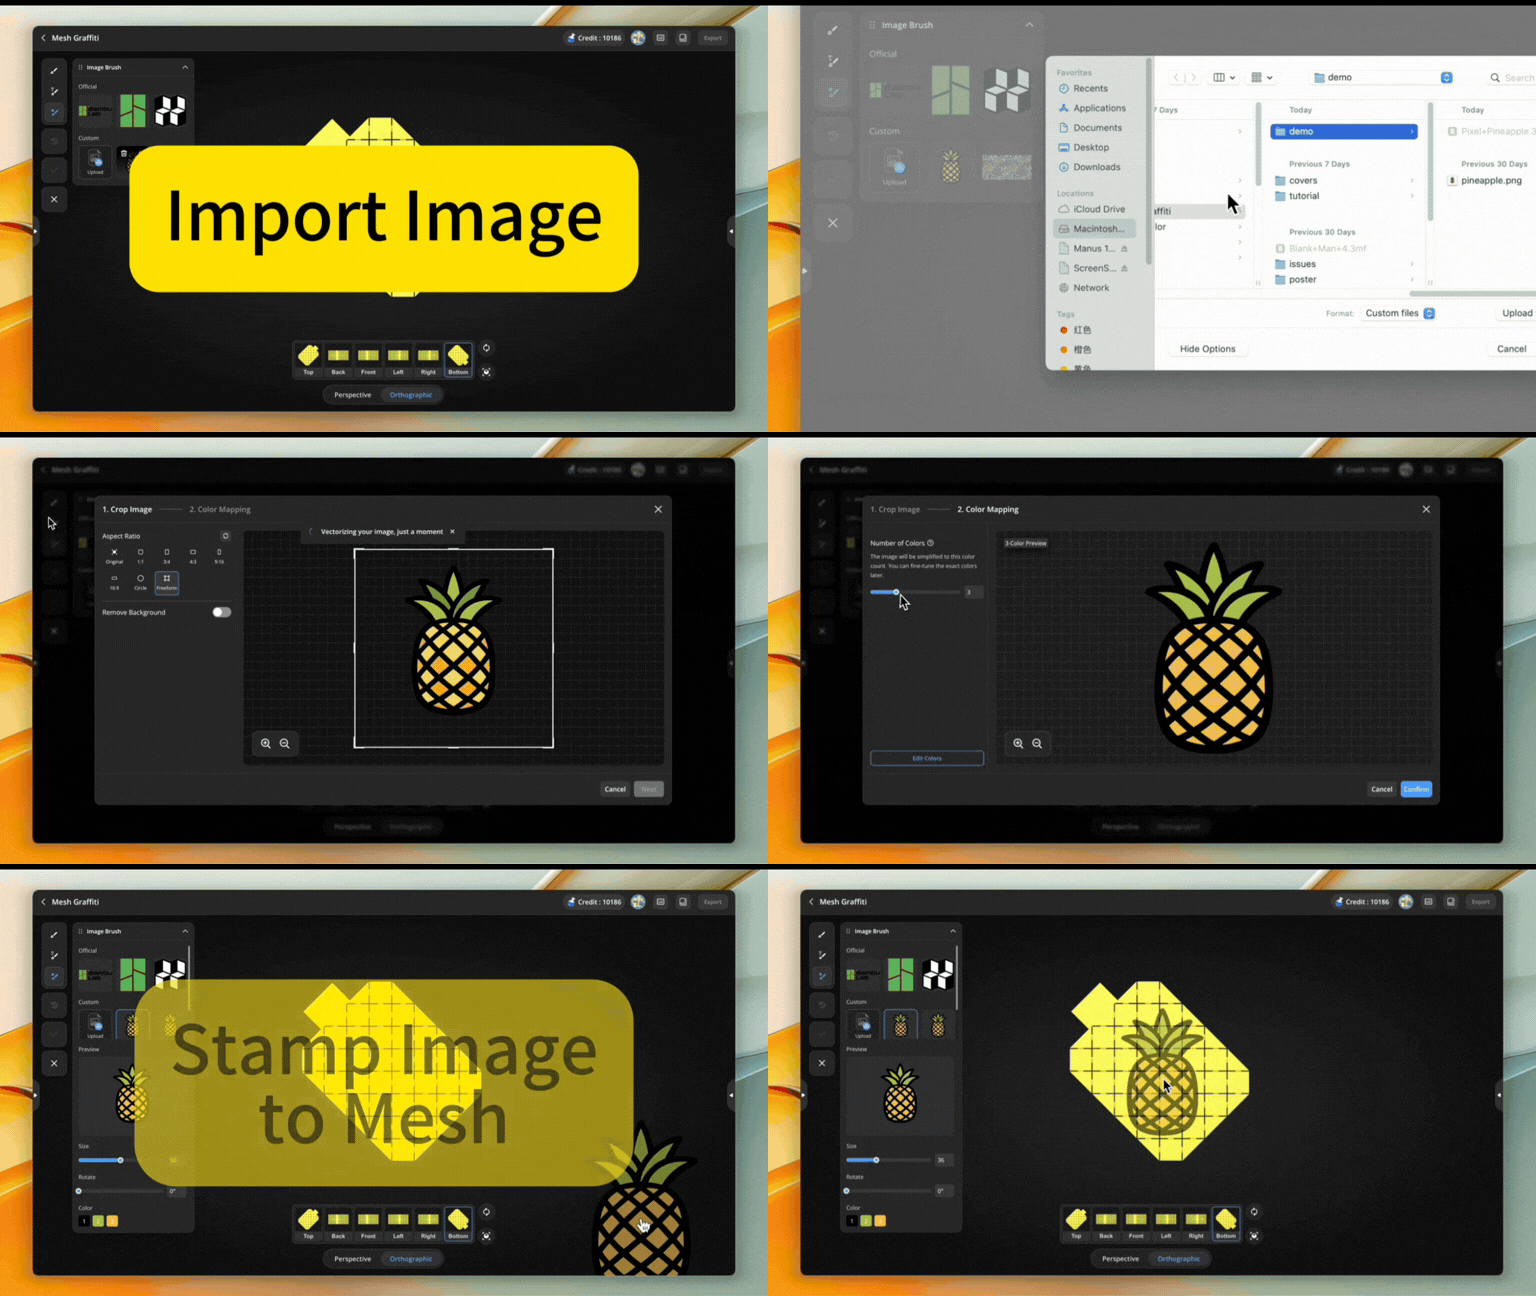
3. Paint/Stamp → Choose color, text or image brush → adjust size, color & position
mesh7

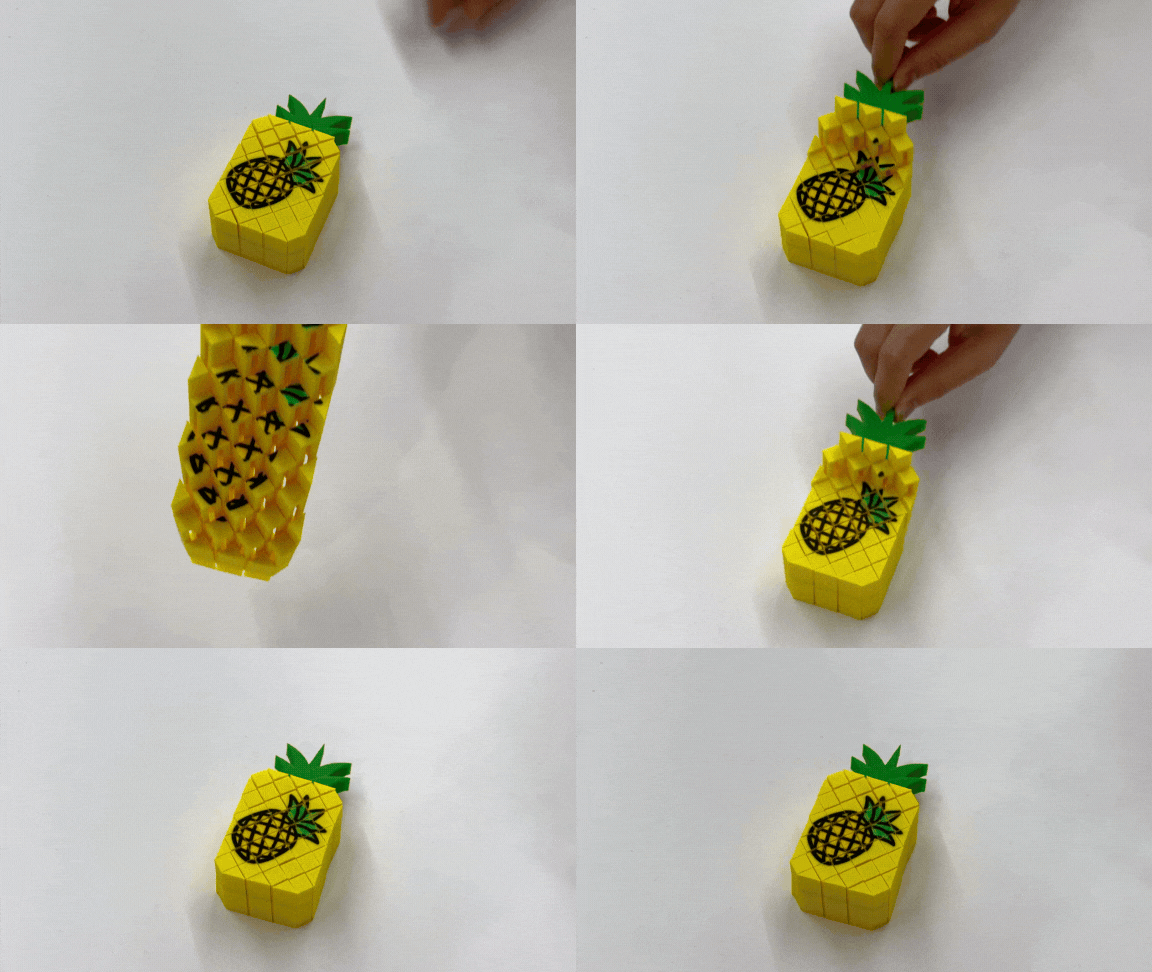
4. Export & Slice in Bambu Studio → Save and open in Bambu Studio → Adjust, Slice & Print. Just like that — you’ve got a one-of-a-kind customized model.
mesh7

mesh 9

Quick notes

Import supports STL and 3MF, export supports 3MF and GLB.
If you’re importing a 3MF from Fusion or other software, we recommend opening and saving it in Bambu Studio first to avoid compatibility issues.

What’s the first model you’d like to try Mesh Graffiti on? Let us know in the comments!

11 Likes

you picked a bad launch day :sweat_smile: Looks cool though!

4 Likes

I think this title might be a bug…

Game changer!

You’ve made this process so much easier! Thanks!

Ca a l’air sympa, mais comment obtenir des crédit, car il me semble qu’il y a besoin d’acheter des crédits pour utiliser le programme

It’s a fantastic tool - there are a couple of things that you may want to add in order to make it even better
1- when you import the Mesh graffiti result in Bambu studio any operation you make on the mesh destroy the graffiti - is there’s a way to keep the graffiti added?
2 - it would be nice to be able to save the image added to the model in SVG independently from the stl or 3mf
3 - if we could use the same tools we have in Bambu studio to resize both the mesh or the image it would be very effective

4- and last but not least why can’t we save the result of our work to our MakerLab profile? I’m talking about the result with it history

My ten cents and you’ve done a wonderfull job with this plugin
Cheers from Paris France

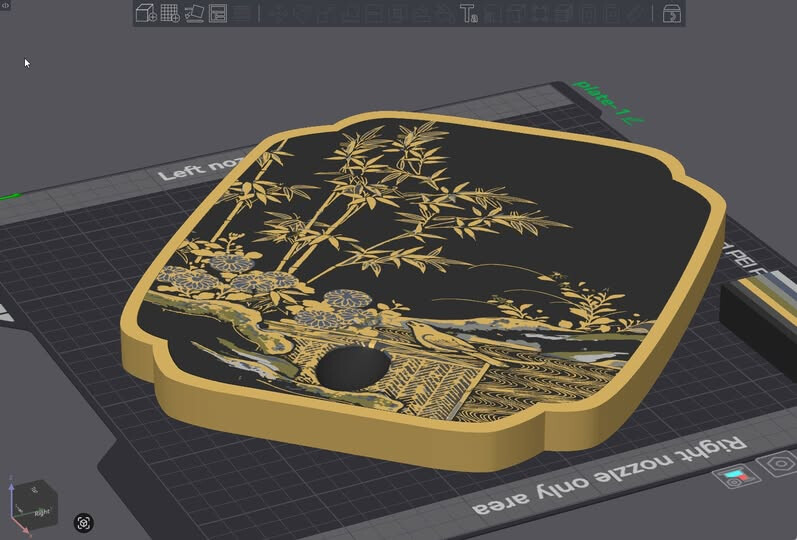
PS: here is what I’ve made with the Mesh Graffiti

3D printed Sword Stand Vertical

This is the base for a katana stand I’m creating from an antique wooden sword stand thanks to the new BBL MakerLab beta Mesh Graffiti.

The stand is suitable for exhibiting a Japanese sword, especially a Tachi sword. Also, this sword stand is entirely 3D painted with 7 colours, and each motif is elegantly expressed based on a traditional Japanese craft method, Makie (蒔絵) technique.

This design combines natural and symbolic elements: bamboo for strength and integrity, chrysanthemums for nobility and longevity, the river for calm and continuity, and the long-tailed bird for elegance and aspiration. Together, they express a refined sense of beauty rooted in tradition.

2 Likes

… And, on my first try, I’ve discovered a bug. I suspect it has to do with trying to with this type of model specifically. (The walls are intentionally very thin.) I’ve posted the original, blank model as “Blank credit card sleeve” on Makerworld.

If you try to emboss a design on one side - it alters the geometry, and still only prints in white. Embossing a design on both sides leads to a file that Bambu Studio can’t read.

I’d have to admit - printing such a design would be a printer torture test. But I’d iterate to something that works. At the very least, if it’s a known incompatibility, perhaps it should be flagged, rather than generating erroneous models.

if we use this on a model we design will we need to upload it as a remix to gain makerworld points or can we upload as an original design? its an amazing application that will save lots of work if we can upload as original to gain makerworld points

It would be nice, it would be useful for cases and similar when printing them

It’s very cool and easy to use. I do have an issue, but maybe I am just missing something. My printer is set up with CYMW filament. If I want the base color to be something other than cyan, I have to repaint in the slicer or reload filament into different slots. I’m looking for an easier way to map the colors so that they match my printer setup.

Hopefully the final version (when it gets out of beta) will have much better color control. While a pain now it’s at least manageable.

This is a use case that fails. If you try to place a graphic over a hole it won’t let you because it thinks you are placing it off of the object. It’s looking at the center of the graphic for placement and since there is a hole it won’t let you.

1 Like

Is there any way to adjust the depth/thickness of the added logo or text? This tool is outstanding but the lack of depth on the logo/text I add causes some visibility issues.

1 Like

Makes life a lot easier.

The only problem I’m having thou is when I add an image to a conical tapered cylinder the image grows on the edges as it wraps onto surface.

Also the printed depth it prints to deep into the model. I have tried to alter the paint layer depth in Studio but dosnt alter it or I’m doing something wrong.

But we’ll done.