Micro SD slot destroyed. Trying to hack a replacement

Hi all,

I recently purchased a used Bambu Lab P1S from Facebook Marketplace, and it worked well overall. However, I had to disassemble the left panel to reconnect the camera ribbon cable, which required removing the top/front panel first. When reassembling the top/front panel, I must have misaligned it, resulting in the microSD card slot (which is soldered onto the AP board) getting crushed. The spring fell out, along with a few of the small pins that make contact with the microSD card.

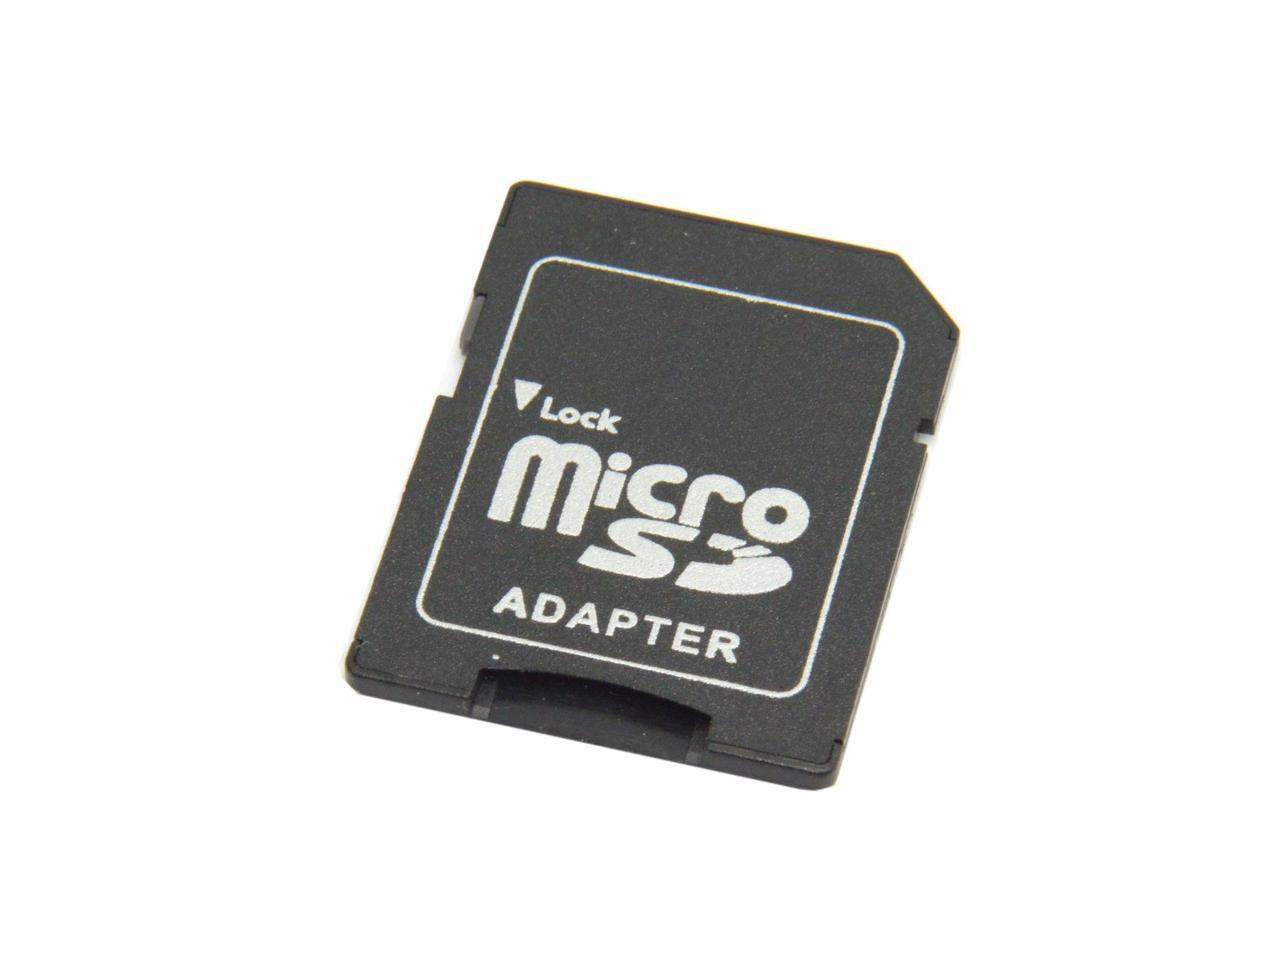
It doesn’t print without an SD card inserted, but instead of spending $40 on a new AP board, I decided to try replacing the broken microSD slot with a full sized SD to micro SD card adapter. My plan is to solder individual wires to the pads on the AP board where the microSD slot was, then connect the other ends of the wires to the corresponding pins on the SD to microSD adapter.

I have a butane soldering iron and zero prior experience with soldering aside from watching YouTube tutorials. With some flux and solder wick, I was able to successfully remove the remaining parts of the broken microSD slot from the AP board.

Now, here’s where I’m confused: there are nine pads on the AP board, but a microSD card only has eight pins.

From what I can tell, it’s likely that only the leftmost eight pads on the AP board are relevant, while the ninth one (the far-right pad) might not be necessary. I’m assuming this because the far-right pad appears to be positioned too far over to line up with the pins on a microSD card when inserted into the P1S.

Please see the below image with more info:

Any insight super appreciated. I’d feel pretty cool if I got this to work!

2 Likes

I’ve replaced 2.

My insight is to buy a new board.
Read that again, because I will come back here and say “I told you so” when it goes south.

Hi John, what ended up happening with your boards which required replacing twice?

This should be interesting. :thinking:

I’m definitely not a microsd expert so don’t take this as gospel but I googled and found some microsd adapters with 9 pins. Are there two different versions?

Short answer, I bought a pooch, took it to dinner, then screwed it.

Long answer is I was routing a wire through the hole the display cable goes through. I went through the trouble of making sure the ends would fit, if I could make it look stock and clean. First was the X-touch, second was the Panda Touch.

Yes, I made the same mistake, or rather dated the same pooch, twice. Feel free to snicker.

Anyway, Taking the front cover off I forgot to remove the SD card and ripped the assembly off. I looked at it, thought about soldering a new reader on it, and moving on. In my research I didn’t find the pinout and felt that here was a very good chance I could burn the board, and most importantly myself.

Ok, second go around, same set up, same pooch. This time I didn’t rip it off entirely but mostly. I did loose the little microscopic spring but didn’t care if I could get the card into it and just let it be.

So I had it there, traces weren’t broken, just couldn’t get the card to stay on the pins. Tried to solder it down, failed.

Burnt my **** finger, but hey.

So I took off the tray while making careful note of what pin went onto what trace, looked everything up, thought I had it. How hard could it be? (As hard as not using foul language in describing this).

So I’m not super duper proficient with an iron and that came shining through with the attempt. It’s delicate, well was for me, it’s super annoying, and a lot better for my mental health to purchase the board.

2 of them actually.

I don’t know if you have a warranty left but if you do go your route you will most definitely destroy what remains. They want pics and vid for a replacement under warranty for just such a reason.

Lastly, cause I am long winded and don’t care who cares, it’s just easier and better to replace the board. I can’t see any benefit to what you’re trying to do other than to save $40. I promise you that you will spend more than that if you attempt this, either right away or in the long run.

But, as I always say. You do you.

7 Likes

I want you to know that laughing emoji wasn’t for what you went through, it was for this line right here…

7 Likes

Hi, thanks for the response. Would you mind clarifying your question? The SD card adapter I have has nine pins. Is that what you’re asking?

Hey there, any Klingon looking for electronics advice is a friend of mine as far as I’m concerned(love the choice of Avatar).

First, Kudos for you for wanting to attack this problem in this manner. That’s called Good-ol-yankee-ingenuity… err… I hope you’re not from the south and take that as an insult, it’s meant as a compliment. :wink:

A couple of things. First, you likely won’t save any money after you’ve acquired all the right tools, which, if you’re new to soldering, you likely don’t have in your toolkit. However, if you’re open to tackling the problem and the side benefit is that you develop the know-how and acquire the tools, you’ll walk away with an unshakable feeling of empowerment.

To answer your question, Pin 9 is most likely a chassis ground pin that grounds the metal shroud to the ground plane. This helps mitigate crosstalk caused by electrical interference, as the metal shroud acts as a Faraday shield around the SD card.

Before you begin, do a quick checklist of the tools you’ll need(the items in green are Amazon links):

  1. Soldering iron with a fine tip. If you have a butane iron, it may work, but make sure it reaches the right temperature and has a narrow tip.
  2. Proper lighting and a pair of helping hands to secure the PCB while you’re working on it. Here’s a link to one of my favorites. I have several, and each has pros and cons. It’s crucial to: a) Secure your object under repair, b) Have adequate lighting (I also use a headlamp), and c) Use magnification. I also use a clip-on jeweler’s loupe for my glasses when doing close work.
  3. A practice soldering kit for surface mount soldering. I can’t stress this enough if you’re new to soldering, especially surface mount. YouTube videos make it look easy until you try it yourself.

There are plenty of flex-PC Micro-SD card solutions available that you can adapt. But at $6 each, you’ll want to get one to practice on and another for the final project. Along with the soldering stand, iron, and jeweler’s loupe, you’ll quickly exceed the $40 cost of a replacement board. But again, this isn’t necessarily about doing it the cheapest way—it’s about seeing if you can beat the system. :wink: I liken these skills to this: if I were on a submarine about to go down unless I fixed the flux capacitor in the ballast control unit, would I have the skills to save the boat?

Suggestion or tip

Using an Micro SD Card to SD card adapter cable will require a flex-PC cable. There is no way to get around this. Soldering to the pads on a flex-PC cable is not easy but I’ve done it but I also had spares to mess it up too. Don’t put additional pressure on yourself by having only one.

What I might suggest is to practice on the surface mount practice boards to gain confidence and learn how your iron tip works and the flux you’re using and solder behave. The guys on the YouTube videos have professional grade equipment and butane solder iron that you mentioned won’t give you the steady heat source that is ideal for soldering.

Alternatively, since you’re already working with the SD card connector, why not just replace it from the start? They’re really cheap—you can get 10 of them for $9 on Amazon. That’s another $9… :rofl: You can see how this quickly exceeds the $40 replacement board price. But if you use the SMT practice boards I linked above along with these Micro SD connectors, you’ll have enough spare components to practice both soldering and desoldering these delicate parts. It can be done—I’ve done it, though with mixed results. My days of being an IPC-certified solder technician are, unfortunately, far in the rearview mirror.

Whatever you decide, good luck and let us know how it goes, good or bad. :four_leaf_clover:

5 Likes

I need that loupe.

Not saying why, but I need it.

4 Likes

Here’s my most recent acquisition to my soldering kit. These perform almost as well as the $1,700 units that I used to use at work and that dentists use. It brings the workpiece right up close and you can see everything you’re doing without straining. They’re cheap chinese knockoffs but they work. The case is for ■■■■ though.

Hi Olias,

WOW. What a detailed response. Thank you for taking the time!

To address some of your points:

any Klingon looking for electronics advice is a friend of mine as far as I’m concerned(love the choice of Avatar)

Thanks! I saw this image one day and immediately knew what I had to do.

First, you likely won’t save any money after you’ve acquired all the right tools

I’ve already soldering individual wires to the 9 pads on the AP board with my butane iron. You’re definitely right about the tip – mine wasn’t quite narrow enough to make this easy. But upon examining my soldering with my phone’s camera (it has a great micro zoom), I’m like 80% sure I’m not seeing any shorts.

Using an Micro SD Card to SD card adapter cable will require a flex-PC cable . There is no way to get around this. Soldering to the pads on a flex-PC cable is not easy but I’ve done it but I also had spares to mess it up too. Don’t put additional pressure on yourself by having only one.

Will you clarify this point please?

As it is now, I’ve used 9 male to male jumper wires for testing. The end of each jumper wire is electrical-taped to a one of the 9 pins on the SD to micro SD adapter. Then The other end of each jumper wire is going into a breadboard (each on their own row of course). Then I twisted the ends of the wires which I’ve already soldered onto the AP board to separate male to male jumper cables. Then from their, I’m trying to find the right way to insert them into the bread board to make a proper connection. I hope this makes sense.

When you mention a flex-PC cable, are you suggesting that I buy one and then strip the insulation off of the ribbon cable and solder those directly to the AP board?

Pin 9 is most likely a chassis ground pin that grounds the metal shroud to the ground plane. This helps mitigate crosstalk caused by electrical interference, as the metal shroud acts as a Faraday shield around the SD card.

Do you mean to say that I can simply not bother with the cable which I’ve soldered onto pin 9 on the AP board? If so, what do you think about the proper connections when considering the numbering assigned to the pins on the AP board and on the other image of the pins of the SD adapter, especially considering that one of the pins in the adapter doesn’t even connect to any pins within the micro SD once that is inserted?

I hope this isn’t too long-winded. If there is anything I can clarify please let me know.

I really appreciate your detailed response!

Added to cart. Once upon a time my eyes were better and I painted minitures, other things for fun. I’ve toned it back now, as these pics can show the lack of quality. These are also one of the reasons I want them.


I don’t play, just paint. This was my first attempt in 15 years.

this is a base for a lumber jack. Resin printed in white and whole ham by me.

I’m gonna stop now, OP needs help and I’m derailing the thread.

4 Likes

I don’t know if I’ve ever felt this much shame… this is what I use…

1 Like

I think I’m still confused, so the AP board has 9 pins and the adapter has 9 pins and you just want to make sure they are pinned the same?

I do agree with @johnfcooley and @Olias by the way. I too have had to replace an AP board. I didn’t rip the sd card reader off, I shorted out the whole board.

The 9th pin is ground. The metal “cage” if you will is the ground/shield for the card. Was going to mention that the card would not be seen unless the cage was pushed against it’s pins. That told me that it was important to the mix.

Olias knows much better, but I don’t know if you can wire to ground in this particular case. Unless you simply added another reader to replace on board, the ones he links

That link for the replacement is almost a 1 for 1 for the stock sd slot, the top plate anyway. I can see the devil spring hiding there too.

1 Like

Wait!

Was going to mention that the card would not be seen unless the cage was pushed against it’s pins.

This might be why I haven’t been able to get this to work yet.

After making not of the fact that one of the 9 pins inside the SD card adapter does NOT attach to any of the pins on the micro SD card itself, I examined the orientation in which the micro SD card is inserted into the P1S in relation to the pins on the AP board. I then made my best judgment on connecting the soldered wires on the AP board to individual pins on the SD adapter (skipping the one that makes no connections to the SD card inside the adapter). But the P1S screen says that no SD card has been inserted.

So is there a way I can make the machine see that the cage is pushed against it’s pins even though there is no cage? Maybe that would be the final step, assuming that I connected the wires properly?

By soldering to the flex-pc, I mean to the tabs at the end of the ribbon cable. Simply tale a little steel wool or 400 grit sand paper to remove any oxides at the end, then use a generous amount of flux when soldering.

I’m referring to this sort of cable. It’s a PCB made from from flexible material, hence the name “Flex-PC”.
image

I had a Raspberry PI camera project not too long ago where I used something like this and soldered directly to the pads at the end of the cable, it wasn’t pretty but it worked:

Surely that will likely work… for a while that is, until the constant vibration of the printer breaks the solder connections. Remember, soldering wire to solder pads is not considered good practice to begin with, it’s hack but it can be done effectively.

You could provide additional security for the cable and its wires via hot glue which although I hate, this is the one use-case in electronics where it is justified. A better alternative is to use a electronic grade RTV silicone which is designed for this but there we go, another $10. I would stay away from electrical tape by all means, that â– â– â– â–  should be banned in electronics, leave it to the electricians.

By jumper wires, are you referring to solid core wire like 24AWG? If so, I might recommend stranded silicone encased wire as it will be more shock and vibration resilient due to its flexibility and lets be candid, this board will see a lot of shock and vibe just because it’s in a printer. Here’s a link for some 30AWG wire I’ve used with good success that is also good for this purpose, it’s very flexible almost too flexible but I was using it to build a custom 3D mouse and needed something that would flex inside of the conduit. You can braid it to increase its strength and make it less clumsy to deal with.

Or you can just purchase it as ribbon cable which will make your job easier but there’s another $10-$30… ka-ching!!! This can be an expensive hobby indeed, one $10 purchase at a time. Make sure you select “Stranded” not “Solid” core. It’s not easy to find, trust me.
https://www.amazon.com/s?k=silicone+ribbon+cable

This one you can cheat on a bit. The best method to verify that is to use a multimeter and test continuity for the 9th pin to ground or the sheet metal shroud. This will confirm the function of the tin shroud. But yes, you should be able to ignore it.

I think I’m still confused, so the AP board has 9 pins and the adapter has 9 pins and you just want to make sure they are pinned the same?

Yeah, It’s confusing in general!

  1. The AP board has 9 pins.
  2. The full size SD to micro SD adapter has 9 pins.
  3. But micro SD cards only have 8 pins.
  4. Images of the internals of full size SD to micro SD adapters show that one of the 9 pins inside does not connect to any of the pins on the inserted micro SD card adapter.

So before receiving clarification from a few users, my confusion was which of the 9 pins on the AP board should be connected to which of the 9 pins on the full sized SD to micro SD adapter? My assumption was that only 8 connections will need to be made despite there being 9 pins on each side.

There’s no shame in that. I have one too. In fact, I just rigged up this marvelous lamp that I’ve been in love with because it’s one of the few lamps that actually has a rotary dimmer switch as opposed to those cheapass membrane buttons I hate with passion.

The problem with this lamp is it still has a cheapass flex arm that I hate and it wore out. So what does one do when your favorite lamp breaks but only on the plastics supports? I purchased this durable microphone stand and designed in CAD a replacement grommet that I printed out of PLA-CF.

The combo of the beloved lamp with a durable stand and a redesigned Carbon Fiber grommet is what this hobby is all about, conquering bad designs and making them better. :+1:

1 Like