Hey all - I’ve been using the H2S for the past couple of weeks and have racked up over 300 hours of printing on it so far. My P1S (still running flawlessly after 3,000+ hours) isn’t going anywhere, but the H2S has definitely taken center-stage and I’d like to share my experience thus far.
Unboxing
The unboxing process was straightforward and painless, though I did miss one detail - I failed to remove the tape from the exhaust fins on the back. When I started a print job, the printer immediately let me know when it couldn’t open the vents and the QR code on the screen took me right to a wiki article that helped me fix it quickly – nice! Note to all, before putting the printer in its final spot, make sure all tape and such is removed since this thing is a beast to move.
Pros
The H2S immediately solved one of my biggest limitations with the P1S: build volume. I’ve been printing Milwaukee Packout inserts, which on my P1S would normally require splitting in Bambu Studio, printing separate pieces, and gluing. With the H2S, I can print these in one piece across a variety of filaments, and they’ve come out nearly perfect every time with no discernable warping and no need for glue. I can’t wait to start printing giant gridfinity storage boxes.
With bigger build volume comes a lot more weight. This thing is big. Its heavier weight means any shaking can transfer even more weight to your surface, so a sturdy table is a must.
As a mostly functional print user, I’ve pushed a lot of different materials through my machines. With the H2S, I’ve been surprised at how well it handles historically challenging filaments. PLA, PETG-HF, PC, ABS, ASA-GF, PA, and even TPU have all “just worked”. The chamber heating really seems to help with this - what I used to treat as somewhat finicky now feels routine.
For bed adhesion, I’ve only felt the need to use glue on PA and PC, which resulted in perfect bed adhesion and no warping as far as I can tell.
I’ve also encountered nearly zero stringing, which I credit partly to being consistent in drying my filament at proper temps & duration, storing with zeolite (molecular sieve) instead of silica as well as zeolite in the AMS units. Zeolite gets humidity closer to 0% whereas silica gets it down to roughly 20%.
Happy Surprises
• Filtering: The built-in filtering does a great job of removing ABS odor.
• Camera: The camera video quality is miles better than what I got from the P1S.
• Nozzle Swapping: Tool-free nozzle swaps in under 30 seconds. Compared to the screwdriver and hotend swap process on the P1S, this is a game-changer.
• Automatic Calibration: No more flow dynamics calibration for each filament - the H2S handles it automatically. I was not expecting this at all.
• Nozzle Wiping: Vastly improved over the P1S. Wiping has been nearly flawless with only the occasional stray blob, none of which have stuck to the nozzle or build plate.
• Noise Level*: I wasn’t expecting this, but it prints a fair bit quieter than my P1S did, which is very much welcome since I work in the same room I keep my printer.
Cons
The main issue I ran into was occasional clicking from the buffer when the toolhead was printing at the front-left of the build plate. That sometimes triggered AMS overload messages. I replaced the PTFE tube between the extruder and buffer with one about an inch longer, and that seems to have solved the overloads - though a bit of clicking still happens now and then. Haven’t worked with Bambu Support on it yet since it’s largely resolved. It’s something I’ll be keeping an eye on though.
LAN/Developer Mode
LAN Mode: Printing works exactly as expected using Bambu Studio directly to the printer. For those who want to print without using the Bambu cloud infrastructure, this is the answer. Works as I would expect it to!
LAN + Developer Mode: I was able to put the H2S into developer mode and bind my printer to Orcaslicer using the access code, but Orcaslicer does not yet have H2 series support. I see that H2D support is progressing nicely and there appears to be a build in testing that adds initial H2D support. Hopefully H2S support follows quickly! This would be the solution for those that want to use a 3rd party slicer. Rebinding to Bambu cloud after disabling LAN/Developer mode took all of 10 seconds, bringing the H2S back into the Bambu ecosystem.
Showing off….
No post-processing was performed on any of the prints shown beyond brushing away zits or removing supports. These are all printed with generic or Bambu profiles, depending on the filament used.
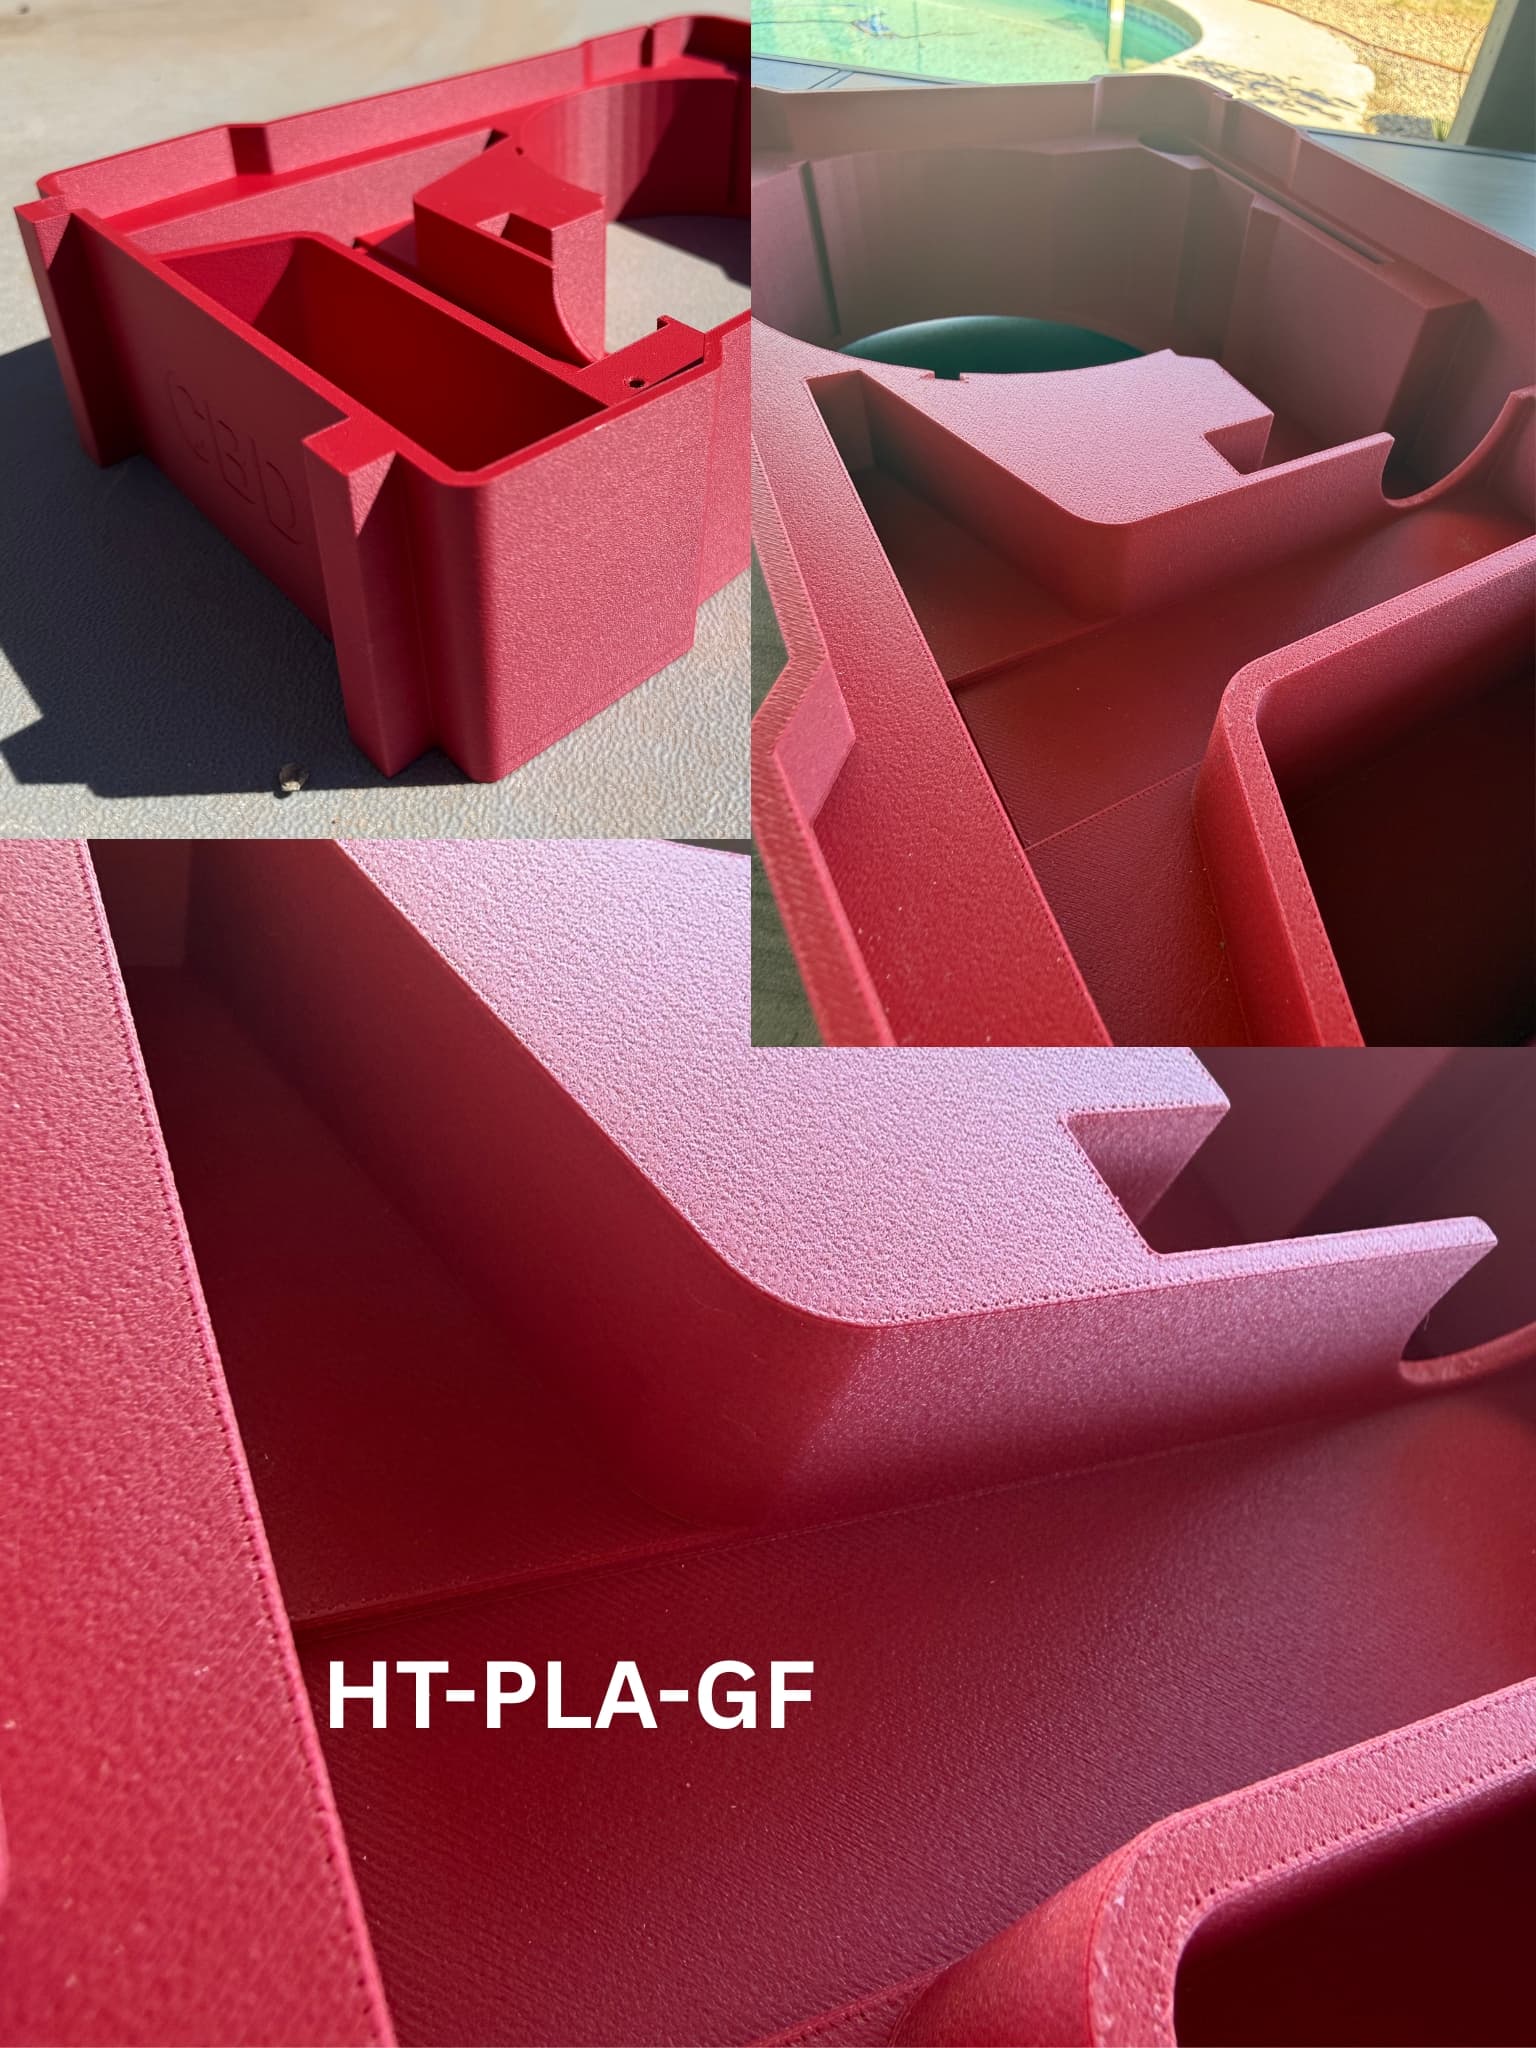
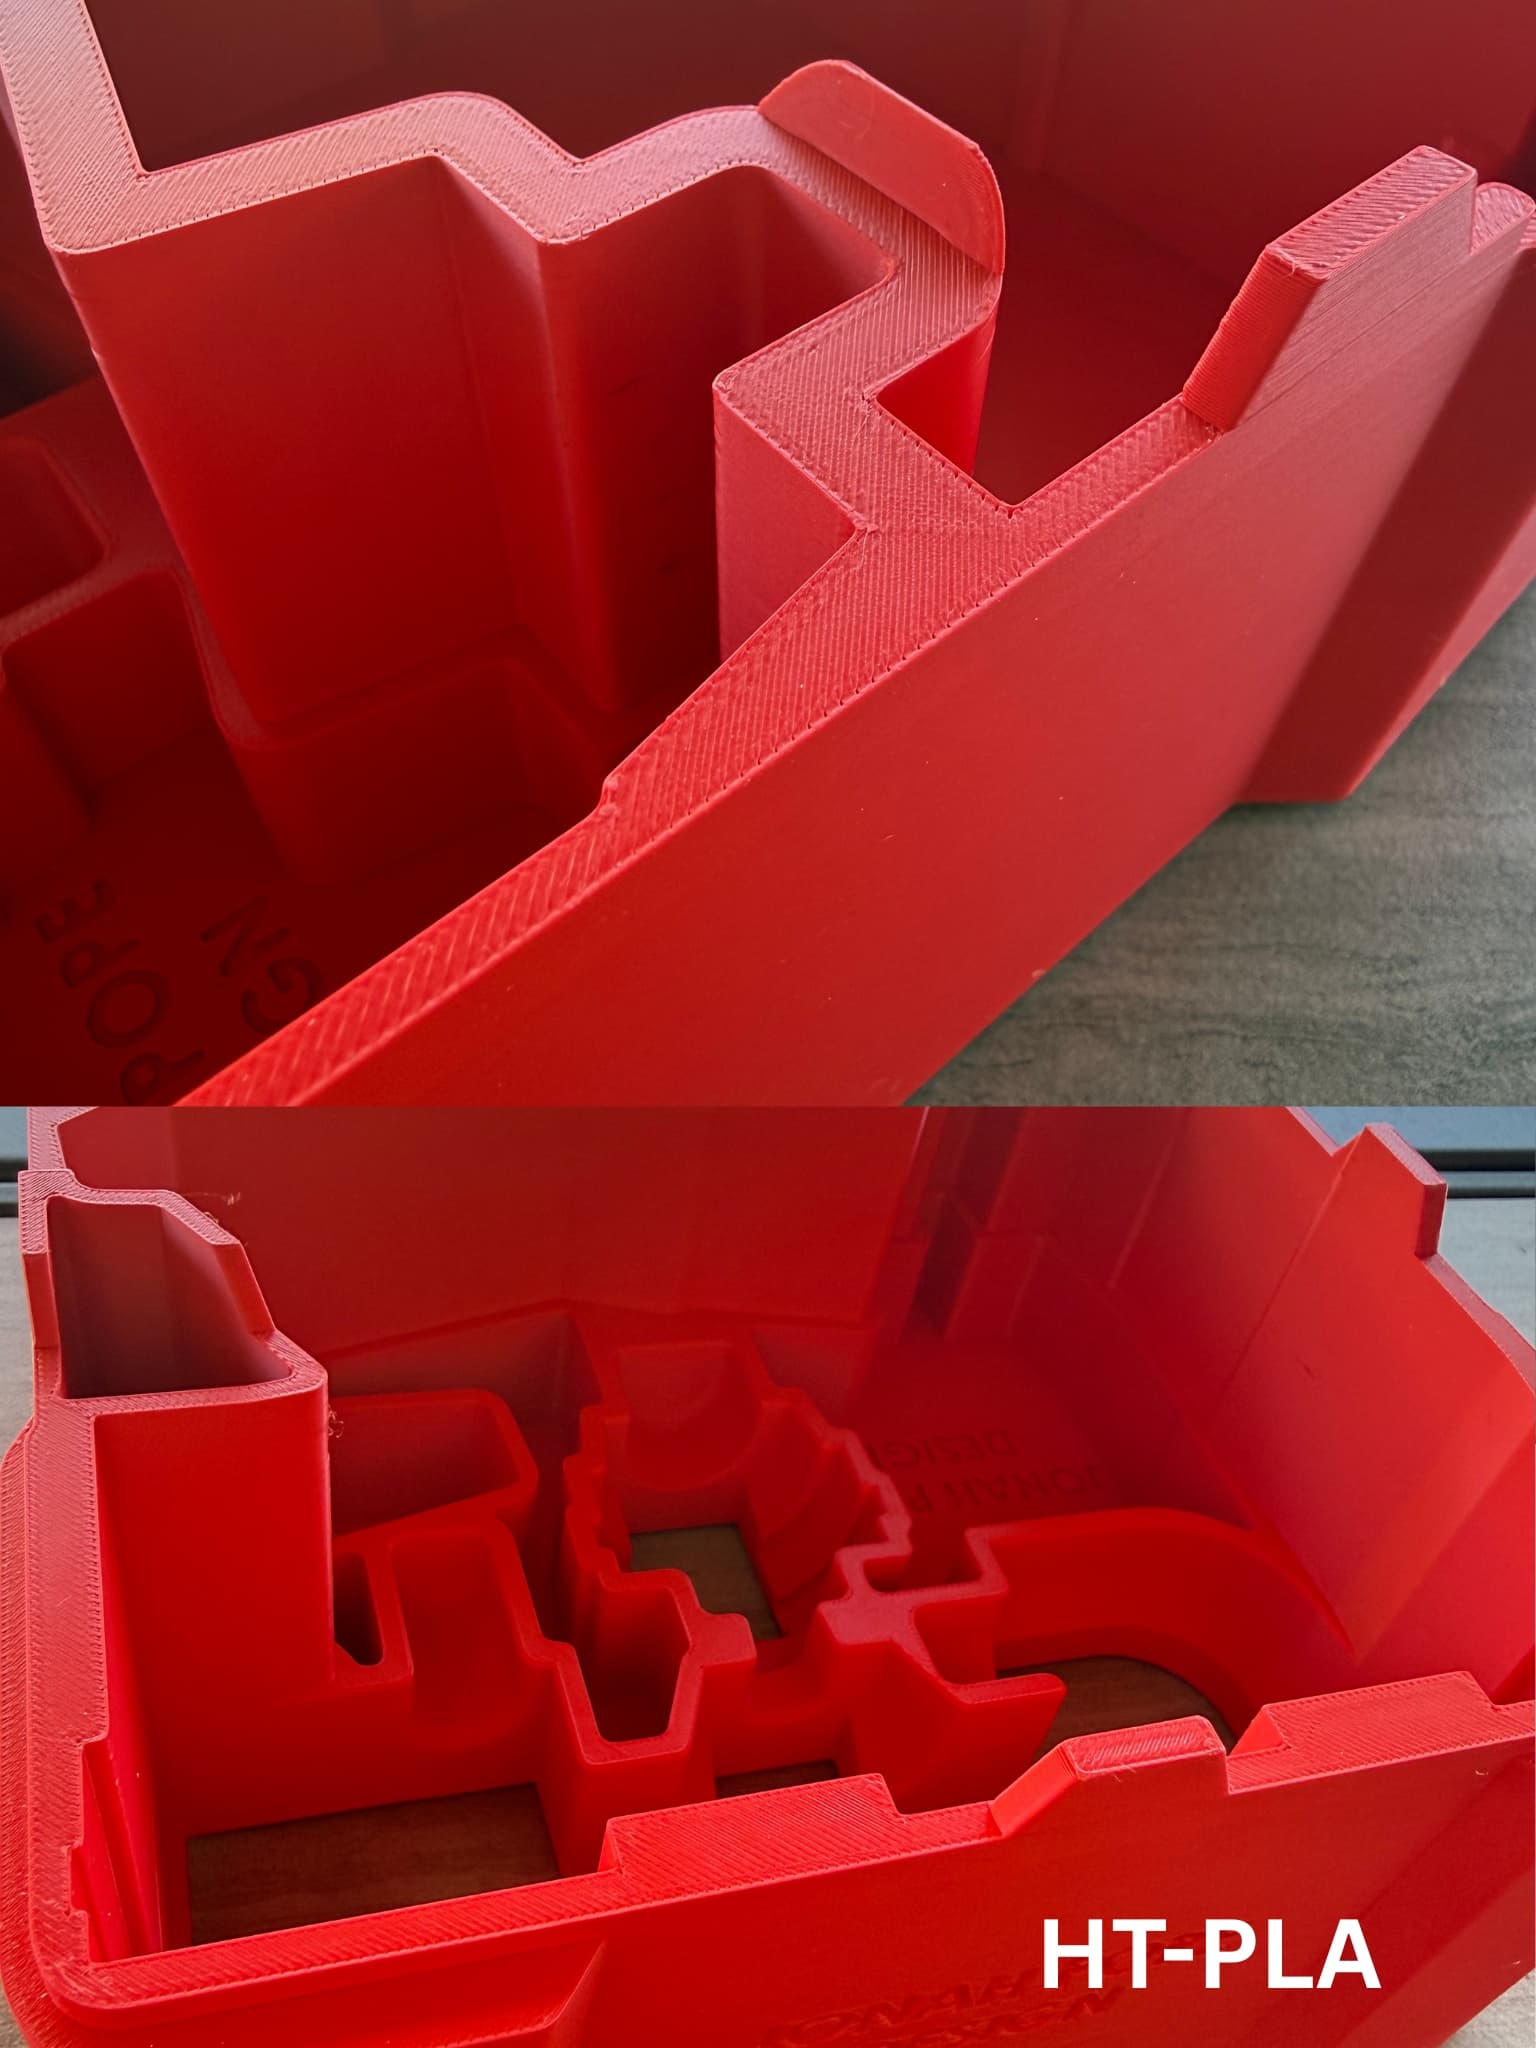
These are my Milwaukee Packout inserts. I was very happy with how all four filament types turned out, particularly the GF variants: ABS-GF, PETG-HF, HT-PLA, HT-PLA-GF. As for how the HT-PLA variants hold up compared to the others, time will tell!


These spool desiccant containers were printed in PC and hold desiccant for the spools that need it. They fit into a spool-sized frame printed in PA that allows me to dry a bunch at once in my AMS-HT. Quality on both was excellent. The PA frame needed glue to get good bed adhesion on the smooth plate.


The excellent spool holder & spine by MadeInMeidling on Makerworld printed wonderfully. The spool holder was printed with BL Matte PLA in the Bone White color, which has become my favorite white to print with. The spine has a dovetail and mortise joint that join the various pieces together and the tolerances with the ABS-GF were perfect. The parts fit together easily and have zero slop when fully seated, though that’s as much a testament to the model’s creator’s skill as well.


If anyone has questions, I’d be happy to answer!
