EDIT: I updated my printer’s firmware which fixed some hidden document scaling the printer was doing. This fixed the issue
I’m wondering if anyone else has come across alignment issues when using the cut then print feature on the H2D
I am importing images then using the “Print then Cut” feature to push it through the an Epson (ET-2810 series) printer before aligning it back onto the grip mat and continuing with the cut.
I’ve done a fair bit of troubleshooting; trying different images, make sticker options and different image types (bmp / png) but I keep getting some weird offsets when cutting.
As shown in the image above, you can see the image on the left is shifted right while the image on the right seems to be a little up and to the left - on the same project.
I wondered whether my printer was doing some weird scaling or something but and bambu suite are set to A4 (which is correct) and I don’t see anything obvious that would be scaling the image between Bambu suite and the printer and it doesn’t seem to be consistent across a page.
Anyone come across this?
Have you calibrated the camera?
The Birds eye camera? Yes that got calibrated when the laser module was installed. I haven’t come across any other cameras that need to be calibrated separately and I haven’t noticed any alignment issues when using the laser.
I’ll try recalibrating it to see if that makes a difference.
it’s likely your printer issue, it scaled the image I think. check if it has any settings that is adding margins or frames to the printed content.
Yes, I was referring to the birds-eye camera.
The remarks of @hotellonely are valid also.
I don’t know if your printer is an inkt jet version, but humidity makes paper expand quite a lot.
I presume that there is a calibration for your printer in the suite also.
Yes it was doing some odd scaling even though scaling was turned off in the windows printer properties settings.
I did a little more testing by creating a 15cm shape in Bambu suite, then also in Word doc, I printed them out and measured them. They were both measuring about 5mm too small.
I combed through all my scaling / printer settings and couldn’t find anything and finally found a way to update the printer’s firmware with the long forgotten Epson app on my phone…
And that seemed to fix it, things are printing out the right size and the cuts are perfect!
Hi
thank you for the post and your fix. I had the same issue and was frustrated that I couldn’t find a solution even after many tests. After reading your post I tried with my second Windows notebook and it was perfectly aligned (same printer, epson as well). In my case, firmware was up to date. So i uninstalled and reinstalled printer driver. Now the Testfile is perfectly aligned on my main Notebook as well. Not shure, what (which setting) really was the issue.
When printing from bambu suite, I have no settings for the paper print job (Paper, quality, paper tray, …). this could be afeature request for future update In addition, I would like to Print the paper before installing and calibrating the h2d (one step before sending the job to h2d). This would make print and cut much more convenient (Computer, Paperprinter and H2D are in different floors in the house).
Happy printing and cutting
I’m glad it helped and that you found a solution as well! Thanks for your feedback! I suspected that I wasn’t the only one that had gotten stuck by this!
I tried it with a second computer as well - printing out a 15cm shape from a word document and had the same scaling issue which let me narrow down my specific issue to the printer. In your case it showed up the main notebook as the culprit!
I wouldn’t mind a few extra print settings like paper type and print quality.
See if you can find a driver settings somewhere, usually printer drivers would have a way to get into the settings page when printing (just not very obvious)
It’s too bad that the H2d can’t use the printed fiducials to compensate for scaling that the printer did. Maybe in future SW/FW.
2d inkjet + 3d printer = 5d worth of problems
Amazingly I think quality 3d printers are more reliable than cheap 2d inkjets.
I know this is an old thread, but Im getting into using the cutting tool and Ive had issue exactly as described here. The output from Bambu Suite to the printer is off-scale - but only to my epson ecotank, to my brother laser it is properly scaled. Both use the built in AirPrint drivers; I have tried the official epson driver too but it did not resolve the scaling issue.
Sadly as others have noted, the fiducials dont account for scaling issues.
The solution so far has been to export to PDF from bambu suite, and print it outside of bambu suite.
Im on Mac 15.7, bambu suite 1.02.02.00.
So I spent a ton of time and materials trying to figure out my own particular form of print then cut ■■■■ and I found a combo that worked!
I use the default bambu matte sticker paper but I add a satin/matte laminate over top for better texture and quality.
Here is the combo of things I used to get cutting and the print then cut calibration to work consistently.
- Ensure the thickness of the material is set correctly in the Thickness field, use a caliper to get the right value after applying your laminate. In a few tests, this was the difference between success and failure (coincidence maybe but unsure)
- Set the pressure higher than 300gF. For my combo of materials, I had to set the pressure to 450gF - as well as the cut through pressure to the same when Expert Mode is on.
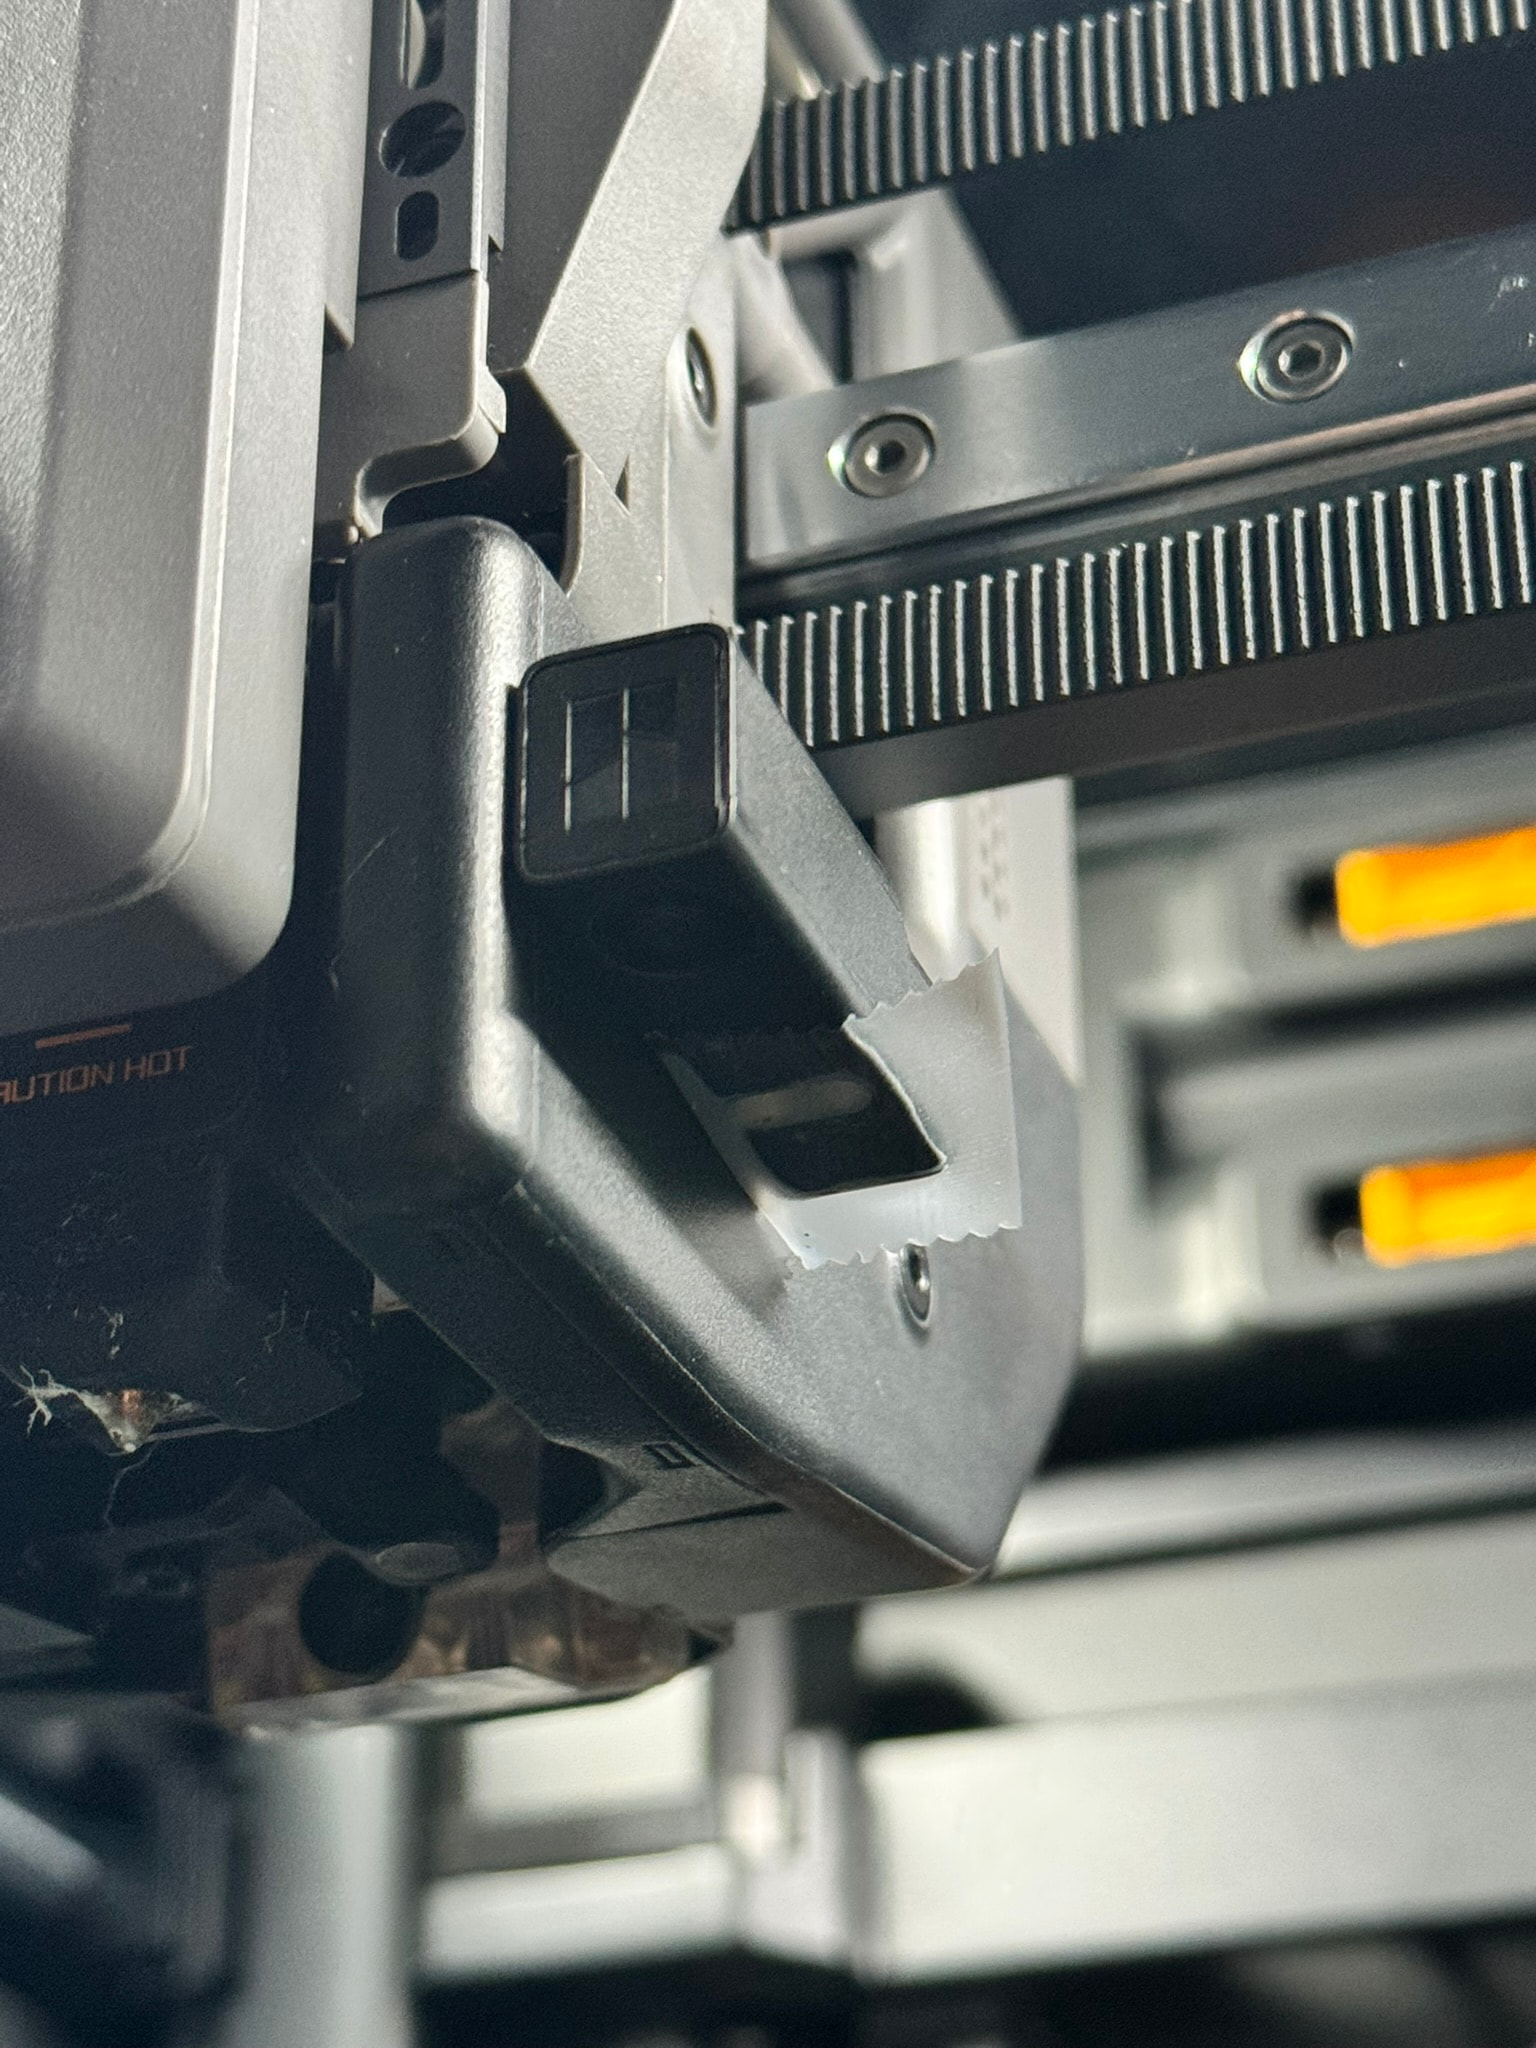
- Apply a small piece of matte scotch tape over the light NOT the camera sensor. This one worked every time when using my 2nd laminate finish.
Maybe this helps others or you have a different setup/problem, but thought I would offer some thoughts on what worked for me!