Hello all! I’m pretty new to FDM printing, so obviously I’m still trying to figure things out here. I haven’t had a problem I couldn’t solve via research until this. I’m printing a statue, and in the Orca Slicer Preview, the jacket looks like it’s been eaten by moths. In my research, I learned about turning the Wall Generator to Arachne, which does appear to patch most of the ragged holes, but the edges are still frayed… I thought maybe it was just too thin for the .4 nozzle to handle well, but switching over to the .2 nozzle pretty much gave the same results. Can someone explain to me why this is happening, and maybe how to resolve it? Thank you!
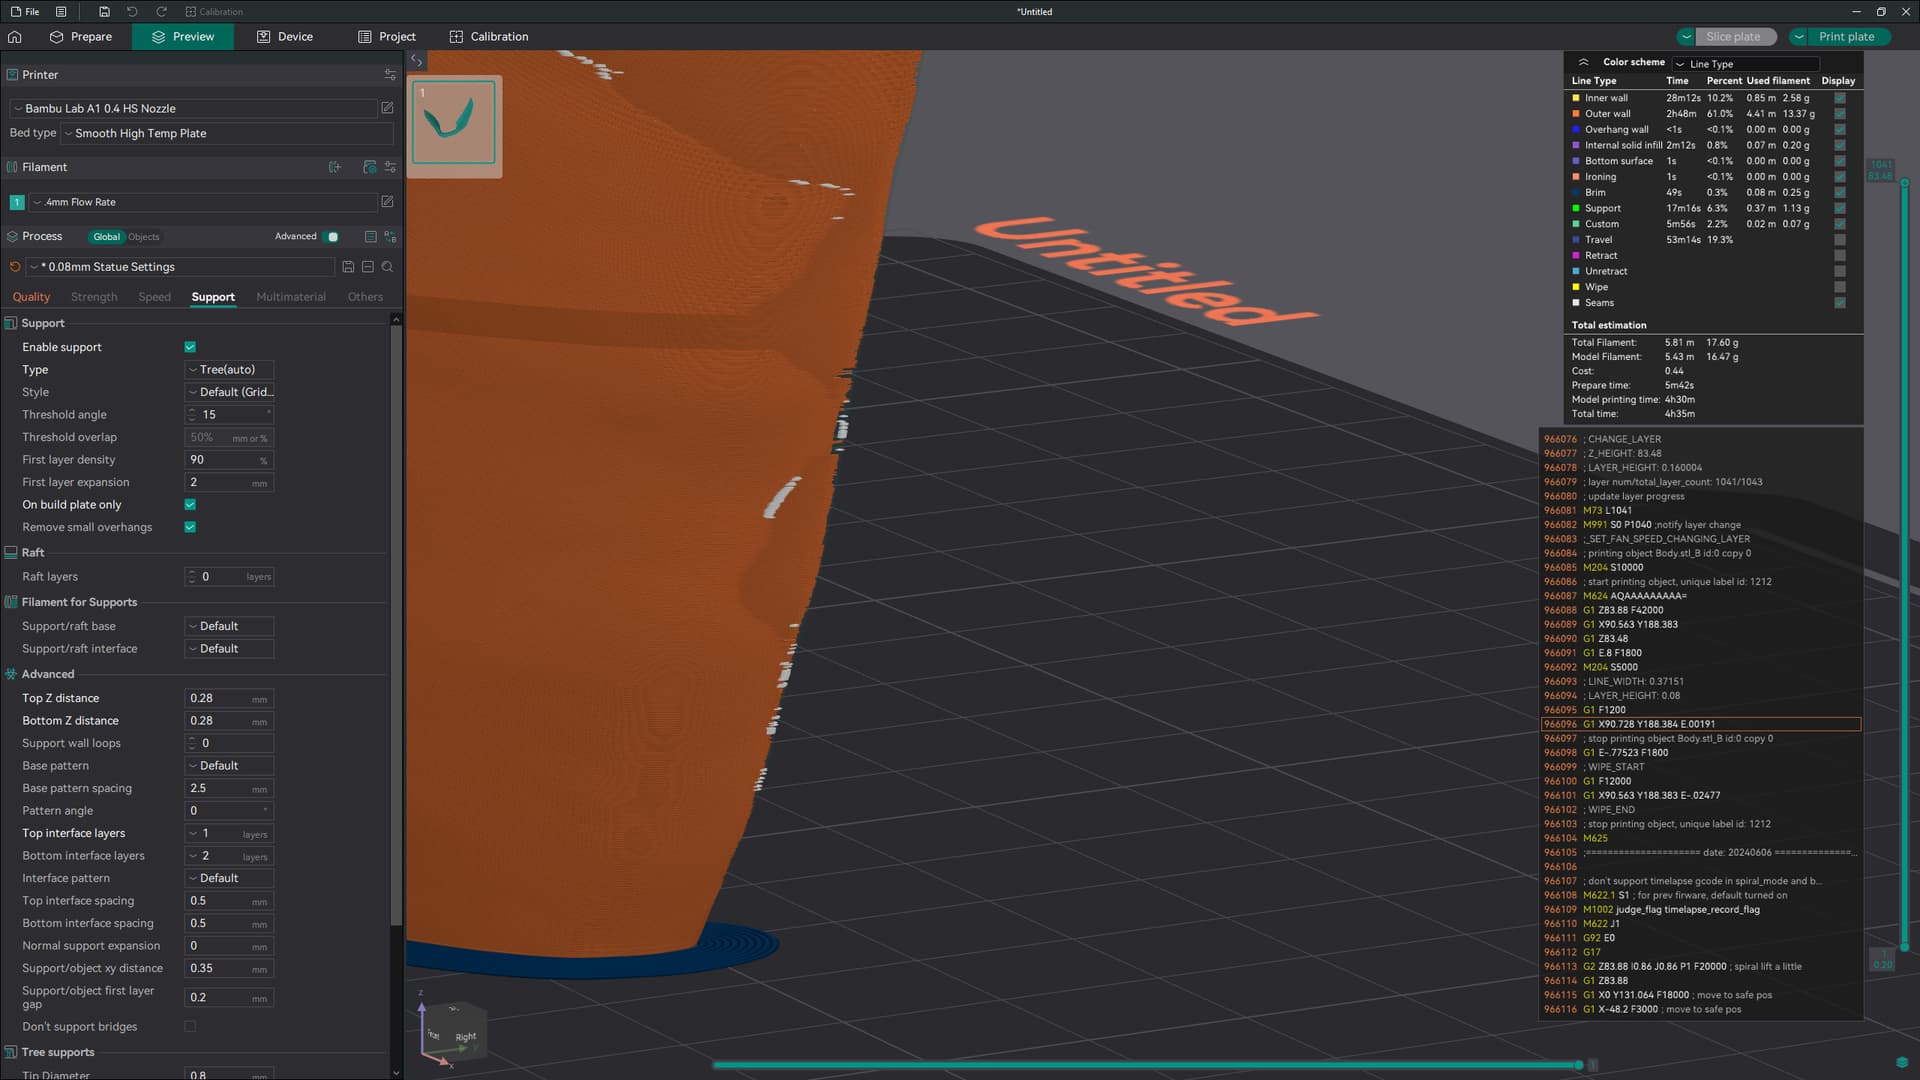
Before Arachne
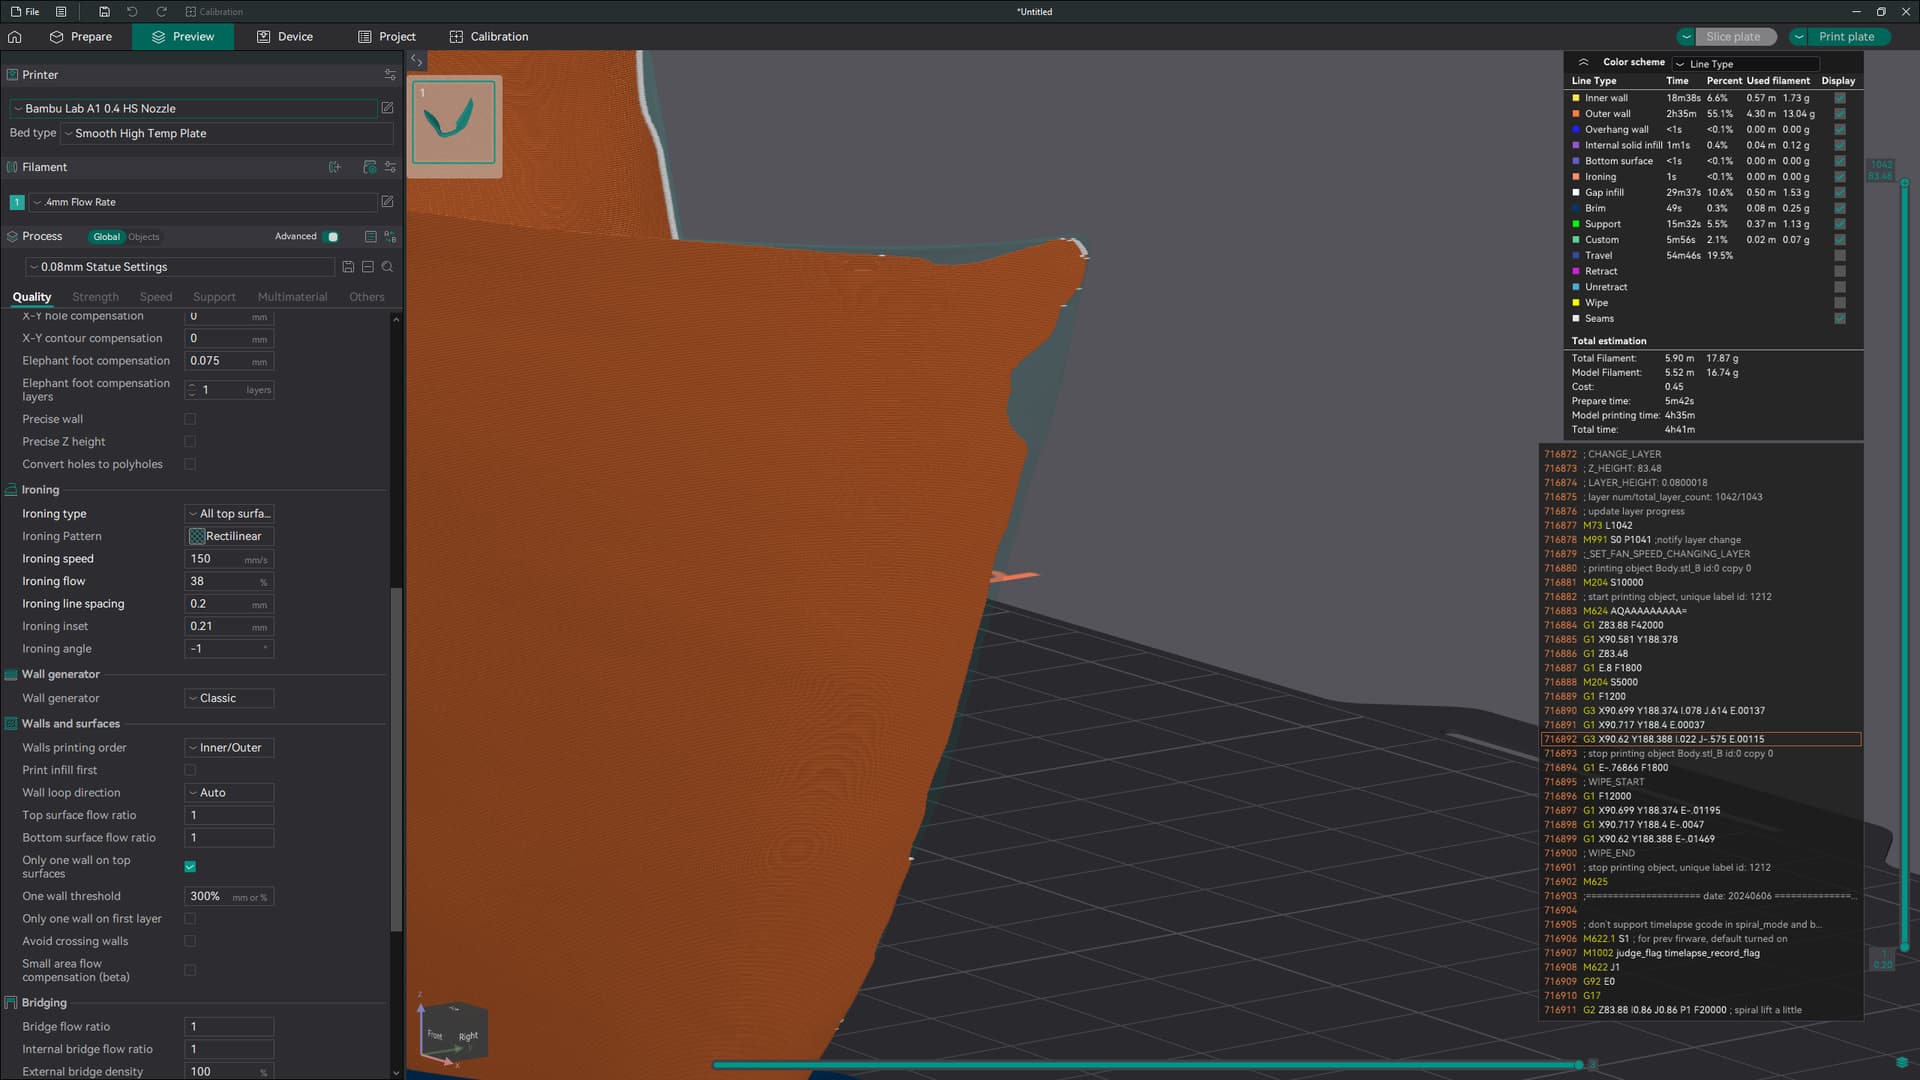
After