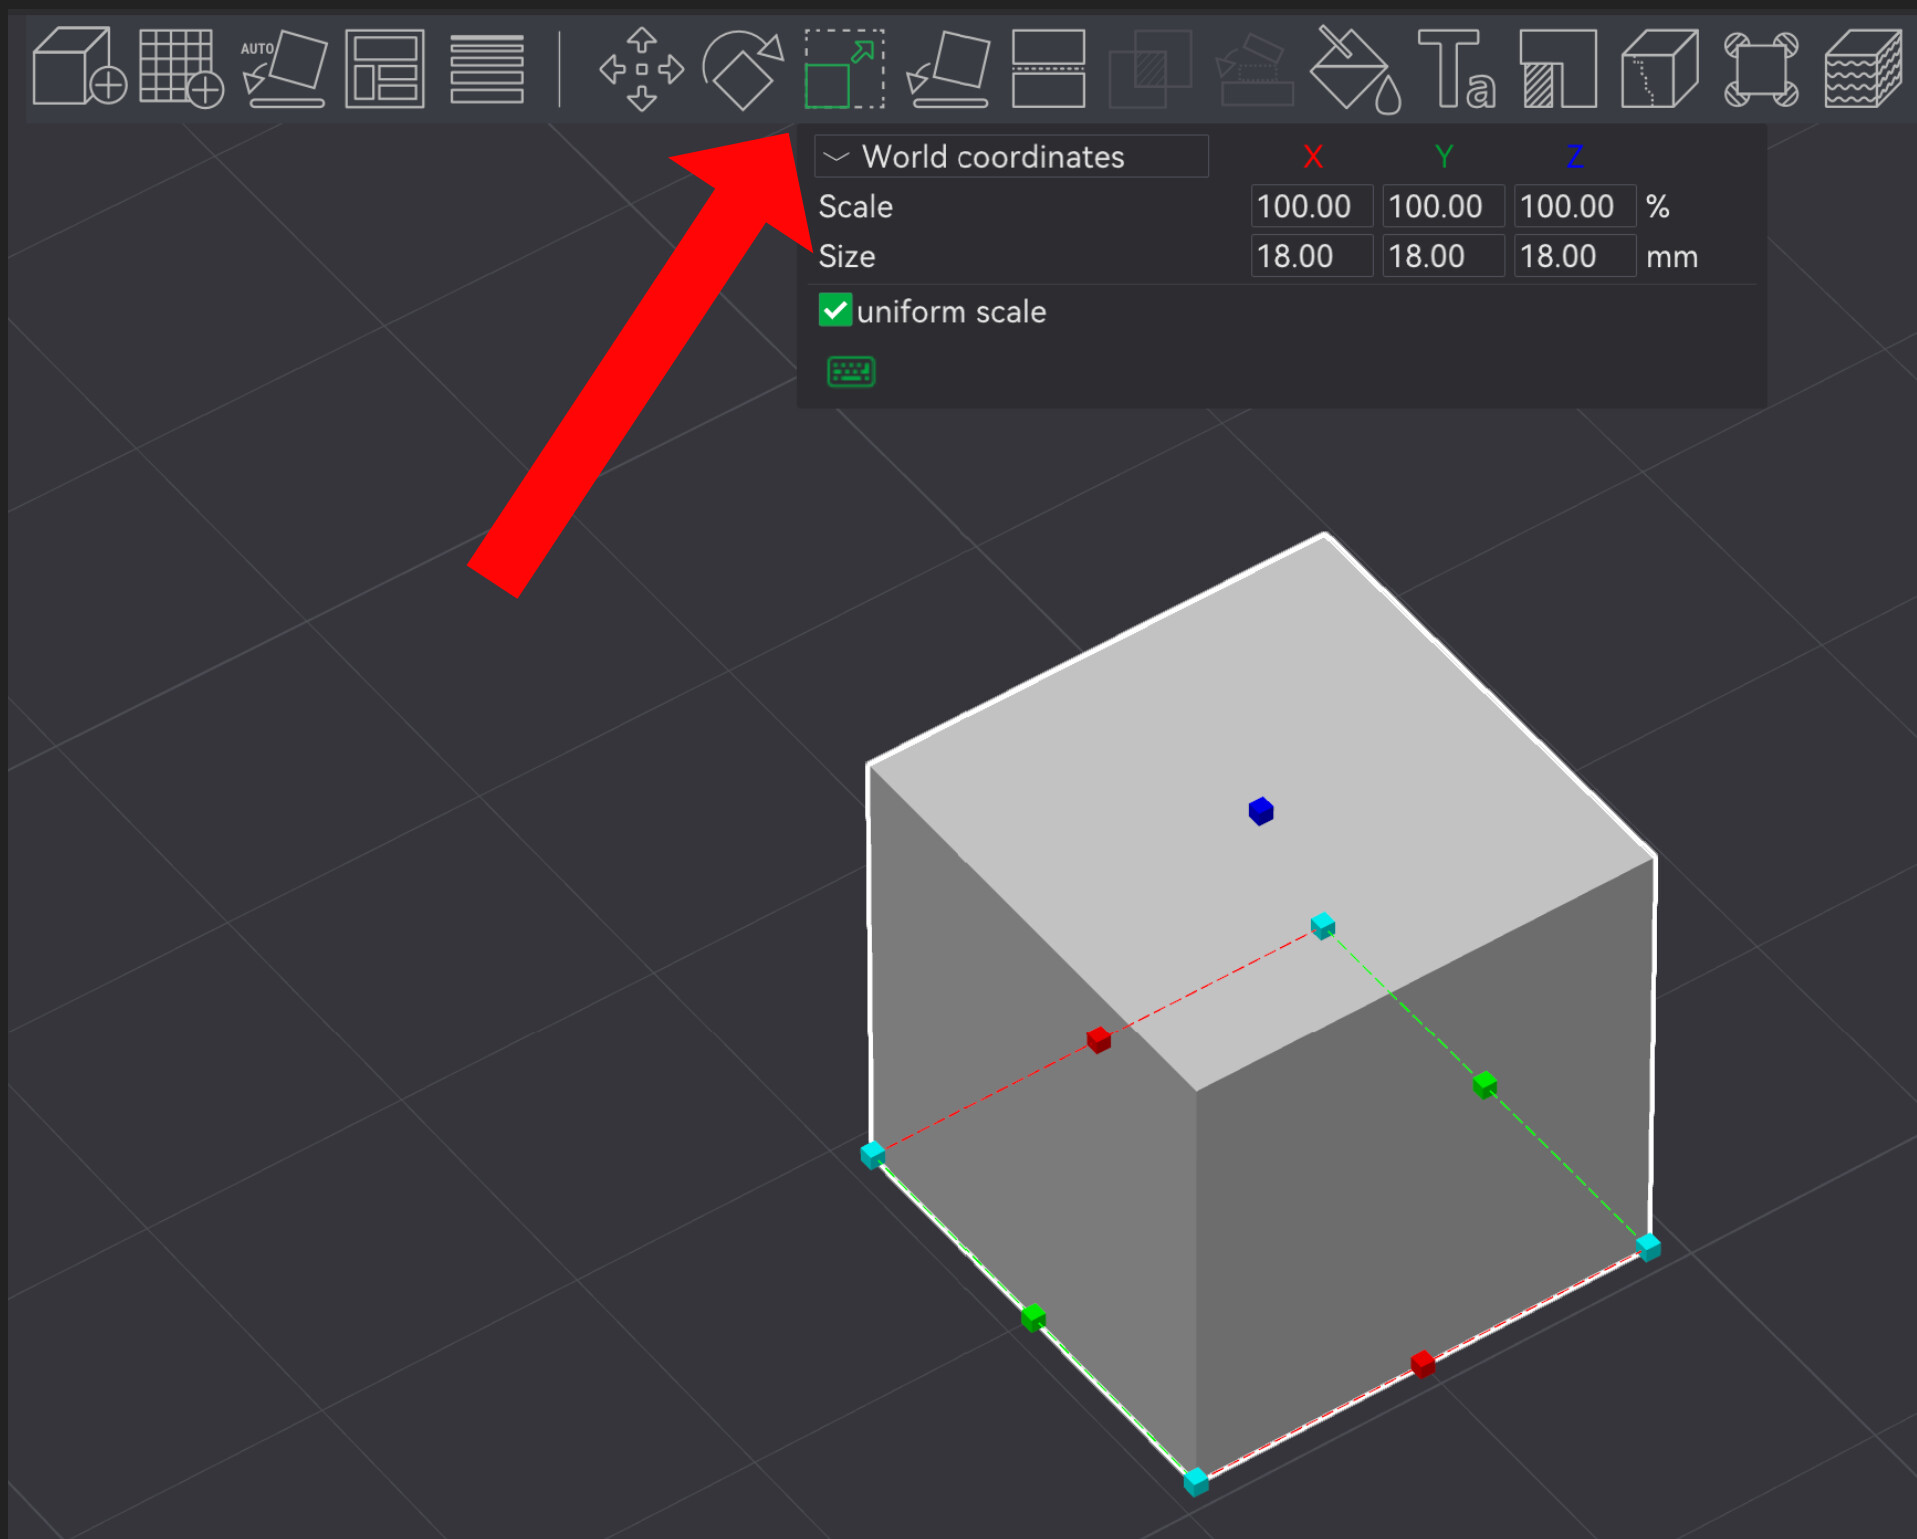
A lot of MW models that I find interesting have been designed for H2 and will not fit on the smaller bed of the P2S, I’m a newbie and have been trying to find a way that I can scale the model myself.
Sometimes the right click brings up the menu to permit scaling, other times it doesn’t. My question relates to when it does and when it’s a single plate with 6 colors.
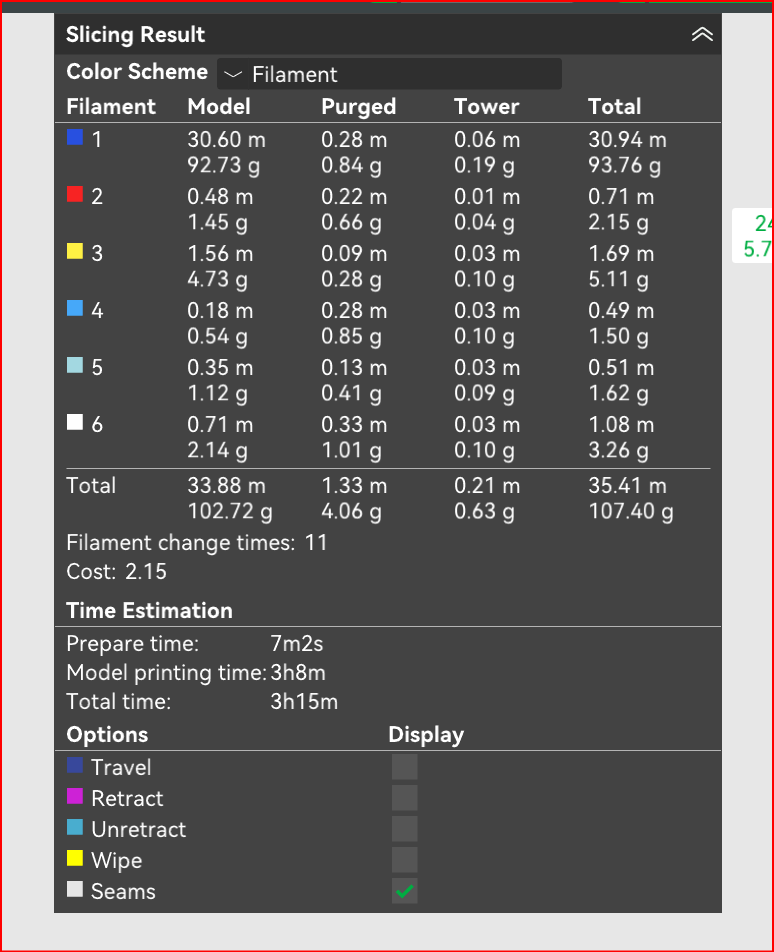
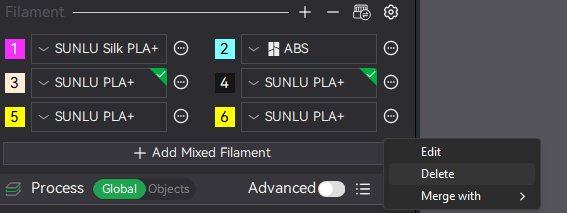
I’m currently able to print 5 colors until my 2nd AMS-HT arrives and the screen shot below shows 6 colors in use.
3 of the colors are different shades of blue, so I would like to combine 2. The 2 closest in color and the one using the least filament.
But what am I seeing in this screen?
I believe the model will print in reverse, i.e. Filament 1 will lay down a complete layer or so and then the other colors build on top.
Is that true?
If I’m correct, I should delete color 4 or combine colors 4&5 - how to do that?
Wiki doesn’t seem to deal with this kind of detail.
I don’t understand your second question; maybe someone else can answer it.
I just have a hunch: The numbers 1 to 6 next to the filament don’t indicate the print order.
This is just general information about how much filament is used and for what purposes.
However, Filament #1 can be print at the beginning, at the end, or in the middle, depending on where you’ve set it. The #1 doesn’t mean it will be printed first. Ideally, the number corresponds to the slot in your AMS; if you have two AMS units, the numbering simply continues from there.
When you import a model from say an H2 and try to change it to P2S the image moves off the bed to the side with the “too big” indication.
Then I try different ways to drag it back to the bed and select the image.
Yes, when right click and can bring up the menu, it turns from a solid blob of color to a print I can see and I can scale it.
So, I’m still struggling to understand how I can reduce the number of colors the OP selected.
I will try loading the 5 colors I would like to use into the AMS’s and see if I can force only those selections - I think that may be a solution.
Figure out which filament you want to remove. Find which object and/or paint is using that filament using the Prepare → Process → Objects tab or the Paint function, and then change that filament to whichever one you want from the remaining five.
Then, just delete the filament you don’t want from the filament list in the Prepare tab.
Thanks for the reply. My 2nd AMS-HT arrived so the problem resolved itself !
To your suggestion, finding out which color the OP had used in what layer was the issue. With 3 very similar colors it was hard to pick the right ones.
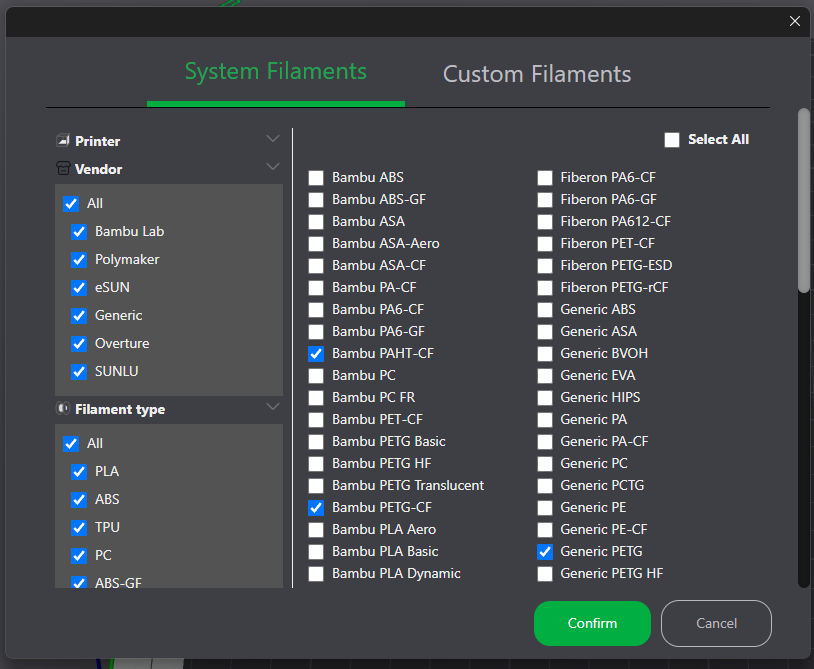
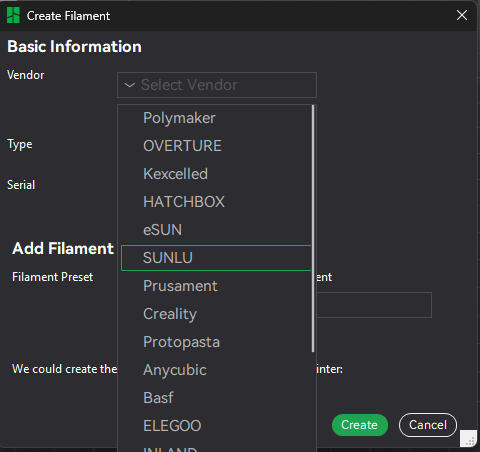
Regarding your screen print how do you get to define Sunlu products? My options are BL or Generic
 !
!