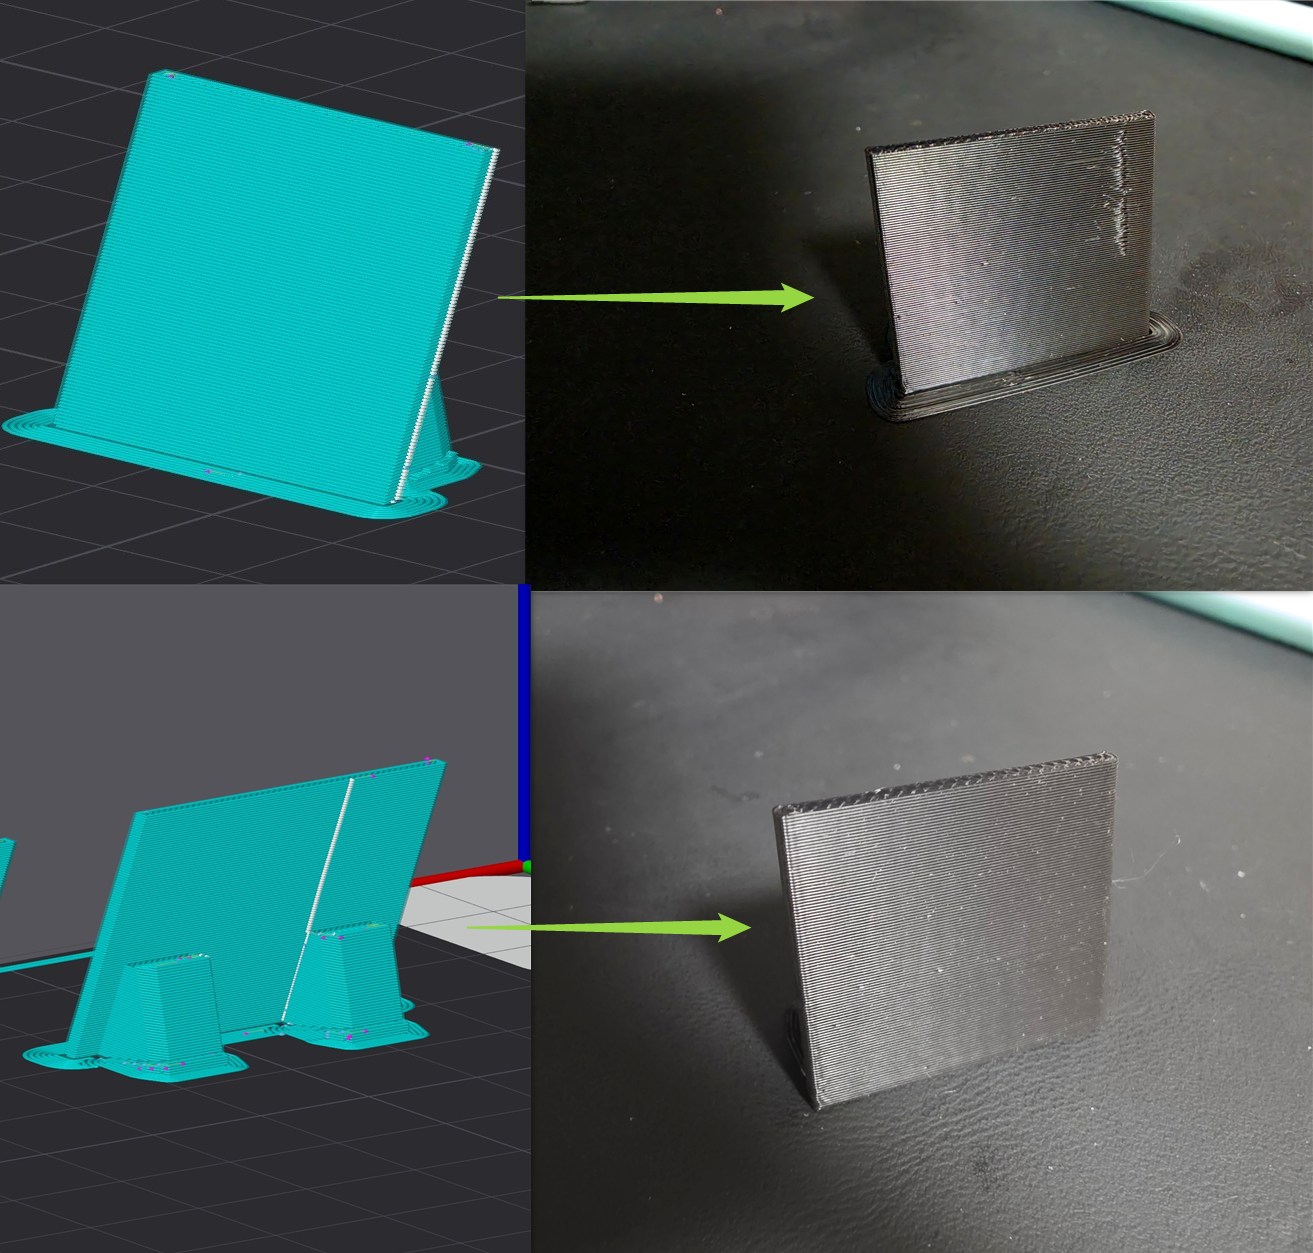
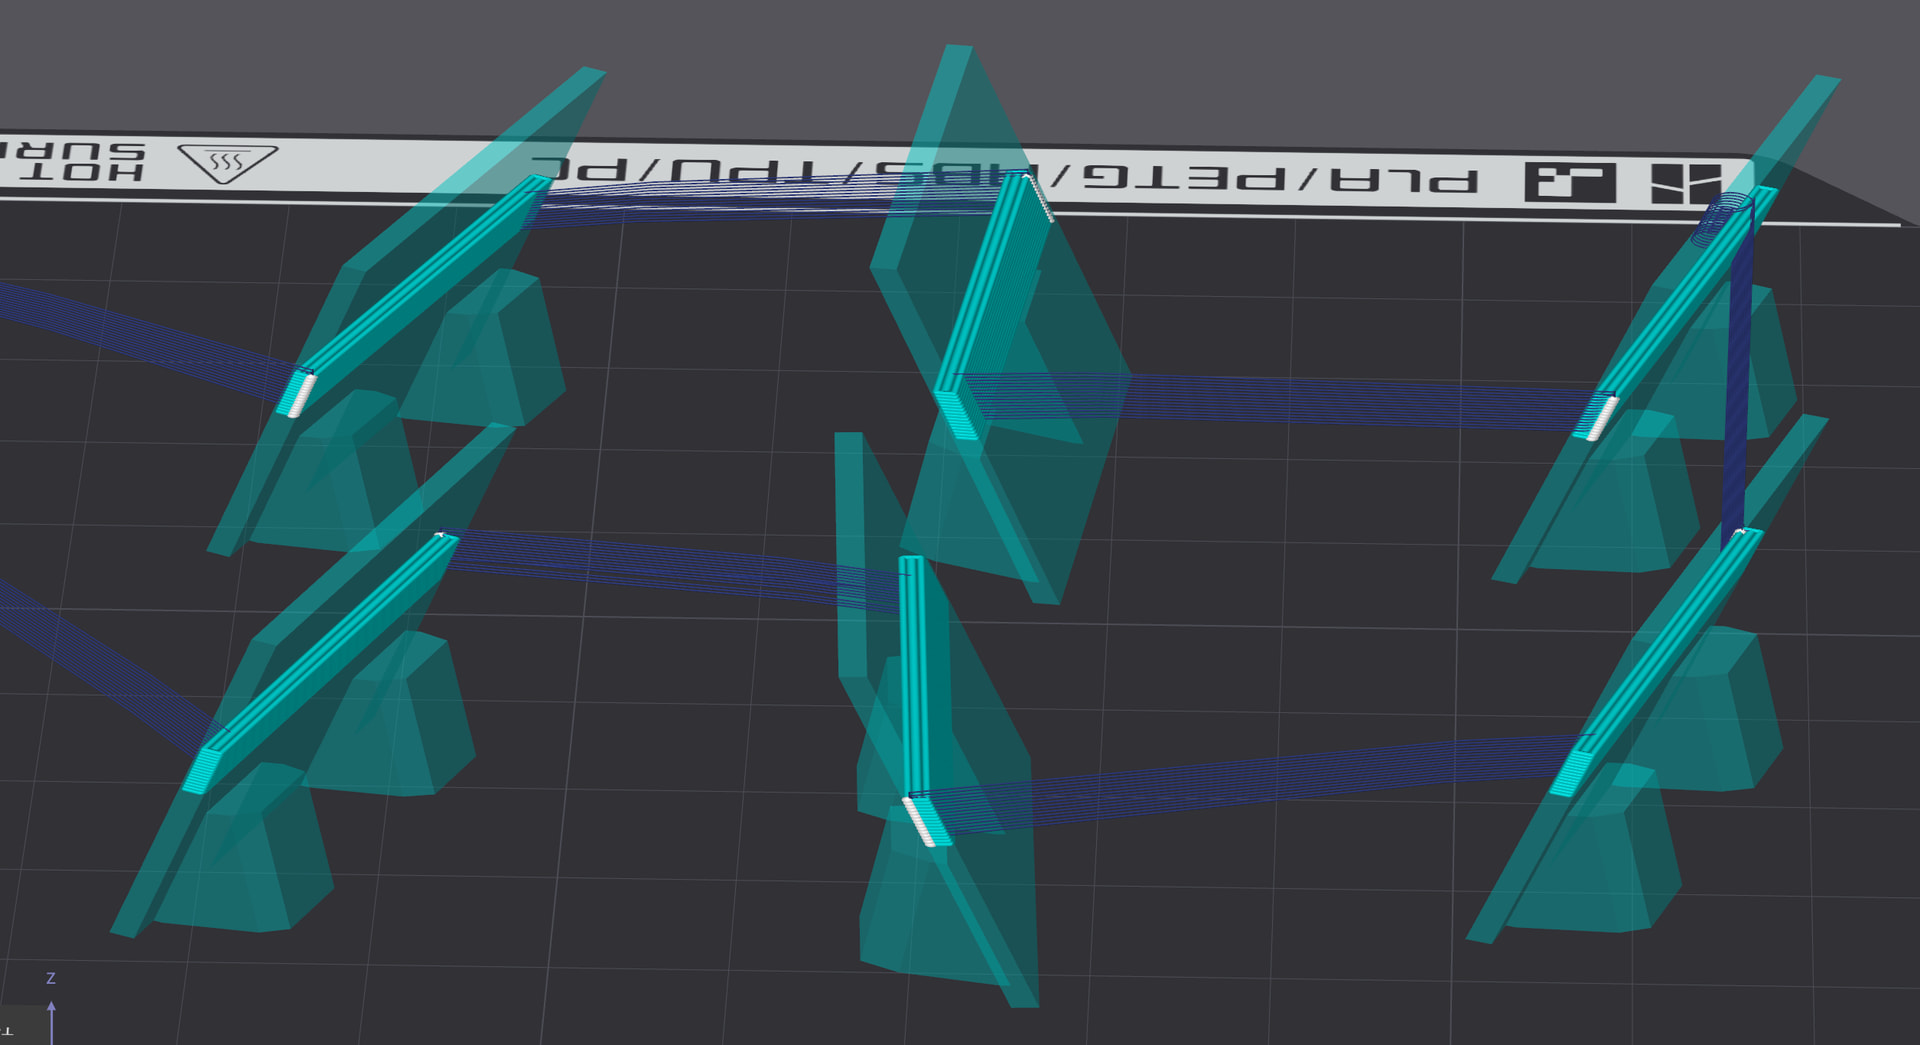
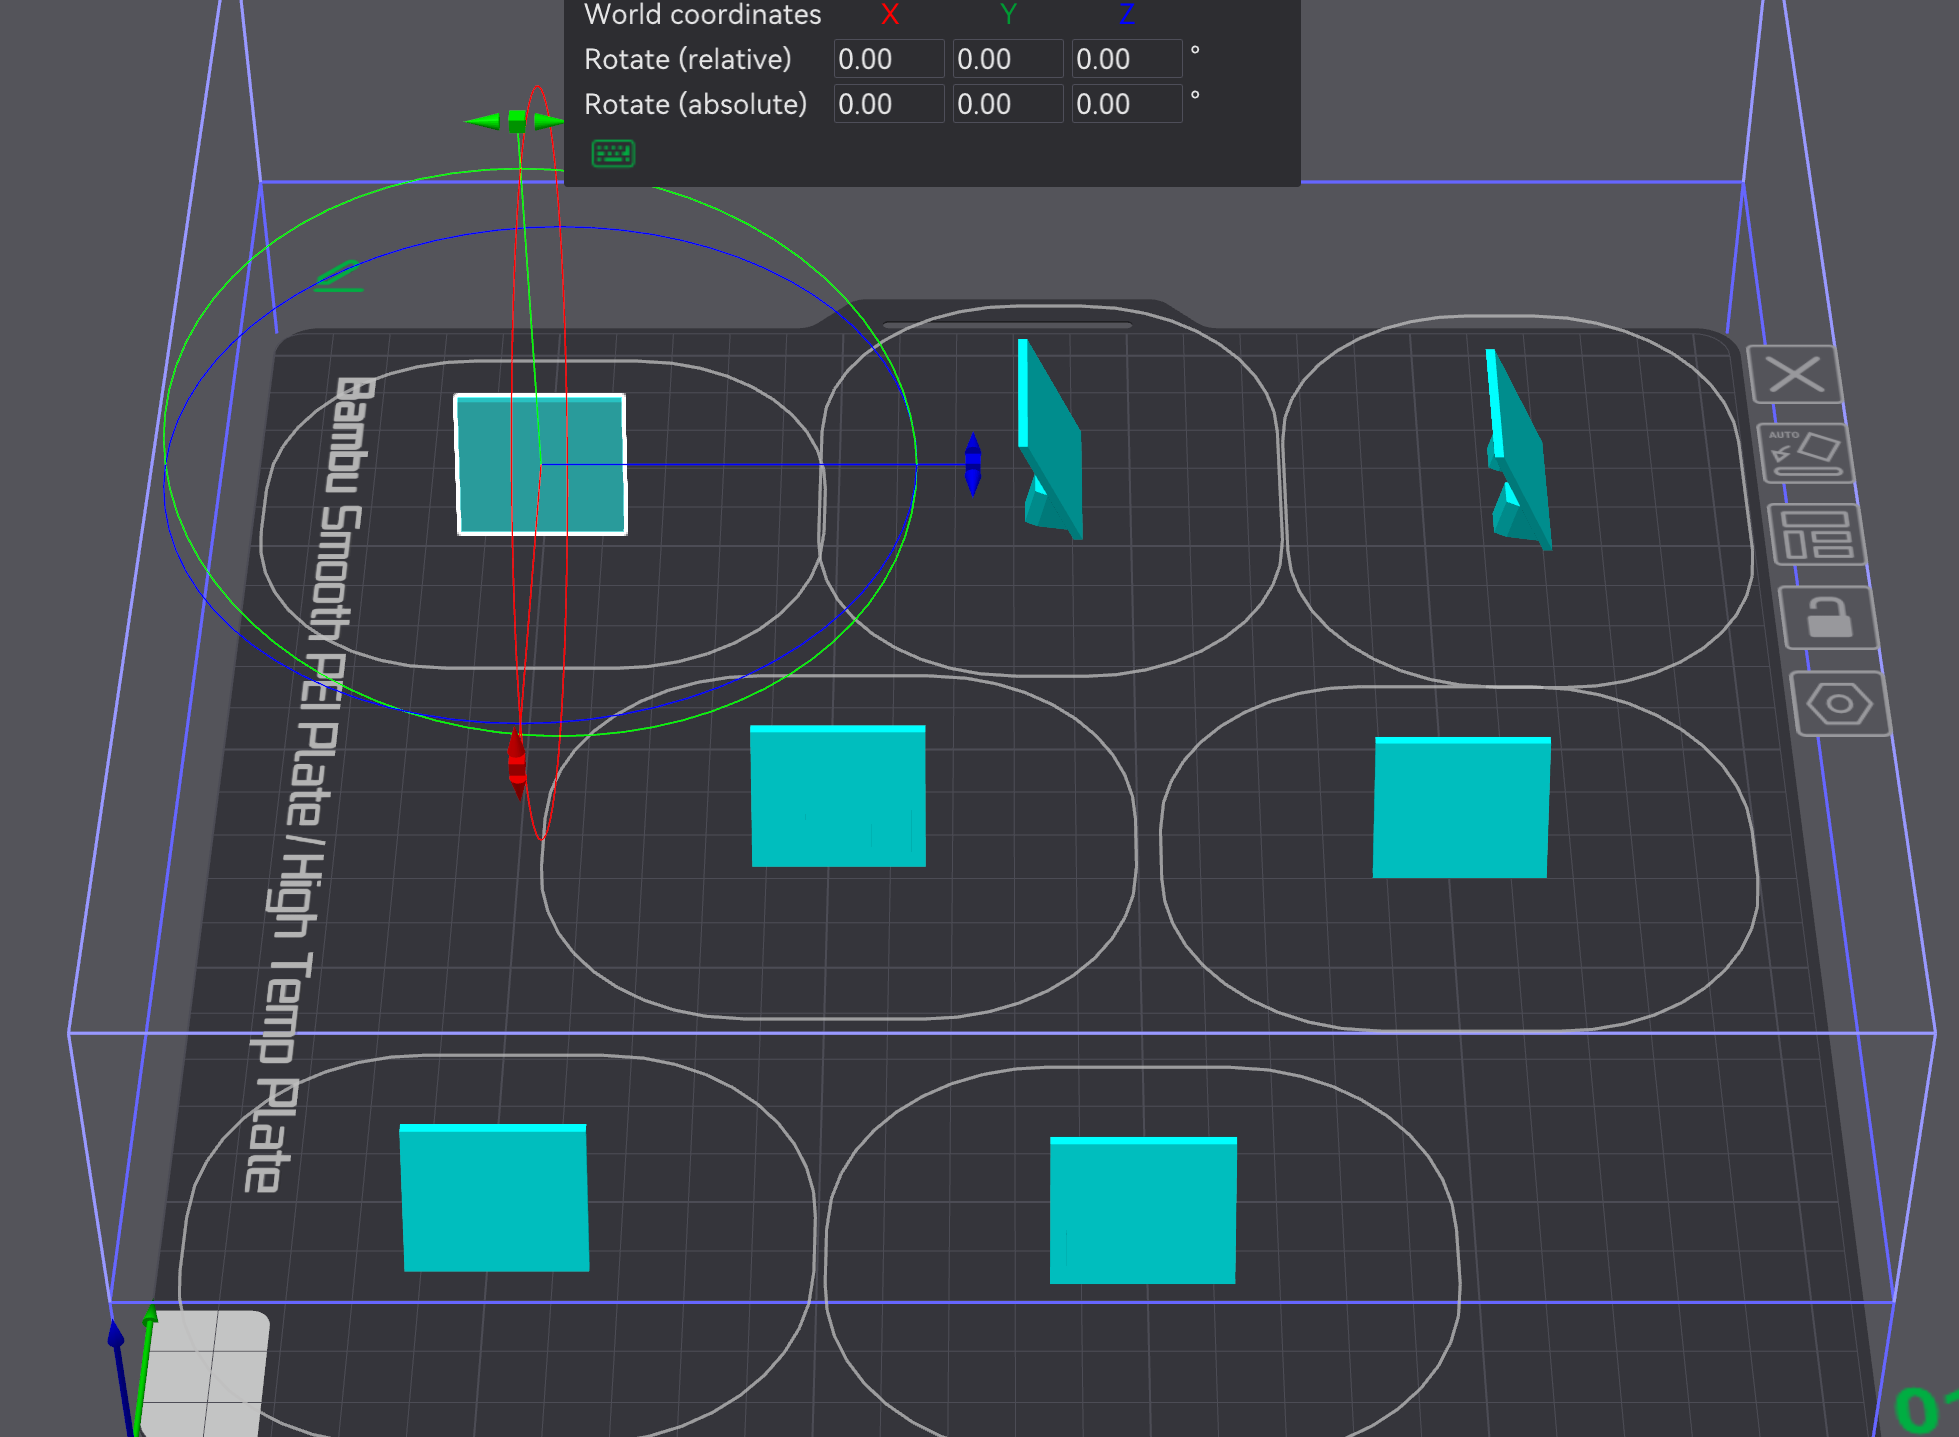
I’m printing this part on my P1S and H2D, and I’m having an issue with the seam placement.
When I place the seam directly on the edge of the part (as shown in the top left), I get an ugly vertical line on the front surface. The strange part is that the line appears away from the actual seam location and runs down the face of the part. It is not the seam though, the actual seam is still on the edge.
When I move the seam to the position shown on the bottom left model, the ugly line disappears, but I would prefer to keep the seam on the edge.
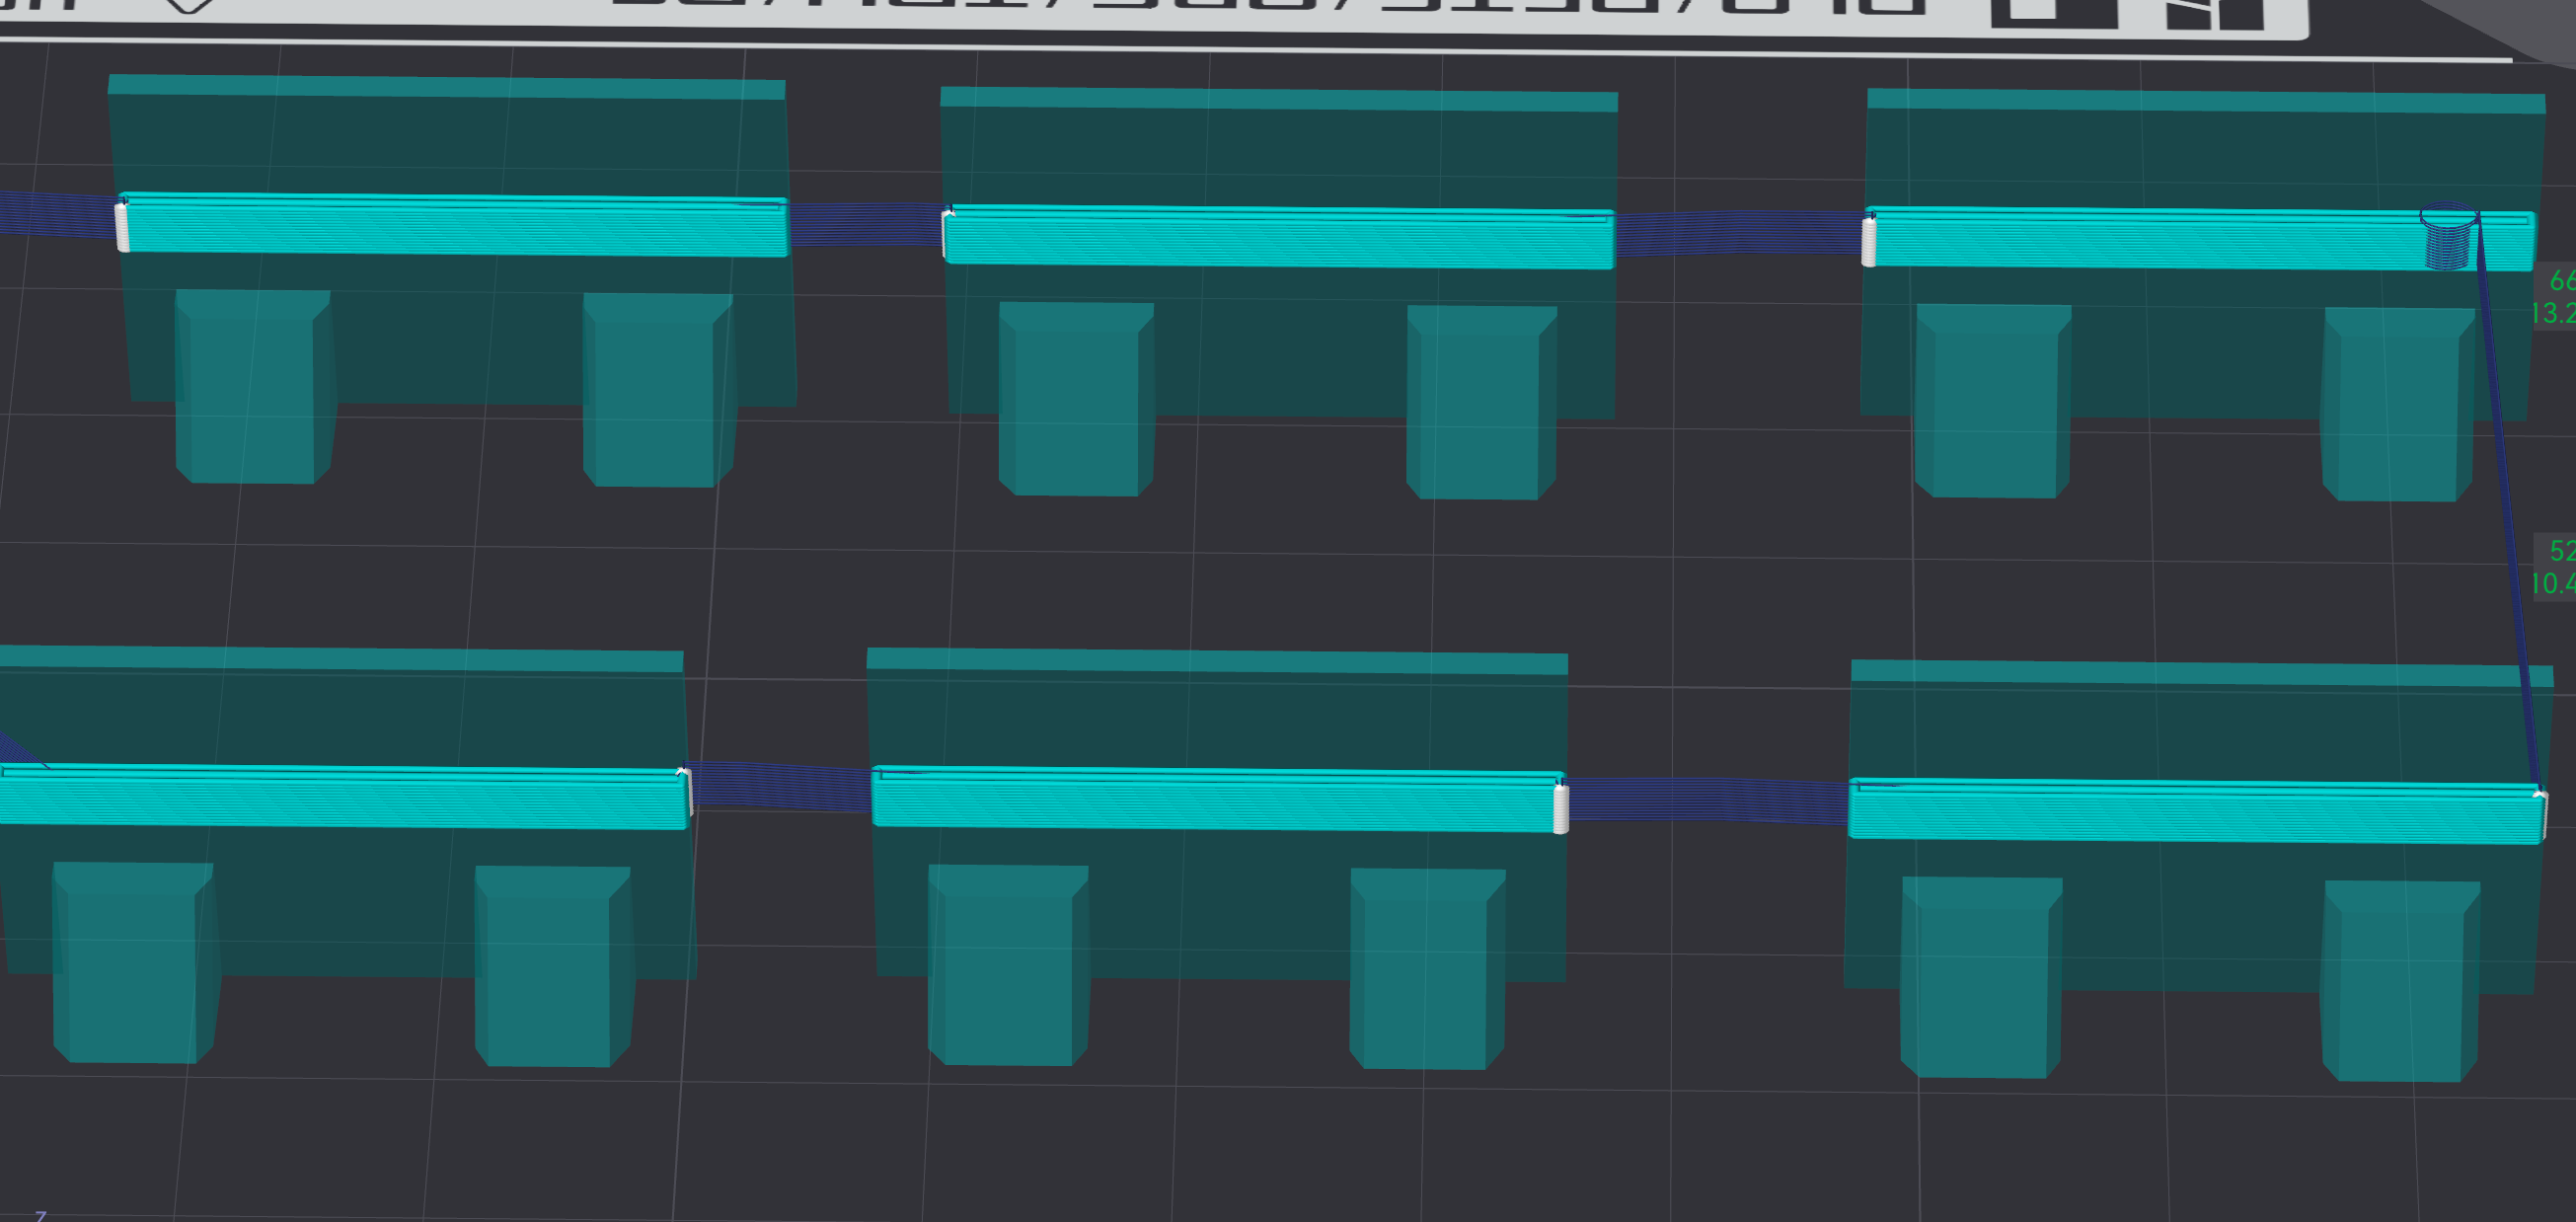
Another strange behavior is that my H2D prints this cleanly with the seam on the edge up to about 5-6 pieces, but once I print more that 6pcs the ugly line starts appearing.
I’m trying to understand:
Why does this vertical line appear?
Is this caused by retraction/deretraction, extrusion pressure, scarf seam, wipe, or something else?
Is there a way to keep the seam directly on the edge while preventing this line from appearing on the front face?
I’ve attached photos showing the sliced toolpath and the resulting prints as well as the file itself.
Any suggestions on what settings I should look at would be greatly appreciated.
Maybe the seam of the inner walls is placed in that location and the outer wall is slightly affected by that? in that case, changing wall printing order to “outer → inner” or “inner → outer → inner” could help.
Do you have scarf seams enabled? I honestly have no idea where bambustudio hides that setting anymore, but scarfs create a “start” and “end” spot to the seam zone, instead of a “single point”.
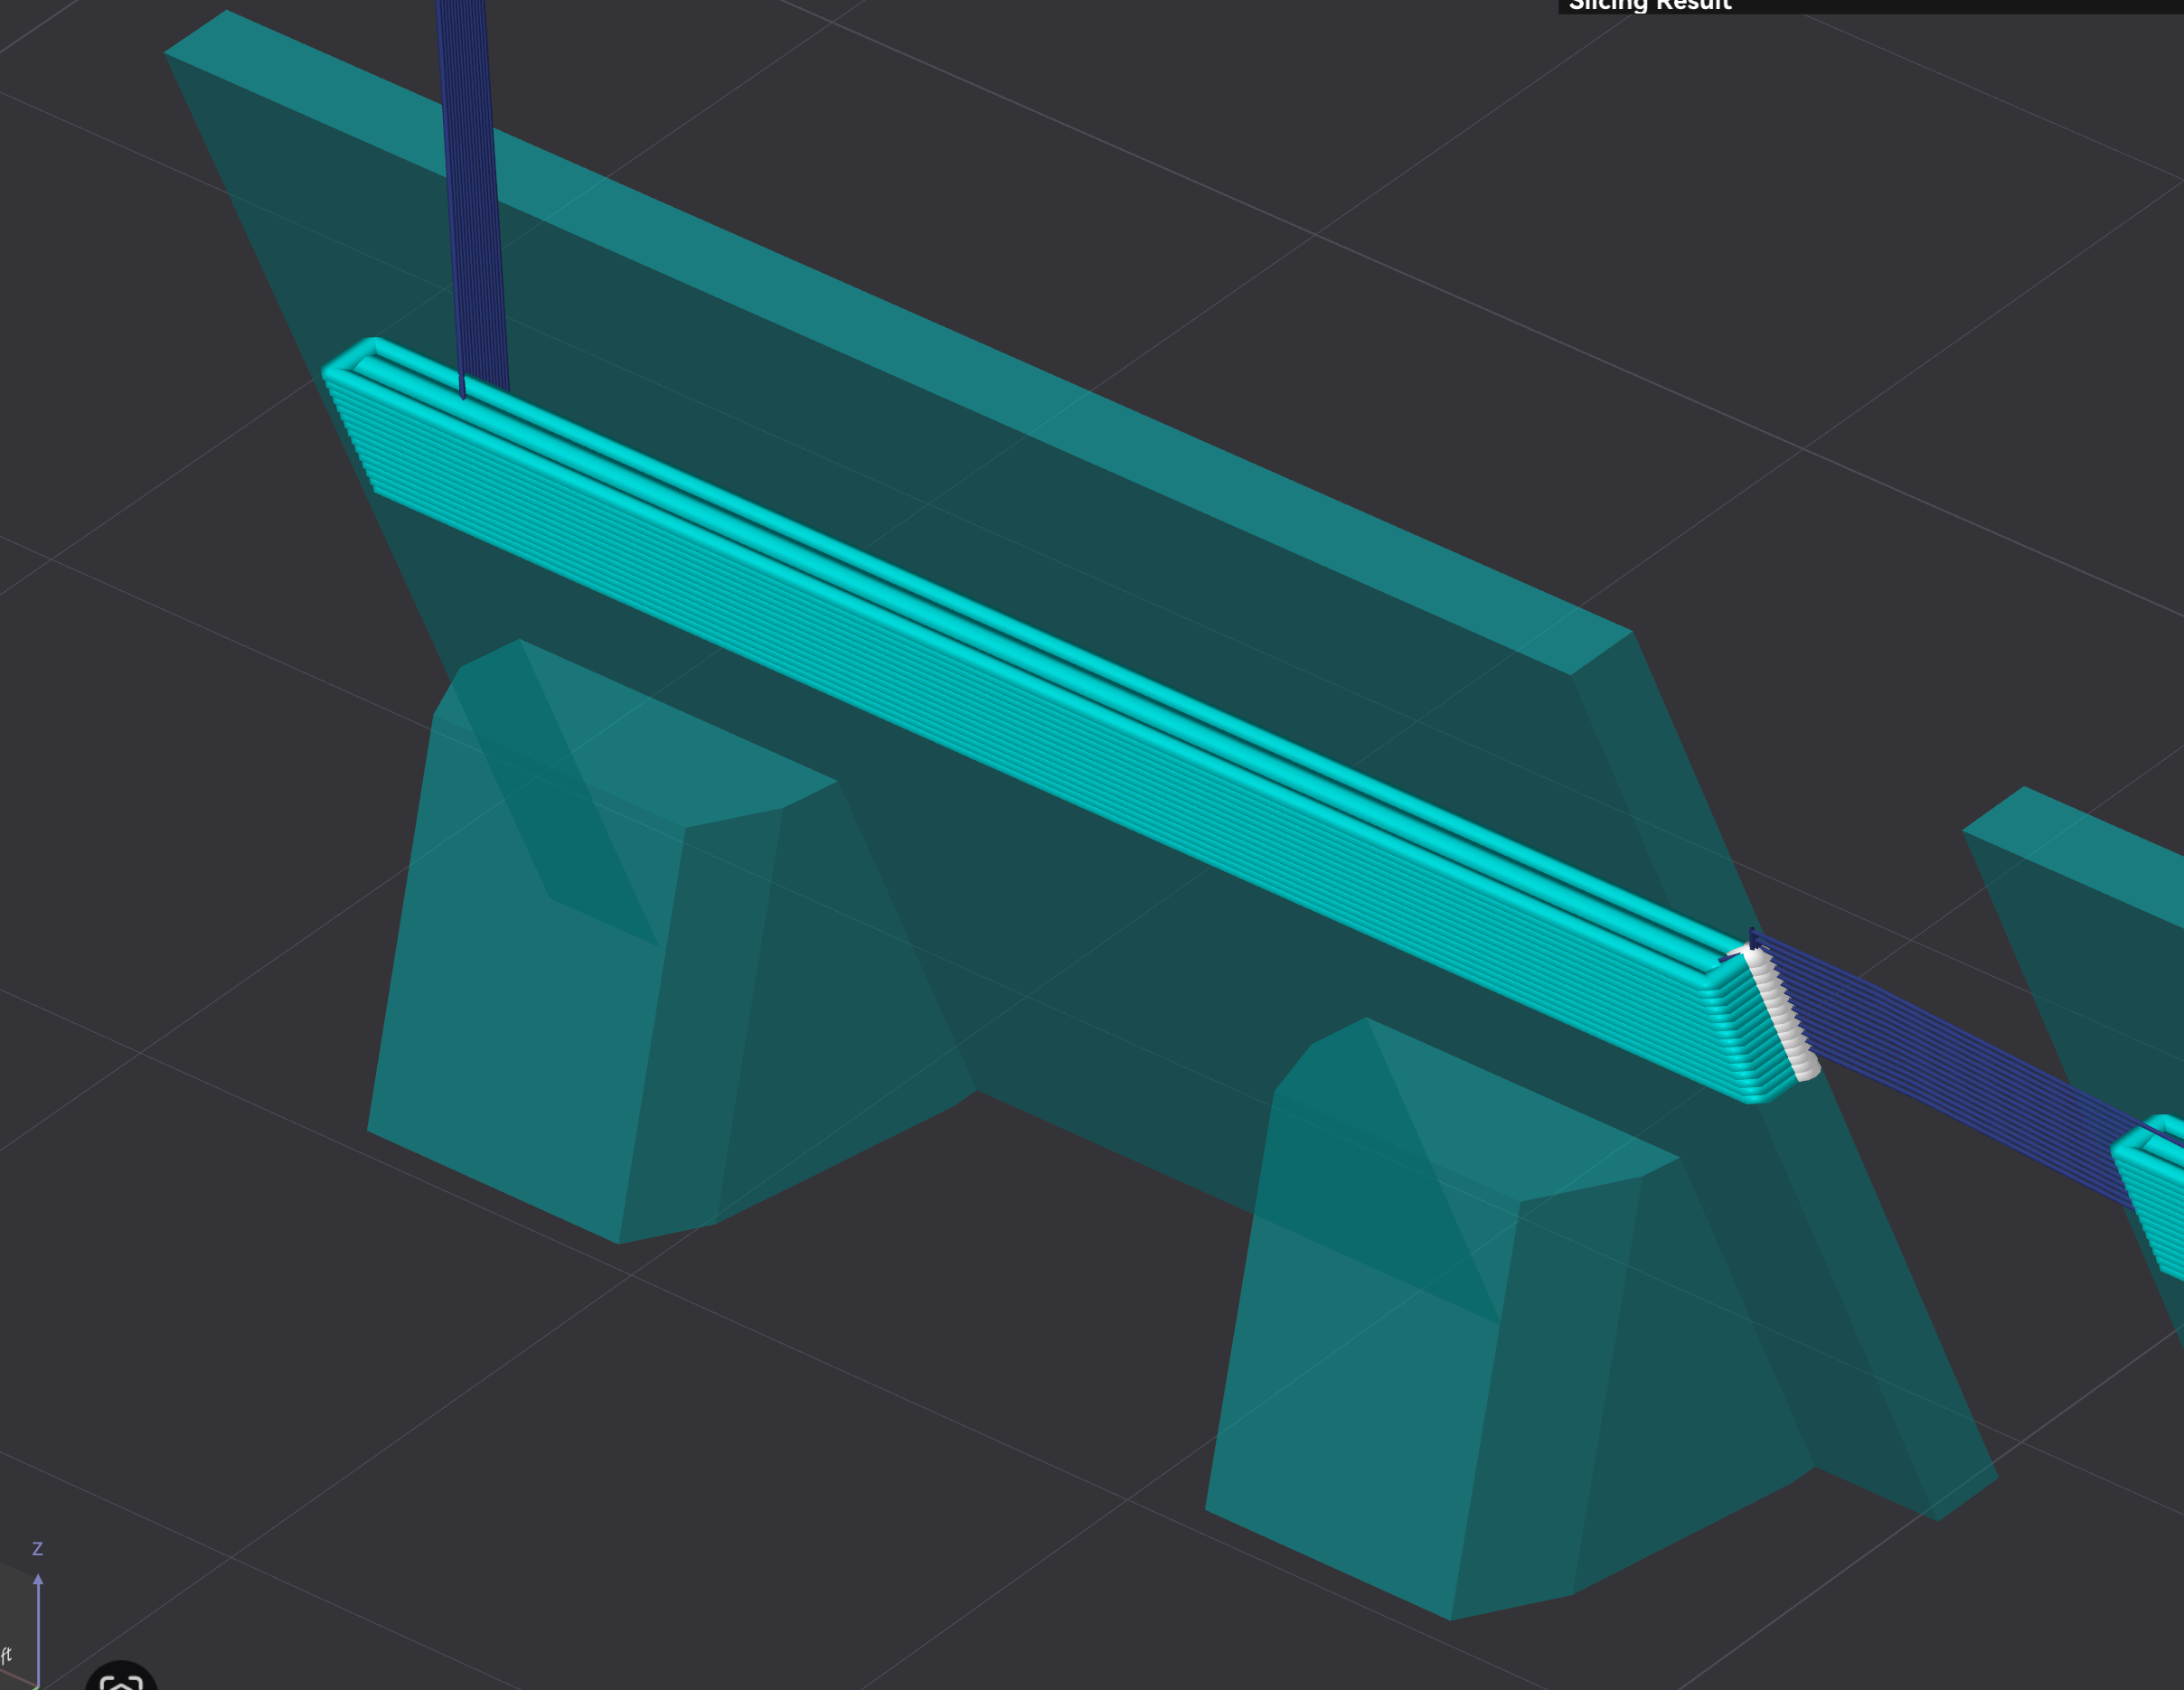
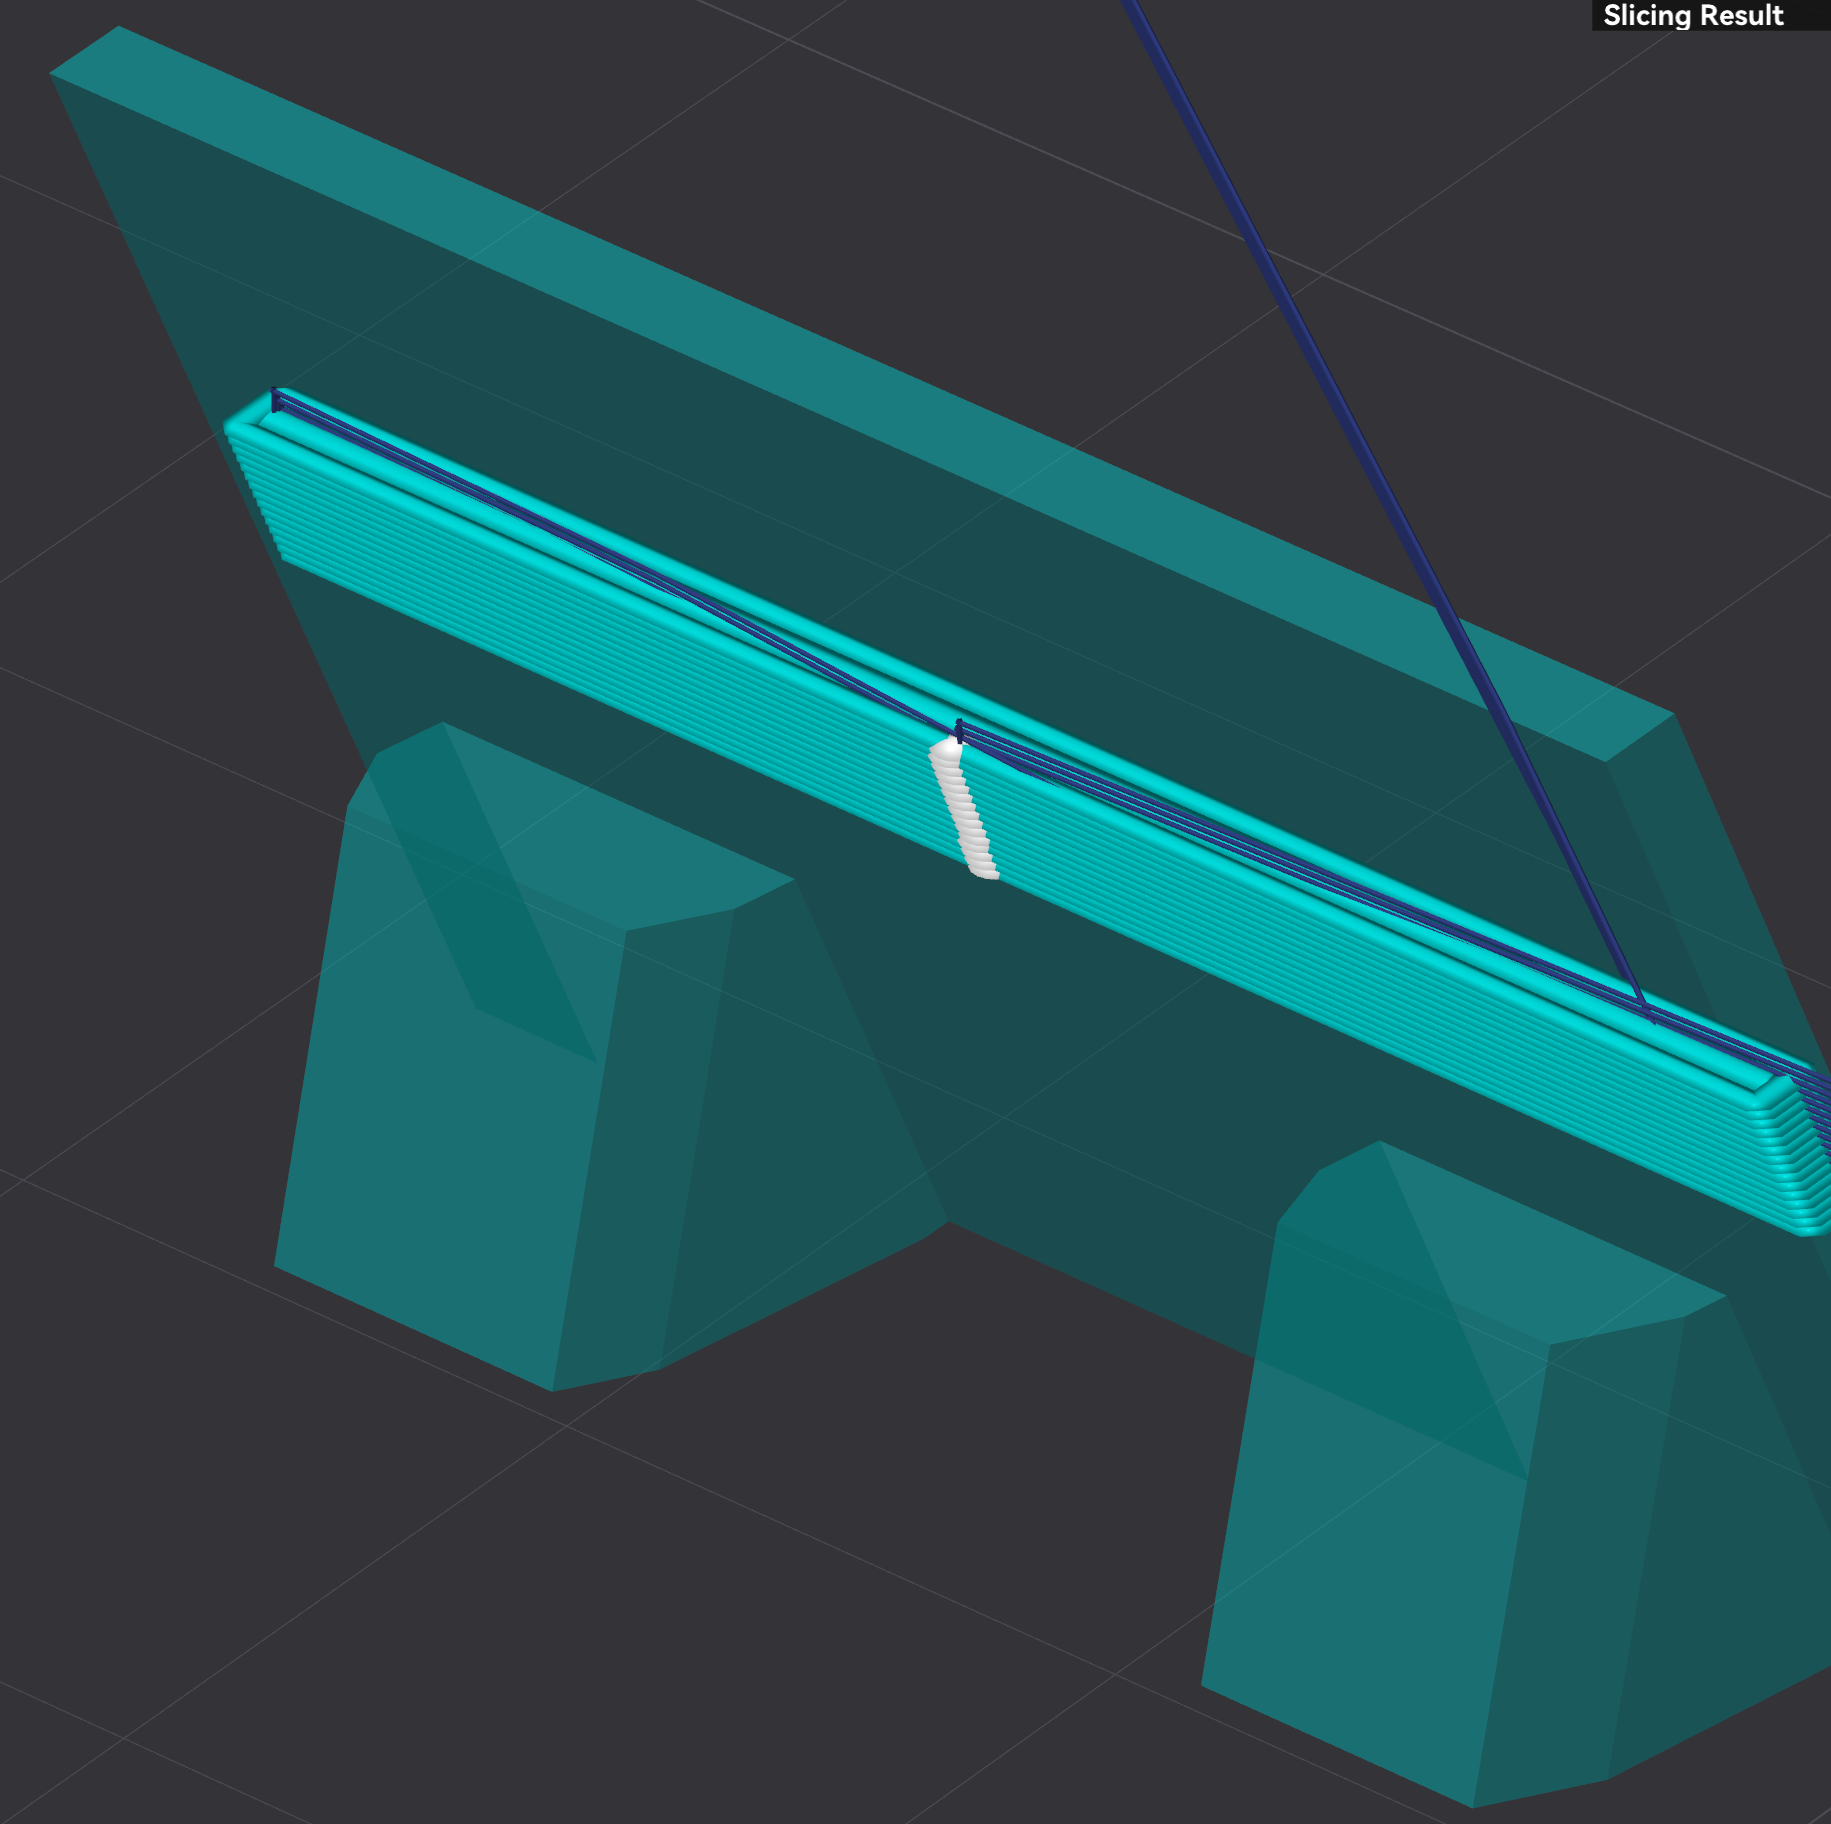
The nozzle is probably oozing or scraping very slightly across the object, which isn’t noticeable during normal printing. However, with these particular travel paths, it’s probably happening.
When I set the seam at the back, the travel paths are completely different.
However, I can’t say exactly what the root cause of the problem is - only why it seems to work in one position of the seam but not in the other.
A slightly less precise orientation might solve the problem - namely, that it isn’t exactly a straight line. I can’t say if that’s the solution, but it would be worth a try. But be aware that this still doesn’t solve the root of the problem, which I don’t see in this case.
In addition to my first comment, here’s another alternative:
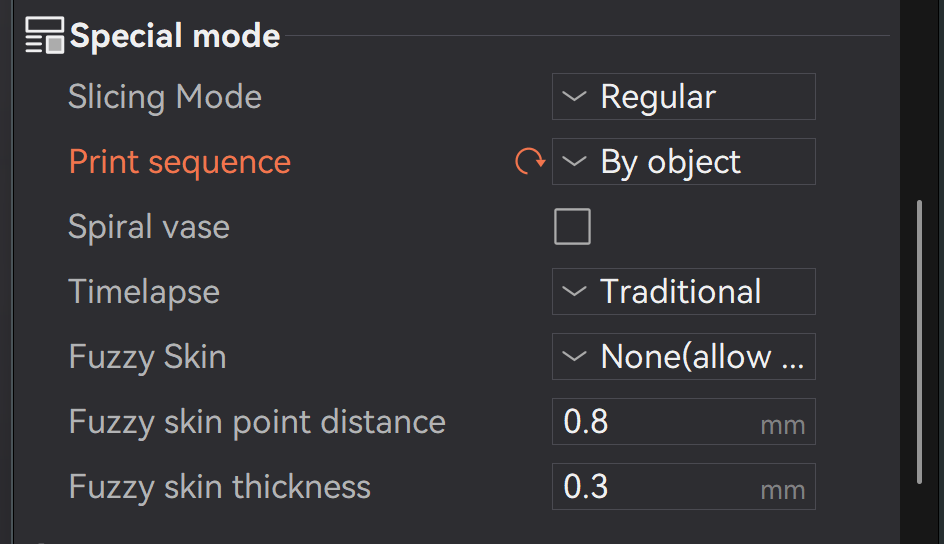
And if nothing else works, switch to printing by object. It’s not the perfect solution, but it’s a option. Luckily, it even fits the same number of pieces. But even this does not address the root of the problem.
There are so many variations I’ve tried that I can’t remember all of them but I am quite sure I’ve tried this one too.
I think inner-outer-inner needs at least 3 wall layers in which my case only has two, one outer and one inner, due to the part being so thin.
Not sure if it can be done but perhaps reducing the line width to fit 3 layers and then trying inner-outer-inner might be worth trying.
Though I don’t think I’ve tried the type of scarf seam, I have tried ‘Scarf around entire wall’ and ‘Smart scarf seam application’ on/off combinations, if that’s what you meant.