I’ve been storing the unused spools in those vacuum bags, but the pump that comes with it sucks very little out and takes a long time.
What are you using and what brand pump works best? Would I be better using the non reusable bags and pump thats used for food or the zip style that I have now?
I use FLEXTAIL TINY PUMP 2X which I already had for inflating camping mattresses but it works well on the Creality Vacuum bags I have, removing the air in a few seconds.
I suggest using a filament dryer, and then sealing it in an air tight bag. That should do the trick, it does for me. Oh, and remember to throw some desiccant in the bags if you have any, maybe from the Bambulab new Filament shipping boxes.
Seal all but ~2 cm of the opening, place lips between the flaps, suck out the air, and complete the seal. Takes about 2 seconds, no tools required. Don’t suck too hard, you can generate spool-bending vacuum.
Thats is a huge thread. Some good points too. The issue I have with storage boxes is floor space. Right now I have limited space so bought a rack
I also got the bags and pump but the pump is hit or miss and doesn’t completely clear the bag. Been looking for alternative types of bags/pumps. I am not sure if the off the shelf Foodsaver 11" bags will fit the spools, but would make for the best solution. I picked up a different pump from Walmart, on clearance, but takes 24 hours for the battery to charge so haven’t tried it yet.
So basically this is what I am looking for information on, who tried what and got the best results. Usually the spools will come right out the AMS and go right into the bag, so that quick trip shouldnt affect the humidity too much.
What AMS are you using. If you using the AMS 2 with heating and dryer you have no probs without vacuum bag and pump, just use an air tight bag and put in your rack.
If you use the other AMS systems get a filament dryer to fully dry your filament and then put the fully dried filament into an air tight bag (not vacuum bag, just one that has an air tight seal), and onto your rack. This should do it.
Don’t worry about drying time, it takes at most 2 hours but usually only 1 hour is required.
Glad if this helped.
Contact me at any time if you need further advice or help. I have a couple of threads too, maybe you could have an answer.
The AMS2, and I occasionally run an 8 hour dry on the. The ambient humidity in my shop is 64% with a dehumidifier running 24x7. I’m finding that 2 out of 10 bags so far don’t pump down with the handheld pump while the rest are pumping down. I also discovered that the 1 gallon ziplocks are large enough to fit the spools so I may go get that food saver type with the roll. The AMS are keeping them to 15-18% now that I added more Desiccant holders. Fingers crossed this does the trick. Once winter gets here the humidity will drop and be a non issue.
Long thread you say? Here’s hopefully a more condensed post.
After testing every storage method from that thread, I can say with certainty there is no single perfect solution. The most effective approach is a combination of three methods, each with its own pros and cons. Here is my condensed take on that long discussion, still long but hopefully shorter.
I use three different storage solutions for different purposes. Here are my subjective pros and cons:
Vacuum bags
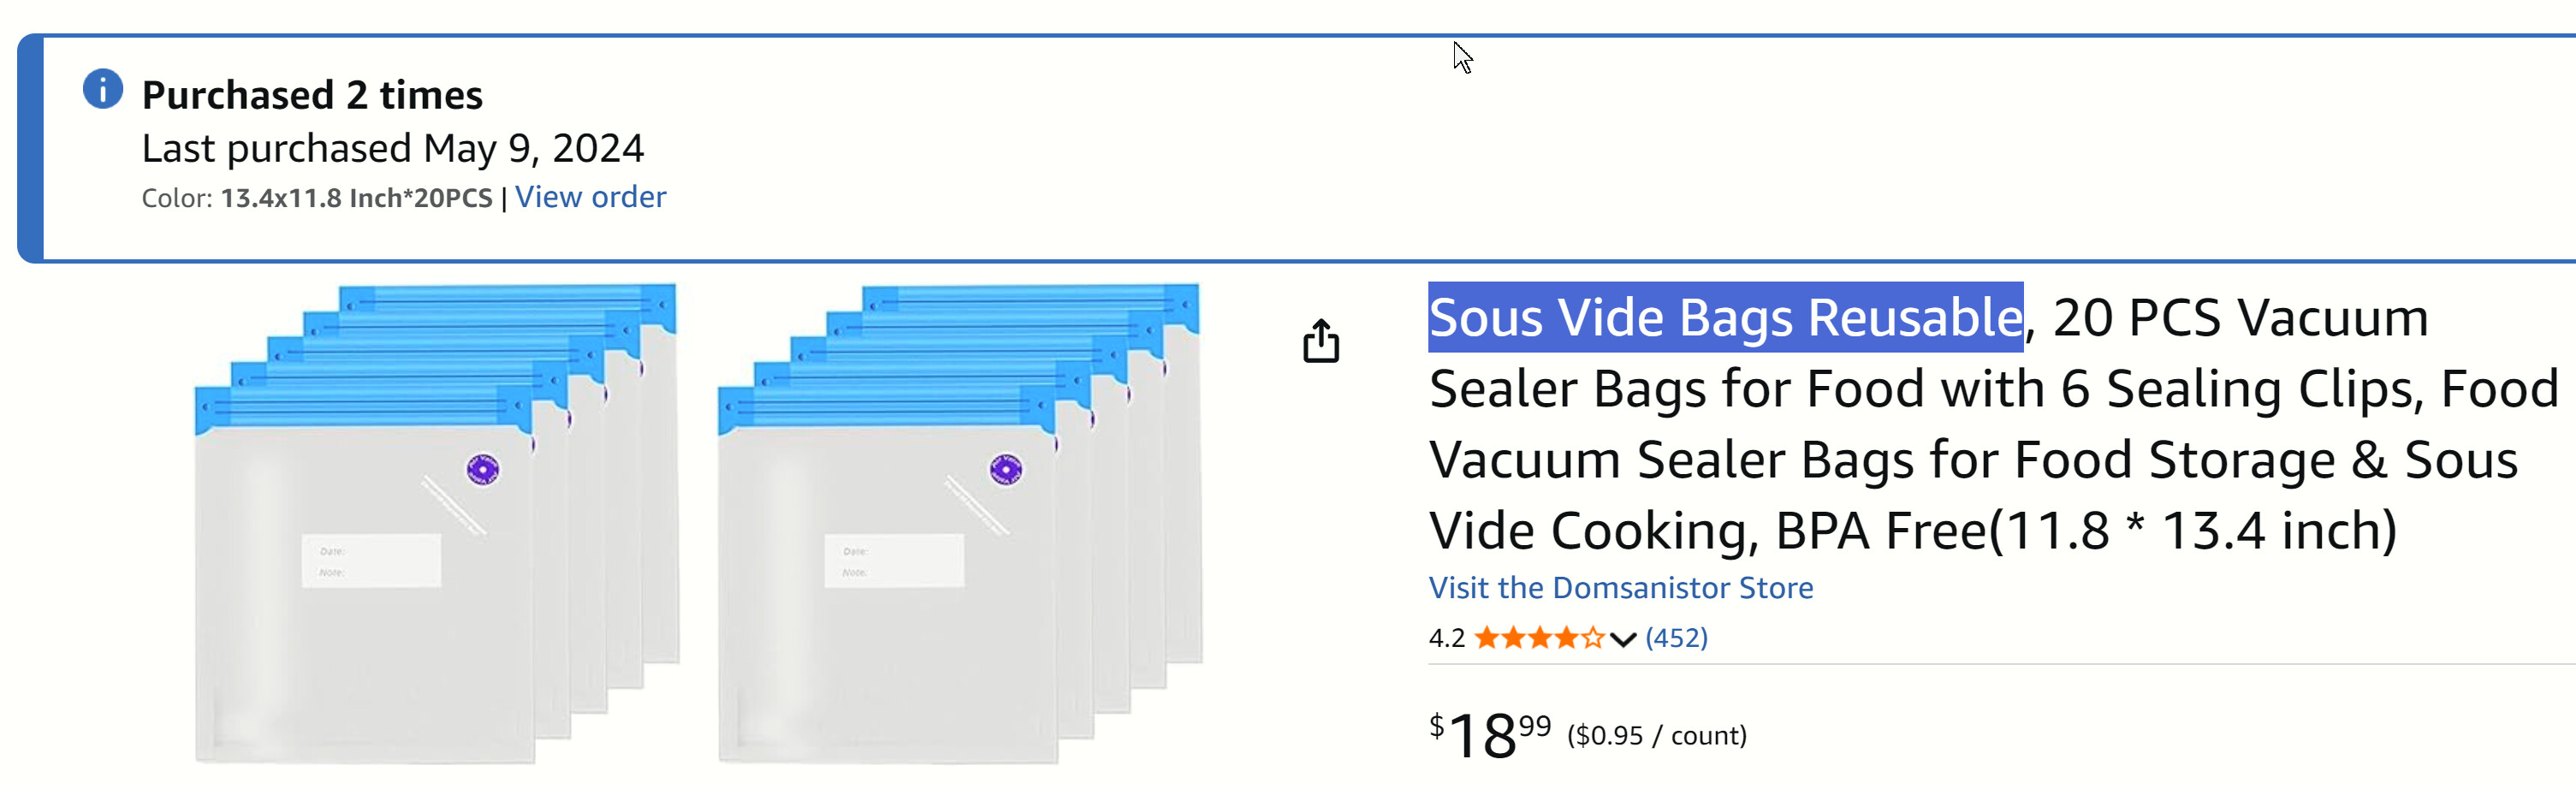
I do not recommend purpose-made “filament bags” - they are a sucker’s play for the naïve. Search on Amazon for Sous Vide Bags Reusable. You want the 11.8x13.4" version, which is a perfect match for a 1KG spool. Bags sold specifically for spools are a joke. They are oversized, sloppy, and do not seal as well.
Disadvantage: Many users report poor results, but I attribute that mostly to user error. Every time I had a problem, it was because I failed to seal the bag properly.
Cost: $1.80–$3.75 per spool, depending on how many you store. In the Midwest US, Wegner stores sell these for under $10, though the normal price is around $15.
Advantage: Good for quick access and retrieval, and stackable, which makes them suitable for longer-term storage with minimum bulk floor space. I can stack up to 30 spools in a 5ft high by 15"x12" footprint, making them the most floor space efficient.
Disadvantage: Require the most manual handling and it is difficult to see what is inside without unpacking the entire stack. This could be mitigated with proper labeling, which I simply do not have the patience for.
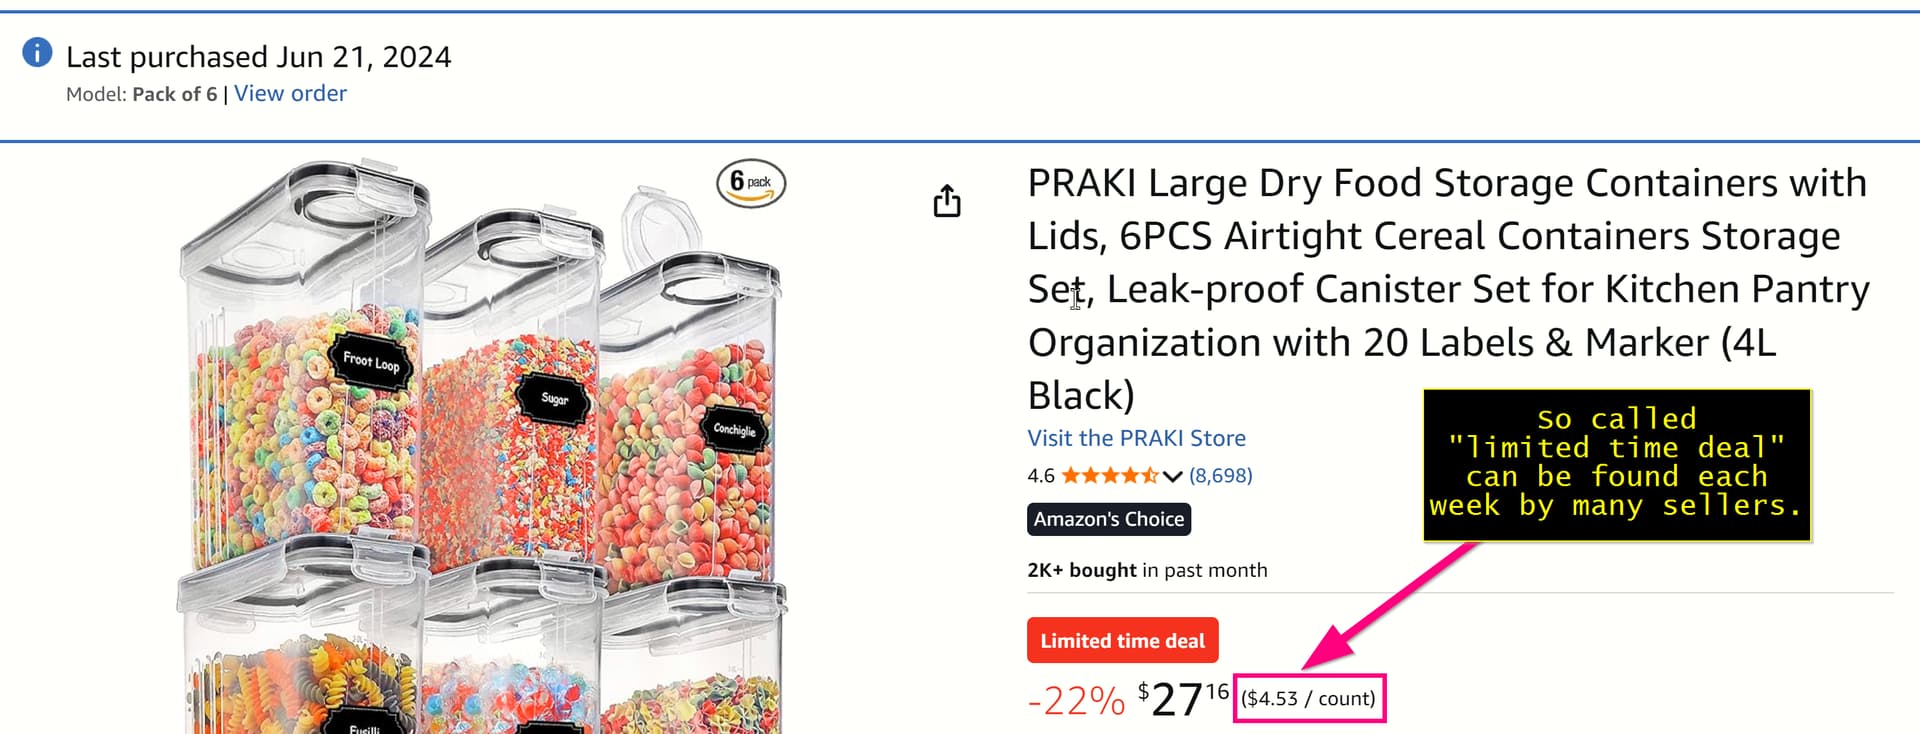
Cereal box conversion
Found under many names. If you are spending more than $5 each, you are doing something wrong. Example search: Amazon.com : Airtight Cereal Containers
Cost: $4.50 per spool for the base container. The “Ultimate cereal box conversion” adds $1–$3 in filament and hardware (PTFE tube, pneumatic coupling, 608 roller skate bearings, etc).
Advantage: Quick and easy to use. With the conversion kit, they become reliable dry boxes.
Disadvantage: To get the best results, the “Ultimate cereal box” approach is recommended, which adds time and work.
My personal usage from least to most:
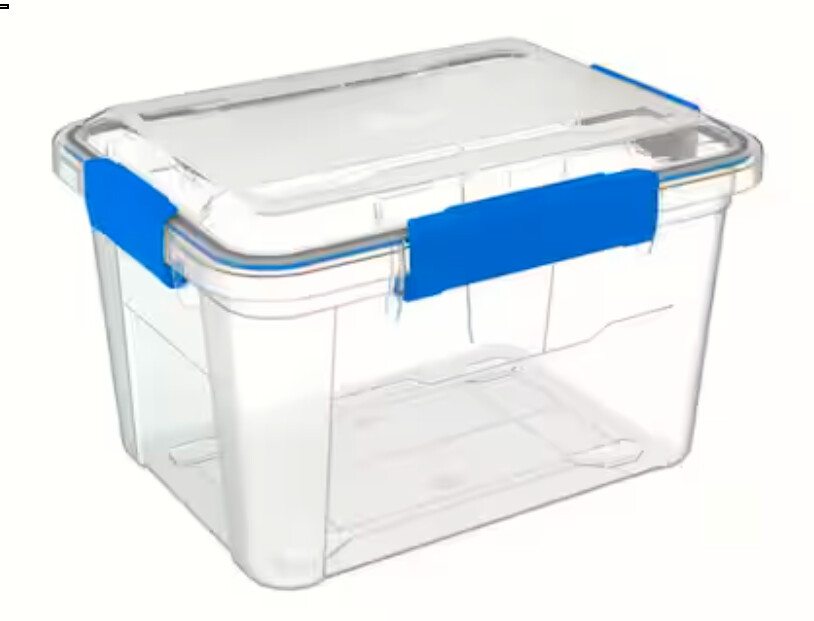
1.6 liter plastic totes
Cost: $1.80–$3.75 per spool
Advantage: Best for high-volume, space-efficient long-term storage of specialty or rarely used filaments.
Disadvantage: Most labor-intensive to access and requires unpacking stacks to get to certain spools.
Vacuum bags
Cost: $0.95 per spool
Advantage: Cheapest option, simple to seal, excellent for preventing moisture.
Disadvantage: Least convenient for quick access.
Cereal box conversion
Cost: $4.50 per spool for base container plus $1–$3 in parts for the full conversion.
Advantage: Best balance of access, cost, and moisture control; quick to use once built.
Disadvantage: Requires significant prep time, about four hours of printing plus 20 minutes of assembly per box. The first one may take most of a day to get right.
_________________________________
Options for the ultimate cereal box
This solution is pure genius. I use the full option, which makes stacking an excellent solution. It also has French cleats for a rack I plan to build, which will make it the most space-efficient vertical solution once complete.
Modification 1: Changed the port to use this spherical pivoting port from Teaching Tech.
Cost: Minimal (printed part plus small hardware)
Advantage: Allows smoother filament feed and better angle flexibility.
Modification 2: Modified the base plate to perfectly contain 75g of desiccant with a cover.
Cost: Minimal (printed part and desiccant)
Advantage: Improves moisture control and keeps desiccant neatly contained.
Disadvantage: Nothing noteworthy.
Modification 3: Changed the interior bracket to interfere less with cardboard spools.
Cost: None beyond printing.
Advantage: Allows smoother rotation and prevents snagging on cardboard edges.
Disadvantage: Nothing noteworthy.
I know some might suggest that I upload these three mods as a single package, but it is not worth the time. Anything I post gets buried under the endless pile of junk online, so the effort goes unrewarded. I will not post to Makerworld under any circumstances - the last thing I want is to prop up the dark side. If I ever share them, it will be on Printables.com, which still supports the community, unlike the self-serving crew at Bambu Lab and their walled-garden agenda.
You need an airtight bag, no need to make vacuum inside.
The air quantity inside the bag is so low that the water content is negligible.
The important part here is the bag/container is airtight, so no more humid air can reach the filament.
That’s what I advised him to do as well, no need for vacuum, airtight bag is enough. Just as you said the water that gets in the bag is negligible, and much cheaper than vacuum bags and pump, also easier to use and access.