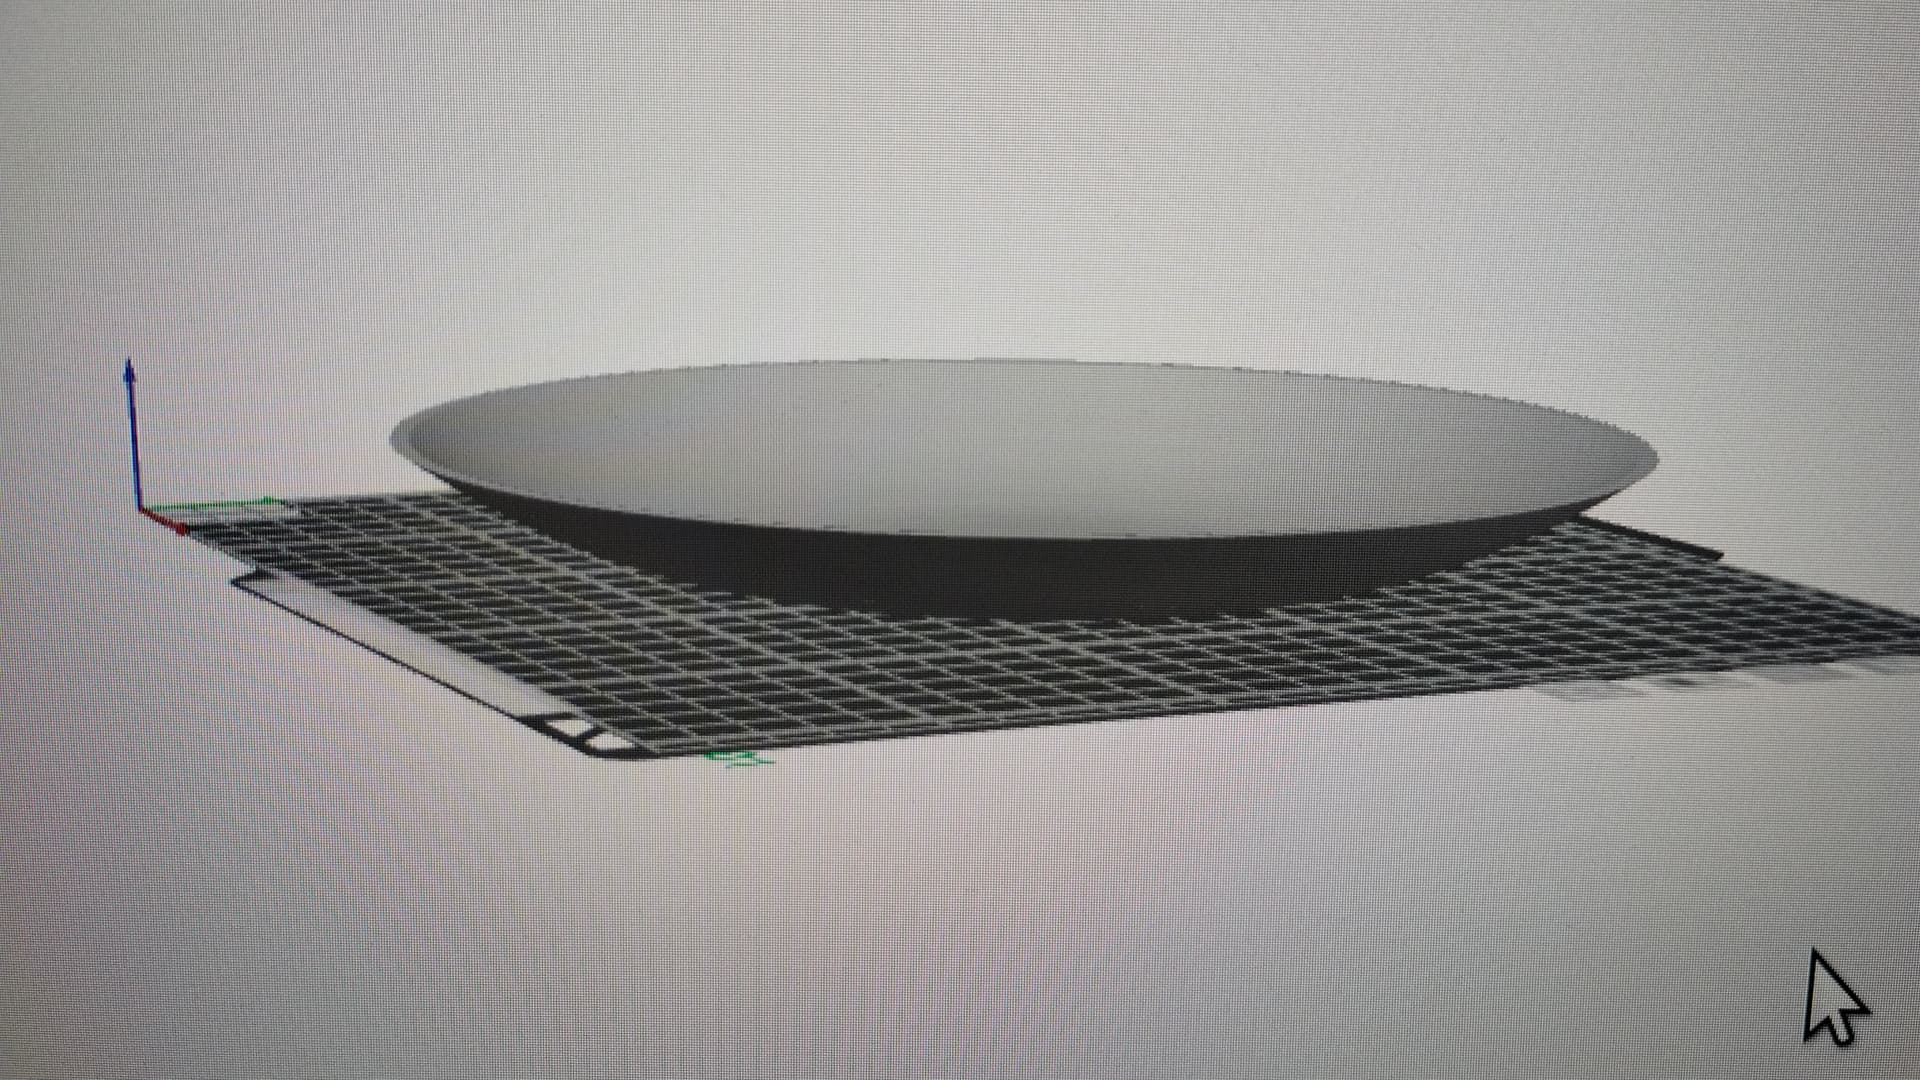
I’ve had my P1S since early spring and have completed some basic projects without any real issues, just the typical learning curve. However, this stupid little dish is fighting me. It’s a cover for my window exhaust fans, and it’s about 230mm in diameter and 25mm deep (flat bottom with slightly parabolic sides). Basically, it’s like a small dinner plate. I’m using dry, PETG-HF with the same settings that I’ve used successfully many times before.
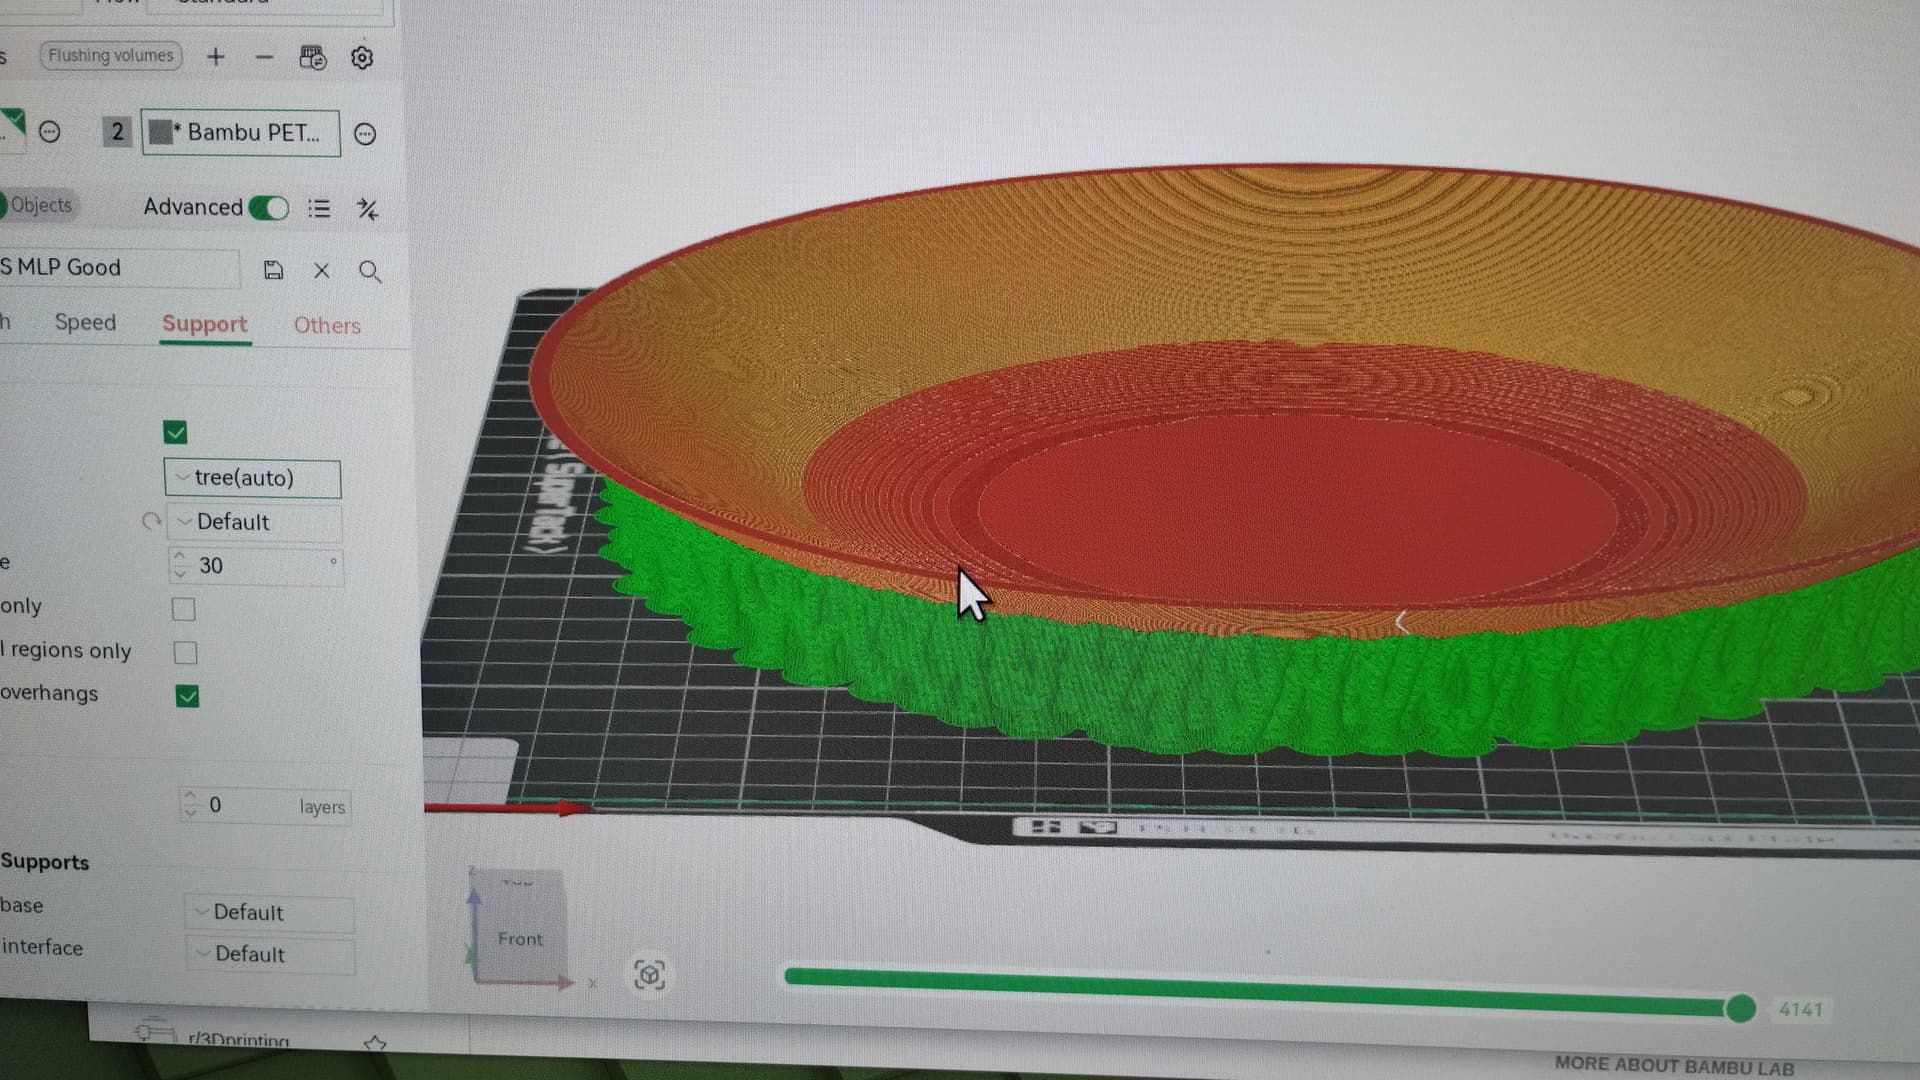
Printing it on its bottom works, but no matter what support type I pick, it uses a ton of support, and when I remove the supports the quality is awful.
See attached photo from BS. I’m a bit pissed that this simple dish has me perplexed. Any ideas on how to print this properly?
Yep, a steeper angle (>40 degrees) on the sides would eliminate the need for support. Unfortunately, the shallow dish shape (parabola) is how the fan is shaped where this cover would attach. I did try printing it on edge with heavy brim and less support, but it was just to flimsy and created disastrous shaking. I have thought of making the bottom completely flat (preserving the dish shape inside), but that would look weird in place - I might try it though. For now, I’ve just ordered some cheap 9" dinner plates with about the same shape and will use Velcro in the center. Thanks for your ideas.
Which nozzle size are you using?
Have you tried dialing back the layer height?
For example, if you are using the .4mm nozzle with the default setting of .2mm layer height, going with one of these in the below picture?
Doing that will up the print time and sometimes pretty significantly so you might want to test then run the actual print over night.
Also, depending on which side is viewable and therefore you want to look “best”, maybe flip it over. The way I read your project, one side will be totally exposed to view while the other side will be facing the fan blades. That being the case, flip it over and let the support be in the fan facing side instead of how your picture is above.
Also, Tree style supports sometimes are not the best support choice when addressing your issue. Sometimes the Normal option will give you a better result.
Yes, if I try printing this again, I will reduce the layer height, and make the bottom just flat, requiring no support. It will look a little funny but might just get the job done. … Good suggestions. BTW, I did try using normal supports with no improvement.
Next time try “normal” supports and choose “snug”. I’ve found that to be better than tree on curves that are continuous. I haven’t printed a parabola yet so take that with a grain of salt.
A simple bevel might be a good compromise between a curved and a flat bottom. As long as the bevel angle is greater than the support threshold angle no supports should be needed. An inner-outer wall order will also help.
I will not add to the other suggestions as they are all sound.
However, a question of face up or face down.
If the concave surface is the one visible, leave it as it is.
If the convex surface is the one facing people, flip it upside down.
I changed my mind
One entirely different solution is to consider splitting it in half and printing it from the new centre on the build plate upwards. Using the great drawing from @lkraus, the pink section would be on the build plate.
The positive is that the curved surface would be very smooth. The resulting seam will be a negative. This can be mitigated to some degree with the design and filament choice.
This would require designing a method to affix the two halves together.
Brackets on each side at the split and screws.
A locking solution built into the design like a bowtie.
Yep. I think Bambu software doesn’t have the angle control yet, but for this models purposes it probably is fine defaulting to whatever. Inspect your preview thoroughly before printing, it changes geometry, maybe screws with a mating surface etc.
Thanks to everyone who chimed in here. I was trying to print it using the adaptive variable layer height last night which would have taken 12 hours, but an SD card failure error popped up about 8 hours in, which requires reformatting or replacing the card and restarting the print, so I think I’m going to put this project on pause for now…other things to do.