Timelapse kit: Is it worth it? My review

Bambu Lab printers are generally good, but their built-in camera lacks quality timelapses. The Cyberbrick timelapse kit is a fix to this by letting you use an external camera.

Installation & First Impressions: The kit includes the Cyberbrick board and a trigger board, which feel well-made. I recommend 3D printing a MakerWorld enclosure for a clean setup. Physical installation is quick, taking less than five minutes to mount and connect the Bambu Bus cable.

Camera Connection & Software:

Connecting a camera has been a mixed bag of feelings. Bluetooth worked well with my Canon EOS R8 when it finally connected, though pairing took some patience. However, the Cyberbrick’s reset guide on their wiki is incorrect; to reset, you need to hold “Boot” for about 5 seconds, then press “Reset” once, and then release “Boot.” My unit arrived with a factory error, requiring this reset and then struggling to connect via Bluetooth, needing support.

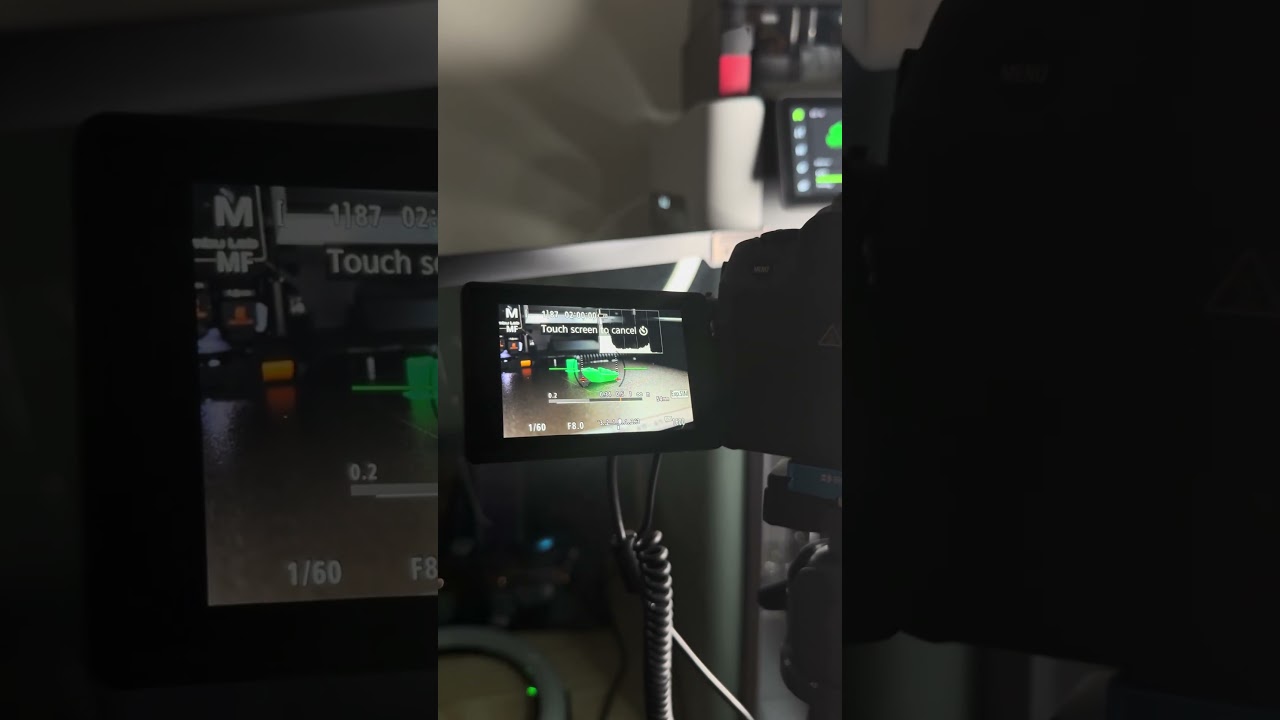
The wired shutter cable connection with my Canon EOS R8 was also highly unreliable, consistently missing shots and creating unusable, stuttering timelapses despite testing with multiple cameras and cables. This issue remains unresolved with support.

Software side, it’s straightforward: in Bambu Studio, navigate to “Others” > “Special Mode” > “Timelapse” > “Smooth,” then enable timelapse when sending your print.

Results: When the Cyberbrick works, the quality difference is significant. Bluetooth timelapses offer superior control over focus, lighting, and composition, with the printer moving the toolhead for clean shots.

Pros:

  • Greatly improves timelapse quality when functional.
  • Offers full creative control (lighting, focus, framing).
  • Easy physical setup and software configuration.

Cons:

  • Wired shutter connection with Canon EOS R8 was very unreliable, leading to missed frames.
  • Initial Bluetooth pairing can be finicky.
  • Incorrect reset guide and ongoing issues with wired connection highlight potential reliability concerns.

Summary and experience: If you have a camera with a proven, stable Bluetooth connection, it can be a valuable tool. However, if you plan to use the wired shutter release with a Canon EOS R8 or similar camera, I strongly advise against it. The unreliability for important projects is not worth the frustration.
7 Likes

I haven’t even tried mine yet, and I bought two, which caused significant delays in the CyberBrick shipping.

I would use mine with Bluetooth as I would connect my iPhone 16 Pro Max.

Thanks for the write-up.

I have the cables for my P series printers and my A1 mini.

I will have to give myself a kick up the butt to try it.

3 Likes

I did a quick test with my old Panasonic G9 and my A1 and it worked flawlessly.

1 Like

Happy for you, I have contacted support and waiting for an answer.

When you say a quick test, how quick? How many layers?

For me, when it should take 240 frames, the Bluetooth one takes exactly that amount but the shutter cable connected camera takes roughly 10 frames less.

Thanks for your review on this, I have the same issue with using wired camera with the A1 and missed frames.

I have a GoPro Hero 13 I’m using and it’s been great with bluetooth, tried an old iPhone and that worked well too.

Hopefully they can fix the wired camera issue.

I’m going to do some tests with a P1S and see if the issue happens on that too or if it’s just the A1.

1 Like

Sorry to hear that. I’m still experiencing the exact same issue, even after contacting support and repeatedly pointing out that this is a problem with the board or its firmware.

I’ve tried everything… Replacing cables, replacing the board (which I had to pay for), even filming the malfunction — but talking to support feels like talking to a brick wall.

I have also taken over 100 picture with a remote trigger just to prove that it’s not a problem with the camera or cables.

They blame anything else instead of actually taking responsibility. I have yet not seen any tries to actually send over a new firmware or accountability that they are looking for a solution.

I’ve also tested on an A1 with the same result, and I want to stress that the problem occurs regardless of which camera, cable,printer or cyberbrick control board I use.

Summary:

•	Taken over 1,000 test shots on two different cameras
•	Sent multiple pieces of evidence to Bambu Lab
•	Contacted Canon Support, who confirmed my cameras are functioning correctly
•	Replaced cables, even though the old ones work with Prusa’s GPIO board
•	Purchased extra cables (4-pin and 6-pin)
•	Tested with and without AMS
•	Reset both the board and the printer

Video showing the failure to trigger the camera — at around 30 seconds in, you can see the missed shot:

Please make a ticket!!!

@BambuLab
@MakerWorld

1 Like

Have you had time yet?
Are you going to use/ can test a DSLR(what model?) camera connected via a 2.5mm shutter cable?
If you are, can you do a test and see if it’s missing pictures also?

As mentioned, it will be using Bluetooth and my iPhone.

I haven’t got a decent camera.

I will try to do it later today or tomorrow. My schedule is dictated by what my body lets me do. The current heatwave is not being nice to my disabilities.

1 Like

Sorry to hear the heat is getting to you. Hope you feel better soon! Thanks for getting back to me, I really appreciate it!

Also, Bluetooth has worked really well for me with no issues.

Im trying to use a Galaxy S10e. But the problem is the camera times out after 2 minutes. I have found an app to keep the screen alive. But the camera closes after 2 minutes of inactivity. Aslo the videos i have watched cover the other two ways to use it but none explain android which i find odd. Anybody have any thoughts?

hello,

just wanted to share my experience.
i bought this for use with my dji action 4, which is shown on the pictures.
but after setting up the case with servo section it doesnt seem to press the shutter button?
still havent been able to use it with the camera.

Mine’s been working fine with a Sony A7.

Question though, anyone know a good program/workflow for making the timelapse?

I now have hundreds of photos and not really an effective way to make a timelapse

Preferably without touching anything by Adobe too

Three different methods across Apple macOS and Microsoft Windows.

1 Like

There are several free software options available, with Capcut being a popular choice. However, if your only goal is to export a timelapse as an .MP4 file, I am currently developing a free and open-source application that will do exactly that, It will be posted on the forum.

OH !
Thanks for share your experiance becaue i have plan for buy for use with DJI Action 4 too .

1 Like

MakerWorld support has indicated that a new firmware version is currently in development and is planned for an upcoming release, which may help address issues related to a shutter cable connection. :slightly_smiling_face:

Hi,
I’m also trying to use the servo version with an Akaso action camera. I’ve modified the supplied sleeve parts to accommodate my camera but I have no idea how to install a servo. I can’t see any build diagrams anywhere showing how the servo horn needs to be modified and installed. There is a cutout in the trigger slide housing, is that to accommodate a spring to keep the trigger under pressure ?

There are 2 small buttons in the .stl file. I presume they are for the slider to push on the shutter release. However they are no way long enough to reach the button on my camera so I’ll have to modify them too.

Any help you can offer would be appreciated, also a link to any instructions that might help more than the Kit User Guide would be good too.

Thanks

That is great to hear, I will test it when the update is out.

The update was for the RC version only. I can’t believe they actually missed that in the ticket.
@MakerWorld @BambuLab

This is how I do it. It works with any printer brand, and the materials are very cheap.

Furthermore, as it is a physical connection to the camera, there is no possibility of failure or frame loss.

The video is mine, yes, but I’m not trying to advertise it by posting it here. I’m posting it in case it’s useful to someone.

The result with my camera is a 4K video, which is pretty decent for a camera that’s nine years old.

At the 20-second mark of this video, you can see the quality of the timelapse: https://www.youtube.com/shorts/3Zp6pAvIOfI