Loving my X1C so far. Pretty addictive Just al little issue I came across today. Was printing a hook and the overhang near the plate failed. I slowed down the overhang speed by 50%, still no succes.
It’s the basic pla that comes with the printer. Printsettings “Bambu pla basic” - “0.16mm Optimal @BBL X1C”.
It’s possible I expect to much right out the box but I noticed there were quite a few people reporting about a warped bed.
I’ve had a look at the sliced file at 0.16/layer, and that second layer sure has a large overhang with nearly no underlying support. My suggestion would be to enter the variable height tool, and make the 2nd layer (at least) very thin, such as 0.08mm.
I’m new to 3D printing, too, and I’m really enjoying my new X1C. I’ve only had mine about a month. You could add some supports (I’ve been experiment with “Tree” supports and like them better than the default supports and probably make the problem go away. That hook has a very long piece that is suspended in mid-air. I’ve also found that rotating an image or just laying it out flat on the plate would solve the stringing problem or, for instance, you could print it vertically, like the letter “J” with a brim or raft and then tear off the brim or raft when it is done. There might be a little cleanup needed (i.e., sanding) needed where the brim, rath or supports touch the model.
I saw that you included a link to the hook so I decided to print it. As in my suggestion, I rotated the image and set it up vertically. You will noticed that the slicer automatically added a brim and suggested that I also add some supports so I selected “tree” supports (in green).
Wow, thanks! I tried the support route and it also worked. I’ll also try yours. I was also playing with the variable height settings, did help for a big part. Hours are flying by
You are going to have strength issues. FDM Printers are weak at the layer lines. Even if you get good layer adhesion regardless of infill, it will still be the weak point and fracture at 2-3 layers.
If this is supporting any weight, then you need to lay on it’s side.
BTW … I agree with the comments that the hook will be stronger when printed on its side and I should have pointed that out, especially since it is an item that will be used to support some amount of weight but, as you noticed, printing it vertical gives it a better “look,” since one side is not printed on either a smooth or PEI plate so you might want to consider the vertical approach when you are looking for the sides to match and when strength is not as important.
I’m also a newbie and have only had my printer for about a month so I have a question for the more experienced. If one wanted to print something in a vertical stance (because of the more uniform finish on both sides), can the inherent weakness of printing vertically be improved by changing other parameters, i.e., number of walls and/or percent of infill and or type of infill, etc.?
Crush strength and weight support can be increase by wall count and or infill, but anything that is going to be hanging off a wall, or clamp (I.E. clamp to a pipe/rod/box) will really need to have the layer lines perpendicular to the surface being clamped or attached to.
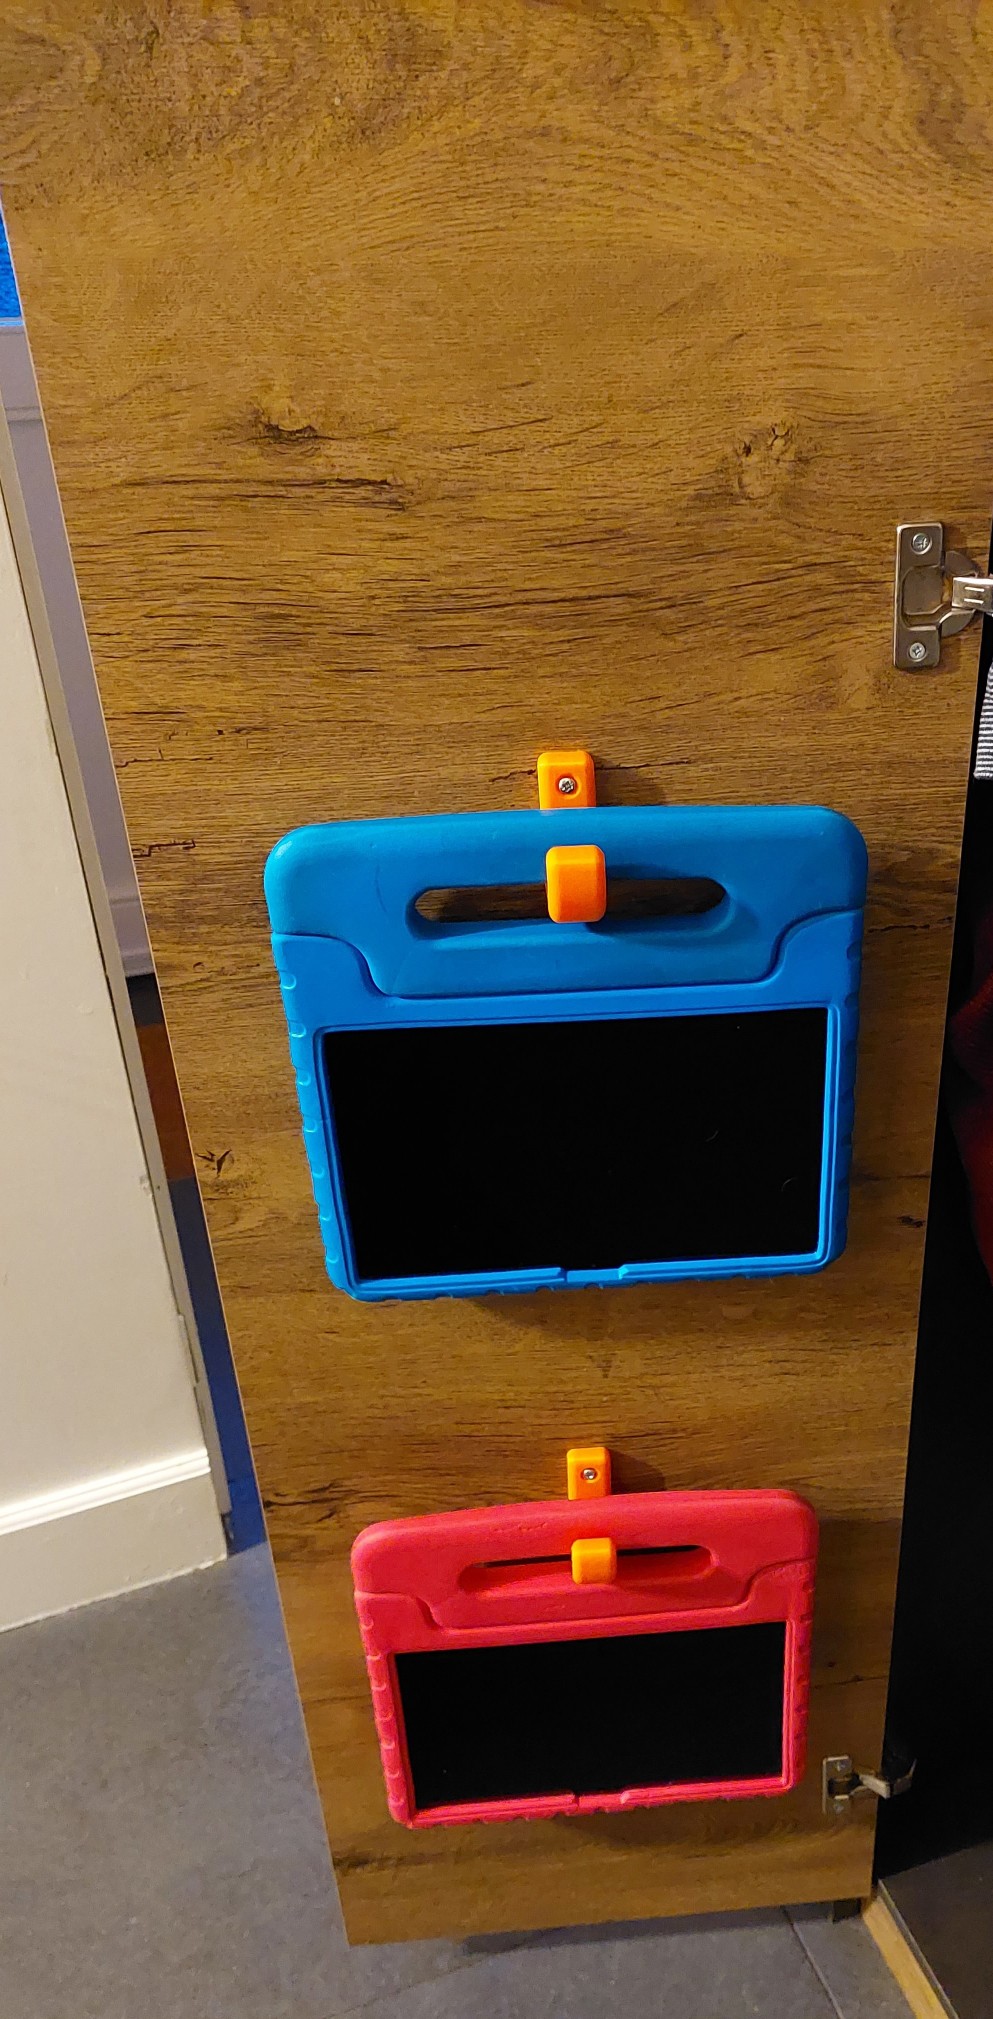
In the case of the OP using it to hang the tablets, now that we can see a size comparison, with a 4 or 5 wall count and 5%-15% cubic infill they would probably be OK vertical, but these are kids grabbing them so the will likely not be careful when lifting of the hook. Absolutely would not trust them as a coat hook, or book bag hook printed vertical.
It’s a judgement call on the person making the part, application, and ability for spacial recognition to visualize the load, how much load and intended application. Then comes in the printer, filament and user to make sure that everything is tuned well.
When in doubt, print one and overload it in it’s intended purpose and see how it holds.
I had some prints that looked awesome when I started out in this and I thought I had my Ender 5 tuned well. Very little effort to break them at the layer lines. Made some adjustments and then I found that it was just not going to work in the printed orientation as they still broke at the layer lines - across 3 or 4 layers.
You want to see some strength tests on FDM - CNC kitchen on youtube.


