Have you built the track heightening and supports? I’m printing now, but unsure of how to assemble.
If you like trains, check out Rambros trains. He’s modeled actual HO scale trains with great detailed instructions. RamBros | Published - MakerWorld
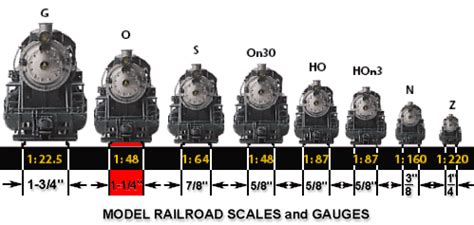
What do you need help assembling. I have printed and build the bridges, viadock, track, turnouts, several cars, and an idea for hanging from the ceiling. This model is actually an On30 gauge train, which is O-narrow gauge running on close to HO gauge track. I am building an On30 narrow gauge layout. Narrow gauge was used during the logging and mining era. Buildings, people, etc scales 1:48, 0-scale, 1/4" = 1 foot, with the track being HO gauge. The train is slightly smaller then 0 scale because it was running on narrower track and poor road bed. The Denver-Rio Grand is a narrow gauge system.
Thanks for the clarification. I’m a noob! You seem pretty well-versed in trains. Where did you get the models for your On30 size project?
I got most of the narrow gauge On30 rolling stock from Bachmann. Track and turnouts is made by Mico-Engineering, special for On30. Buildings and other accessories is 1:48 scale and got it from various manufactures. Google “On30” and you will find a ton of info
I am a bit confused on how the railway viaduct and heightening all fit together for an elevated track.
Hi
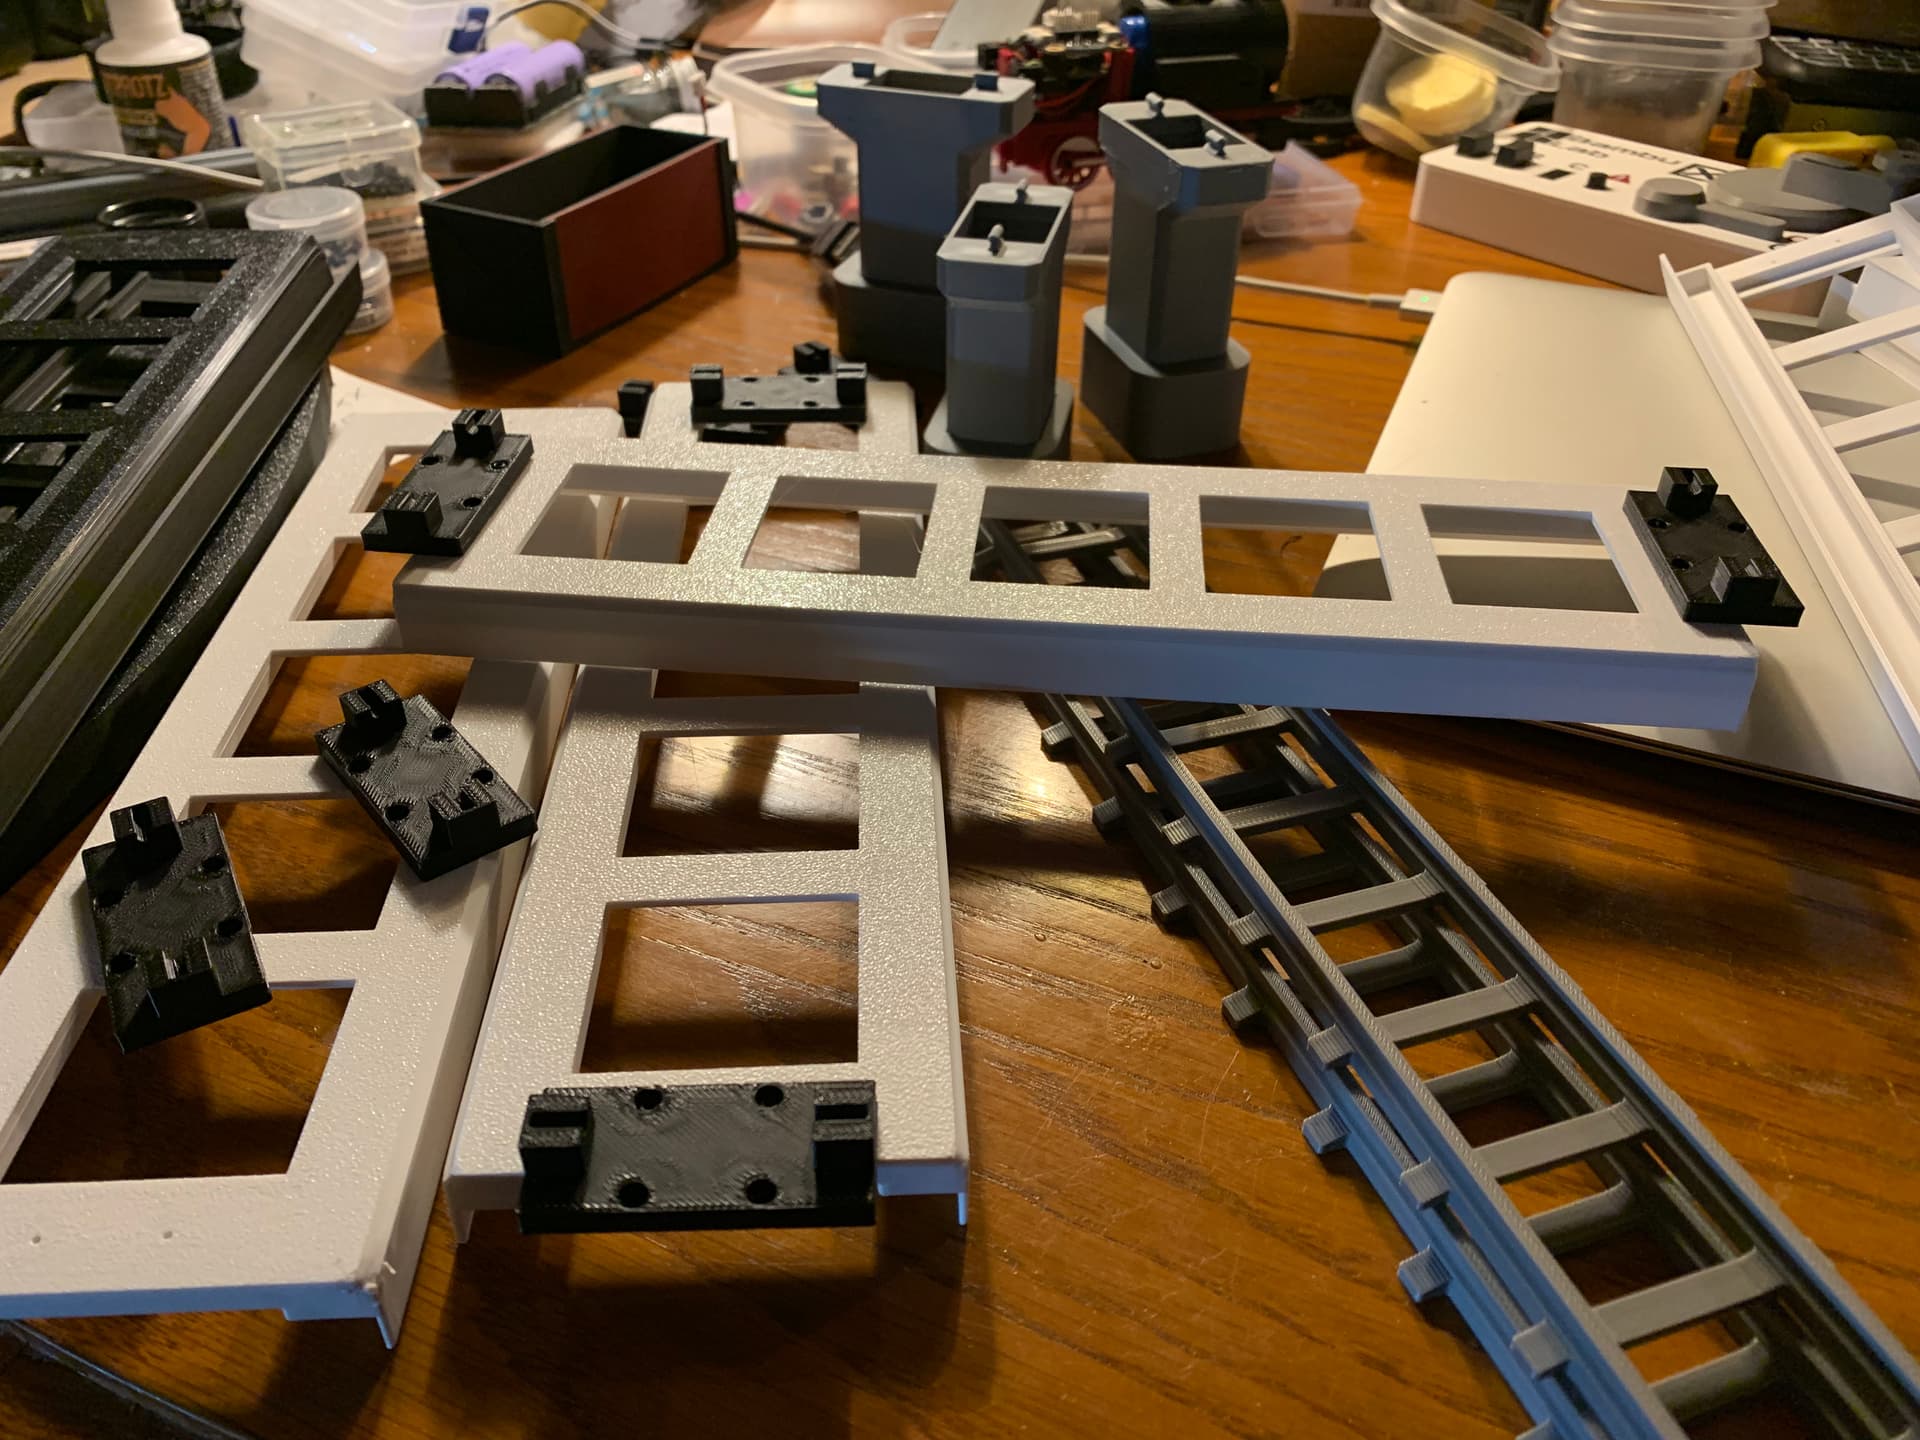
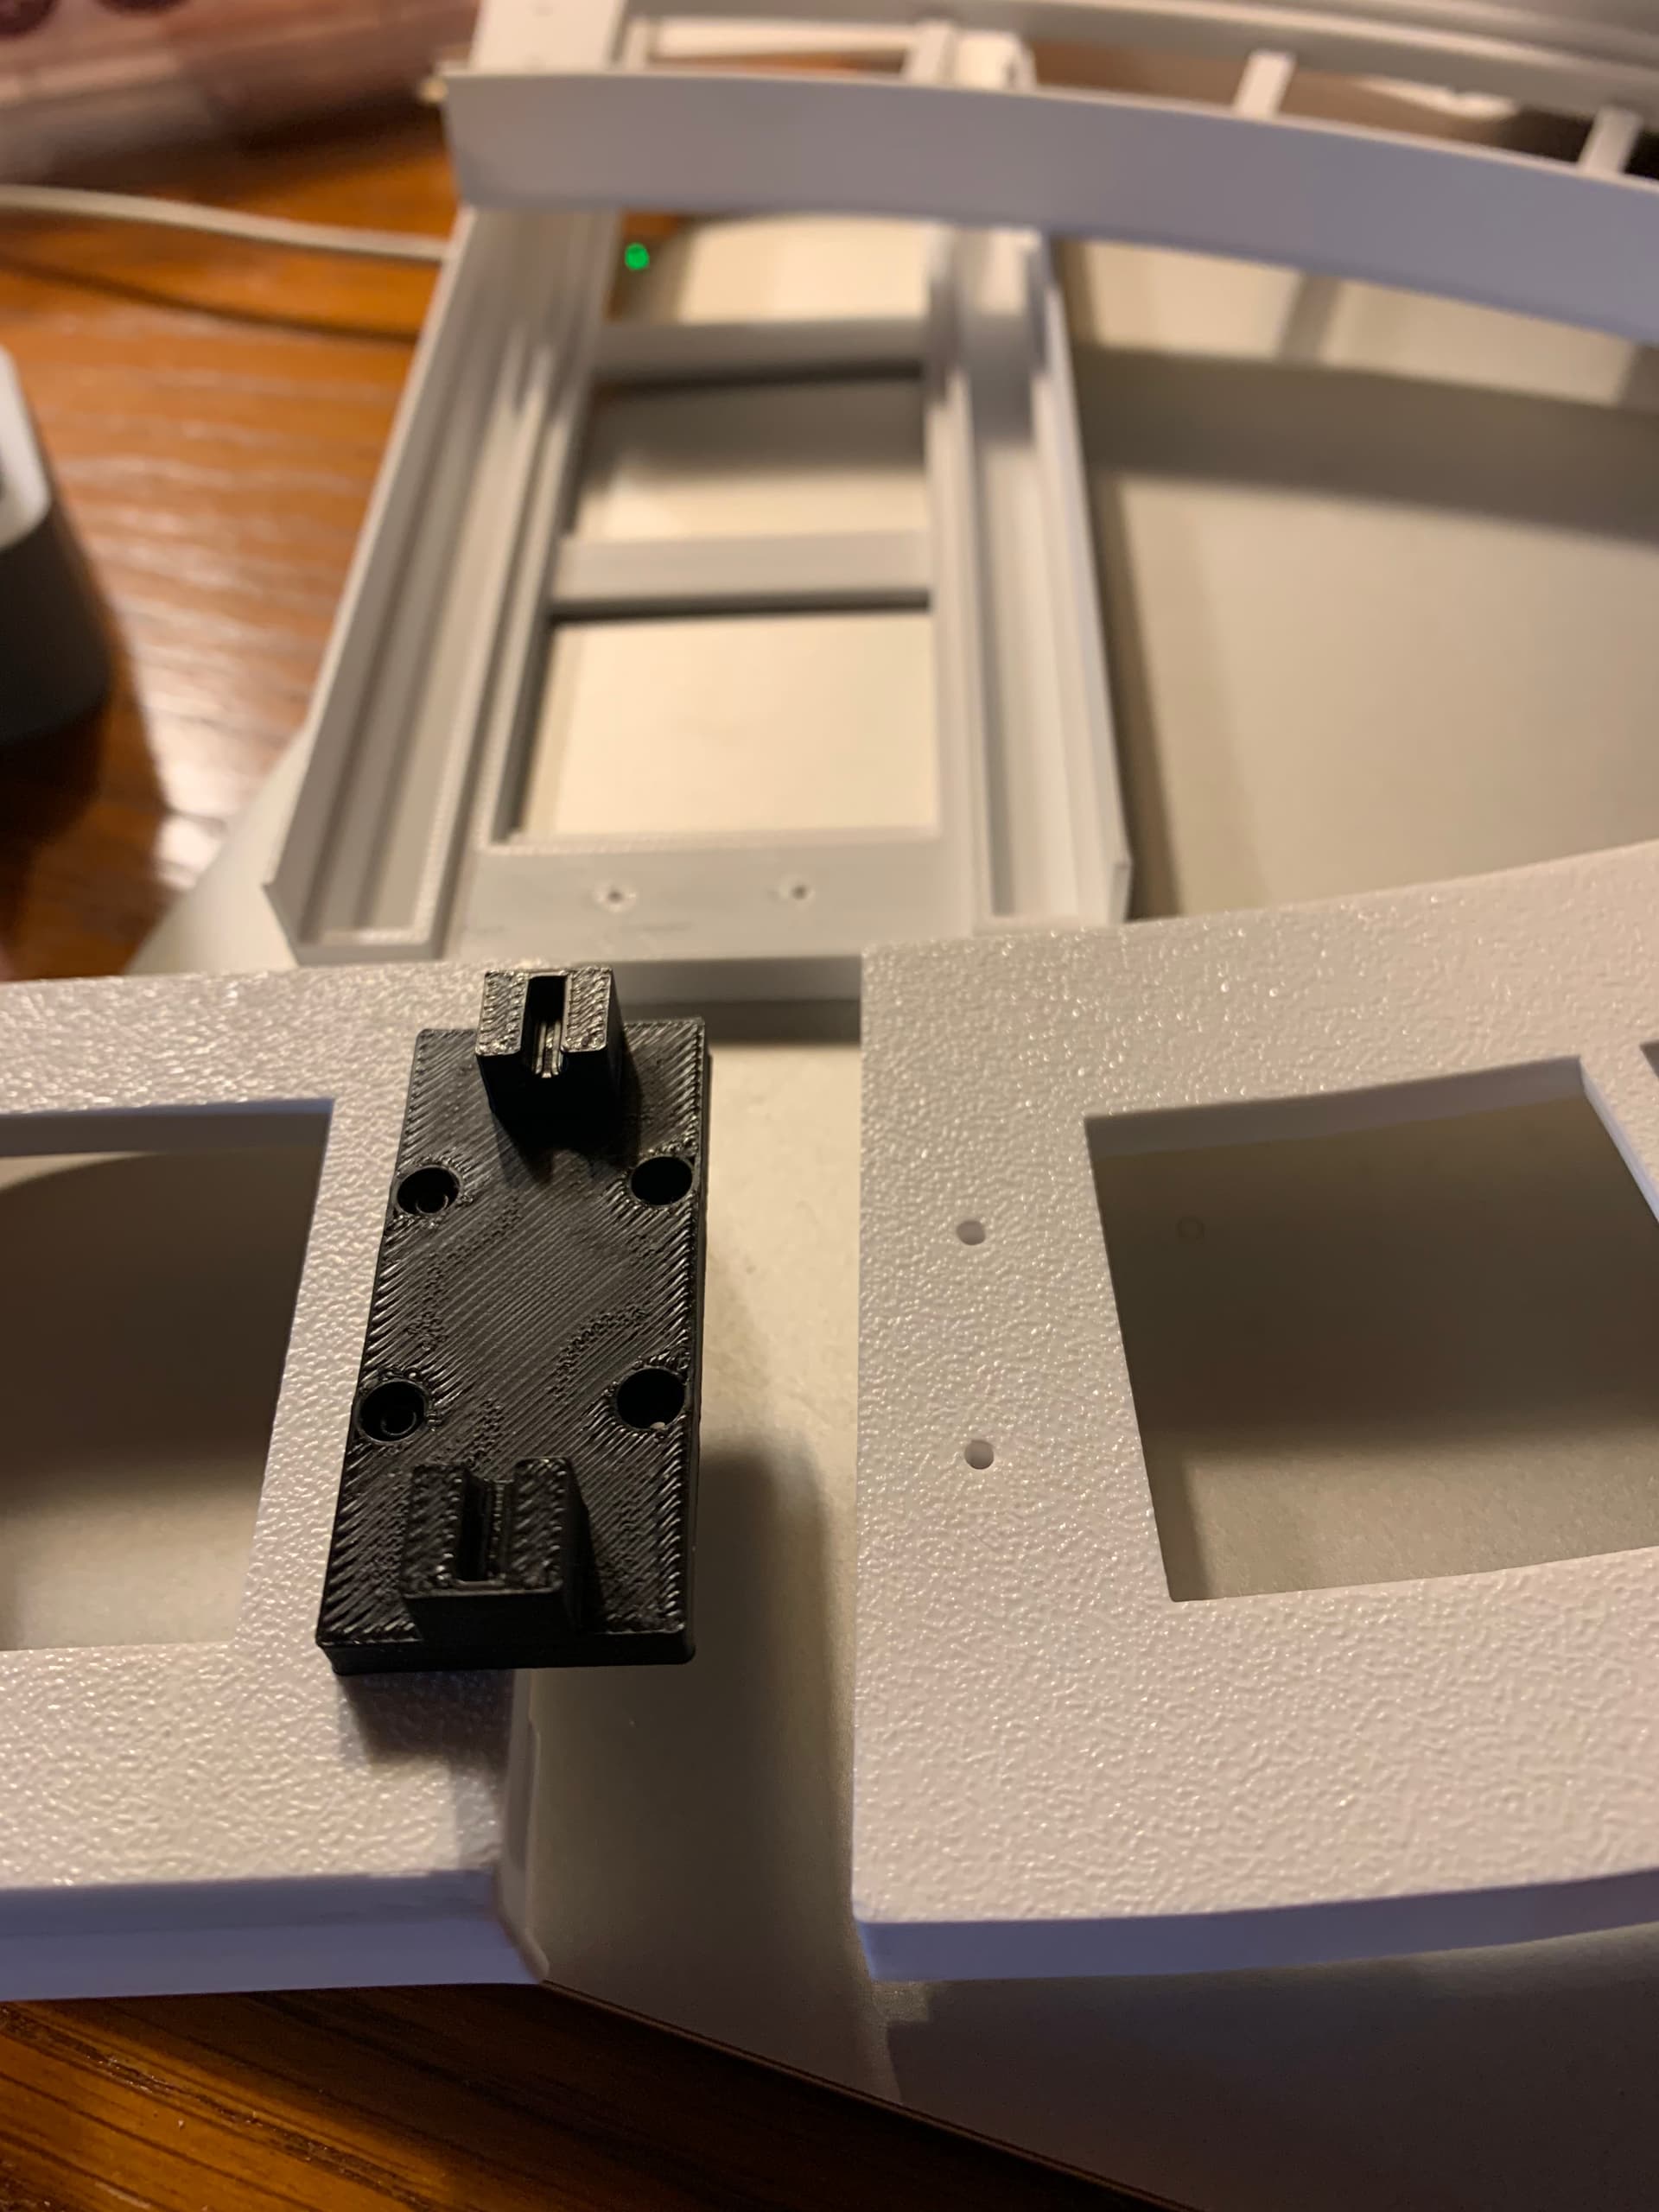
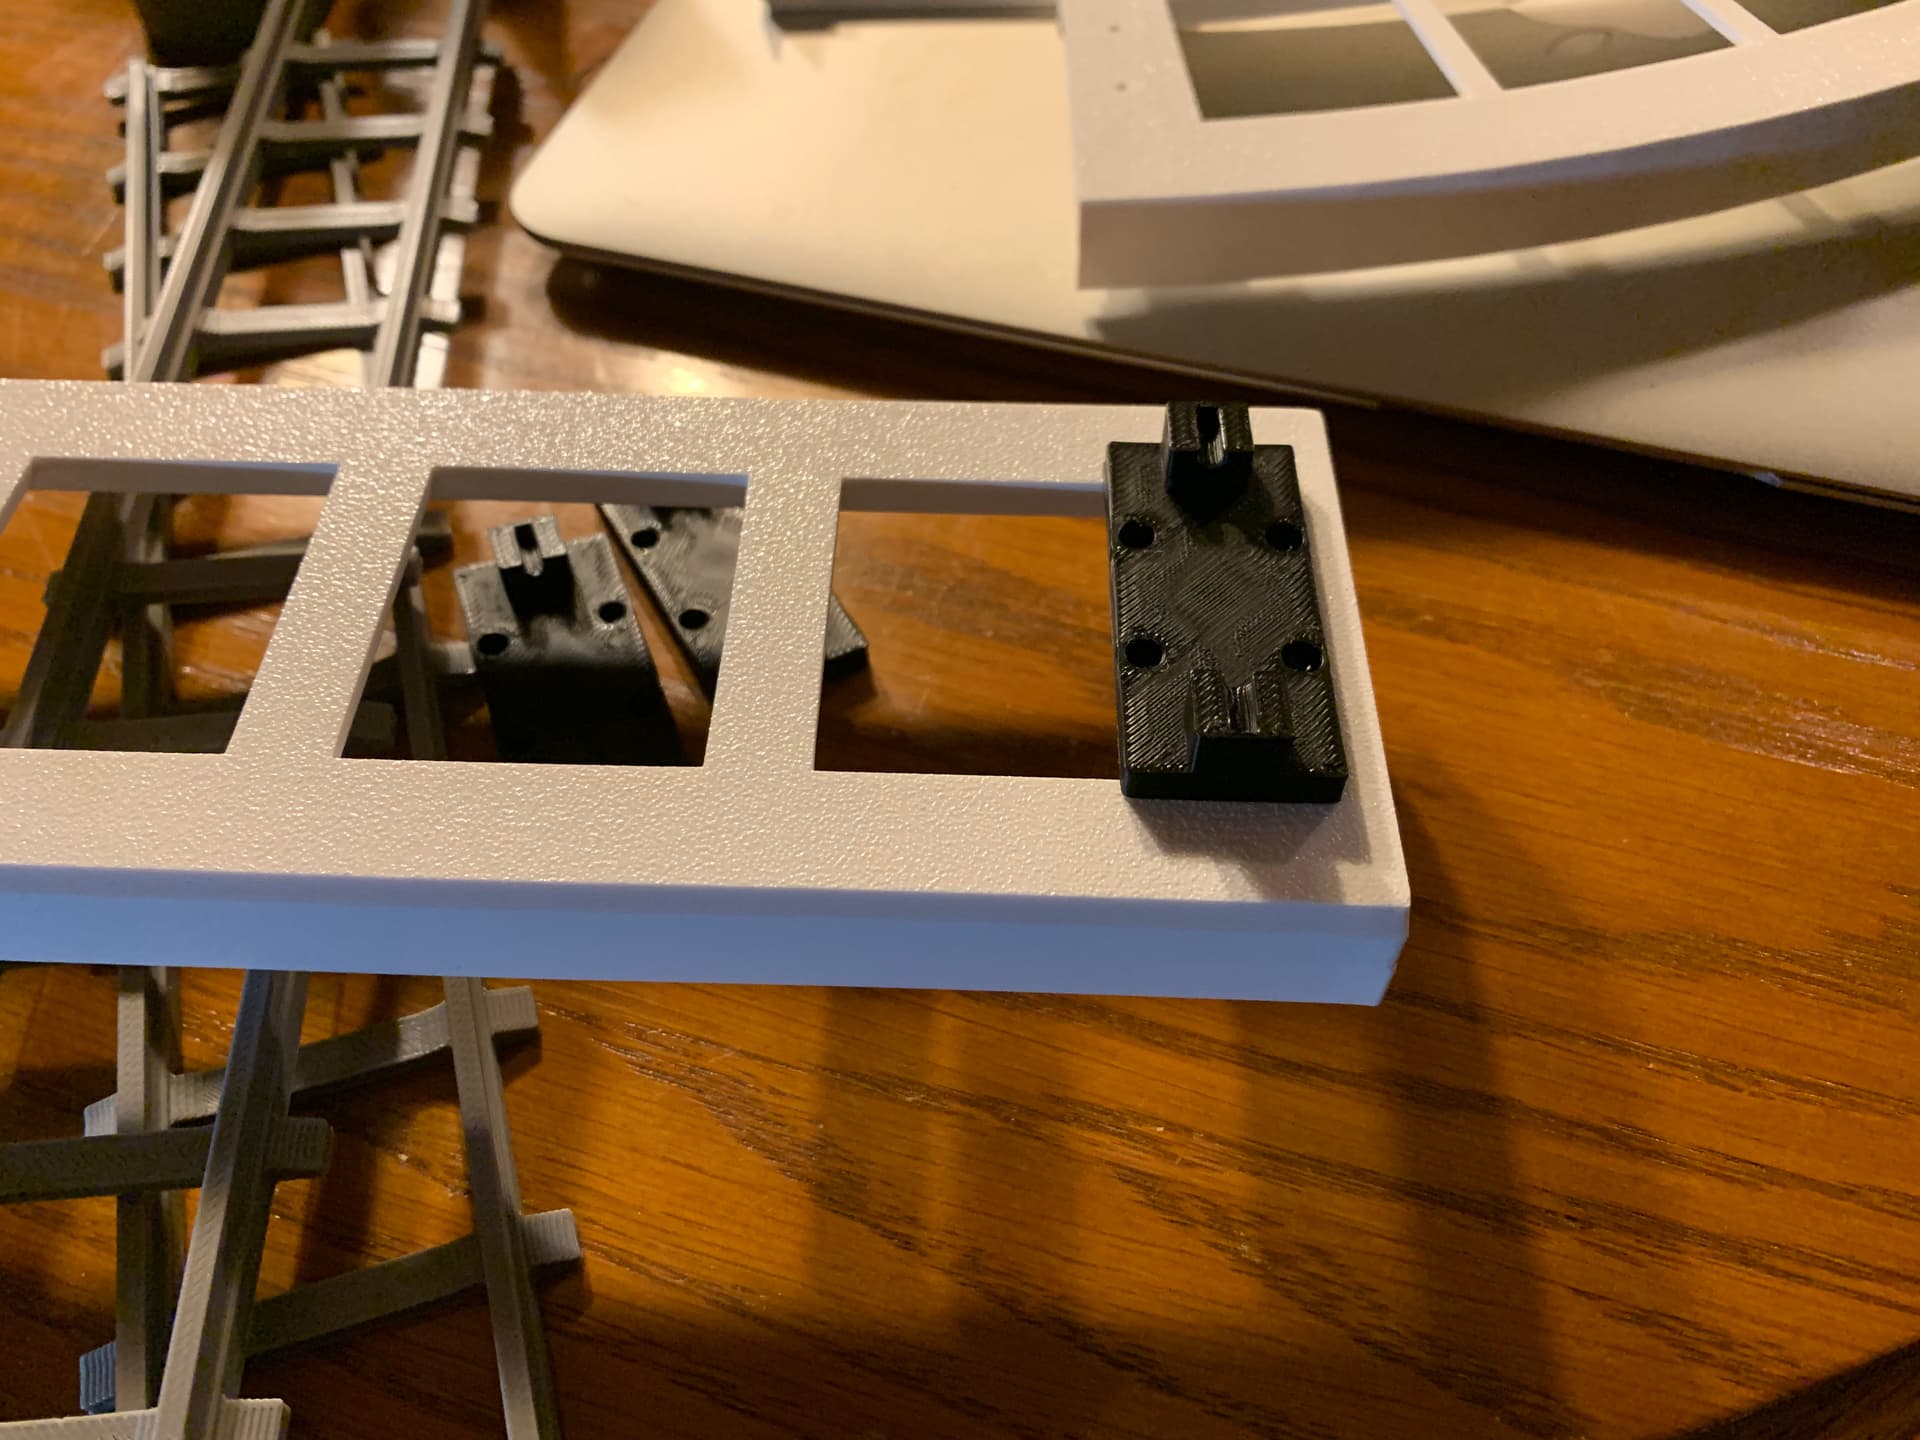
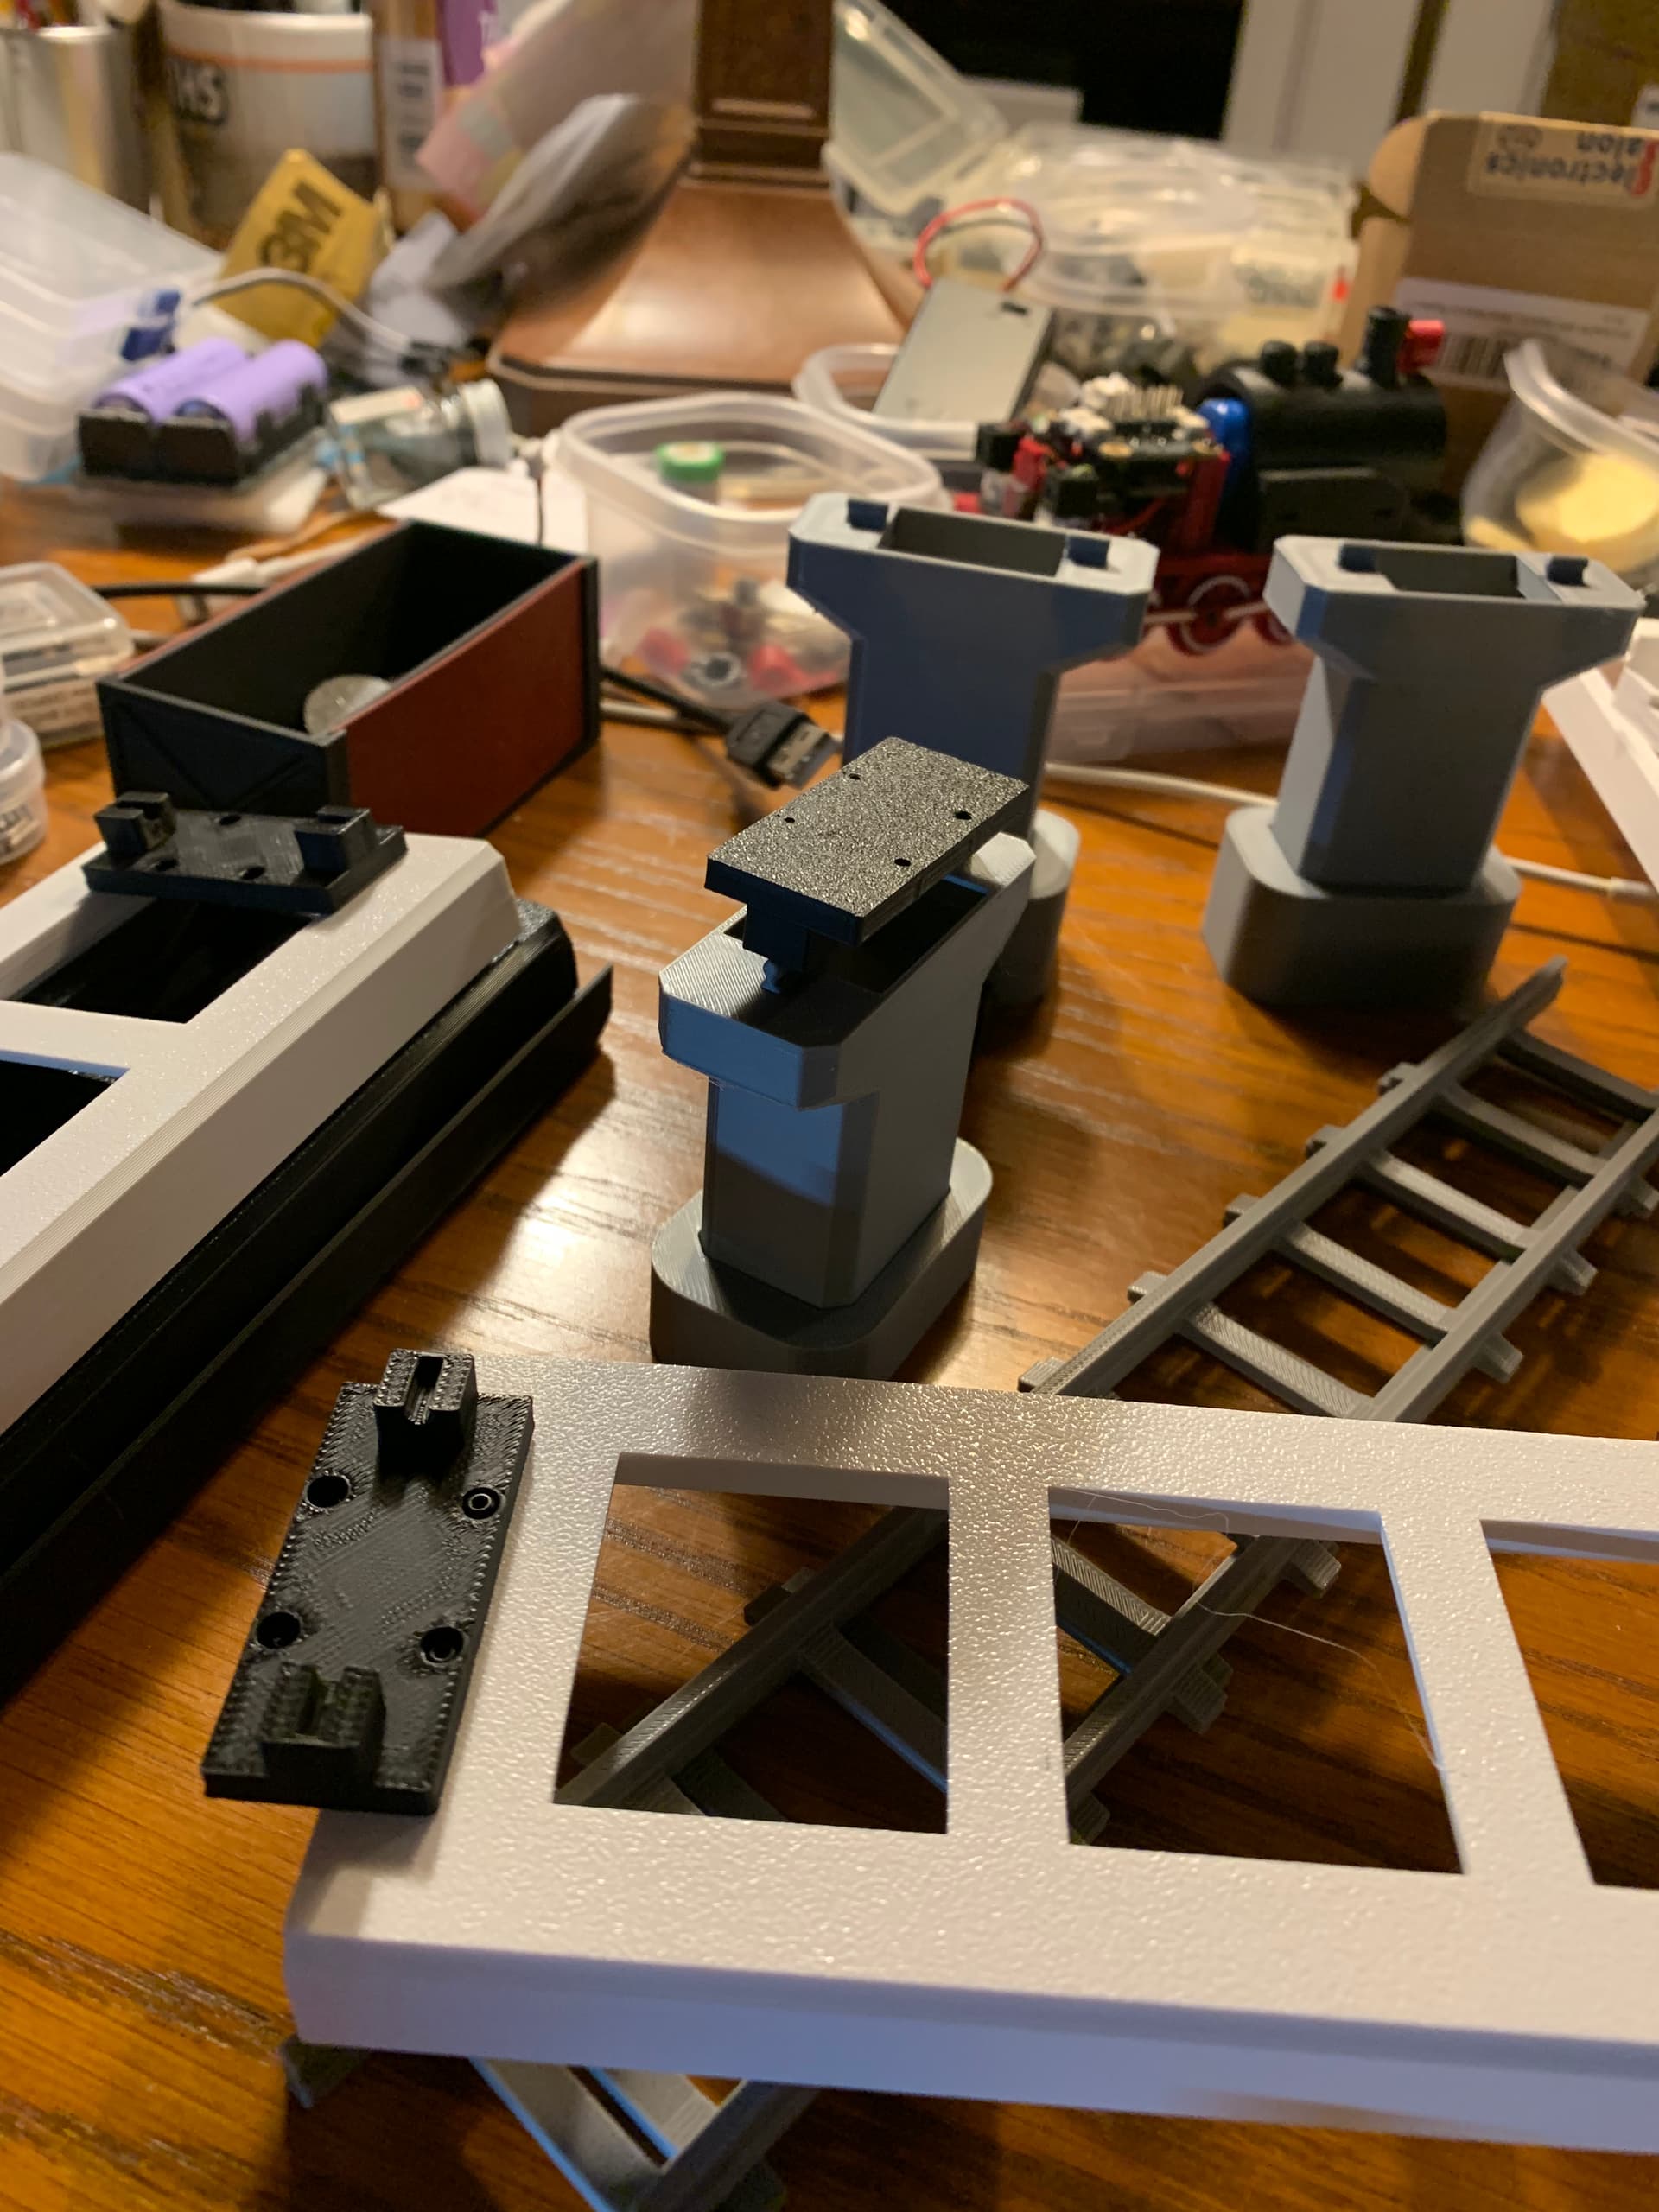
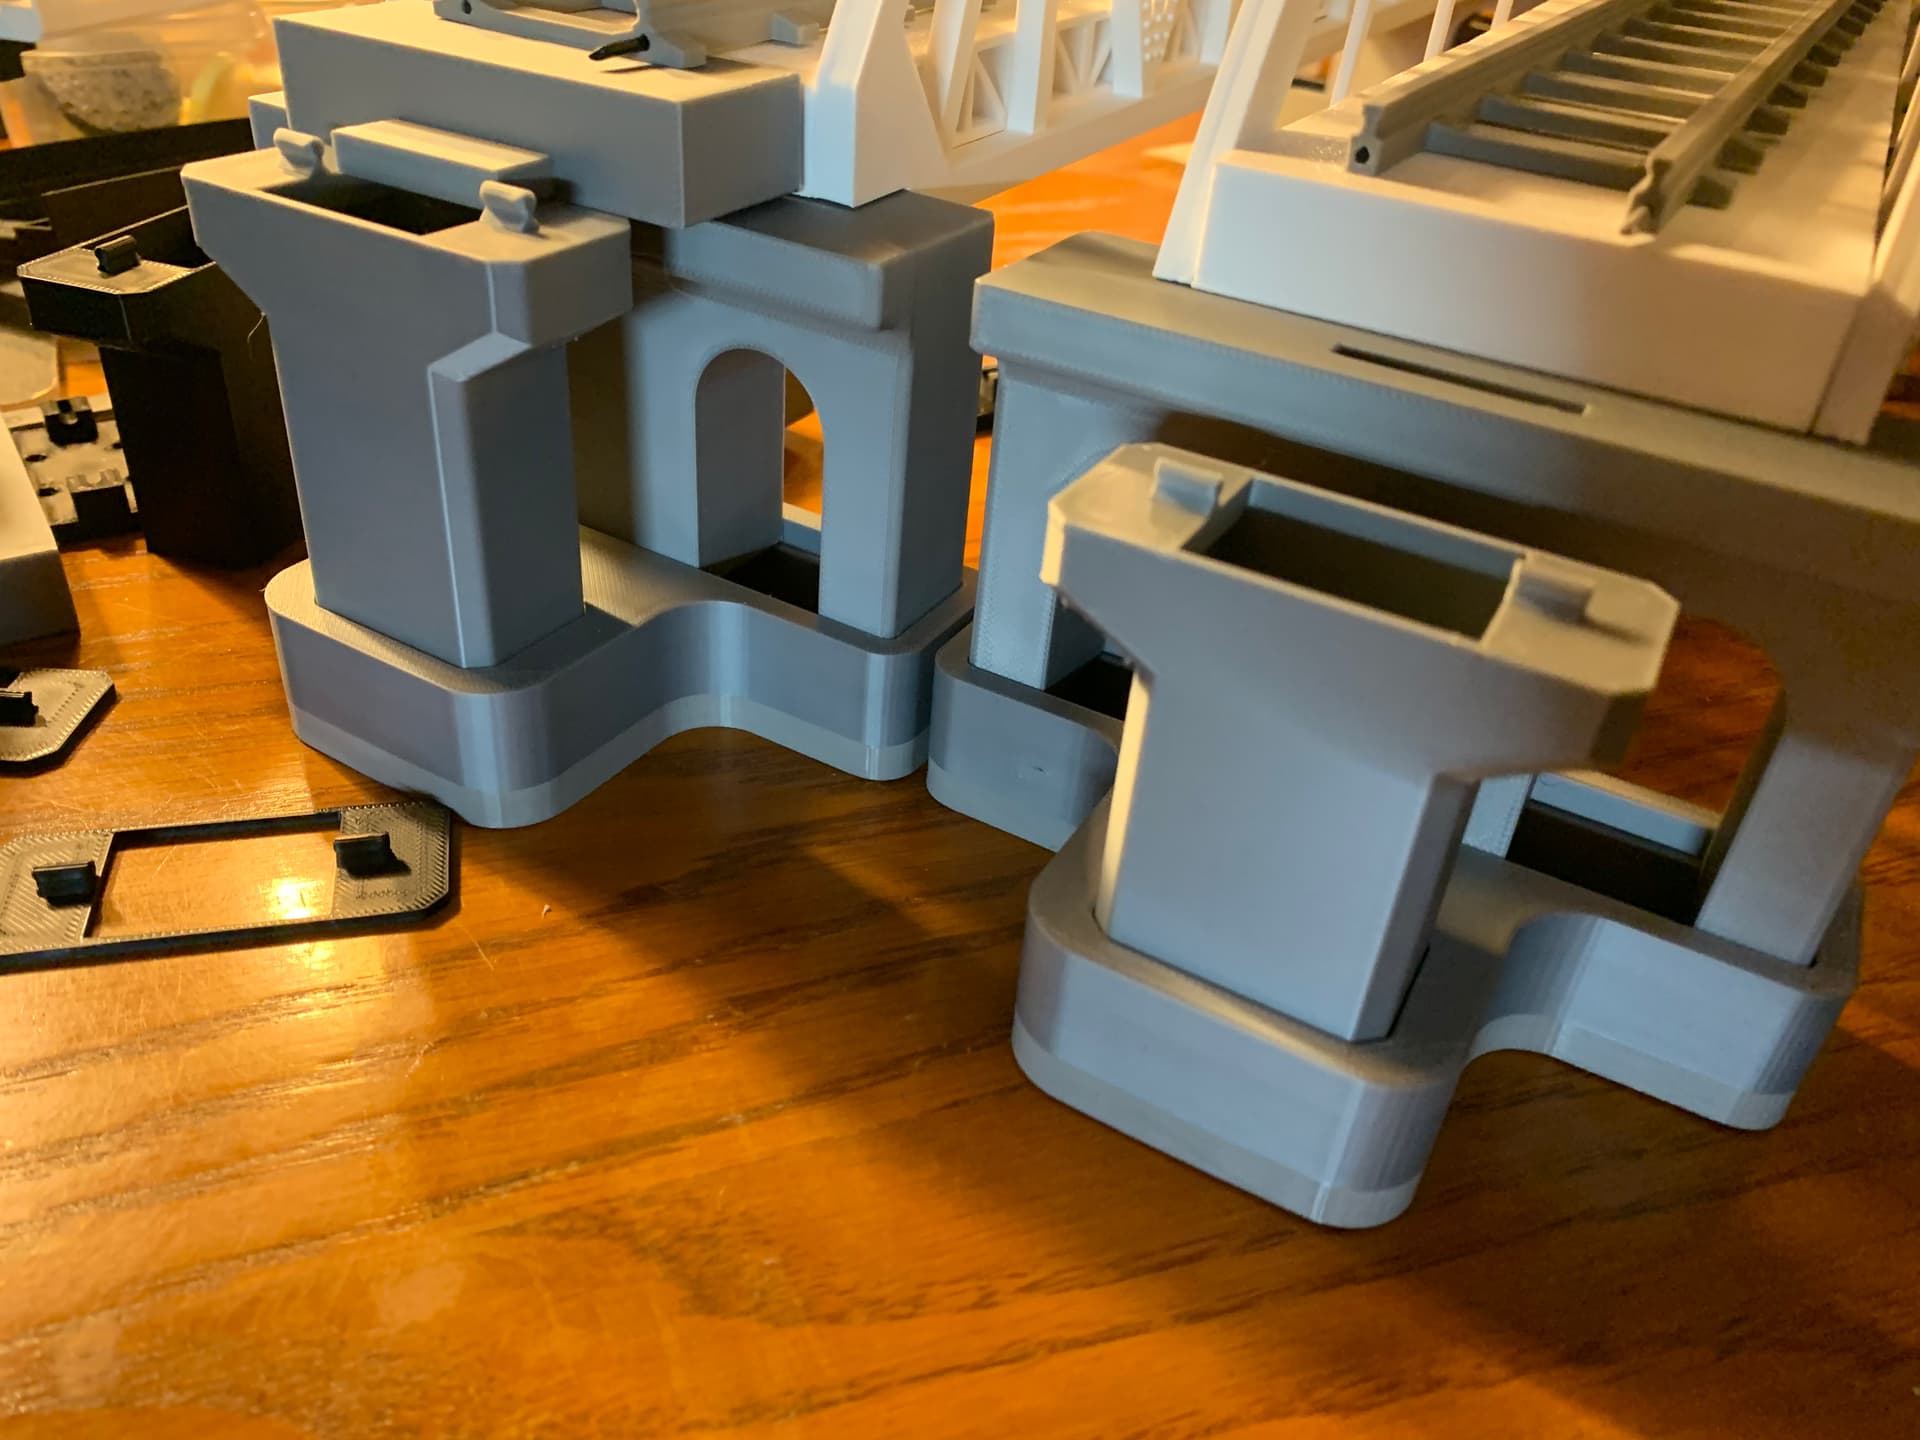
The viaduct pylons can be printed in varing heights, the base plates are screwed to the bottom of the viaduct sections, but if your track is all raised on the viaduct, it becomes one huge item to try to handle. the black base plates snap into the little tabs on the gray pylons. BE CARE FULL, THE LITTLE TABS ON THE PYLONS ARE VERY FRAGELE AND BREAK OFF QUITE EASY. I have a solution for it, should it happen to you. If you are going to have a viaduct section come off one of the bridges, you need to fasten the bearing plate backwards so some of the viaduct “white” is exposed, (see the pictures). Notice the viaduct pylons at the end of the bridge, one is shorter then the other. The shorter one on the right is the tallest one from the file so I increased the height by 10mm (the one on the left) so the viaduct will line up with the bridge deck. After the black bearing plates are screwed (M2x6) to each other, flip them over and snap the bearing plate to the pylon tabs.

3 Likes
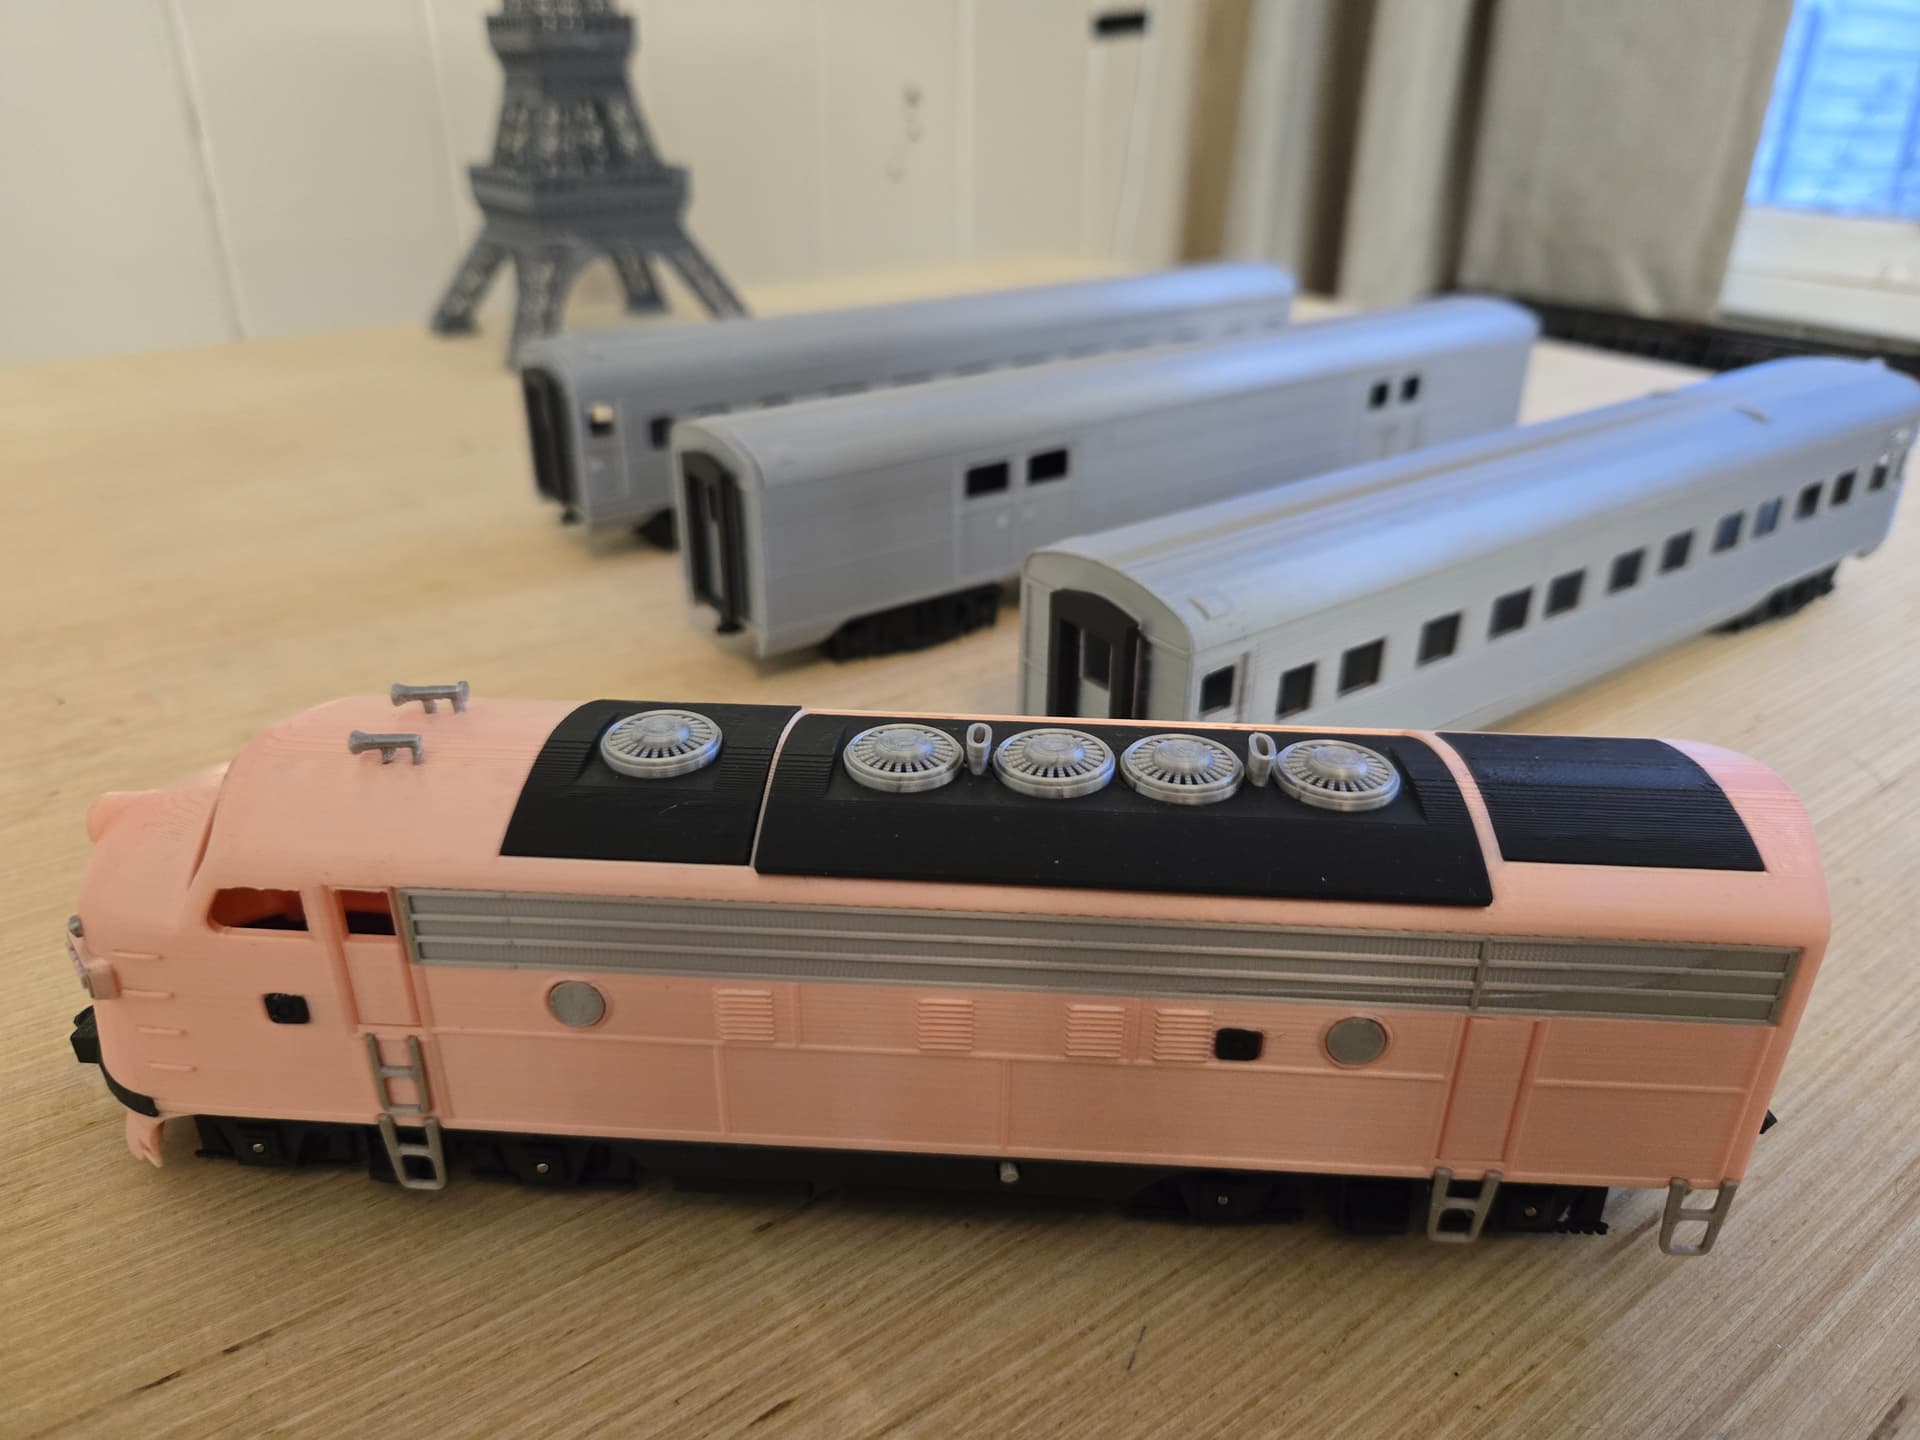
Just finshed a RamBros build and love it. Going to incorporate the electrical configuration from this train model and make it run off a modified cyberbrick file. Looks like the set I printed is S, or 1/64 scale.
2 Likes
VERY NICE, good detail too,
Yes that looks very nice!
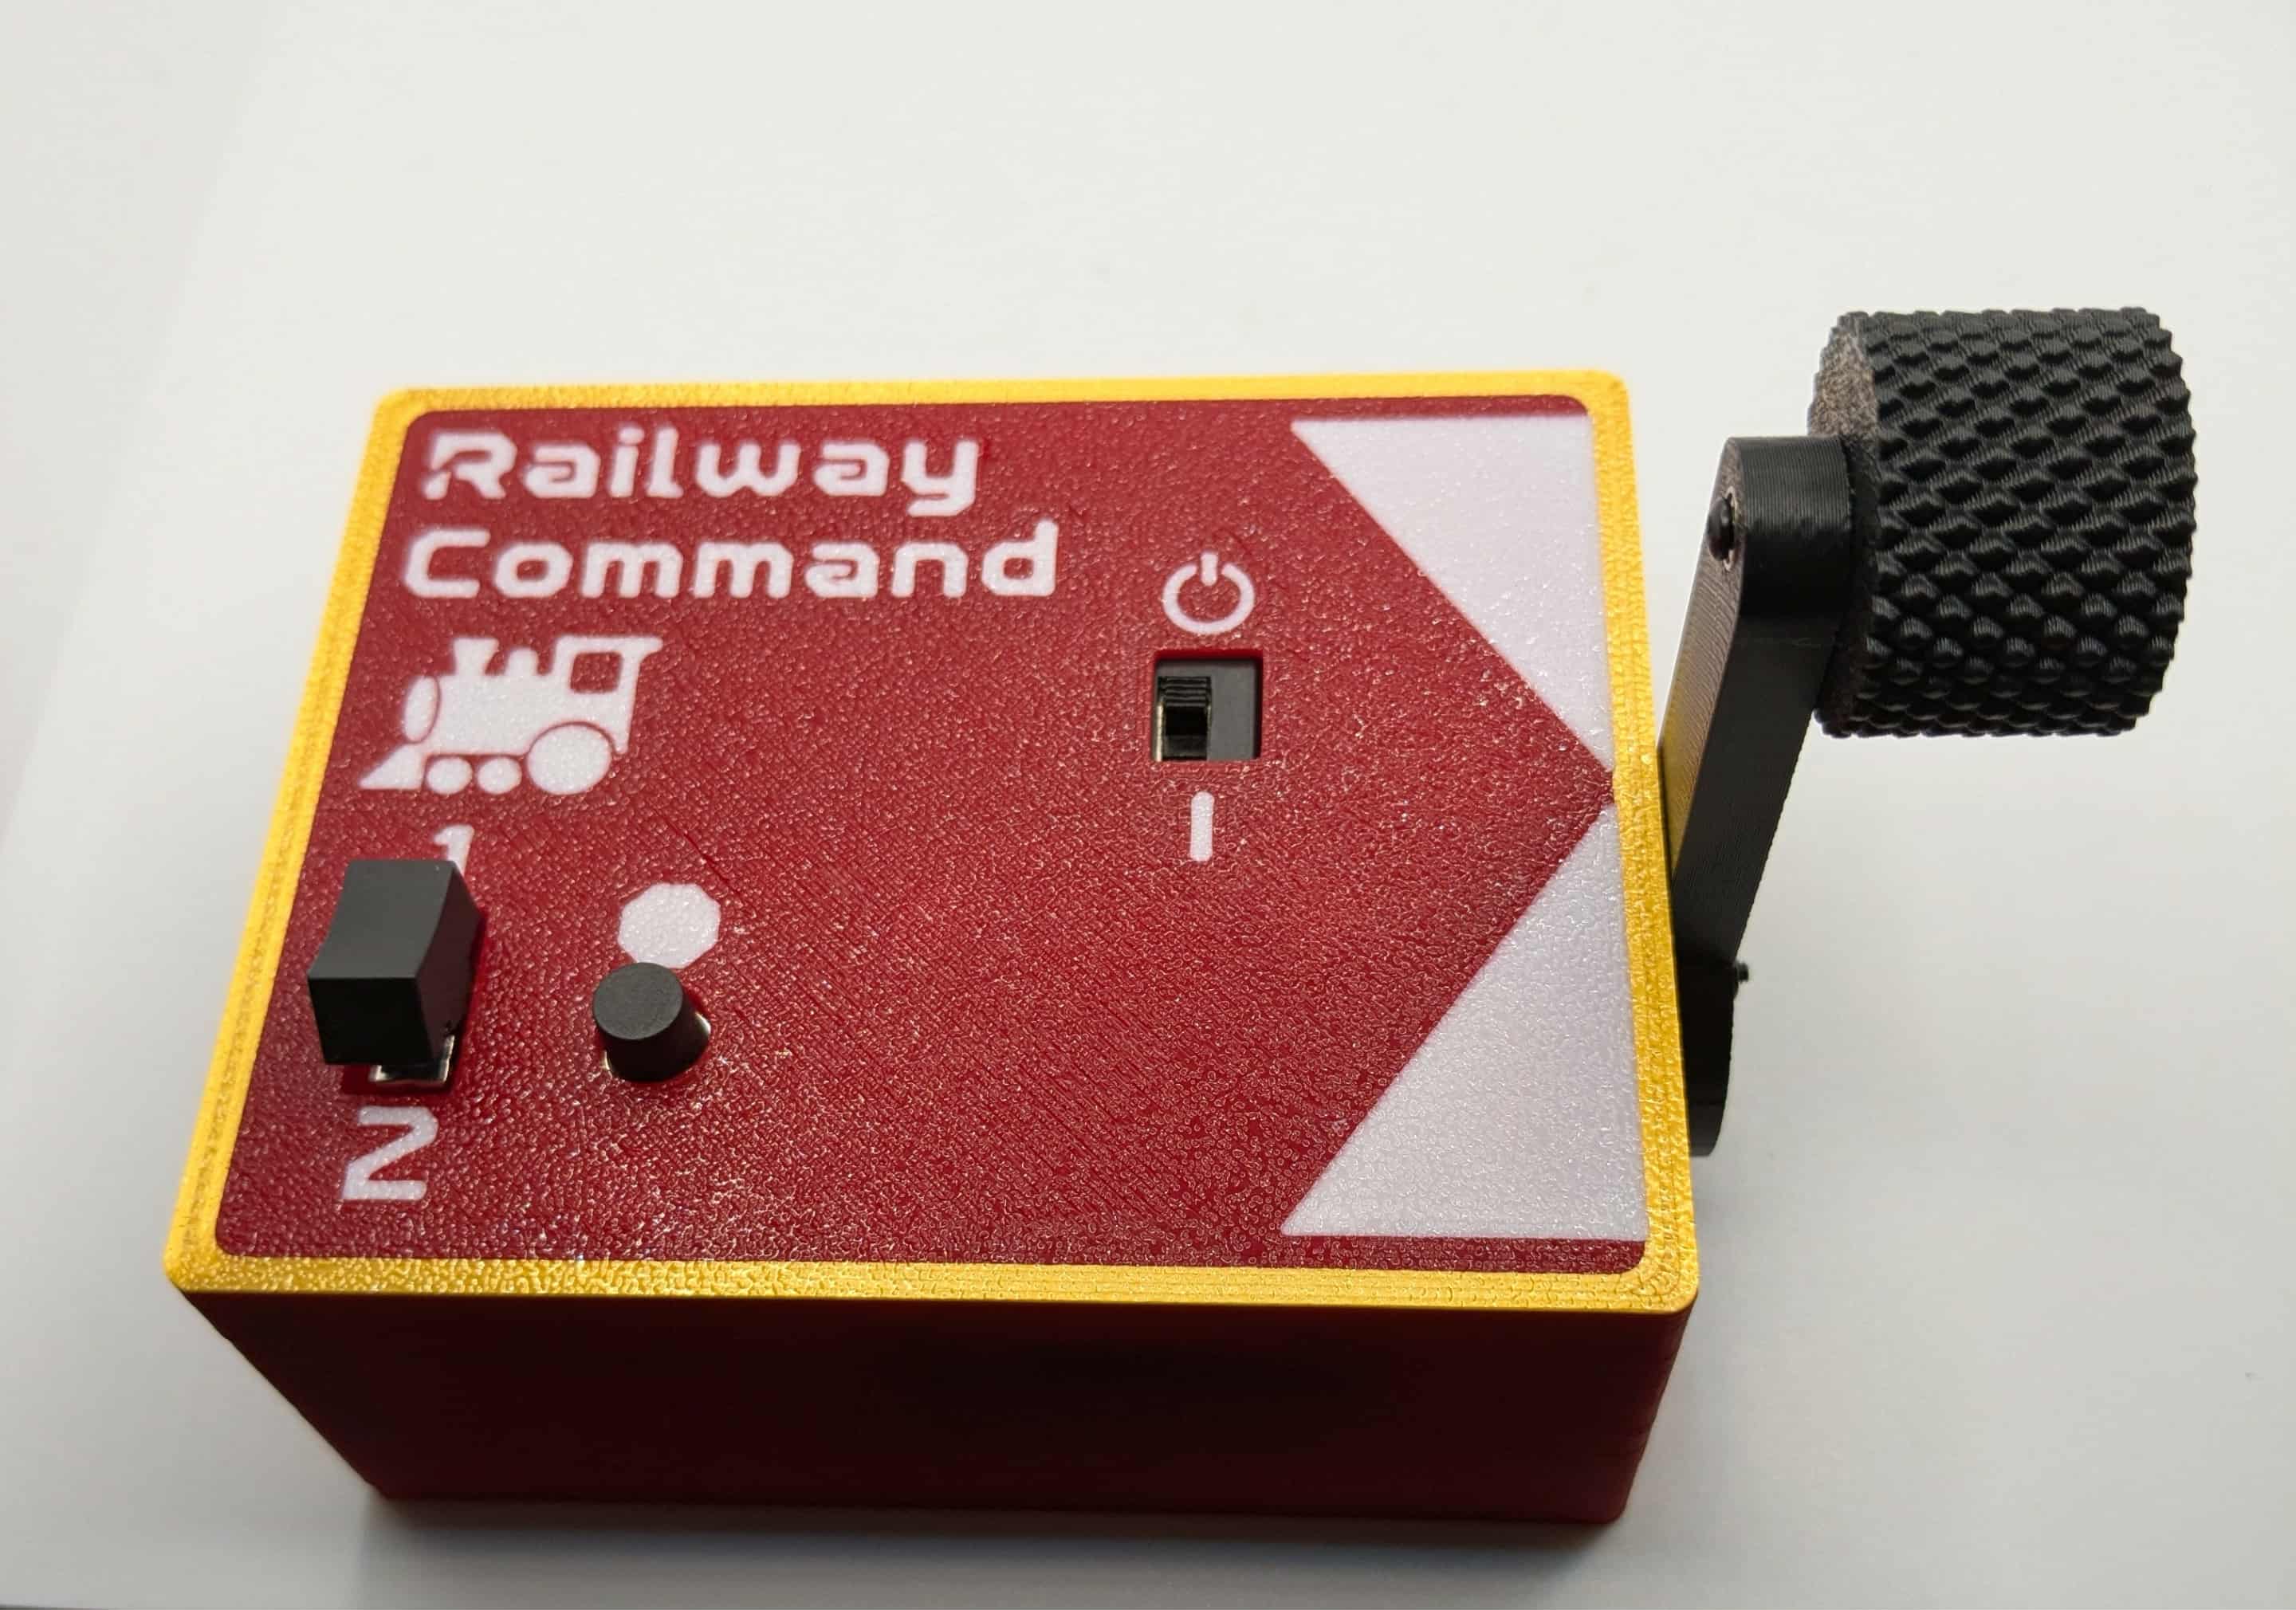
Locoman, I don’t know if you guys are interested or not, but I just published a new controller for the trains. It gives you a smooth vertical control throttle rather than the “click click click” rotary style. It also uses the CyberBrick AAA pack instead of having to use another rechargeable pack from the kit.
1 Like
i like it, looks more like a throttle I am use to, I will take a look.
Jim
New to train model. Printed XiaoQiong main train and have it put together. Instructions were a pain. Should have came here and read up before I started.
I am trying to install the track. Not sure how to connect them? any guidance or reference would be appreciated. Images would be extremely helpful if not to much trouble.
Thanks.
Edit: Found out I printed an older version that uses rail joiners, the new one uses filament to join.
Hi Snowby and welcome! Yes, the newer track uses filament as joiners. There are many profiles under the designer’s listing which has some variations for the track sections. I have posted a couple that will let you print the pieces in “two tone” for black ties and silver rails.
1 Like
The holidays have kept things pretty busy but development is still continuing. I have some new additions coming soon which may be of interest to those printing this train.
1 Like
I’ve just ordered some parts and will be starting this project as well. It all started with a train around the Christmas tree. The N20 motor is still out of stock so I will have to wait till I can order it or find some other alternative motor. The problem with alternative is that I am not handy with changing existing 3D models to fit an alternative motor.
I already printed the train and I can’t wait to start. This thread will be helpful.
Welcome to the forum!
You can find N20 motors elsewhere, but one big advantage of getting them from Maker Supply is that they have the proper connector so they are ready to connect to your Cyberbrick Receiver shield. Their prices (for low quantities) are competitive as well.
hi,
I need help can’t seem to get the wheel to work, this is the only thing holding me back.