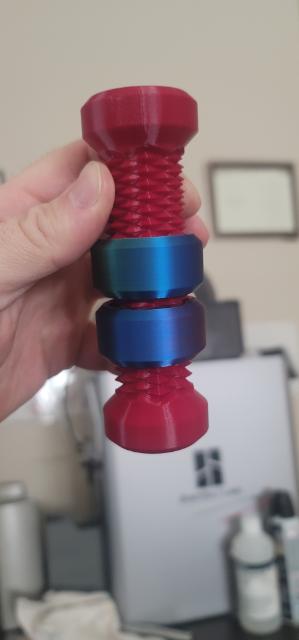
So I noticed that I have been getting these random creases in my prints. They are not consecutive with the whole print likes starts on x axis then randomly on y axis. I printed this two way screw fidget toy. You can see on the top (red), then a clearly on the 2 nuts, then different location on bottom (red). I have been trying to solve this with no luck. I tried wall generator, ironing, and messing around with seam position but no such luck. Has anybody ran into this before?


I do believe that’s a seam. When you say, “messing around with seam location,” do you mean you tried manually painting the seam in a different location?

That’s the seam. You can try to print random mode or aligned if you have a place to hide.
The seam is part of every 3d printed object not only Bambu prints ![]()
1 Like
Hey sorry for getting back so late. Work had me traveling. I did not try to make a seam. Is there any way of getting rid of the seam? On my other 3d printer I have never had a seam.
The seam exists on all FDM 3D printers, it is created by the layer change during printing. However, it is possible to modify the way the printer performs the layer change so that it is not done in the same place and is therefore less visible than a series of aligned dots.
2 Likes
You “get rid of” the seam by hiding it. Generally on inside and outside corners. On things without corners you can tune settings like retraction and wipe to change the way your seam looks, or simply make it a straight line and live with it.
1 Like
The BambuLabs X1 Seam is at least twice as wide and deep as printing with Simplify3D on the X1.
The seam on my Prusaslicer prints on their Mk3S printer is a non issue. BambuLabs needs to fix this. Adustments to the seam should be available under the seam menu.
Bambulabs surface quality and speed is excellent, but the seams are enormous and there doesn’t appear to be a way to reduce it. Besides forcing the user to print through BambuLabs network, this is the single largest negative I have found with the printer.
2 Likes
You’re not forced to use Bambu Studio. Sometimes I still use Superslicer or Cura if I don’t like the way BS is slicing or generating supports, you just put the g-code on a TF card like every other printer
2 Likes
We are talking about fixing bambu slicer, specifically that the SEAM is HUGE.
The SEAM is TOO BIG.
I don’t know why anyone would think it is ok, or normal, or "just use a different slicer.
Let me be clear.
The SEAM is TOO BIG!
The SEAM is TOO BIG!
The SEAM is TOO BIG!
The SEAM is TOO BIG!
3 Likes
Adjust your retraction settings and minimize the seam then. Even more control over the seam if you use SoftFever.
I wonder if anybody tried minimizing the seam? @carter2 is right that it is quite large on the X1C (or the Bambu Slicer) I tried adjusting the “Seam gap” percentage slightly in the slicer but to little effect, although I only did ±5% so far as I don’t mind it that much and would rather not mess my prints ![]()
1 Like
which retraction settings… where are they… in Bambu Studio, for removing the 1mm large seam?
(SoftFever doesn’t run on my computer atm, limited to pre OSX 11.)
1 Like

The seam is about 1mm to the right of the numbers, straight down the middle of the whole mandrel. You CAN minimize seams to the point where they’re virtually invisible. Look in filament setting overrides.
2 Likes
getting better results with new settings… started by copying PrusaSlicer settings.
prints shown have different layer thickness etc.
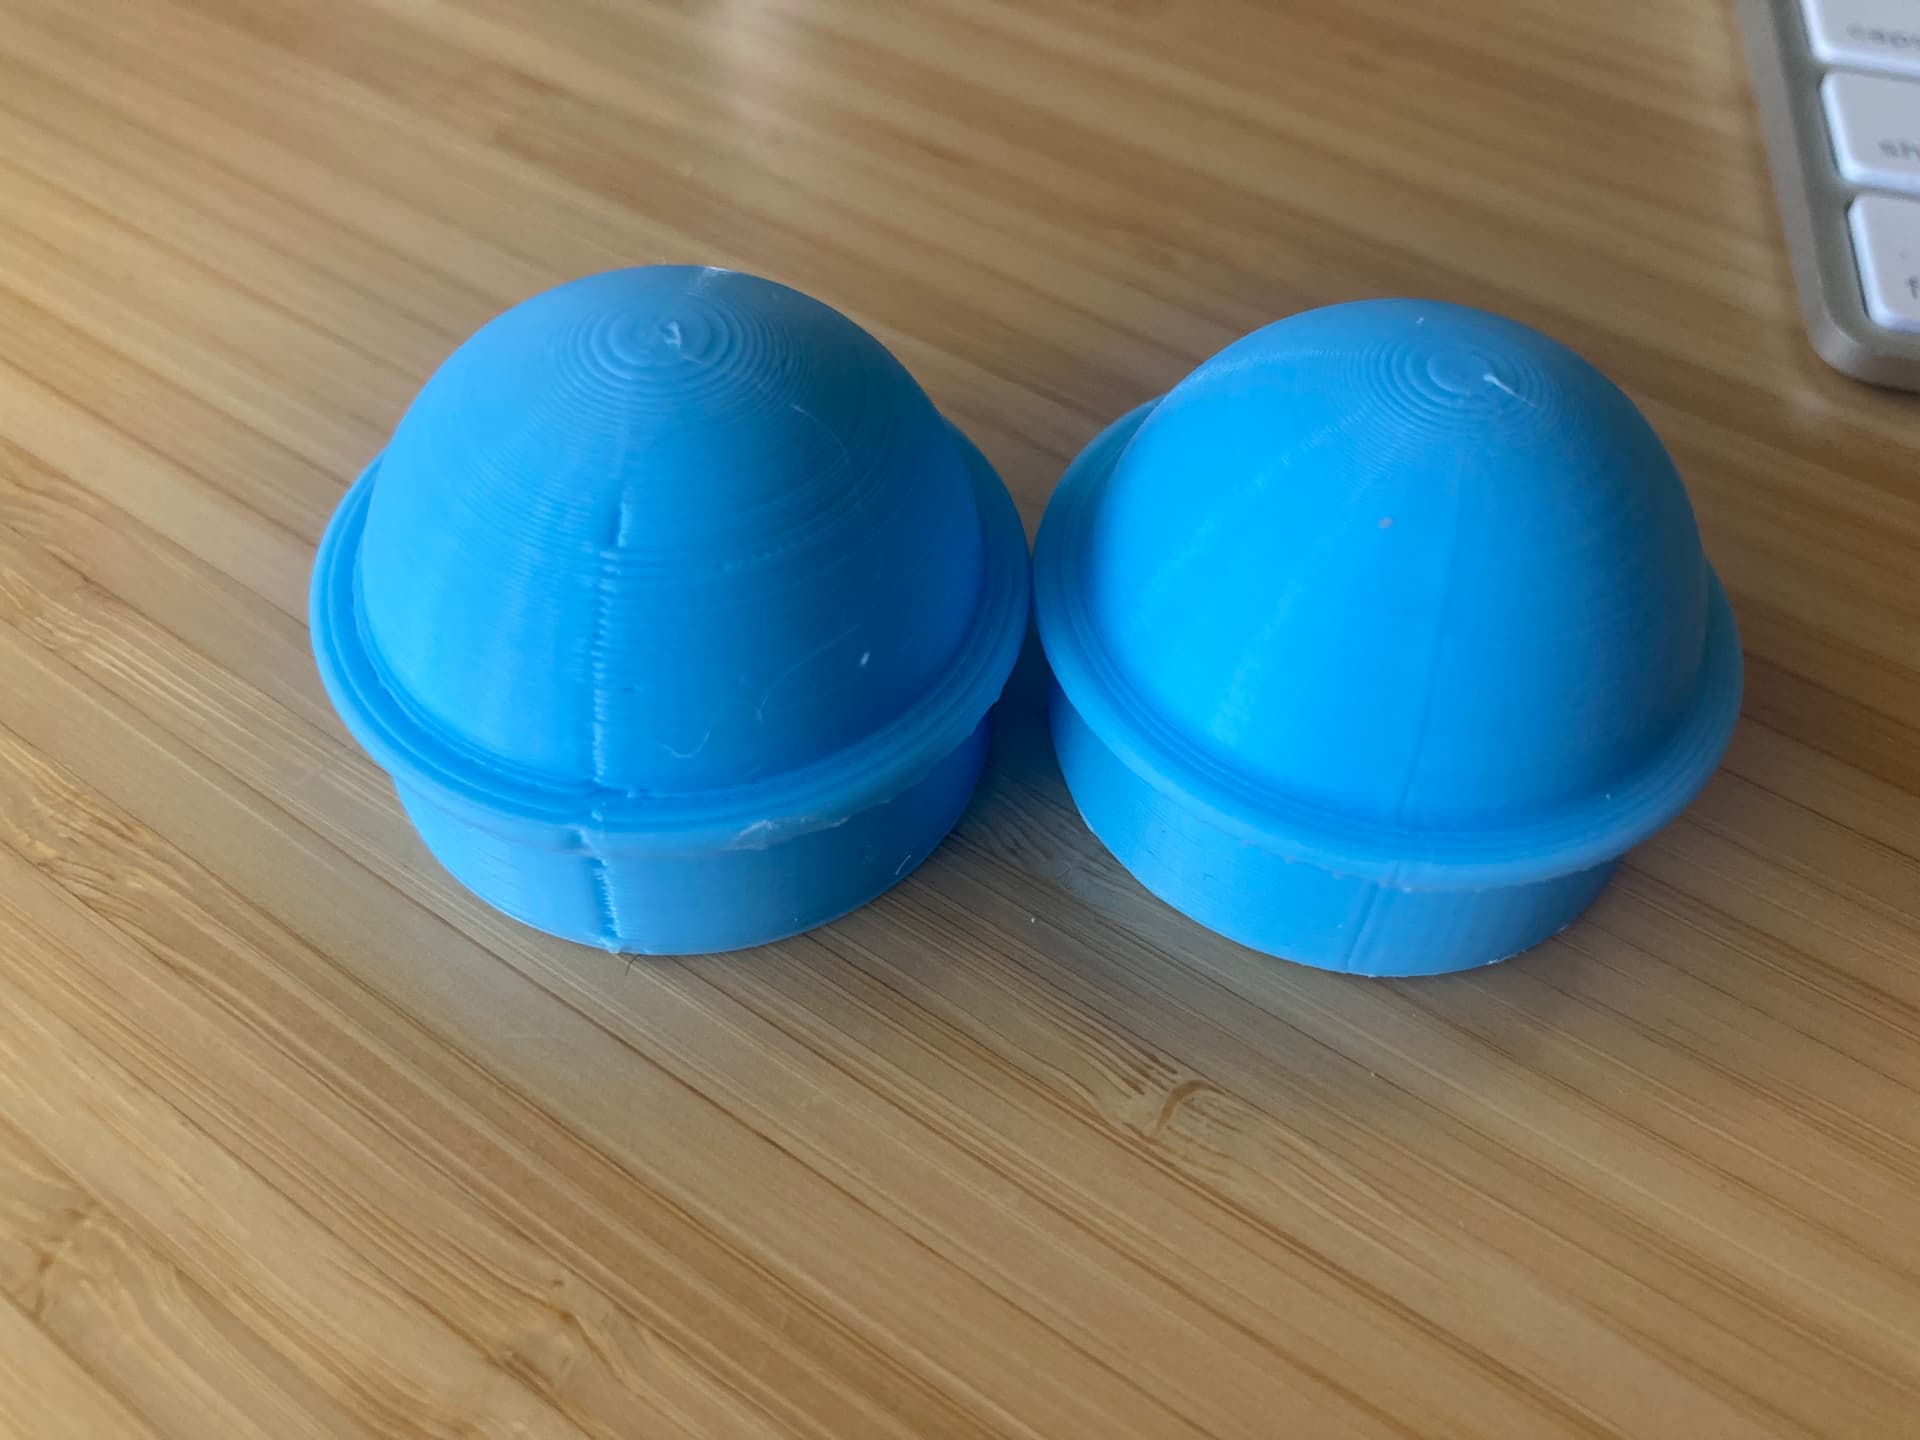


2 Likes
nice! lookin way better!
Not sure about … Slice Gap Closing Radius setting. still too coarse of a seam … need more time to learn the settings and test out a better setup.
Seam should be very hard to detect, nearly invisible. I think the current shipping version of Bambu Studio should never have been shipped with seams that were as large as the Grand Canyon is relative to the Great Salt Lake.
BTW. no sneaker-net or MicroSD card is needed with BambuLab X1 because it is easy to FTP directly to the machine when in “Lan only mode” or not. Using FileZilla is super easy, but can be done in the terminal.
1 Like
they can be. In the picture I posted the seam is barely visible as just a few dots. You wouldn’t even see it if you didn’t know where to look. Most models have places to hide seams anyways so it’s rarely even an issue.
1 Like
SEAM SIZE is a major issue on Bambu Slicer and BambuLabs X1.
The current parts I am printing (X1C) are being ruined by large seams.
Seams on Prusa MK3 is so small it doesn’t require any attention, ever. I will have to use my MK3 for final prints. Unless this issue is resolved I simply won’t buy or recommend another Bambulabs product.
BambuLabs ships with Seams settings that are so large they ruin the part.
2 Likes
So I wonder why is nobody talking about overhangs? Leaving the seam as a gap instead of a tiny blob leads to bad overhangs. There wont be enough plastic to hold on, so the overhangs will curl up and those parts. I prefer to have a tiny blob, which can be minimized also and also can be sanded instead of this bad seams. Stop pretending the seams are okay, when im forced to use the BS or SF Slicer. I dont want to give up the use of my AMS or WiFi.
@carter2 @Hobo4ssassin I’ve been frustrated by intermittent occurrences of unacceptable seam gaps for a while now. Most of the time it happens because I forget to select one of my custom filament profiles with calibrated pressure advance values, but sometimes the correct profile is selected and there’s still a stringy, 1-2 mm gap at the seam.
I tried carter2’s retraction settings on test prints and found that they produce uniform seam quality for each filament. The seam was still visible on the Silk PLA test prints, but it was much less noticeable with no stringy gap. Then I used the updated filament profiles for two simultaneous production prints on X1Cs and both prints had terrible 2 mm wide stringy seam gaps. Each printer was using a different filament brand, but the profiles matched the brands.
The printers were still warm from the test prints, Bambu Studio remained open and the same filament profiles were selected for the two production prints as the test prints.
I did use different spools of filament on the test prints and production prints, but they were just different color variations of the brands used for the test prints with the matching temp, pressure advance, and flow ratio characteristics based on previous testing.
Any ideas what could be causing this “Jekyll and Hyde” seam gap behavior?