Recently I ran out of 4 Pin BamBus ports on the side of my A1 Mini. So I went to Amazon and found the Big Tree Tech Panda Branch. I was going to get it to solve my problem, but paused and realised; wait, $25 for something any Arduino hobbyist has the parts for? So I set out to make it myself, and here is the result.
This DIY BamBus Cable Splitter is worth the 1.5 hour case print.
It is ment to use for powered accessories (like Panda Lux or Panda Knomi) but could be used to run other accessories.
Splits one port to 2 or 3 ports giving you 1 or 2 extra ports.
DO NOT USE FOR A AMS! USE THE PORT DIRECTLY ON YOUR PRINTER INSTEAD!
Wondering community feedback and who would print this (make sure to do the poll below).
Great idea, but why the solution with pins and tape? You already have Wago clamps on your shopping list anyway. Cut the cable and connect it directly to the Wago clamps. That way, there’s no risk of the tape coming loose due to heat or age.
That said, I understand your reasoning for wanting to ensure there’s no tension on the cable. Have you ever thought about adding something like that to your shopping list or including it as a 3D print?
Like I said, I think the project is great; the only thing I noticed is that the profile you’re using is the default one. You could, of course, consider optimizing it.
I agree, I just wanted to post to get it out there, I made mine and it worked perfectly and it powers my Knomi perfectly also. Anyone else have any thoughts?
Sorry for the confusion, the tape is for connecting a jumper wire to the BamBus cable. I will look into designing a better solution and implementing it ASAP.
It may be a little “niche” but it does work. For the A1 series you only get 2 BamBus ports. Unlike the P/X/H series you don’t get more ports as you add accessories (ex adding a AMS gives another slot on the back). Powering things like the Panda Knomi or Panda Lux have BamBus ports (they have other options but don’t turn on/off with the printer) but don’t give more ports. I had to think AMS and Panda Knomi or Panda Lux and Panda Knomi or spend $25 (I didn’t like it that much and came up with this)
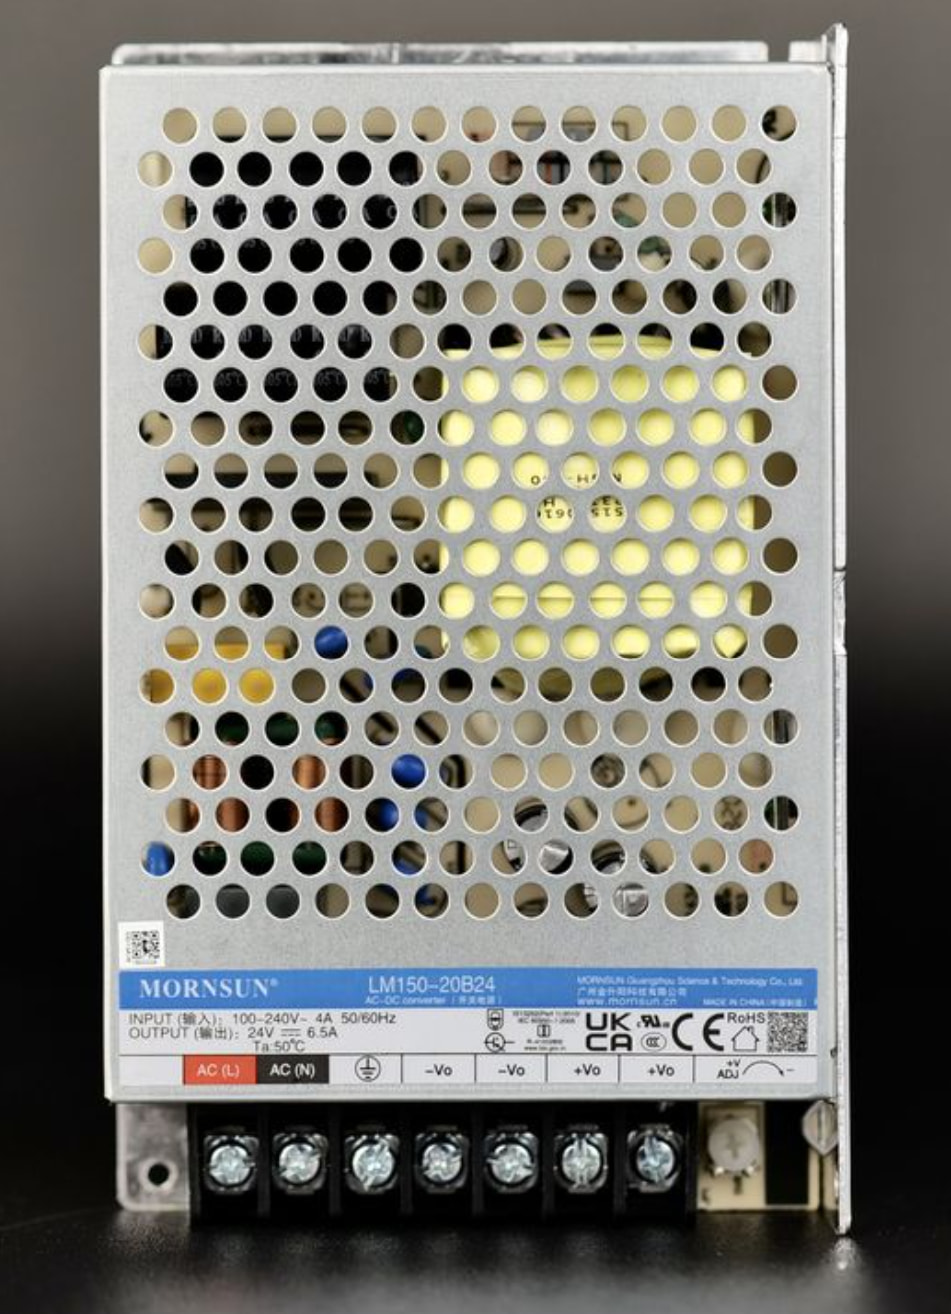
FYI, BBL cable is about 0.3 to 0.5 mm^2. And 0.5mm2 cable can do 3-5A which is 120w max @ 24V. The 24V PSU of P1S is only rated 108W (4.5A max @ 24V)
If you are already playing around with arduino and stuffs, having a crimper is almost a must. You can crimp dupont pin as well as other pins like JST pin.
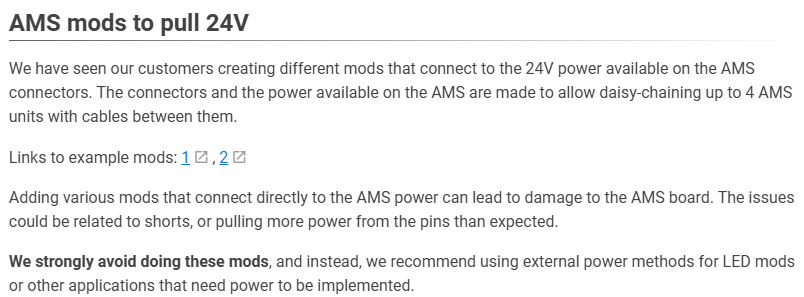
The AMS bus 24V is quite convenient to tap on. But keep in mind, the PSU of the printer was not designed to handle extra heavy load.
I just do some simple math for P1S:
Steppers: X, Y, Z (12W x3)
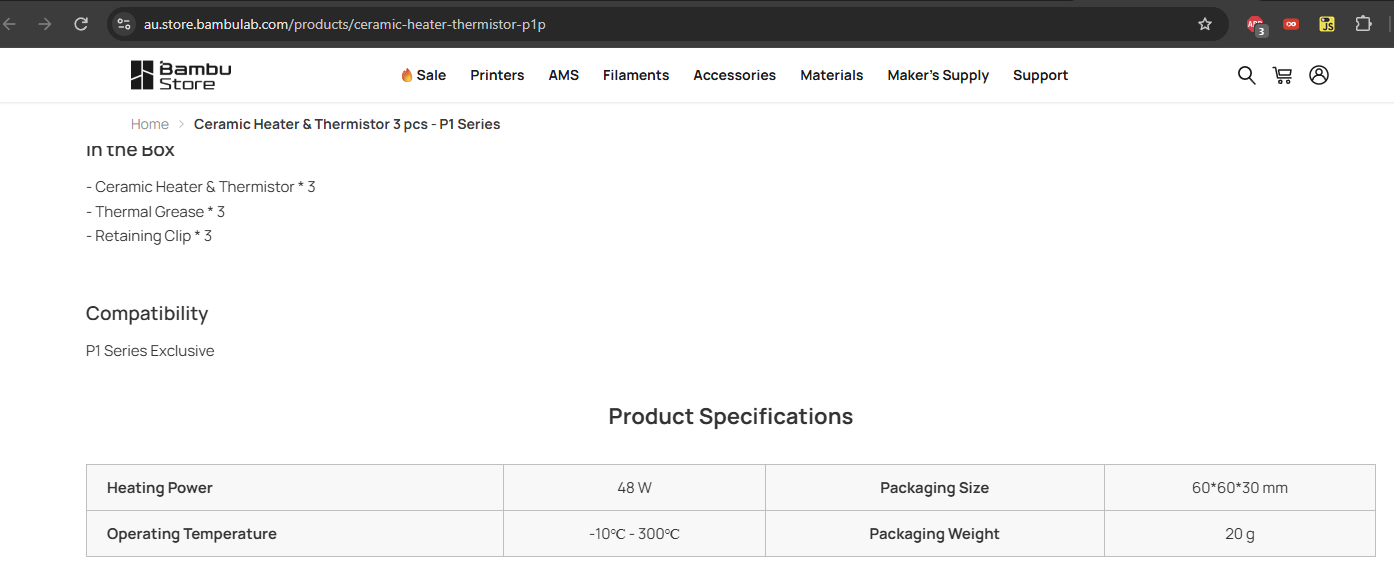
Heater: 48W
AUX fan: 24V - 0.5A (12W)
All other fans (chamber fan, hotend fan, part cooling fan, MC board fan): 12W
Sum of power consumption when everything is running: 108W
This number does not include power drawn by AMS (first stage feeder motor + ams hub motor)
Thank you for your feedback, however for most people, I am sure your solution is more expensive and more complicated. I have been testing mine for a few days now and have had no problem. (I have been testing voltage only, no signal)
Theoritical max power consumption of the heater
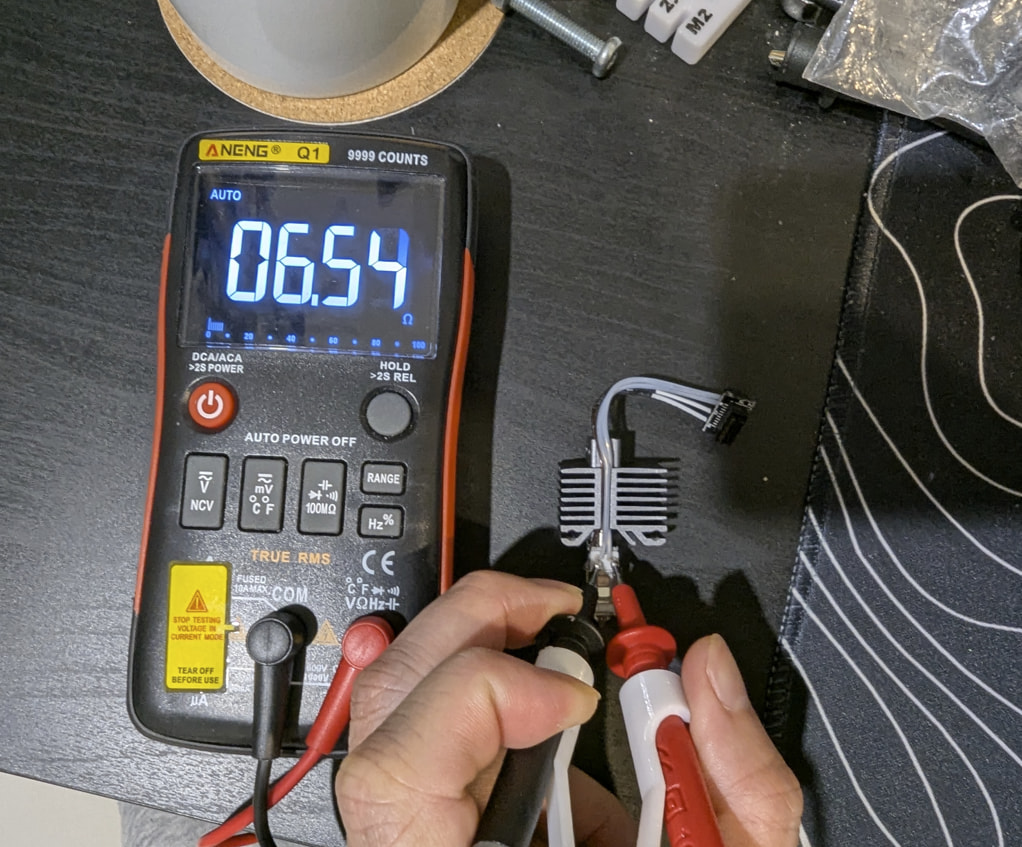
P = V*I = V^2 / R = 24 * 24 / 6.6 = 87.27W
But since this is PTC heater, positive thermal coefficient, resistance increases as temp increases, and that roughly limits the maximum power the heater can take. I don’t have data on how thick the wire on the heater as well as the length of it, so I can only trust the number from BBL store: 48W, unless BBL lied to us and use lower wattage heater in our printers.
@Tekwiz17
I am sure it wouldn’t hurt with your setup as there is little chance you over-load the power supply of your printer, or short circuit 24V of ams bus to ground.
While I agree with your previous comment as well as this one, I just think the conclusion is a bit of a stretch. Your calculation assumes that all components are running at 100% workload at the same time and drawing the maximum amount of current simultaneously.
I can’t go through all the printer models right now, but to stick with the weakest model - A1-Mini for a moment: The built-in power supply: Output: 156 W at 24V - even with these specifications, there is a power buffer.
I can’t check that right now, but I’ll go with your number: That still leaves a buffer of: 48W
The power supply has a built-in protection feature that shuts it down in the event of an overload.
If we stick with the A1 and compatible AMS units, they consume between 6 and 12 watts during operation. An external power supply is required for the AMS drying function and is therefore not included in the required wattage for the A1 Series.
Your reasoning is a good starting point, but concluding that the OP is giving advice that could lead to a house burning down is a huge leap. Safety is always important - I totally agree with that - but that’s a bit of a long shot. As I said, I agree with the rest, but I thought the wording of the last paragraph was a bit out of place.
As mentioned, this includes a few minor oversights on your part? For example, the printer never uses the maximum wattage simultaneously, there is still enough reserve power and the power supply has a safety feature.
I’ll leave the comment as it is and won’t pursue this line of discussion any further because I don’t want to take the OP’s topic off-topic. If you’d like to discuss this further, we can certainly start a separate thread.
Just like every other company does, they don’t want you to modify their devices that belongs to you and that you paid for. I just took a quick look at the wiki:
Bambu doesn’t want you to use cardboard spools.
Bambu doesn’t want you to use nozzles or print plates from third-party manufacturers.
Oh, I could list everything here, but basically, the short version is: Only use Bambu parts.
That’s understandable - they want to protect themselves legally.
It’s similar to the debate surrounding the right to repair. But here’s the irony: Bambu almost always wants you to repair your own devices, like replacing the power board, even though many of the steps require the expertise of an electronics technician and should legally be performed by a professional rather than the customer. They even state this in the small print.
We’re talking about 24 volts here - this project. Bambu wants you to tinker with the 230V circuit. In many countries, it is even illegal to tinker at 230V by law - if you haven’t been trained for the job.
As you said earlier, whether or not to modify your device is a decision that everyone has to make for themselves.
Getting back to the model: Anyone who modifies their devices or cables does so at their own risk. Based purely on the technical figures, there are no concerns. Does anyone have the technical skills for that? Well, that’s another question, but there are even more complex modifications on MakerWorld.
Oh, good on them. They gave more headroom on A1 unlike my P1S.
My point was to criticize what was chosen by bbl for P1S. I don’t have A1 nor claim my number was for A1.
I am not against modding unlike bbl’s been trying so hard to prevent you from modding. Infact, I support modding and third party stuffs like panda touch or xtouch. But just be sure crunching down number correctly and not bandage things together then call it done. That why I protested against bbl by keep using xTouch, Orca and old fw of P1S.
Yep, when we plan out to make something, we take the worst case scenario in the calculation and use that to design our product and also leave extra about 30% for headroom. So that, a 300W PSU for PC could actually do 400W in a short run. That what the engineer did around 20-40 years ago, built things to last.
But today engineering is different: cutting corners, planned obsolescence… I don’t trust the rating number like the old days. Not to mention fake Temu stuffs.
To be clear, I do know there are safety mechanisms in the Pulse PSU that it would fail open and usually won’t allow mains voltage penetrates through to the output. At most, the PSU just die when you overload it, replace new one and you are good to go.
Electronics is fun, you can do it on breadboard, burn resistor or blow up a cap and that is not really dangerous. That because you keep your eyes on it all the time.
But with things modified (without understanding) and left running unattended, it could go south badly. You know, little mistake will lead to bigger mistake.
As the engineering goes: It doesn’t matter how you foolproof it, you will be supprised how people will find a way to break it. And that is why I don’t like the idea of promoting this kind of modding to broad audience without proper safe guard precaution.
PS: Please, don’t take my word above as heated conversation. It’s just English isn’t my native tonge and I am not really good at expressing myself.