It’s not clear to me whether or not one ought to calibrate (Flow Dynamics and Flow Rate) Bambu Lab (BBL) filaments. BBL automatically delivers that via their profiles and updates to them, right? Thanks.
The Bambu profiles work reasonably well. Calibrations made with your own printer can often yield small improvements because printers and even filament colors vary.
It’s worth learning how to calibrate filament so you can troubleshoot problems and avoid being restricted to brands that provide profiles. Start with a generic filament type and adjust it based on your calibration results.
I only calibrate a filament if/when I’m seeing issues with a couple of small test prints I run after drying the filament the first time.
If I can’t see any defects, I don’t need to run a calibration.
Do you know any good tutorials on how to learn to calibrate filaments?
You’re definitely asking the right guy. Ikraus is the OG poster on filament calibration..
I rely on the instructions in the OrcaSlicer Wikis, either on GitHub or at orcaslicer.com. The Studio calibrations are basically the same as the options in OrcaSicer, since most of them came from earlier versions of Orca; OrcaSlicer offers even more tests now, and more complete explanations.
If you are using Studio, be sure to select Develop mode in Preferences to enable the top-line calibration menu.
Only if OG means Old Guy, because I was about to suggest a good magnifying glass or smartphone camera to zoom in and judge calibration samples.

Thank you. That’s handy to know. I have Orca installed as well, so perhaps I’ll start there.
I had always assumed the meaning was “original generation”. i.e. either first or among the first, which fits because I remember your posts as being among the first providing guidance on X1C calibration.
Looping back to that, what order do you do your calibrations in now? The same as before? The Orcaslicer information gives info on the individual calibrations, but last I looked it didn’t recommend a particular order for doing them.
My aging eyesight being what it is, I might use the digital microscope I use for soldering.
I’ve typically performed calibrations in the order listed in the dropdown menu. Temperature tower, flow ratio (2 pass, Archimedean chord), and one or more pressure advance calibrations, in that order. I perform the other calibrations only if they might fix a problem.
However, recent versions of OrcaSlicer changed the calibration order in the menu, which matches a recommended order in the Wiki and this linked video:
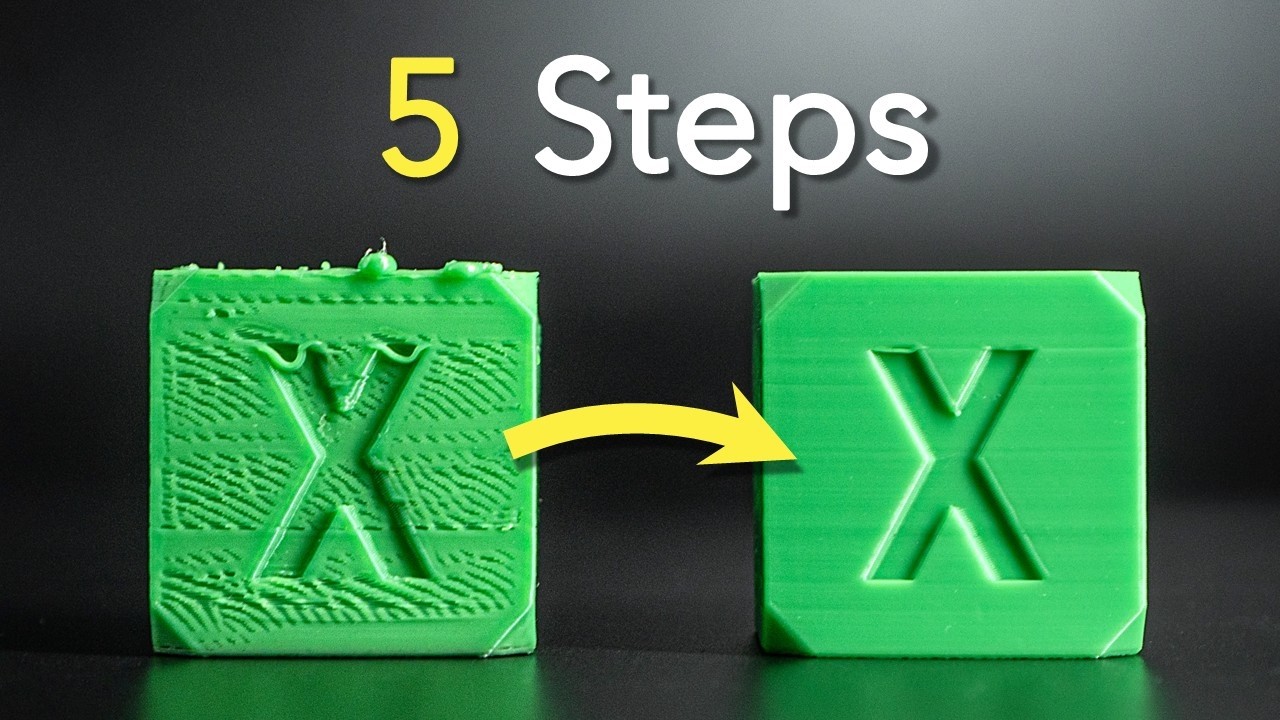
I agree with everything else in the video, so I think I will be using the new order in the future, including MVS for all filaments.
I’m gobbling up all this great new information.about filament calibration. But, it doesn’t answer my question whether it is necessary for Bambu Lab filaments. BBL did all this for their own filamentys, right? Or, do I need to do it anyway for BBLL filaments?
Have to? NO
Can you, to increase print quality? YES
It is worth it? PROBABLY NOT.
People tell me my prints are good and ask whch printer was it, and I don’t do all that stuff. All I do is use Bambu RFID tag and turn on all the automatic stuff the H2 series has. Takes a few minutes to start a print but that’s OK. This being said, I do have a vision encoder plate.
For precision engineering prints you might need to calibrate for dimensional accuracy.
(This thing looks OK and slings Nerf darts with reasonable accuracy, meaning the dimensions were accurate)
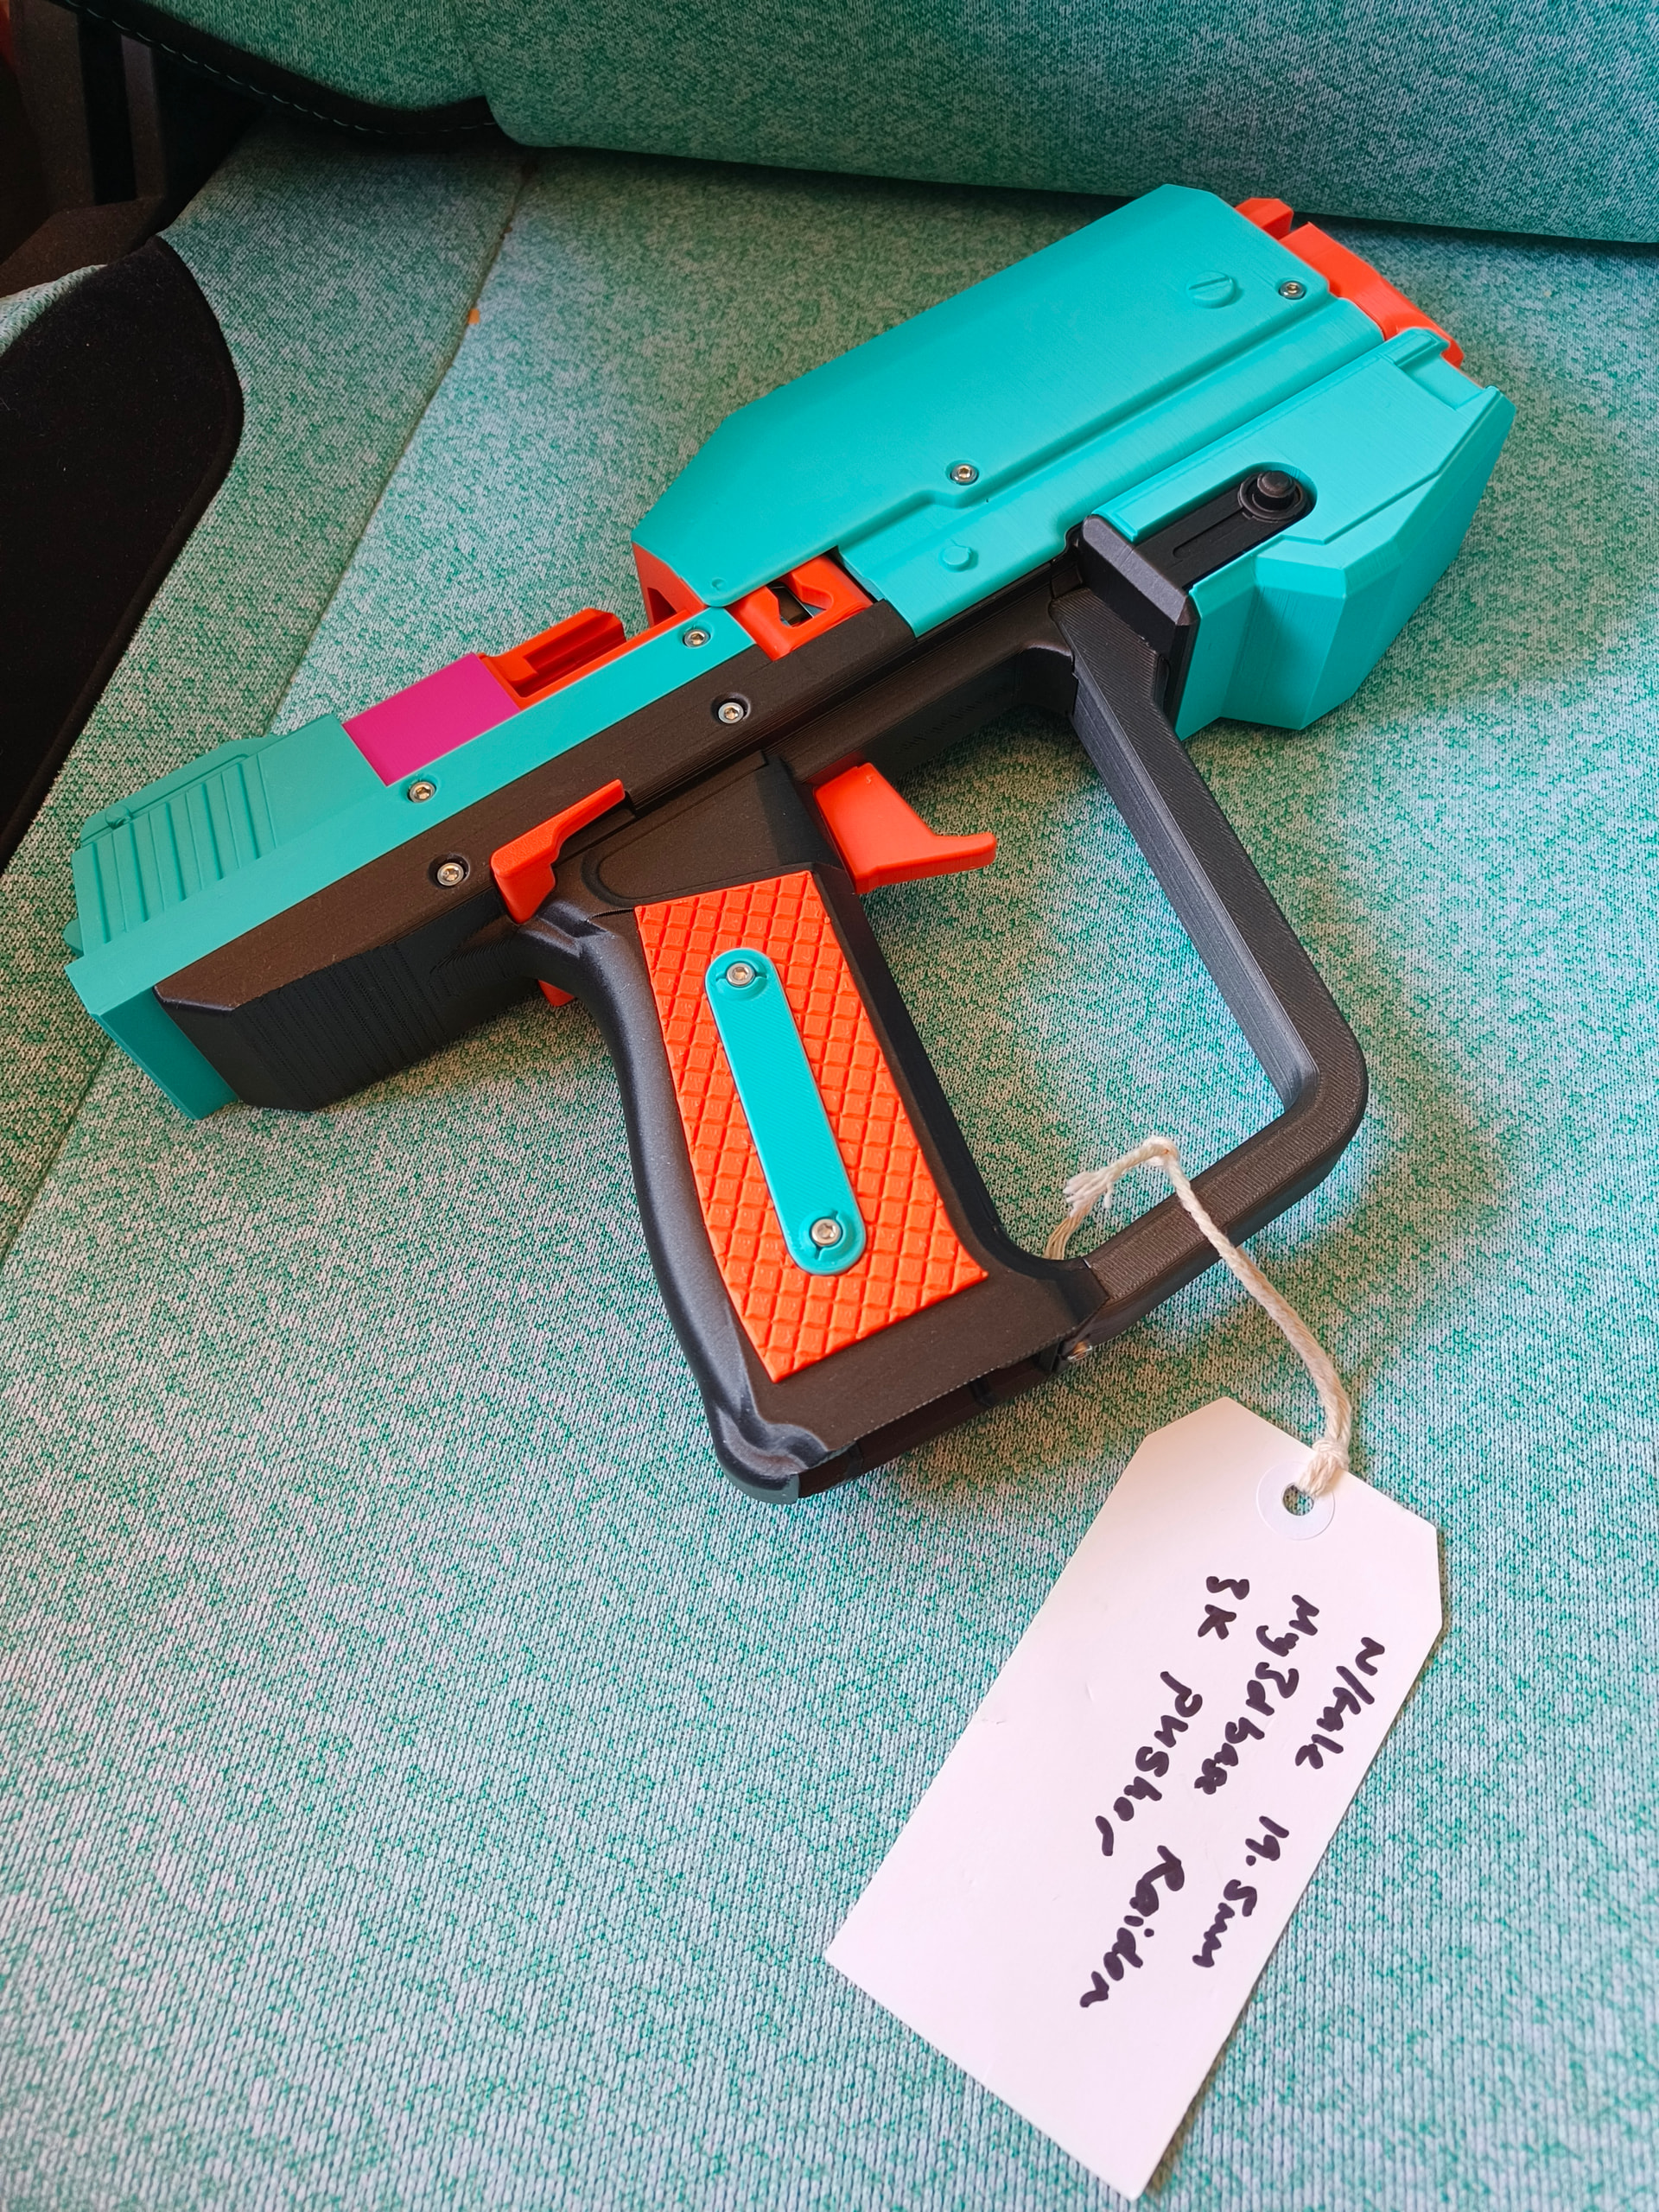
edit Yes 3K Pusher LOL. It was hilarious at the time, but 3K darts per minute is too fast for a 10-dart magazine. Not sure what the real rate of fire is, but mag empties in under 1/3 of a second. I need to “downgrade” that pusher motor but not only can I not be bothered, but it is hilarious.#
edit The model is a paid file by Fowler Concepts on blasterdownloads dot com. I believe it’s from halo video game.
I hadn’t bothered calibrating filament for my printers as they were bopping along just fine. But when I added the H2C, I noticed that there was an under extrusion thing happening. So I calibrated a spool of Bambu Lab PLA Basic and sure enough, it was well under where it should have been. So I adjusted the settings and that machine has been bopping along just fine like the others. I can’t honestly say why the H2C shipped with the numbers so far off, but they were. Once I calibrated the filament, it nailed the flow and such. So, I guess it might be a good thing to do - necessary - depending on the printer? Perhaps.
Bambu’s filament profiles are usually pretty close to where you’d get anyway with lots of careful calibration. The pieces they can’t account for are hardware differences in your particular printer, which can have small but noticeable effects on print quality.
If you have a P1S like me for example, you don’t have an eddy current sensor that can automatically perform flow calibration adjustments. That means there isn’t anything automatic to monitor and adjust for your printer wearing in slightly over time and use.
I have definitely noticed Bambu filaments underextruding slightly on their standard profiles on my light-to-medium used P1S, for example, and I’ve definitely gotten better quality from doing flow calibration in such situations. In my case (and YMMV) the Bambu profiles have always needed an adjustment in the direction of an increase in flow ratio. (I would bet someone more knowledgeable could tell me what that indicates about my printer’s wear.)
I’m not 100% sure since I don’t have a newer printer with one, but my assumption is that the eddy current sensor would avoid most or all the need for this on newer printers.
Eventually you’ll gain an eye for spotting simple problems and not even have to run the calibrations unless you want 100.00 percent perfect. Tops and bottoms can tell a lot about flow rate, corners can tell you about pressure advance, wisps and overhang noodles can tell you about temp, etc. anything can be a calibration print
Edit: and make sure if you do run a temp tower to break it with your hands to make sure the temp isn’t too weak for adhesion! People always forget that. It’s very very useful, sometimes 10 degrees looks the exact same but is noticably stronger
What I do not understand is no matter what filament I use, the H2s prints one tiny, maybe 2" strip of plastic near the front of the build plate and then prints the part very well. The X1C goes through an elaborate calibration pattern before printing. My Creality K2 Plus, which to my surprise has been printing well lately, prints a very extensive pattern on the left side (that’s a “b” to get off the plate) and on the right a solid long rectangle before printing. The H2 only that 2" strip…
Can someone explain that?
Thats a purge line. It’s useful to at least get the tiny bit of filament melted from last time in the nozzle out, so this is often used to do that. Plus, since we’re extruding… it can do other Things!©
For example the A1 uses the purge line to also do flow dynamics calibration, if you select it. It does the purge line twice basically after trying out what it’s learned from the first one. The x1c does a pattern and then lidar scans it to do other stuff. The P1S does it in the corner in a way that is guaranteed to turn into a knife and skewer itself under your fingertip [i kid… or do i]
It’s part of the machine start gcode in your slicers settings, if you feel spicy and want to tinker.
Just saying(you probably know this) but you don’t need to do auto calibrations every print. I do bed leveling almost every print but everything else only when it’s new filament or a big long print.
Or, alternately, you can skip the bed leveling at the start of every print too. The bed leveling firmware calibration you invoke at the console takes a lot longer because 1 it is more accurate and 2. it gets stored in memory.