Hi, which Lights are in your Platsa enclosure ???
Its an old Ikea Lamp which sadly are EoL - Ikea Slagsida
1 Like
Nice! Where did you buy this dust cover?
I made it myself. I “designed” this Dust_Cover v2.3mf (187,8 KB)
and combine it with this STEIGNER 5m Bürstendichtung GRAU Dichtungsbürste selbstklebend, extralang, Türbodendichtung Zugluftstopper, Höhe 20 mm : Amazon.de: Baumarkt
(I am not really good at designing things  )
)
Aha, perfect.
Thank you for the info.
I’m about to make something just like this.
A have this enclosure allready for my old Ender 3 pro, but I picked up my new A1 with AMS today that I will install there instead. 
Any accordeon dust covers a la photo light box?
How your A1 fits in ikea lack? It should have more space based on docs
What are the dimensions of the plexiglass and tables? I found plexiglass on amazom but I’m not sure that they would fit the A1.
Das musst du selber ausmessen, es kommt ja auf die Größe deines Schranks an. Die Scheiben sind eine Sonderanfertigung von einem Acrylplattenshop und kein Standardmaß. Du brauchst jedenfalls 2x den Ikea Lack Tisch. Einen lässt du wie er ist und bei dem anderen musst du die Füße absägen und damit die Beine vom ersten verlängern. Das kann bei jedem anders sein, je nach Bedarf.
Viel Erfolg
Okay, thanks. The precut acrylic I found is 505 mm tall, would that be tall enough to fit the A1?
Eigentlich passt das. Meine Scheibe ist ~54cm hoch. Schau dir mein Bild an, da ist also noch Platz nach oben. Das Problem ist der toolhead und die Schläuche. Das stößt dann alles oben an und verkeilt sich. Ist bei mir schon knapp gewesen. Das bedeutet du musst die Öffnung im Schrank oben deutlich länger machen und darauf achten das sie möglichst genau über der x Achse verläuft, also so das Toolhead und Schläuche sich frei bewegen können auch wenn der Toolhead ganz oben ist. So würde ich das heute nochmal machen.
Okay, danke. Wäre also ein größerer Kanal erforderlich, als Sie gezeigt haben, damit die AMS-Röhren durch den Tisch verlaufen und funktionieren können?
Ja, ich denke das wäre besser!
Funktionieren würde es auch so, besonders wenn du nur kleine, zentrale Drucke hast aber spätestens wenn du den ganzen Bauraum, insbesondere nach oben ausnutzt wird es eng werden.
3d printer enclosure, bambu lab a1 enclosure - KIngroon, you can refer this enclosure
1 Like
Hello everybody.
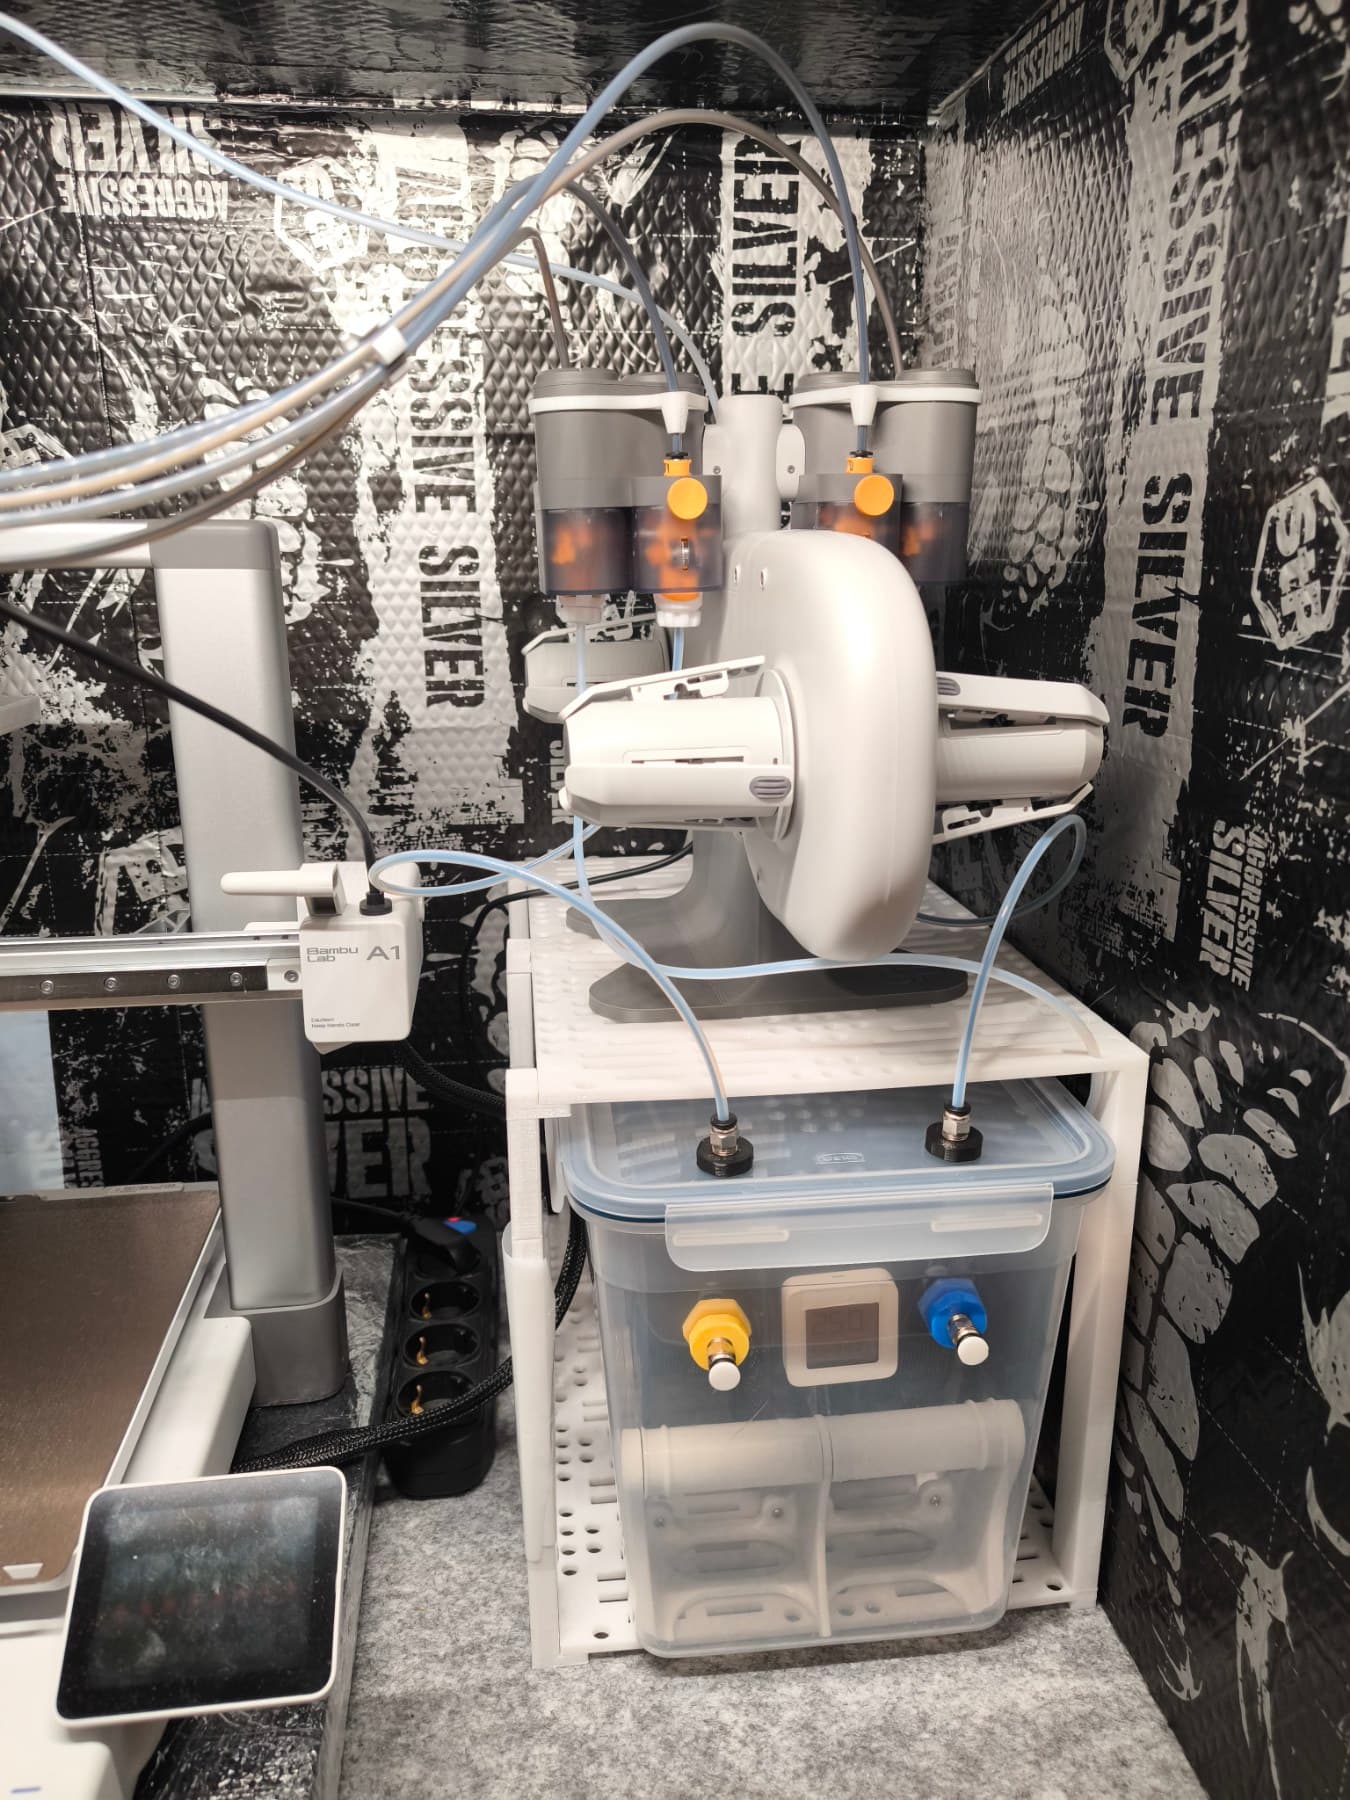
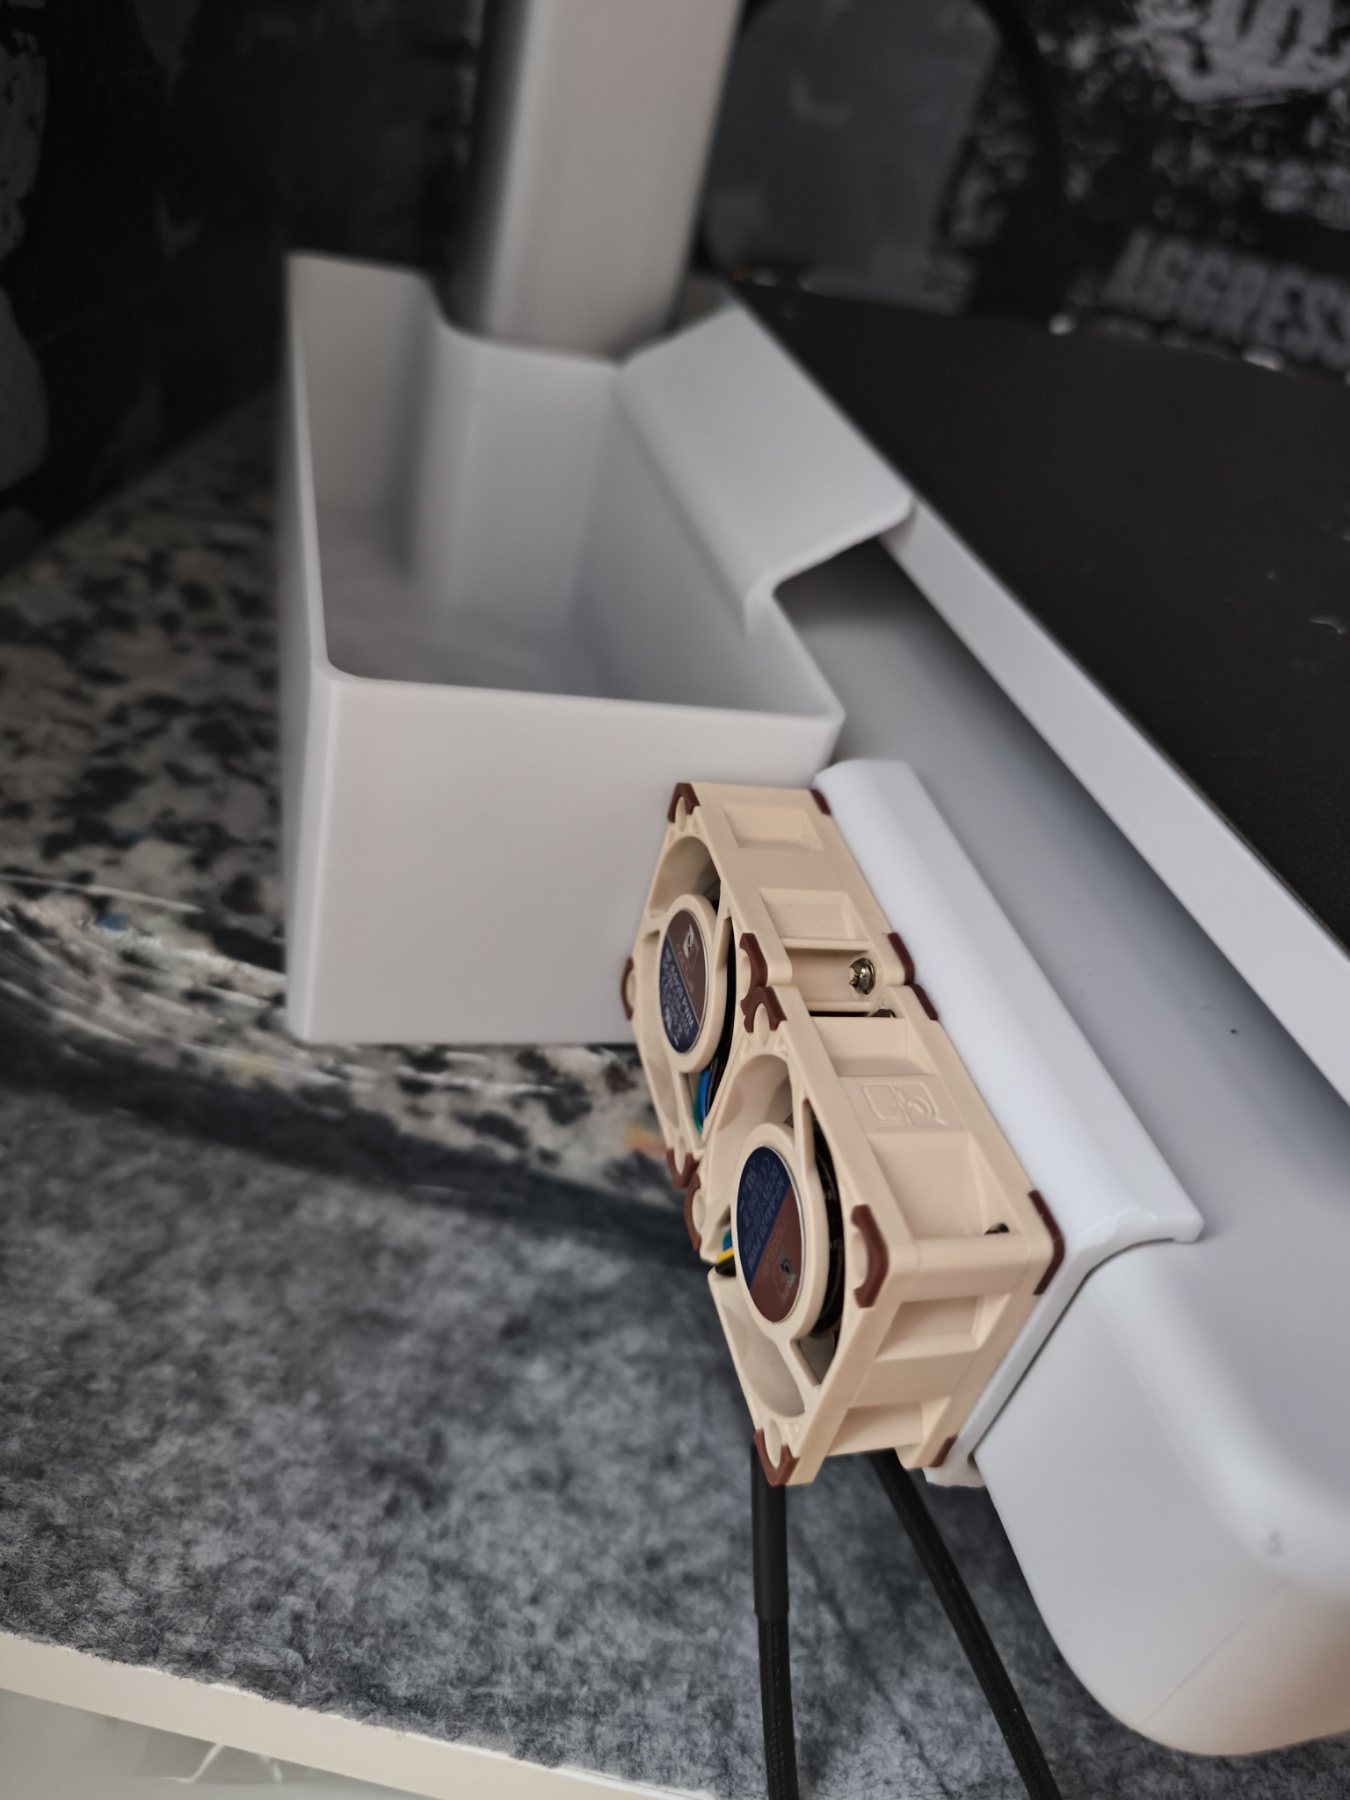
I have built the soundproof cabinet for my BambuLab A1 using IKEA furniture as a basis. I achieved noise level from 1 meter distance - 36.5dB(A) and at a distance of 2 meters - 36.32dB(A) with fan working and printing using Standard printing mode.
My soundproof cabinet has ventilation powered by Noctua 60mm fan and 3 Noctua 40mm fans installed on printer vent holes to improve air circulation inside the printer.
You can find more pictures and detailed description of all components I used to build this noise insulation cabinet on the web-page: https://serhiiyatsenko.wixsite.com/diy-hobby/3d-printer-silent-box?lang=en
Happy printing!



5 Likes
This is absolutely amazing, from the the design to documentations. Now I really wanted to build a similar thing for my A1 
2 Likes
Thank you for kind words. I hope my design will either be reused or inspire others to make something even better.
Couldn’t Edit my post it seems. Didn’t realise the height option is only 80cm :'D.
Really well designed enclosure. I’m thinking of something similar as i’m finally replacing my old aNet A8 custom printer with the A1 Combo, and its currently enclosed in the Lack setup. My only issue is for me space is limited. My max width would be 60cm and i’m not sure what sort of height I’d need as the aim would be to put the combo on top of the cabinet considering I doubt 60cm is enough for the printer and the combo to be put inside. (Printers on its way). Would the 80cm height cause any issues with having the combo on top instead (with cuts to allow the tubing to run free)?
The key thing is width (or depth or Y dimension) from front to back side because you need a place for moving bed and kables and there was the catch as standard furniture have lack of 5cm and only kitchen cabinet is wider.
Regarding the X dimension (from left to right) 80cm is good if you need to install AMS side by side if you have only 60cm then you need other options. I saw that people make a cut on top shelf to put PTFE tubes from AMS installed on top to printer underneath. I am sure that standart PTFE tubes from the box too short for that as well as the power/data cable which connects AMS and printer. But the cable and PTFE tubes you may buy on AliExpress.
Also if you have enough hight, you may install AMS upside down screwing it to top shelf just above the printer (you will need to print new AMS holder to attach AMS to the shelf). I saw a rail system (printed model) for AMS for easier maintenance
Greetings.
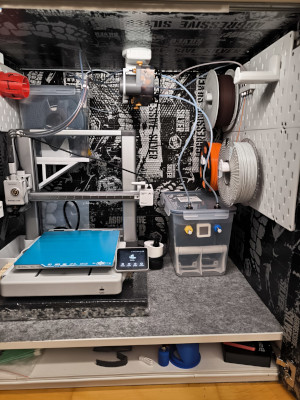
I made an optimization of the interior space of a soundproof cabinet for Bambulab A1. The solution is based on placing the electronics and the AMS Lite mechanism in a separate compact housing under the ceiling, and the filament spools on the SKADIS board. This solution not only increased the space, which allowed to install more driver boxes, but also simplified the manipulation of the filament spools.
More detailed information with a list of all used models and accessories, as well as additional photos of my soundproofing solution can be found under this link.
1 Like