I didn’t see anyone else mention this.
I was having the same issue and found that it was the sd card. Replaced the card and everything works just fine now. The sd card was also making it so ever time I turned on the printer, I had to go through the setup process again. Remember, the printer does not have any on-board memory and that is why there has to be a working/good sd card in the slot. The sd card is where it stores all the settings along with model/print information.
Yes, that’s more likely solution. Mine got corrupted.
I just got my A1 and almost ever print had this Z-Axis error.
I tried everything suggested above, but no luck.
I stumbled upon this fix (by accident - aka pressing button syndrome)
I opened up Bambu Studio → Device Studio → Status Studio → Print Options button Studio → take the check mark out of Enable detection of build plate position.
Yes, me too. Failed out of the box. Retailer says its Bambu responsibility and refuses to do anything, never had a reply from Bambu.
I’ve tried many fixes from here and lots of others on the internet, nothing works.
No meu caso foi um parafuso que soltou na parte inferior onde tem a porta USB e os cabos.
Fixed!
The cable box, under the printer, is secured by a captive bolt, not a screw as is mentioned in the setup guide and the wiki. Tightening the bolt pulls the usb plug out of the socket. The threaded socket in the base, and the bolt hole in the cable box do not line up.
My fix was to leave the bolt loose. If the usb plug rattles loose over time, I’ll secure the box with some hot-melt glue.
My issue was fixed finally. FIXED!
There was a small buildup where the belt goes under the build plate. Chunk of a print. Pulled it out. Printed first try. Just me being a mess.
Are you still doing the power on off? It’s happening for me after every print now. Started out just with taller items, now has gone to every item. Doing a calibration now. Hopefully it helps.
This was my problem - thank you for posting, it really helped.
Wow that saved me right now! Had the same z-axis error and neeeeever would have thought of the usb-c connection!
I had the same problem here and managed to solve it. It was the black cable and filament hoses that were touching the column, causing the Z-axis to stop and resulting in the problem. After disassembling the hotend, I discovered that it was this simple problem.
Hey, did you try this?:
Check your cables
I have the same error. Supplier sent me a new kit (extrusion kit and TH board).
After replacing everything, the error continues.
Now I’m sure the issue is with the USB-C cable.
Do you guys know if a regular USB-C cable will do the trick or does it have to be the Bambu one?
Two possible solutions i have experienced
- Silicon sheild on hot end. Remove and replace very well. It can impact plate. Also not using after market silicon heat shields. ( non oem hot ends have been fine, but with bambu shields)
- Yup you guessed it. Loose USB C.
Good luck, and Lord willing no new issues
Hi everyone,
Brand new A1, still in initial setup (haven’t completed a single print yet).
Firmware: 01.07.02.00
Error: [0300-4000 141751]
“Z-axis homing failed.”
What I observed:
- The failure timing is inconsistent (can occur during upward or downward Z motion).
- It is not tied to a fixed Z height.
- Multiple bed taps occur before failure in many cases.
- Z motion itself appears mechanically smooth.
- The failure tends to occur at two repeatable XY locations (center and rear-center area).
- Supporting the toolhead USB cable slightly changes the behavior.
Checks completed:
- Shipping bed lock screws removed.
- Toolhead USB-C screw-secured and visually fully seated.
- Nozzle latch locked.
- No visible mechanical obstruction.
Has anyone seen this error pattern on a new unit?
Update – Issue Identified and Resolved
I found the root cause.
I had not removed the Z-axis shipping limiters.
I had removed the screws, but the two limiter pieces themselves were still installed.
I mistakenly thought they were reinforcement parts.
I also noticed that with the power off, I could not manually move the Z axis up and down, which seemed unusual. After carefully re-reading the manual, I saw that it clearly states that both the four screws and the two shipping limiters must be removed.
After removing the limiters, the auto bed leveling process now proceeds normally.
This appears to have been caused by the Z-axis shipping limiters not being removed.
So, after almost a month, I found out the root cause.
Supplier sent me the TH board, USB-C Cable and the extrusion kit. I replaced everything, and nothing worked. I was about to give up and sell the printer.
My printer was making an abnormal noise that started a few months ago (before this Z-axis problem). I didn’t think it was an issue because I thought it could be some loose screws from the fan part.
After not solving my issue, I wondered if this noise had something to do with my Z axis failing to calibrate.
So I unmounted the part fan (the grey one), and I discovered not one but FOUR bearings standing there. I didn’t know where the ■■■■ they came from, but after removing them from the fan, my problem was magically solved.
Then I started to investigate where these bearings came from, and I found out that the connection between the toolhead and the X axis is full of them. For some reason, they were dropping from the toolhead into the part fan.
I think these loose bearings were making my whole machine vibrate violently on the calibration step, because I started to notice some loose screws that I hadn’t touched before.
So, after telling Bambu my story, they identified that my X-Axis is the faulty component, causing my bearings to drop into the fan part.
My machine came back to life, but someday from now those bearings will come back into the part fan.
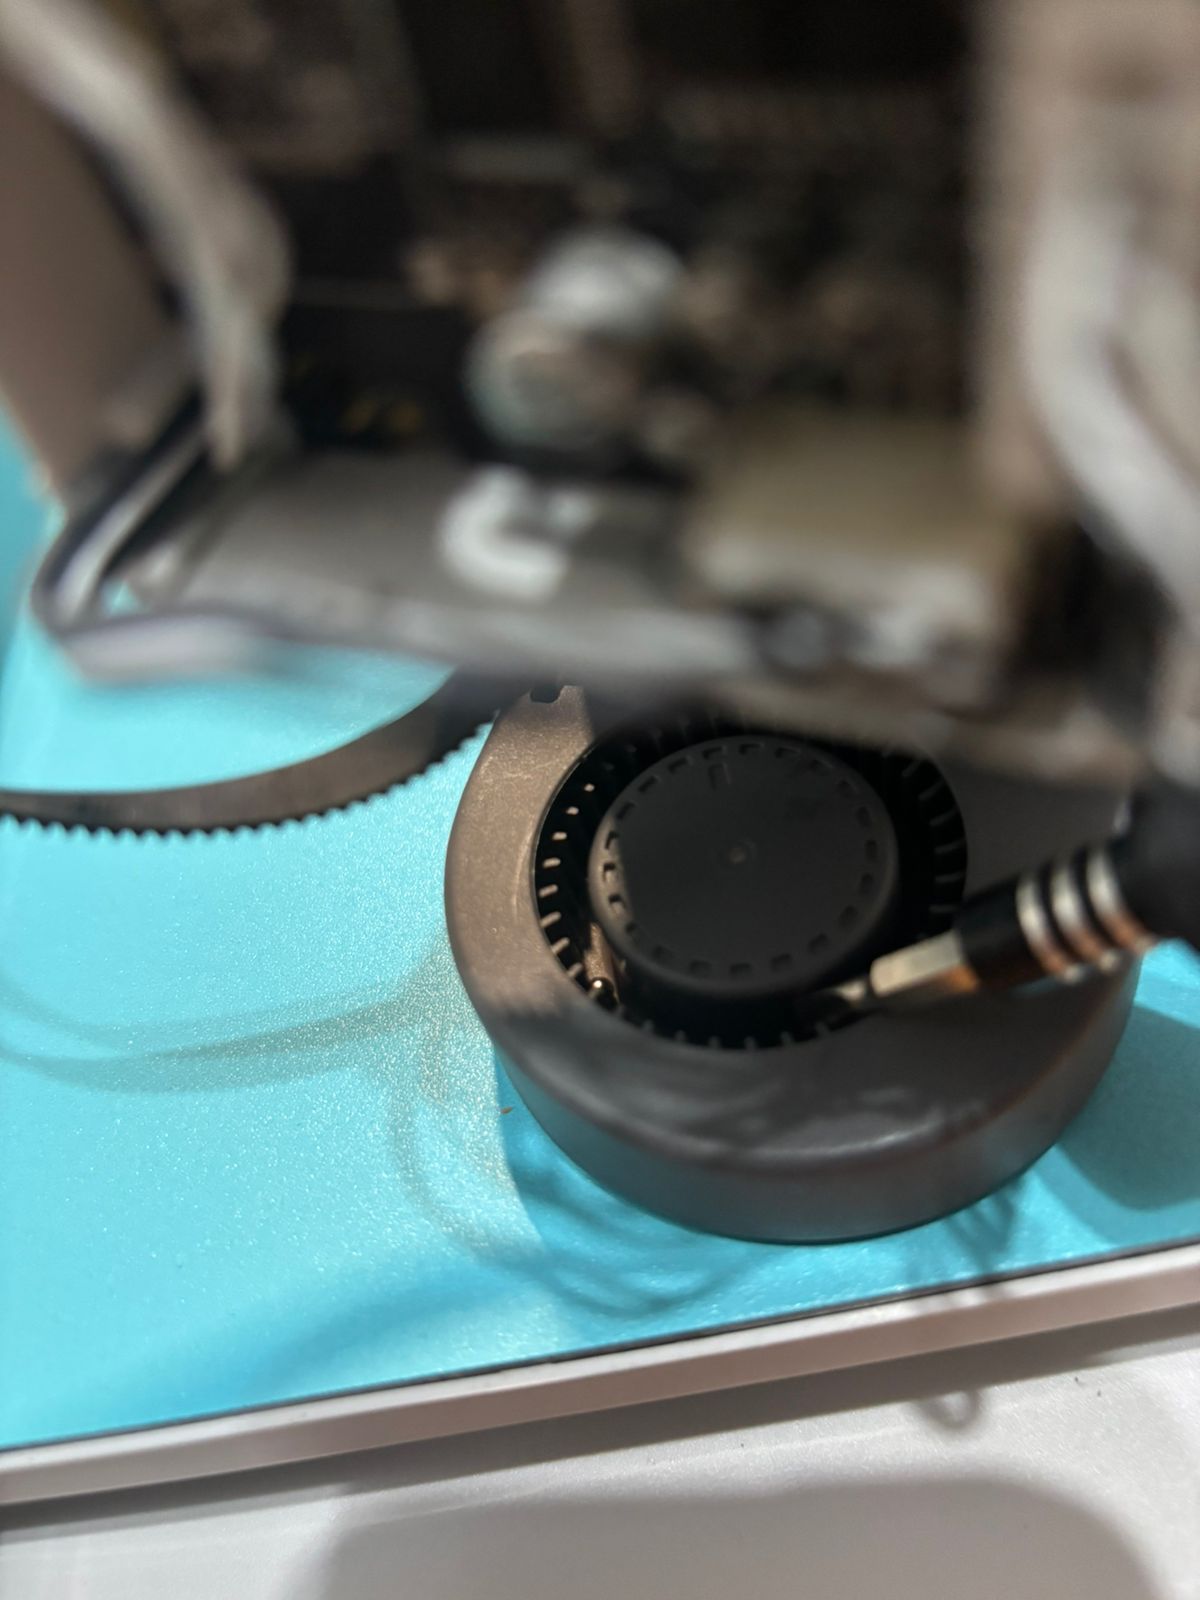
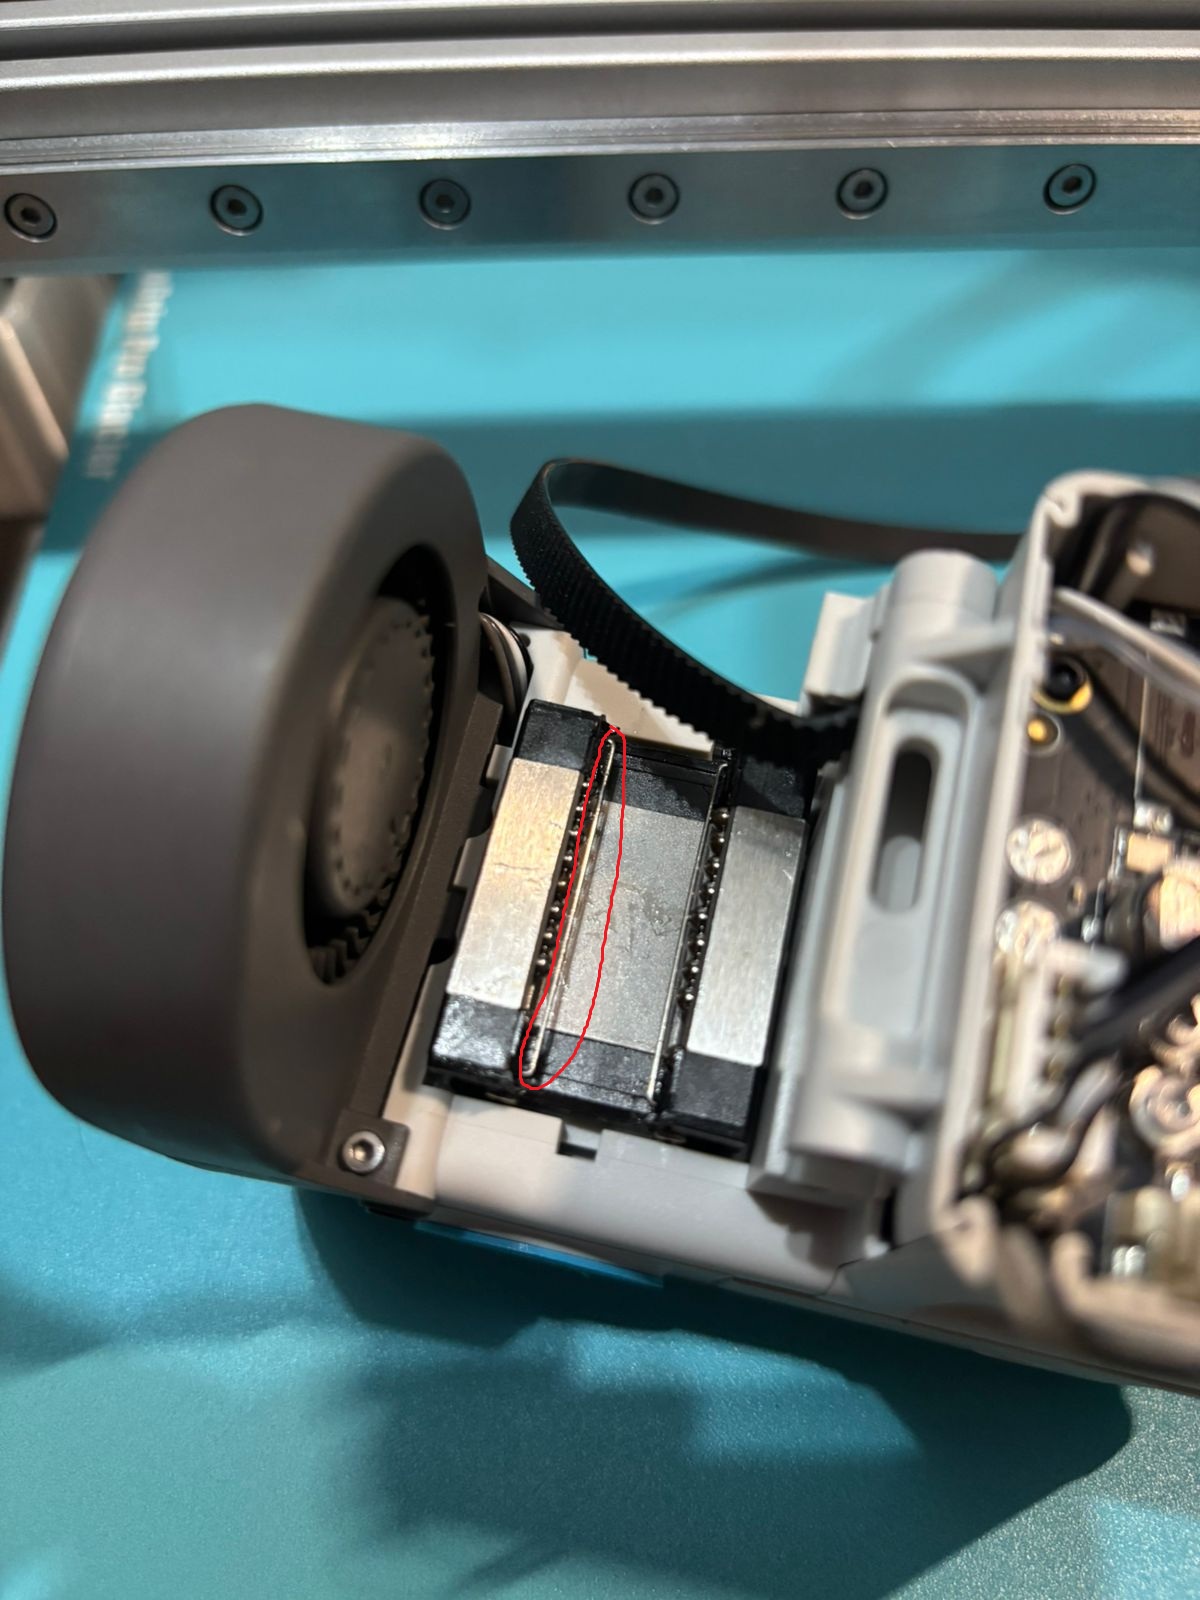
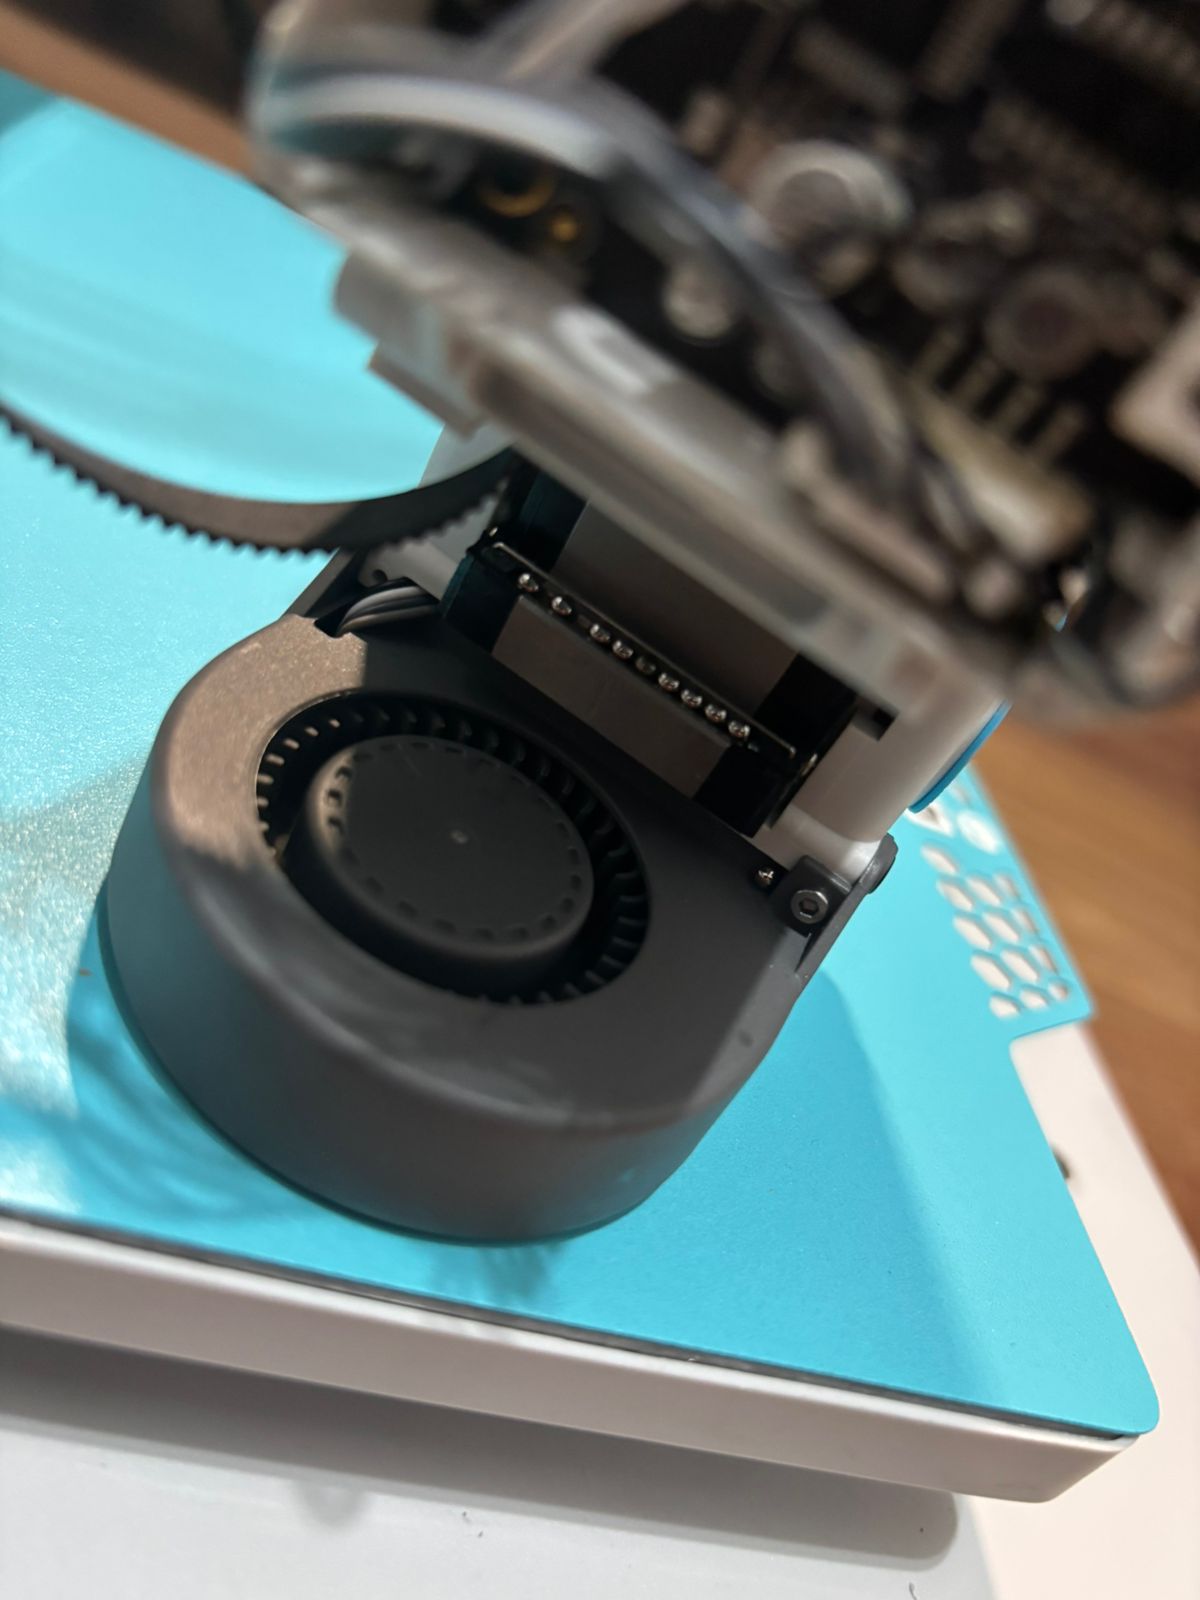
I really hope this will help someone in the future. I haven’t seen anyone with a problem like mine before.
Brand new printer, same issue. Solved, thanks!!
Thanks. This solution helped me. Just put magnetic plate rigth and accuarately/
Thanks a lot. Solution solved. Wrong positioned the magnetic plate. Please, firstly chek it.