I just got myself a P1S couple of days ago. So I am new to 3d Printing. Please have merci rgd questions. I read through some “support” threads in the forum and also watched some youtube videos. But to be quite frank, I am now more confused than confident with the bambu lab settings. Also I saw there are some issues with newer versions of the studio and some are downgrading to older version. I can’t compare older versions because I just started printing…
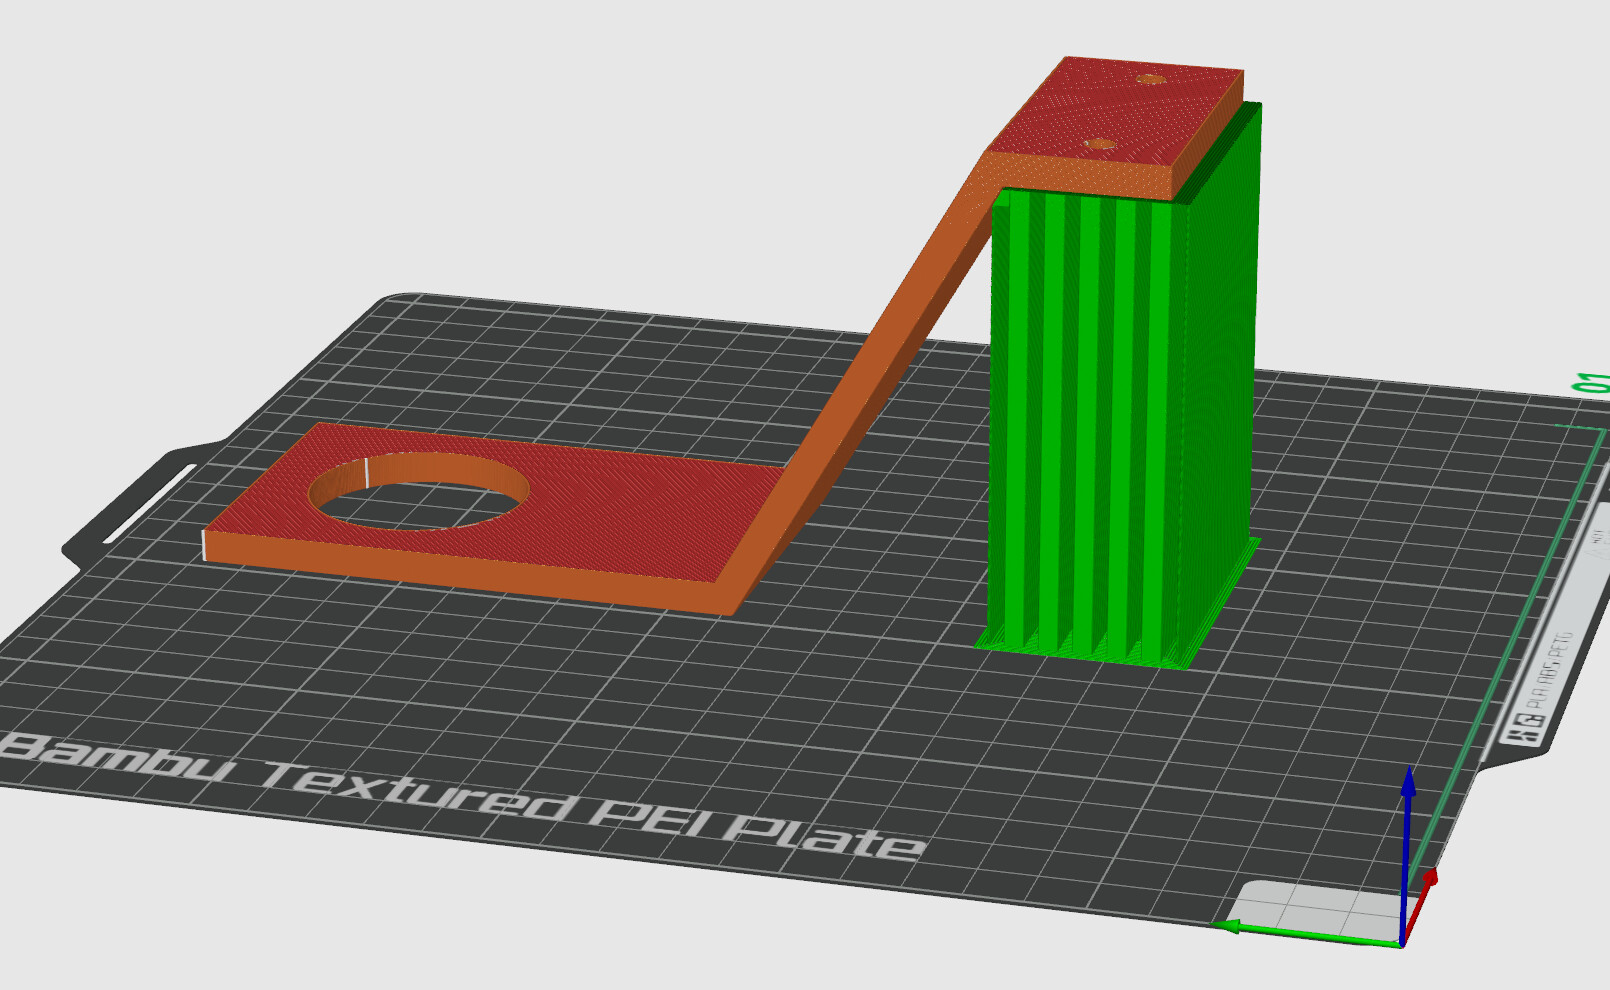
I have a very basic model I want to print with an even surface on the top which needs support. (See Picture)
I tried both tree and normal support. But either way the support is attached to the surface very strongly that I actually break the model while removing the support. I printed both model + support in Bambu PLA Basic black. I used the 0.2.mm Standard @BLL X1C profile. Support was default settings except I tried both nomal(auto) and tree(auto) as mentioned.
Could you please give me some tipps how to improve the settings?
At the end of this video the guy had some great results:
He makes a reference to this print:
When I open the model in the studio multiple things confuse me.
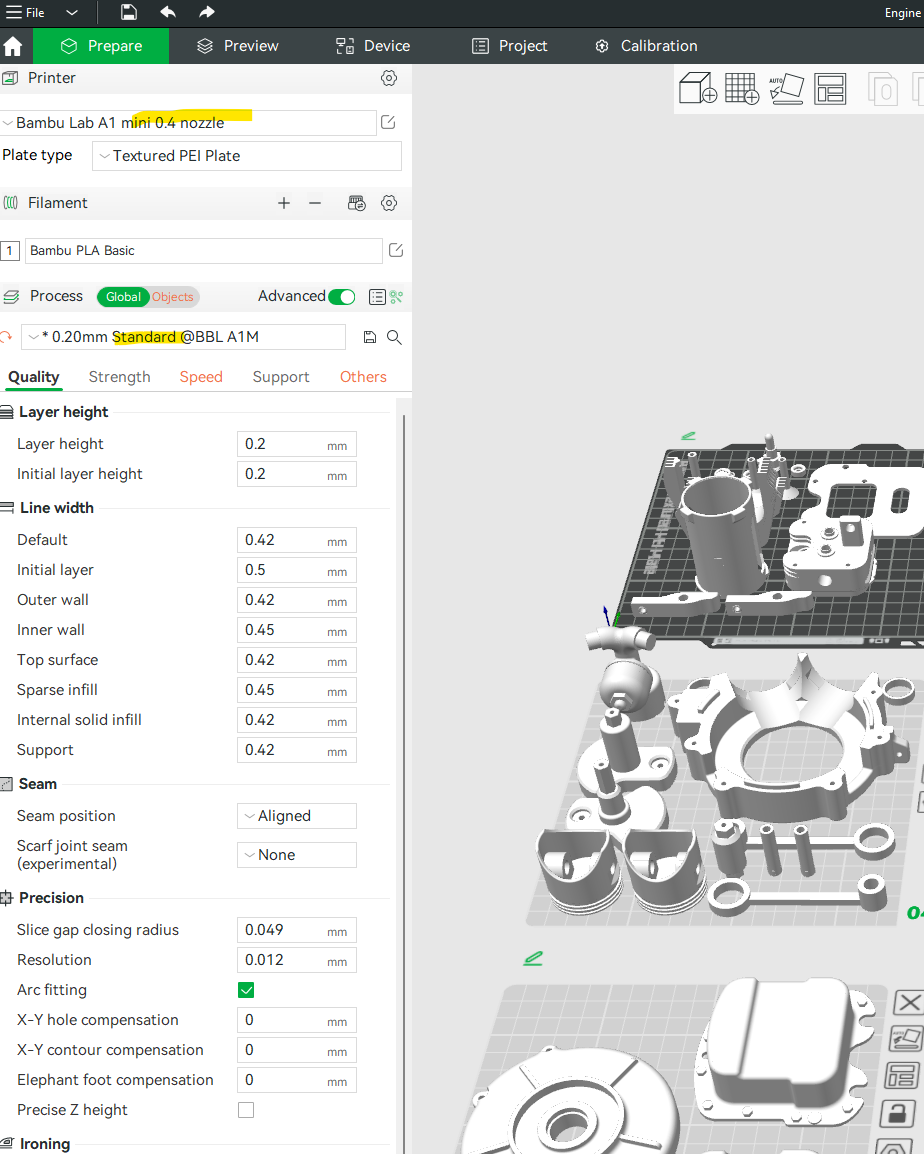
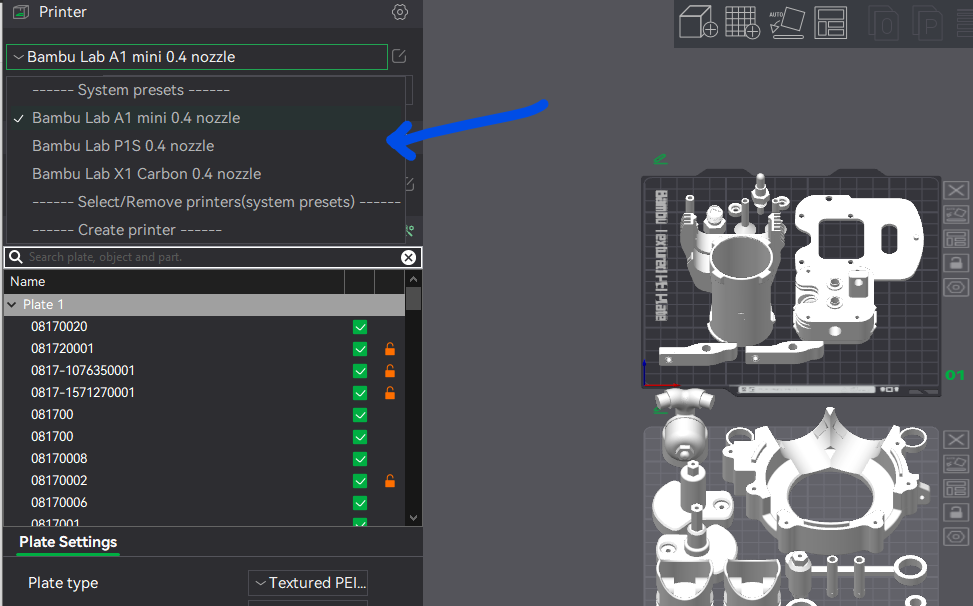
It shows a different printer in the printer selection. I only have a P1S, why does it show a A1 Mini? I assume I have to change that.
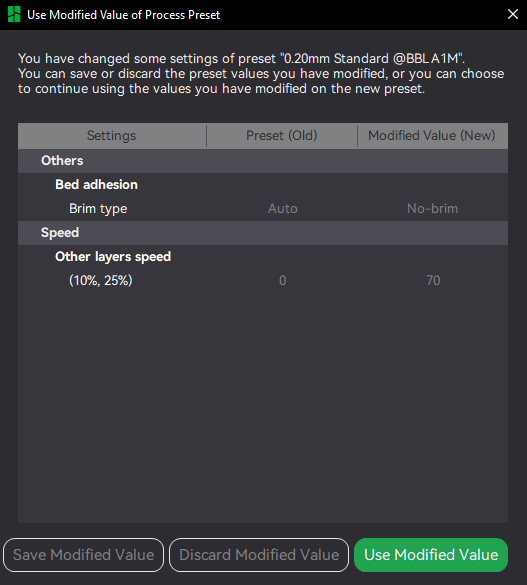
It shows a 0.20mm Standard @BLL A1M Process profile. Are these now the settings the designer actually used, or are these the standard settings from that profile? How can I “import” settings from an experienced designer?
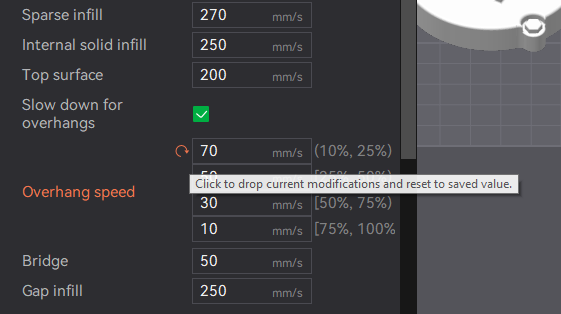
Why are some settings sections orange? What does that mean?
I’d recommend moving this to a more appropriate, perhaps Filament or Bambu Lab P1 Series. Edit: Or Bambu Studio
More people with interest/experience would see it. Not sure if you’re able to change it, but if you scroll up and there’s a pencil icon next to the title, click it and you can move it. Good luck
This is common, the designer has released the profile with a specific printer model attached, you need to simply select your model after opening the file
(for all .3mf you download from makerworld).
When you download a profile from a model page (.3mf) that contains the designers settings, this particular profile was designed for 0.20mm layer height. You have imported the designers settings.
Orange setting means its overriden from the default, if you press the orange arrow it will reset it back to defaults.
Finally, not sure what your issue with support is, it shouldn’t be that complicated assuming default settings. Show us your Support settings for the stuck support print please.
Edit: don’t get confused by old threads or threads reaching for solutions, imo there is no need to downgrade anything.
Don’t worry about this. The current release version of Bambu Studio works without issue.
In your case you probably don’t need to use support if you rotate the part 90 degrees and lay it on the bed. This will also strengthen the part as the weakest point is at the layer lines and you want them to be perpendicular to the load.
Boah Jon now I feel a bit stupid. Just lay the thing sideways on the plate. haha totallly zero experience here. but thanks for all the answers and tipps! Let’s print baby yeah! hehehe
Nothing to feel stupid over. It’s just unfamiliar and there is lots to know to get the best prints.
But Jon’s point about layers and extrusion lines is very important. It’s not just getting rid of support. It’s also a strength issue like Jon said.
Your original orientation is a bit like a stack of donuts with each donut being a layer. The adhesion between layers is lower than the strength of the extrusions that make up each layer. In your case, the completed part would be strong in the x and y axes (the donuts) and not so strong in z - the stack.
Turning the part on its side makes the extrusions run from end to end and give lots of strength to resist bending or pulling forces. There’s also lots more layer to layer area so that the overall interlayer adhesion actually goes up and the part gets stronger. The axis that becomes weak is bending along the narrow dimension but being narrow, it’s more able to resist those forces and again, interlayer bonding area is higher because the extrusion paths get way longer.